Cart 0

No more products available for purchase

Products
Pair with
Subtotal Free
Shipping, taxes, and discount codes are calculated at checkout

Your Cart is Empty

The Art of

The Art of

Shirt Making

Let's get started.

Welcome to the Art of Shirt Making!

Shirt making is a beautiful craft. It is meticulous, considered and at times mathematical. By focussing on sewing each small step to a high standard you will build a beautiful and complex piece of clothing.

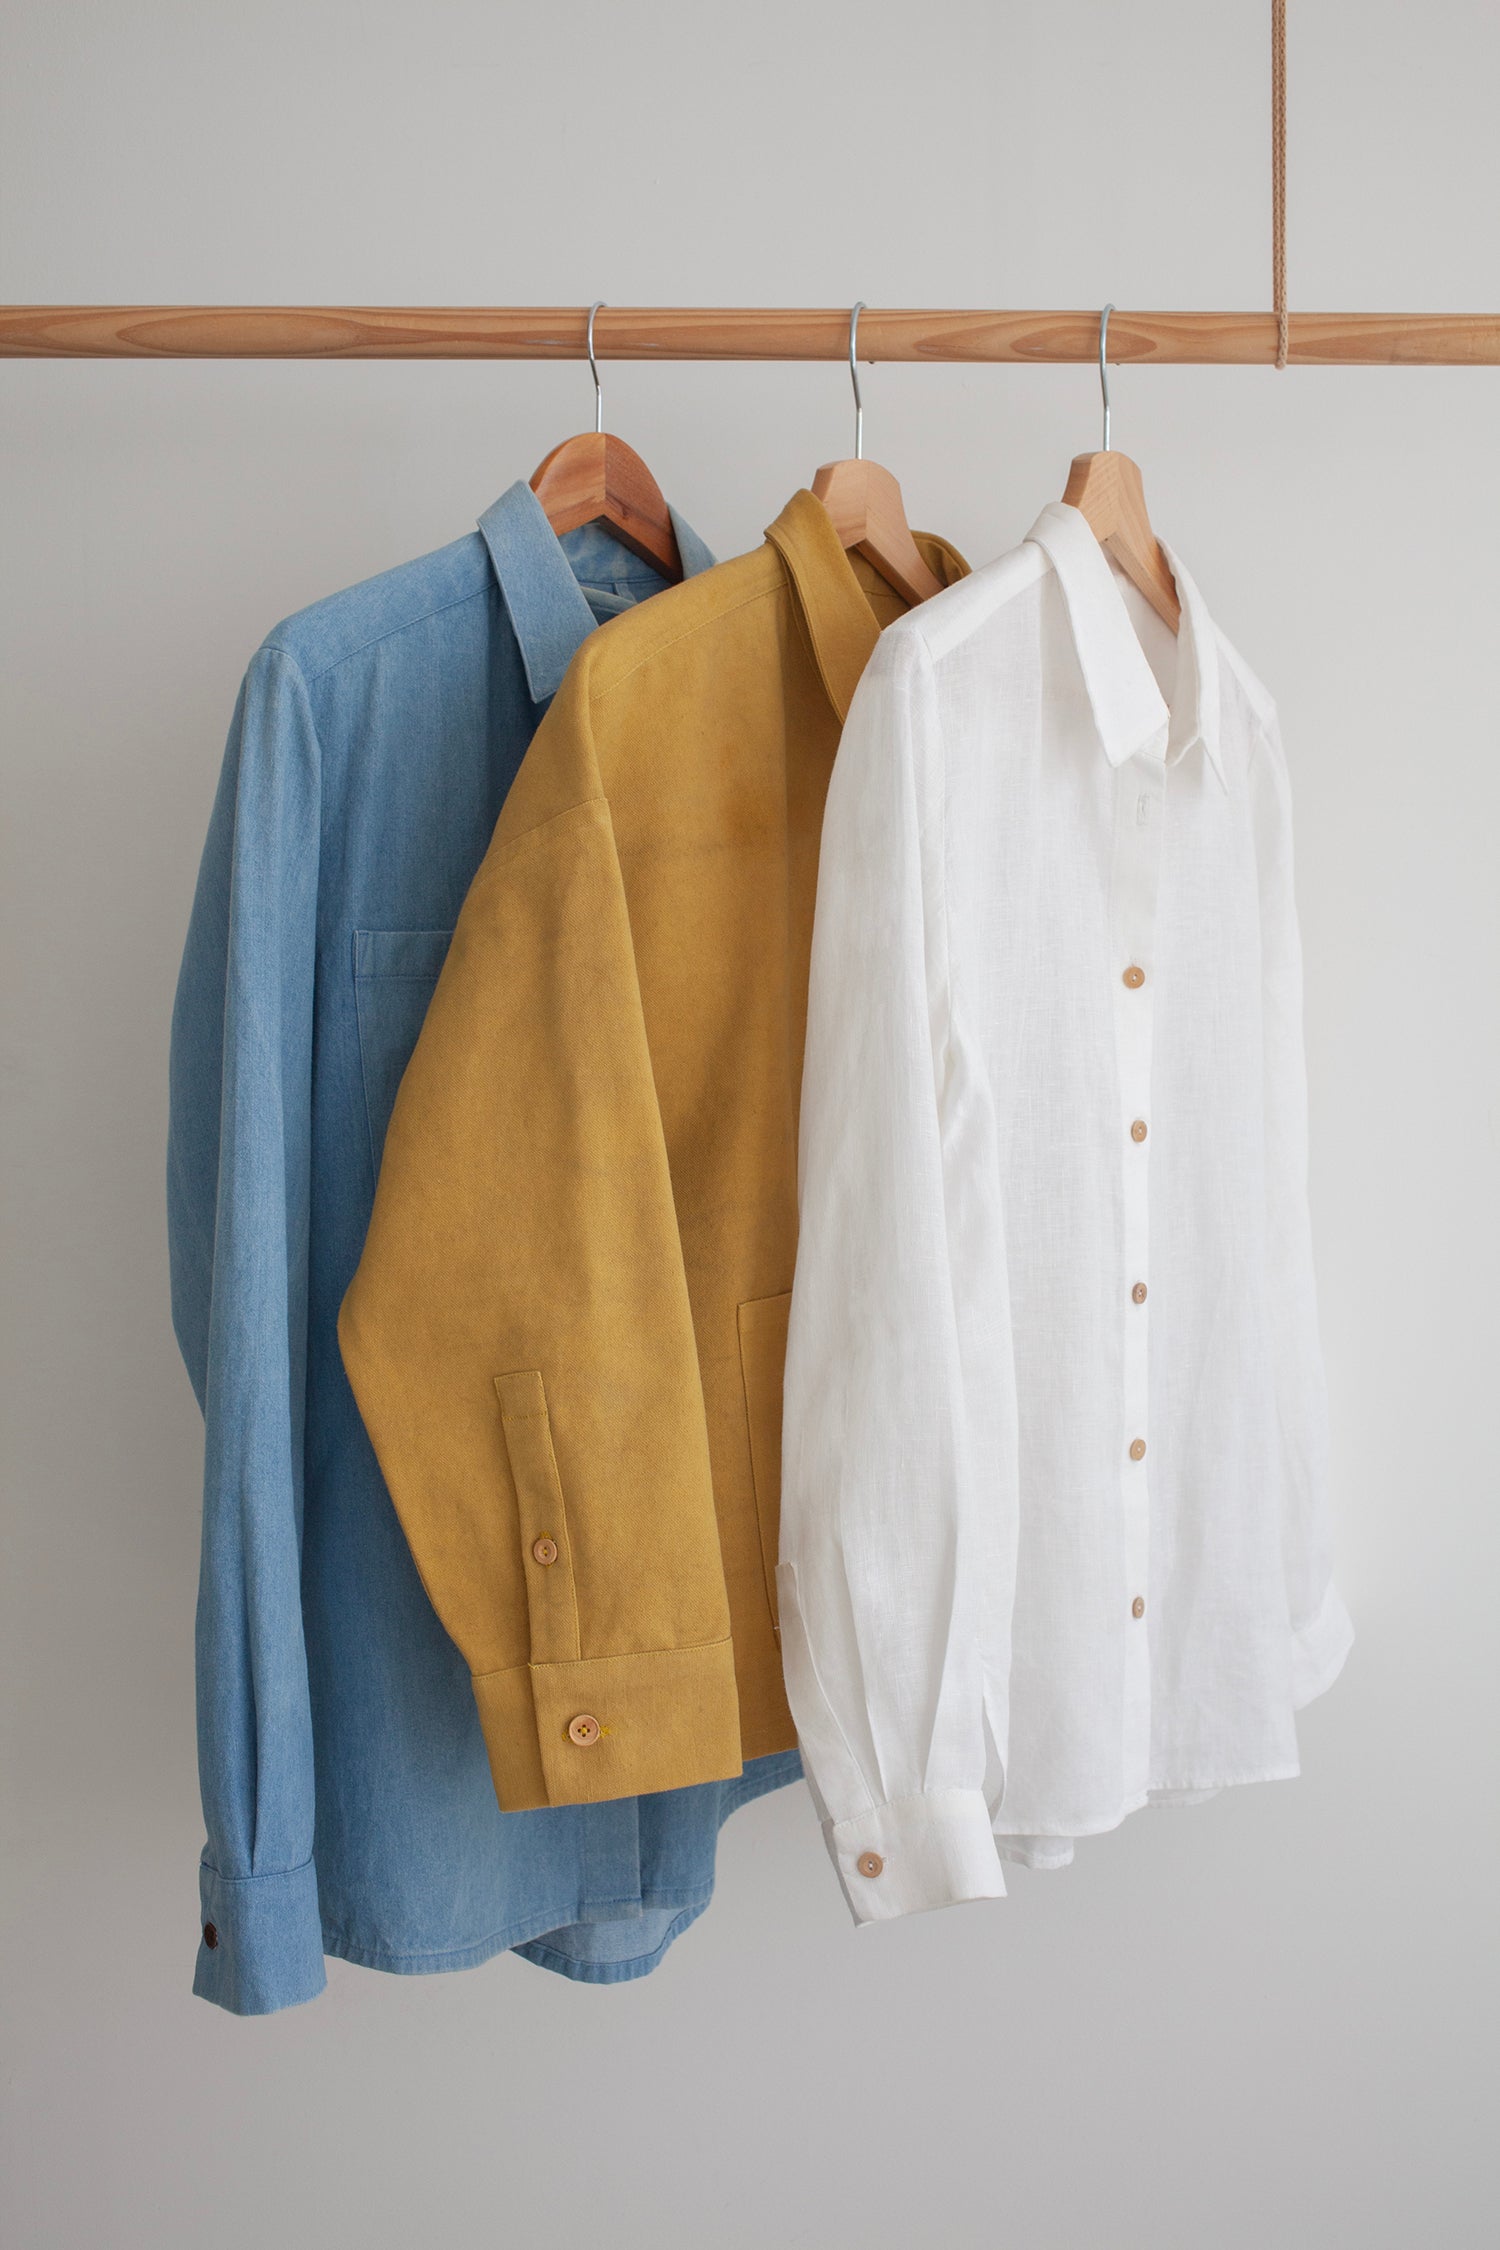
This page guides you through everything you need to know to create 3 professionally made shirts. You’ll master essential techniques to make the Over Shirt, Unisex Shirt and Classic Shirt and develop skills to last a lifetime.

Take your time navigating the workshop and enjoy learning the art of shirt making at your own rhythm. We can't wait to see what you create!

Your Projects

Over the course of the Art of Shirt Making series you’ll apply many of the same skills you’ve leant to each shirt. We recommend sewing your shirts in the order shared below so have a read and familiarise yourself with what you’ll be sewing for each project. The construction differences for each piece are highlighted in italic.

Over Shirt

To begin your shirt making journey we recommend starting with the Over Shirt. This project includes the 2 hour video tutorial which will give you a groundwork of knowledge in shirt making.

Skills:

  • Run & fell seams
  • Patch pockets
  • Grown on Button Stand
  • Double yoke with back loop
  • Classic collar and collar stand
  • Square topped placket and cuff
  • Sleeve (no pleats) with insertion & no shoulder ease
  • Hemming & buttons

Unisex Shirt

Moving on to the Unisex Shirt, you’ll be following an almost identical making process to the Over Shirt. We recommend referring to the video tutorial and following the PDF instructions for the parts that are different.

Skills:

  • Run & fell seams
  • Patch pockets
  • Grown on Button Stand
  • Double yoke with back loop & inverted pleat
  • Classic collar and collar stand
  • Triangle topped placket and cuff
  • Sleeve (with pleats) with insertion & 1cm ease
  • Hemming & buttons

Classic Shirt

Lastly, in the Classic Shirt project you’ll use the skills you’ve already learnt along with some additional finishing techniques shown in the step-by-step guides on this page. We recommend following the PDF instructions as well as referring to the photo guides and Over Shirt tutorial.

Skills:

  • French seams
  • Grown on Button Stand
  • Double yoke with pleat
  • Classic collar and collar stand
  • Square topped placket and cuff
  • Sleeve (with pleats) with insertion & 1cm ease
  • Flat binding on curved hem
  • Buttons

Getting Started

Brush up on your skills with our getting started videos series, teaching you the basics before you begin your projects. The video series will cover:

  • Your Tool Kit
  • Threading & Trouble Shooting
  • Choosing Your Fabric
  • Patterns & Lay Planning
  • Cutting Your Fabric
  • Fusing
  • Binding
  • Practise Your Seams

The Fitting Guide

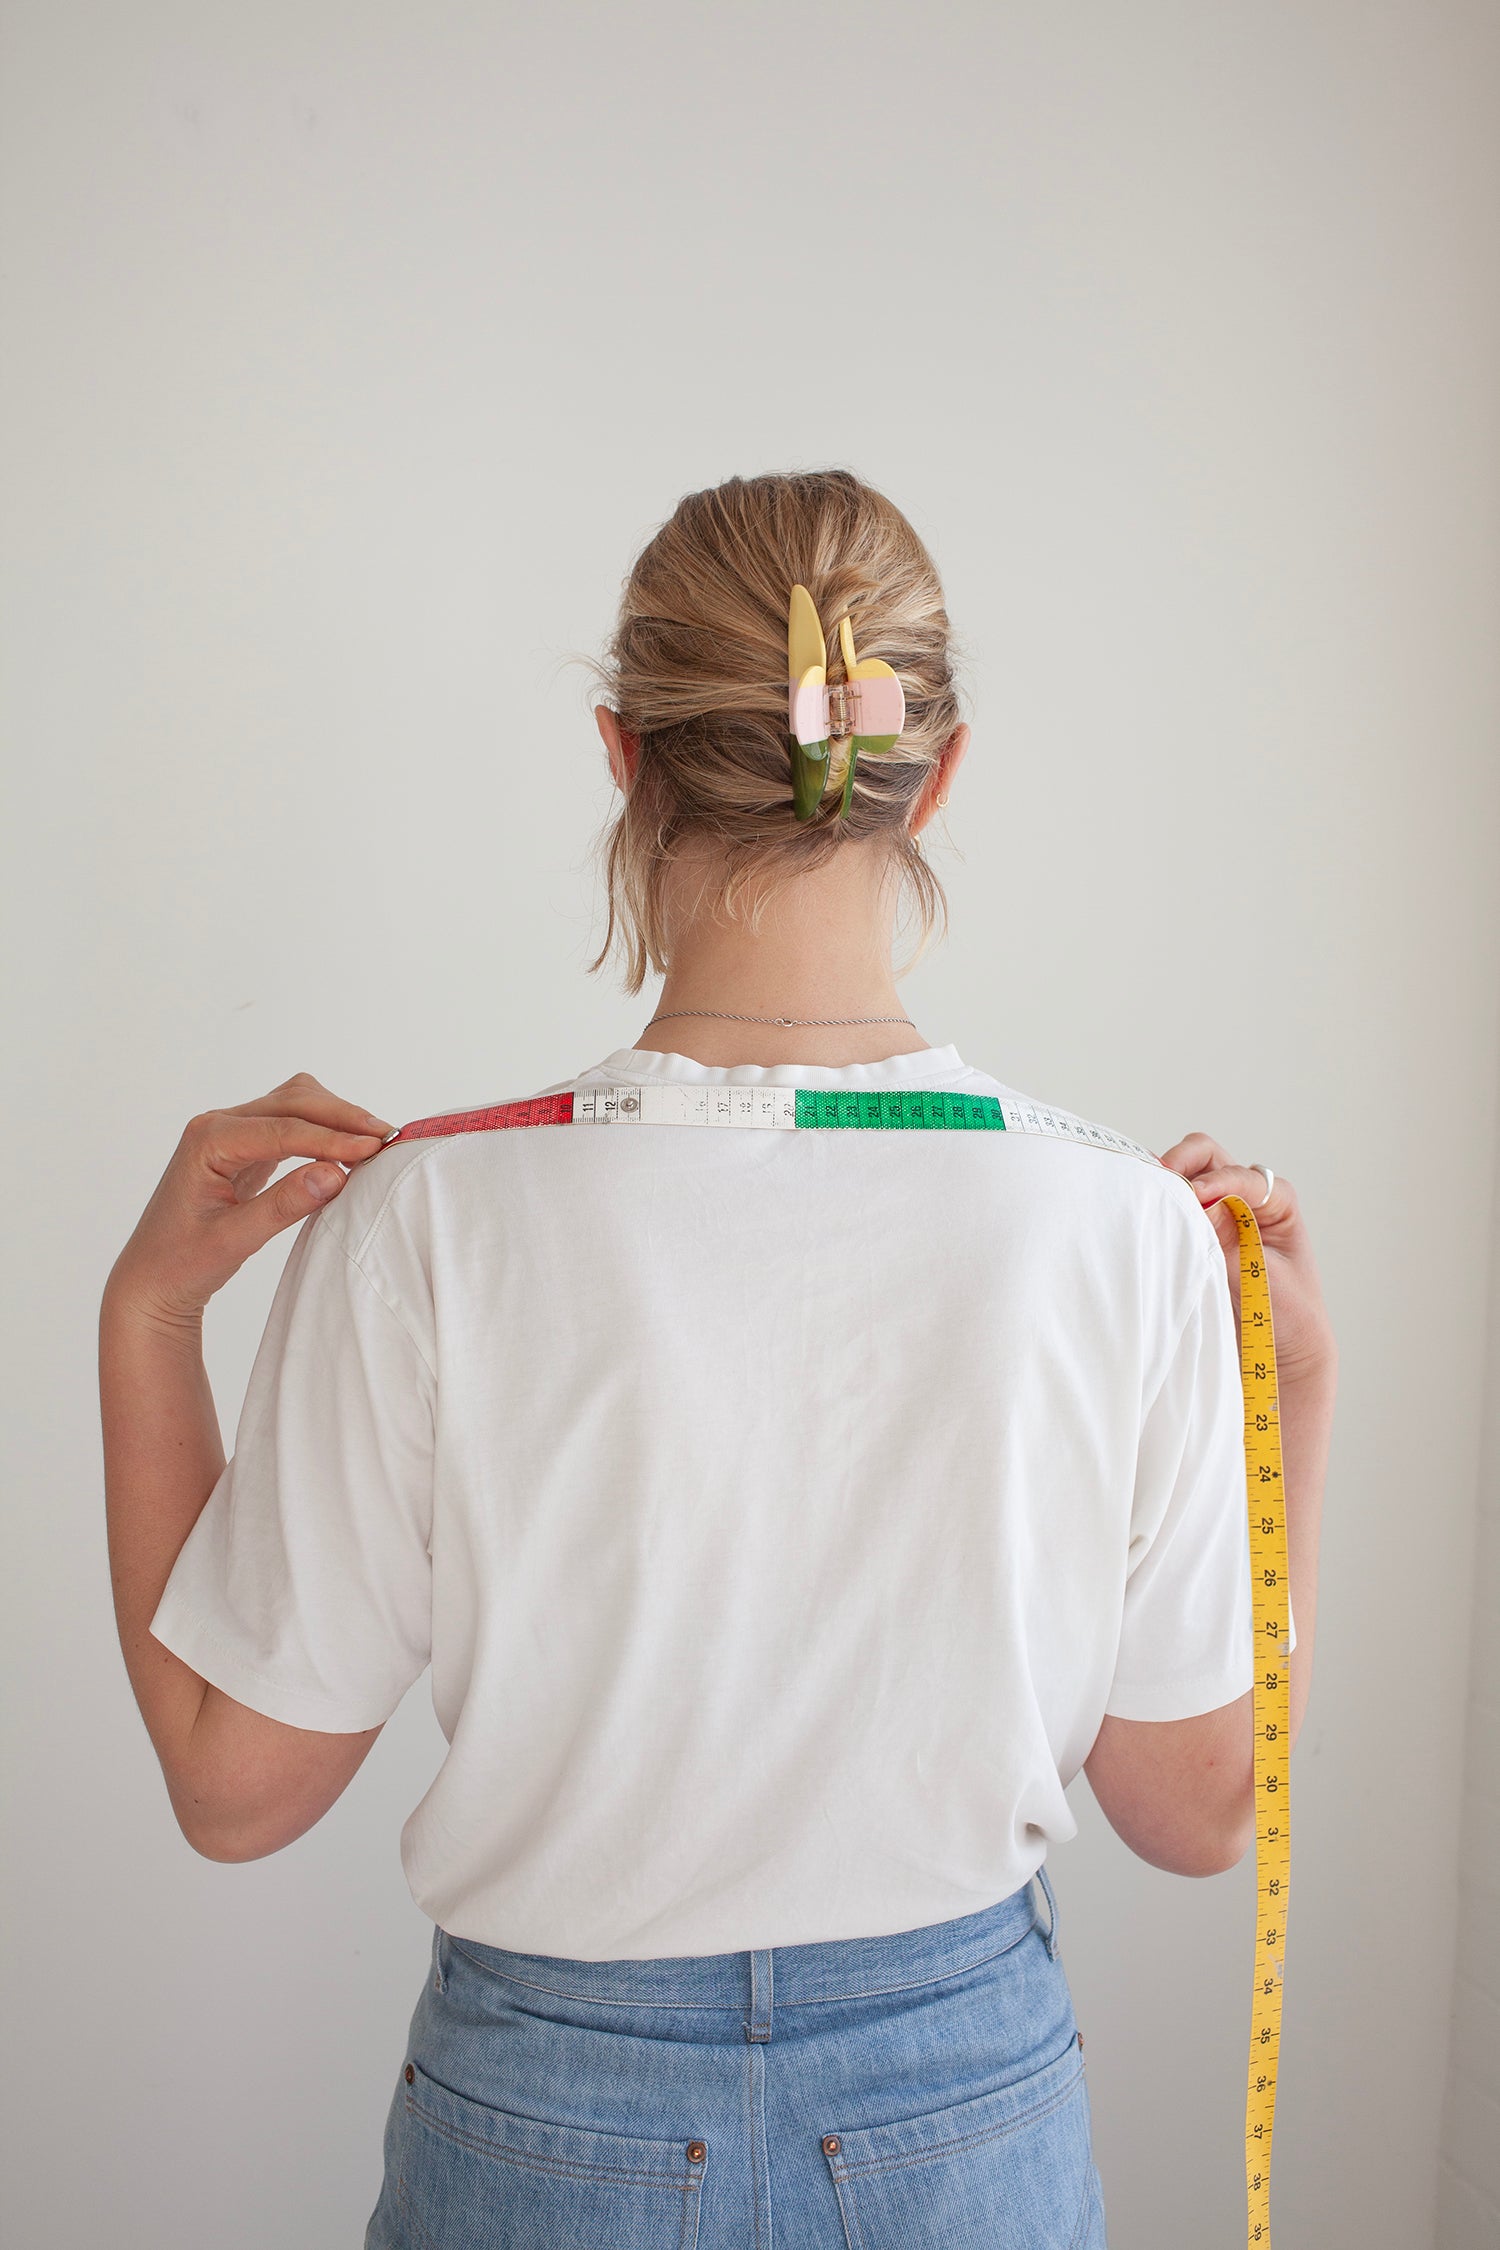
Our fitting page for Tops, Shirts and Jackets will guide you through finding your size and making fit adjustments to your garment.

  • Finding your measurements and choosing your size
  • Grading between sizes
  • Shorten or lengthen pattern pieces
  • Full bust adjustment with a dart
  • Full bust adjustment without a dart
  • Increasing the size of a dart
  • Narrow Shoulder Adjustment
  • Wide Shoulder Adjustment
  • High Rounded Back Adjustment
  • Bicep Adjustment

Over Shirt Workshop

step-by-step guides

Classic Shirt

When you’re ready to sew your Classic Shirt these step-by-step guides will help you to sew the techniques that aren’t covered in the full video tutorial. These include sewing the flat binding on the curved hem and closing the side seams with a french seam.

Flat Binding

Prepare Binding

Prepare your binding by cutting 3cm strips on the bias. Press the strips by turning one side in by 1cm and then the other side in by 1cm. You’ll be left with a piece of binding folded into 3 equal parts.

1.

Pin the binding on to the right side of your shirt hem, making sure there is excess length at both ends.

2.

Stitch the binding at 1cm.

3.

As you get to the side seam, carefully pull the binding back to make a snip where the side seam notch is.

4.

As you get to the notch pull the binding off to the side slightly.

5.

Turn the binding over itself to lay flat and edge stitch the right side.

6.

From the right side it will now look like this.

7.

Now press the remaining folded edge down. This is shaping the binding into its final position. Use lots of steam to get the whole piece nice and flat.

8.

At the side seam pull the end of the binding off to the side, as shown.

9.

Now add your final line of edgestitching to secure the binding. This stitching will be visible from the right side of the shirt so take your time.

10.

As you get to the front edge, fold the binding in on itself to finish. You can snip excess fabric away from of the seam allowance bulk if needed.

11.

Cut the side seam binding to sit flush.

French Seam Side Seam

1.

Now you can close the side seams with a french seam. Lay the front and back pieces wrong sides together and stitch the side seams closed at 0.5cm.

2.

Trim the frayed edges of the seam to about 0.3cm.

3.

Now fold the seam back on itself so the right sides are facing. Press the seam closed.

4.

Then stitch the seam at 0.5cm. This will enclose the frayed raw edges inside.

5.

Finally press the seam flat.

6.

You’ll now have a beautiful hem binding that runs straight into a neat french seam.

Shirt Inspiration

Once you've made your first shirt you might like to get creative and include some hacks and special features in your future makes. Have a browse of our shirt related blog posts to help inspire you and create a range of beautiful shirts.

The Perfect Chore Shirt

The Drawstring Hack

The Frill Collar Hack

The Art of Topstitching

Deep Dive: The Classic Shirt

Deep Dive: The Over Shirt

A Very Classic Shirt

Jet Pocket Guide

The Unisex Shirt