The Art of Topstitching
Welcome to the weekend 'long read'.
This week was a very busy week in the studio. I'm working full steam ahead to get some new patterns out (which I'm very excited about) but I also found some old cotton poplin in my stash which immediately sparked an idea.
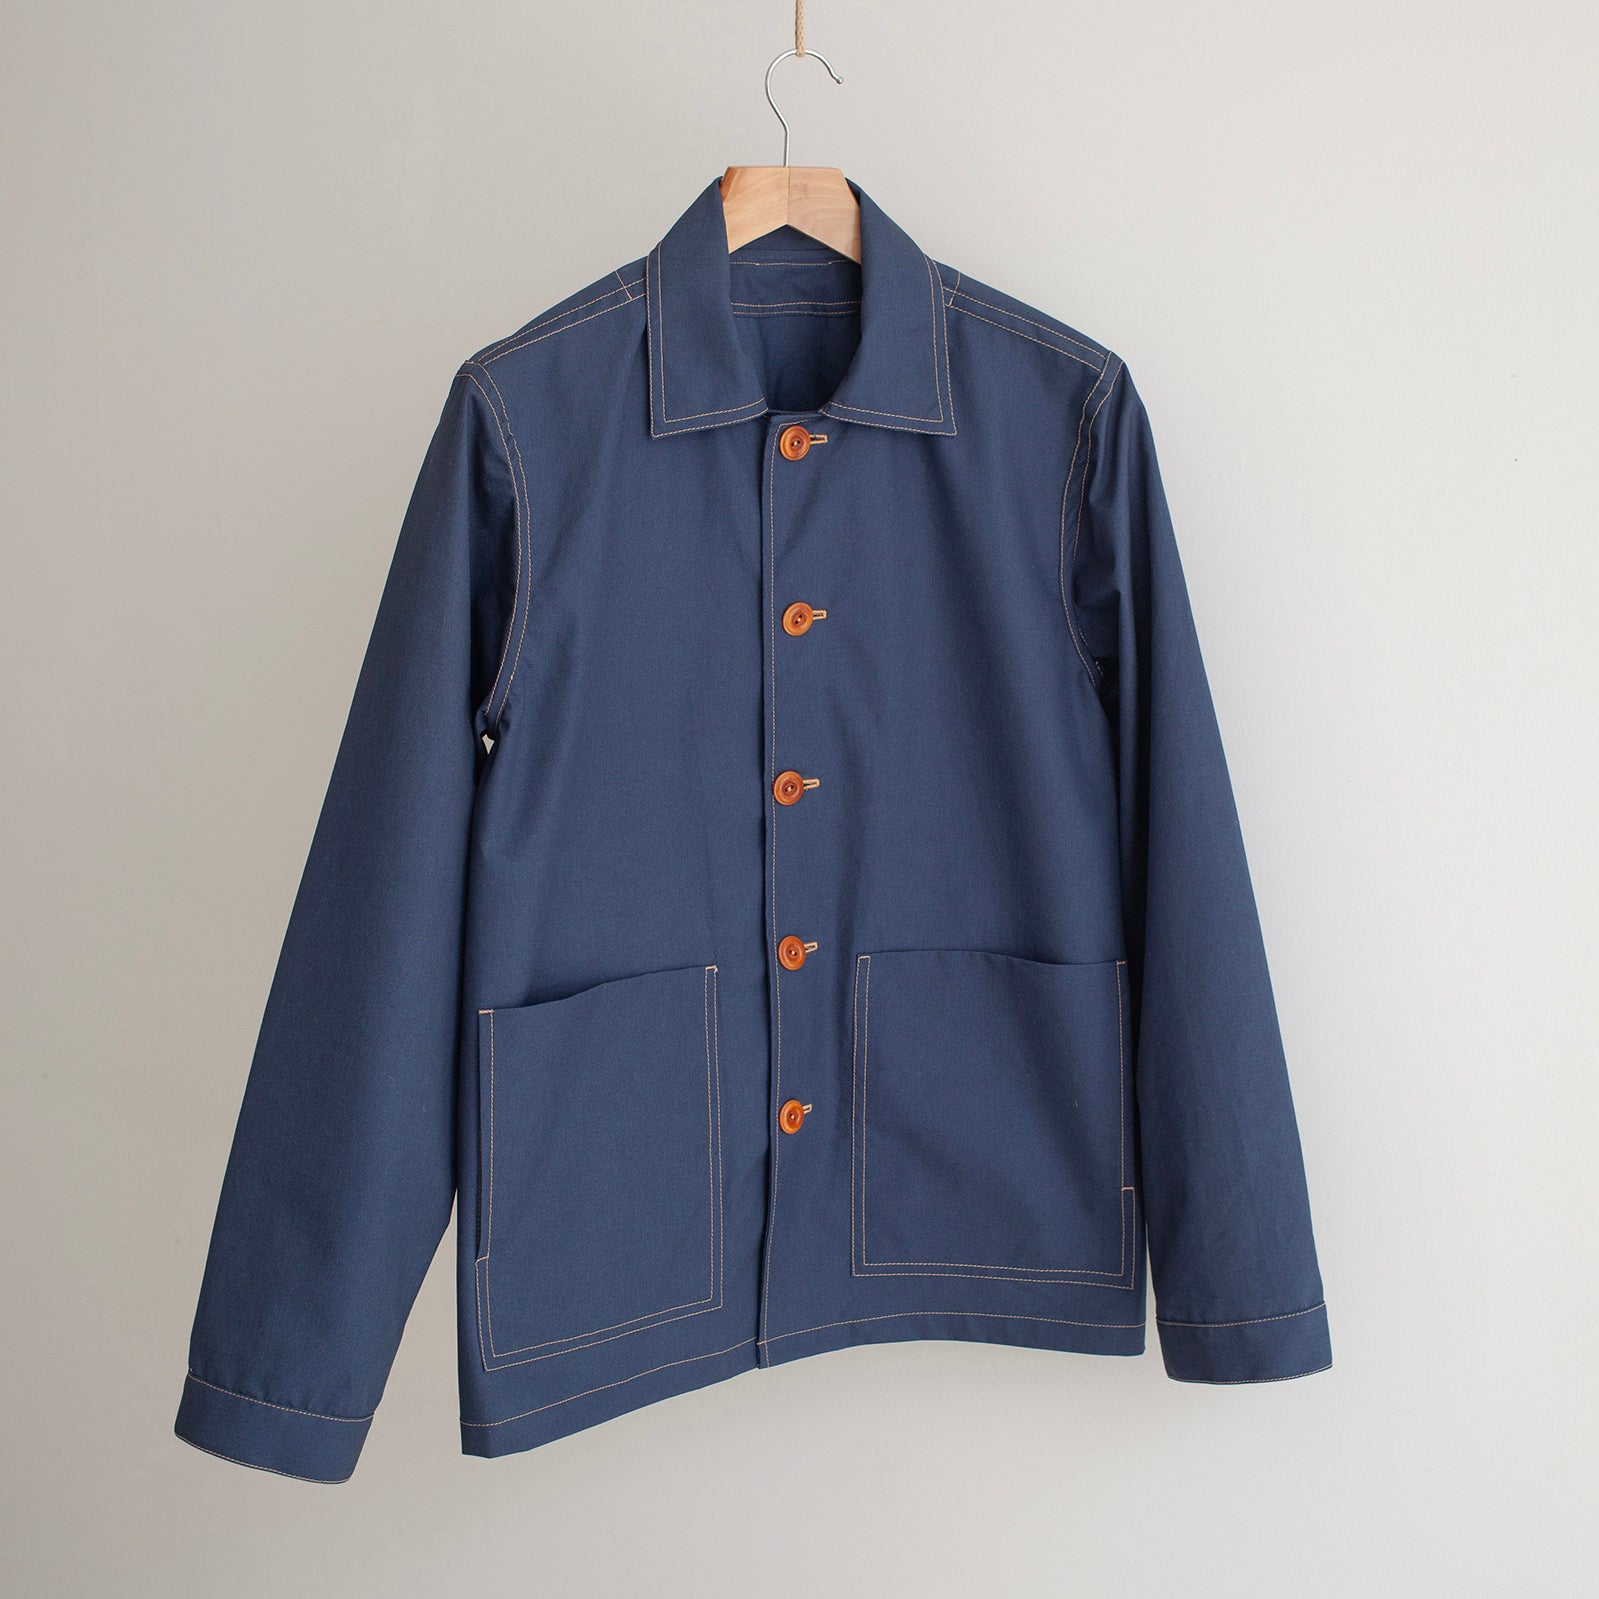
I decided to play with heavy topstitching and create a new look for an old cut using a contrast thread. The Frida Shirt is a reliable favourite - it's so simple, paired back and becomes the understated classic of any outfit. Without changing any of the design features I gave this garment a different feel with lines of red thread running up and down and around the construction features.
I started the making process with no pre-imagined design other than seeing what I could slowly build. Starting with the singular row of stitching on the button stand (as is the starting point for all of my shirts) I slowly added more rows of stitching until I felt the balance was right. I prefer this organic way of working, especially when it comes to making small tweaks to a design I know well.
The only other small thing I changed was switching the internal flat binding around the neck to an external one. This helped to give a tiny bit more definition on the neckline - a small detail that makes it a more considered garment. However it's not all perfect... I unfortunately made the button holes too small. Such a school girl error!
As I was writing this I also realised that it's almost exactly two years since I launched the Frida Shirt as an online workshop. How time flies! I create this workshop specifically to help beginners or self taught sewers get into the kind of precision sewing that's needed for creating really high quality clothes. The workshop is a cornerstone for more complex sewing; it's really important to have those basic skills nailed before attempting more difficult designs. If this sounds interesting to you it might be a good stepping stone for your sewing journey.
In other news it seems that September is the month for sewing! It has been lovely seeing lots of amazing makes posted on instagram. I'm really looking forward to making the September Inspiration Board so keep an eye out this week!
Have a lovely Sunday & happy sewing,
Hetty
x

For this make I cut a size 12. The size 10 fits me perfectly but I imagined a slightly roomier crisp white shirt.
(This pattern comes in sizes 6 - 28).

The button stands were the starting point of the stitching design work. I started with the single row of stitching to close the button stand and then I added the following extra rows:
- 5mm from the first line of stitching
- the next line went right between the first line and the second line
- the next line went right between the first line and the second line
- finally I added an extra line on the outer edge of the button stand, about 2mm from the edge
As I mentioned above, my one regret was making the button holes too small! A longer button hole in that punchy red thread would have really added to those little blocks of colour on the front (and would have been easier to button and unbutton)!

The double yoke on the shoulders is the main 'shirt making' feature of this garment. I added topstitching to the yoke seams with the following distance:
- 1mm from the edge
- 5mm from the first line of stitching
- then the final line of stitching I sewed right between the outer two lines
I also added one line of stitching to the armhole with a 1mm distance from the seam. I quite often leave the armhole stitching but with so much going on with this piece it looked strange left plain.

Here it's styled with the Worker Trousers I made last week. You can catch up on the details of that make on our blog.

I excluded the pocket on this Frida Top because I planned to wear this shirt tucked in a lot. I really like the contrast stitching of both of these pieces playing together in this picture. It creates quite a smart and classic workerwear look.

The back of this shirt features extra volume that's gathered into the back yoke. I think this looks particularly nice with the red stitching on the yoke seam just above it.

For the hem I used a similar stitch formula to the button stands but with just two lines of stitching together instead of three. This creates a bit more space in the design and compliments the button stand without feeling too heavy.

