Deep Dive: The Classic Shirt
The weekend long read.
The
Classic Shirt was the very first design I sampled in 2014, the year that I launched my first business.
Back in January of that year I was envisaging the business that I would build over the following 5 years. I imagined a small women’s shirting brand, entirely ‘Made in London’ with an emphasis on timeless design and sustainable fabrics. ‘Modern classics’ was the overarching idea. I talked a bit about this period in my 'Deep Dives' of the Over Shirt and Worker Trousers which you can find on the blog.
When I reflect on this pattern I realise that it was really the starting point of my self employed career. I really latched on to the idea of beautiful shirts for women as there is something so elegant and powerful about a great shirt. I found the history of shirts fascinating - including how women didn’t wear them until the war - and I also loved the idea of designing something with roots in tailoring. As I settled on ‘shirts for women’ as my business concept I had only one place to start… and that was with a classic shirt.
A portrait taken during the first ever photoshoot for Henri London in August 2016. The Classic Shirt was a favourite from the start!
-
I toiled this cut over many months and wore early iterations in poplin and then a handwoven organic cotton. When I launched my first business (Henri London) it was on almost constant restock for 5 years. As I started to steer my career away from selling ready-to-wear clothes and started to think about workshops and patterns for the Modern Sewing Co., the Classic Shirt was high on the list.
As I had seen so many women try this cut on in my shop I knew I wanted to make fit adjustments before launching it as a PDF Pattern. I made two adjustments. The first was to increase the width and volume around the bust. I wanted to accommodate different bust sizes while keeping the minimal, dart-free look. The volume is mostly added in the underarm section which keeps the silhouette from the front looking sleek. The second adjustment was to change the hem from a gentle curve to a deep scooped v-shaped hem. I think this adds a touch of modern to an otherwise very classic cut.
At the door of my very first pop up shop on the Hackney Road in 2016. I had no idea I would be photographed and unfortunately I was wearing trackies but the Classic Shirt saved the day!
-
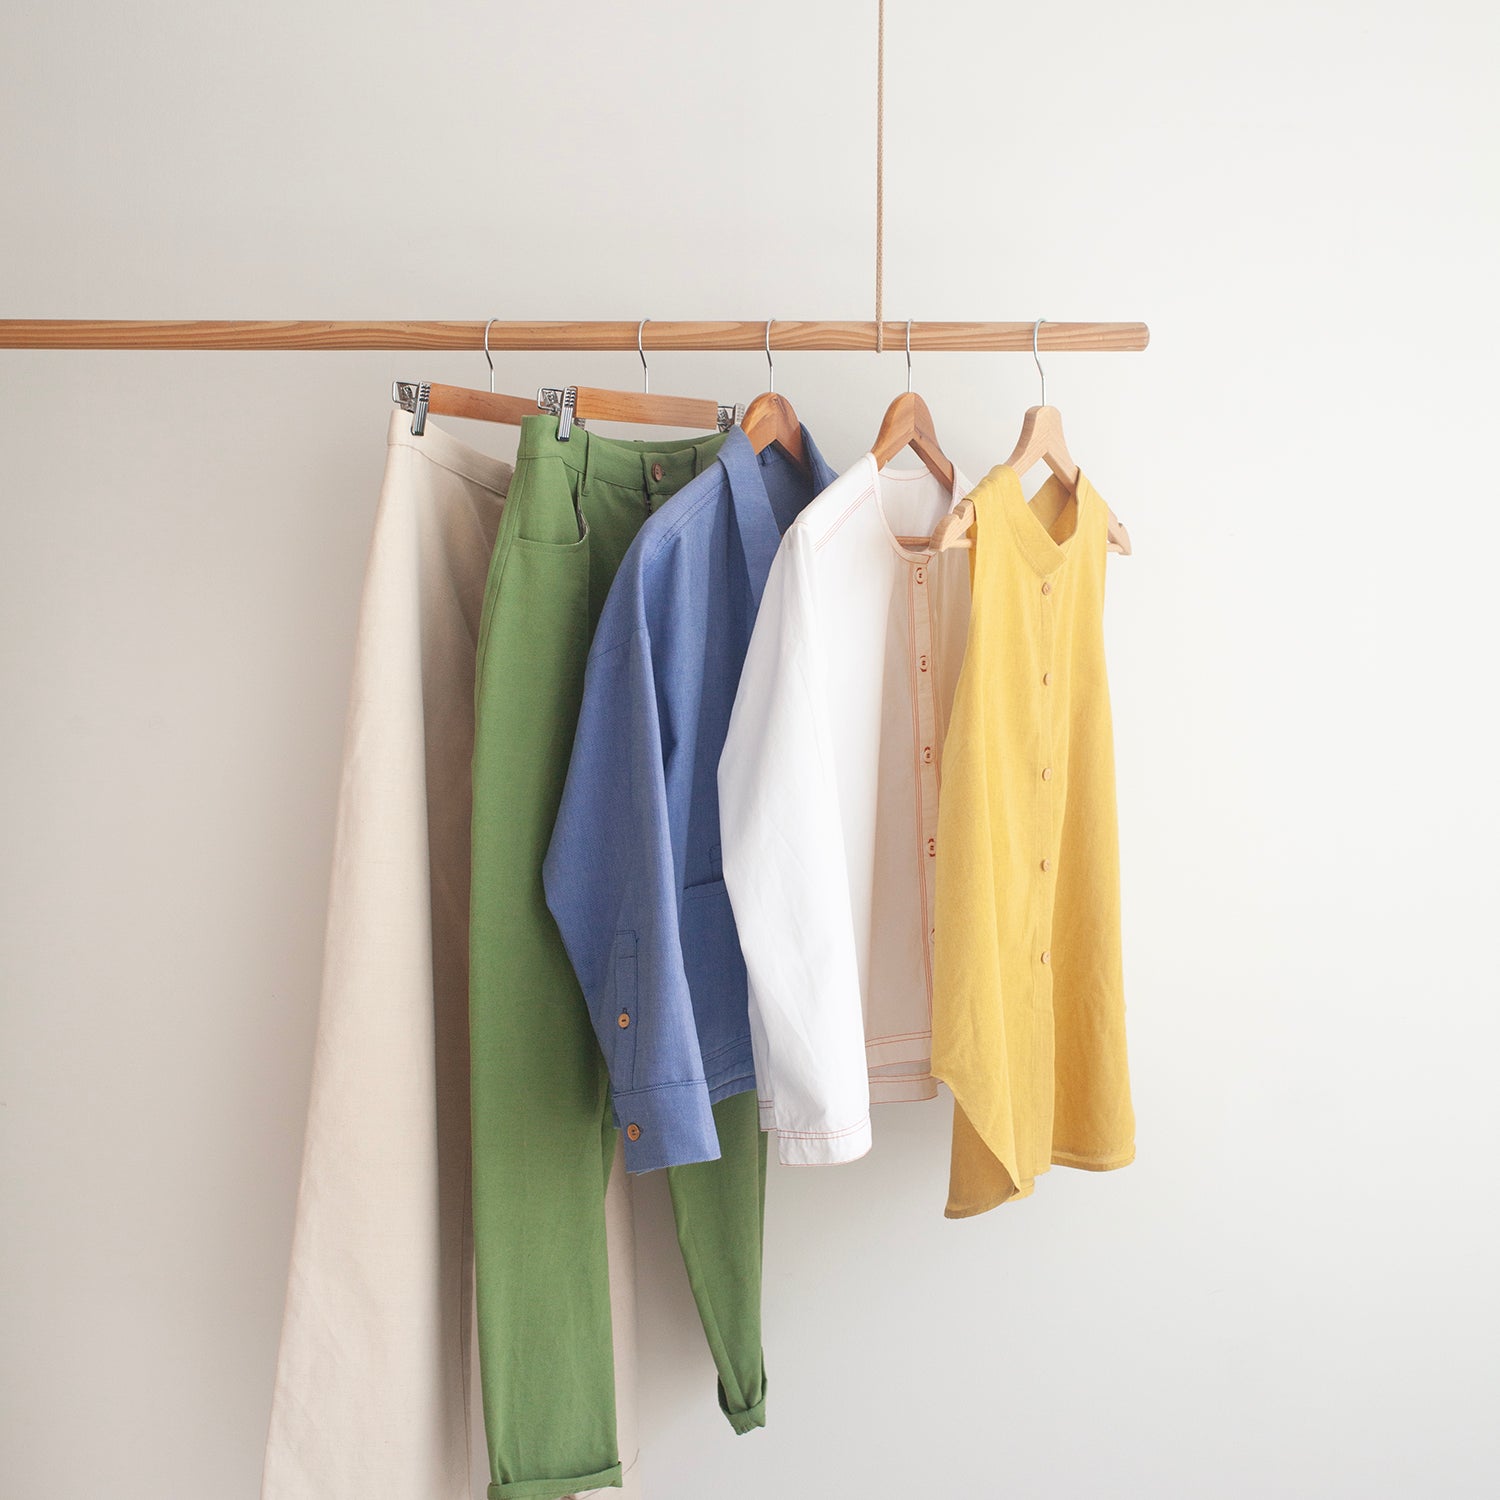
If you’ve kept up with recent newsletters you’ll know that I’m currently making my own mini summer capsule and the Classic Shirt was one of the cuts that I decided to include - you can scroll down to see the result!
I always enjoy seeing all of your makes come through and I always like the uniformity of the Classic Shirt. I find that most of you don't like to change too much about this pattern and that's a satisfying thought - it seems to be just right as it is. Quietly dependable.
Happy Sunday from London!
Hetty x
The Cut
The Classic Shirt is gently fitted on the shoulders - it shouldn’t be too tight or too loose, but just sitting on the shoulder bone. From there it skims over the upper chest and flares out more as it reaches the bust and underarm point, leaving space for relaxed movement.
It has a very slight A-line silhouette and then a deep curved V-shape hem. Length wise it sits at the top of the thigh which makes it possible to wear outside trousers or tucked in.
The sleeves are gently fitted with two cuff pleats and a full placket and cuff construction. The collar sits neatly around the neck and can be worn open or closed.
Sewing Techniques
There are a number of techniques specific to shirt making with this piece. This is not a simplified shirt with binding instead of a placket or a one piece collar. Instead it has all of the pieces and trimmings of a traditional shirt.
- French seams
- Button stand
- Collar & collar stand
- Back yoke
- Sleeves with plackets & cuffs
- Inserting the sleeve on the round
- Careful hemming
- Buttons & button holes
If you're unsure you have the skillset to tackle shirts then I recommend our 'Art of Shirt Making' workshop. This is a bundle that includes the Over Shirt Workshop along with all 3 of our shirt patterns. You'll learn everything there is to know about shirt making and by the end you'll have 3 beautifully finished pieces of your own.

I always like to think of sewing a shirt as completing a series of stages. It’s a nice idea to break down the sewing process if you feel a bit overwhelmed at the amount to sew.
I always start with the front panels and sew the button stands. Next I sew the back and yokes together and then join the shoulder seams and side seams. Once this is done I approach the sleeves and the collar as 2 separate tasks. And after that it’s just the buttons and the hems to complete.

Tips
...for a smooth and professional make.
Every millimetre matters when it comes to shirt making. On other garments it wouldn't matter taking an extra 0.5cm on a seam allowance here or there but with shirt making it's a good idea to take your time and aim to nail the seam allowances by the millimetre. (I'll follow this with a note to say it's ok if it's not perfect but it's nice to aim high).
-
Think about your choice of button carefully. This garment has minimal design details so it's important for the fabric, button and thread colour to work together really well.
-
Pre-wash your fabric! This is the golden rule as many of you know and it's especially important for sleeves with detailed plackets and cuffs - you don't want a placket sitting at elbow height!

If you want to add or remove length you can do so through the elbow of the sleeve and the upper waist of the body.
-
You can pre-fuse all of your pieces for a smooth sewing process.
-
Add flat binding to the hem for a lovely high end finish. I always make my own binding and for a hemI recommend using the self fabric if it's not too thick. I especially love it when the fabric is striped or checked as you get a lovely criss-cross pattern from cutting on the bias. Check out my latest reel on instagram for tips on how to sew your own flat binding.

Hack Ideas
This is the part of the 'deep dive' where I show you lots of hack ideas. However the thing with the Classic Shirt is that it isn't the most versatile pattern and I think that this is actually its strength. It doesn't need changing up. It doesn't need to be loud. It's a simple, stripped back, timeless piece and it's best when it's straight out of the box.
Ideas if you did want to shake things up include:
- opt for a size or two bigger for a more oversized feel
- add patch pockets
- chop the sleeves off above the elbow for a short sleeved version (pictures of this one shown below).


Your Makes
And to round things off, here are some beautiful makes from you.

@knitxxor


@laura.wolfgang

@the.social.fabric

@pieintheskypress

@gabby_sews

@_andreamakes

@tiffmadethis_


