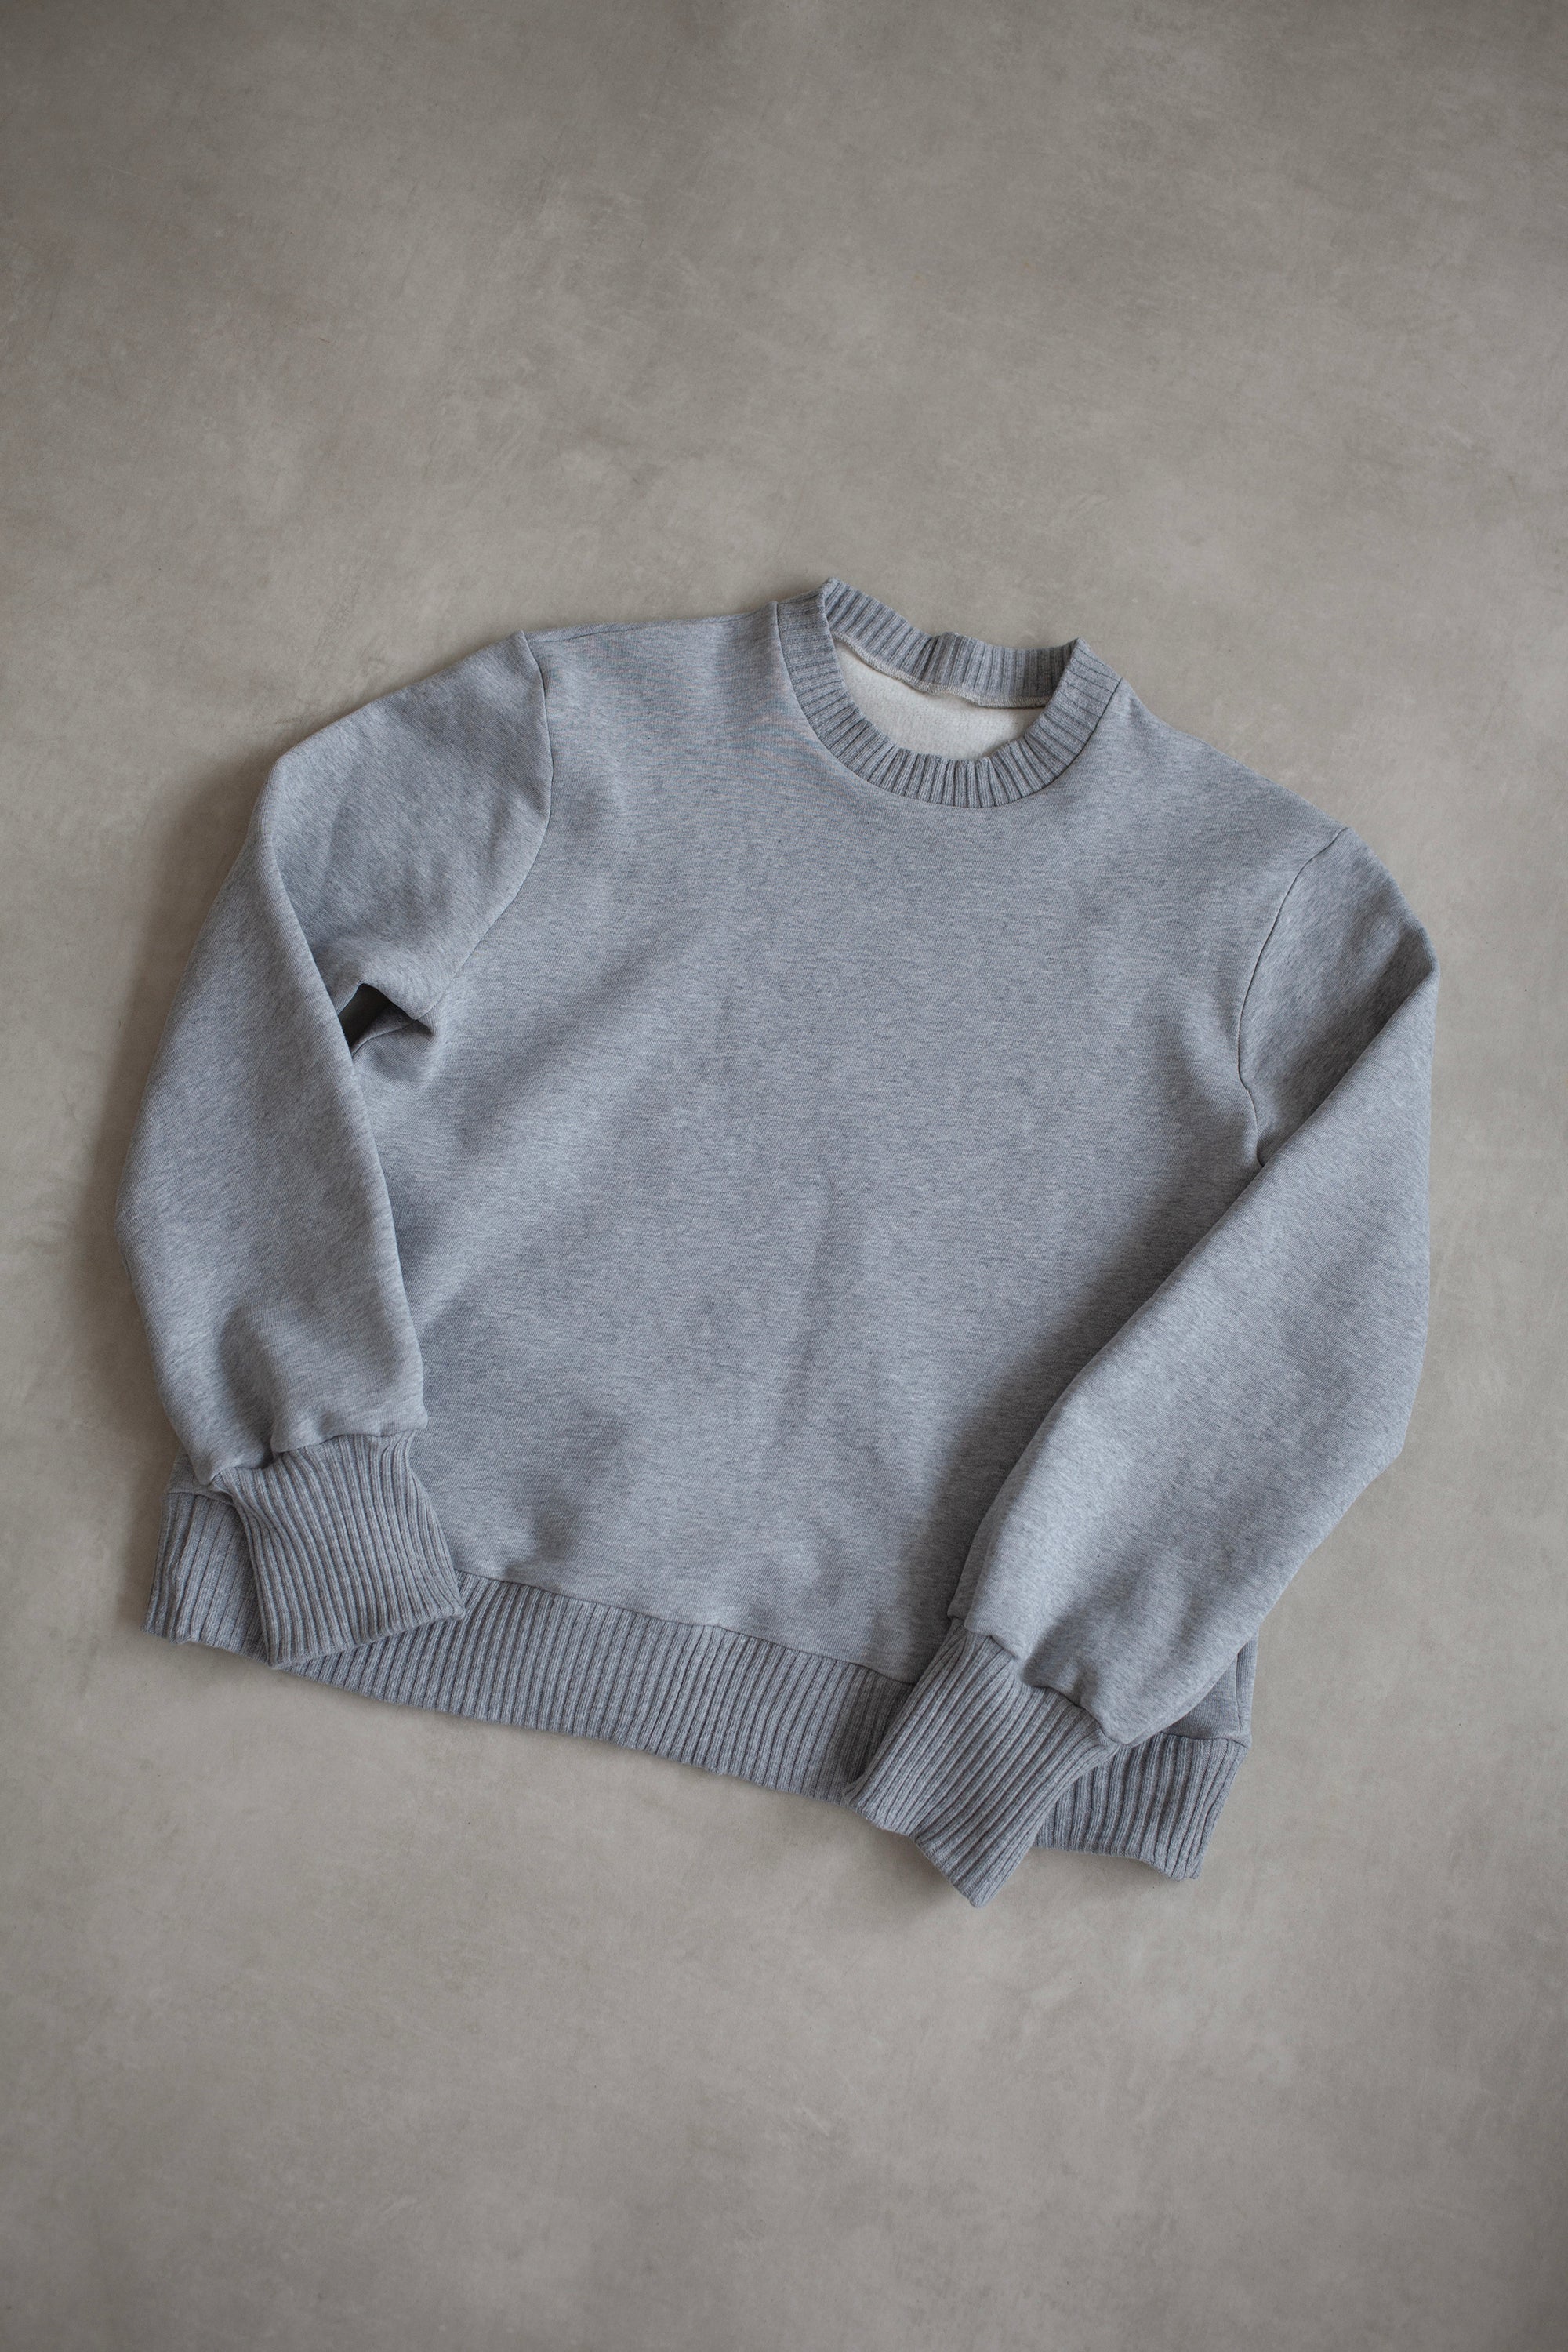
Sewing With Jersey
This is a guide for anyone who's new to sewing with jersey. We'll show you how to sew high quality jersey pieces using a domestic sewing machine (no overlocker or serger needed).
Choose Your Stitch
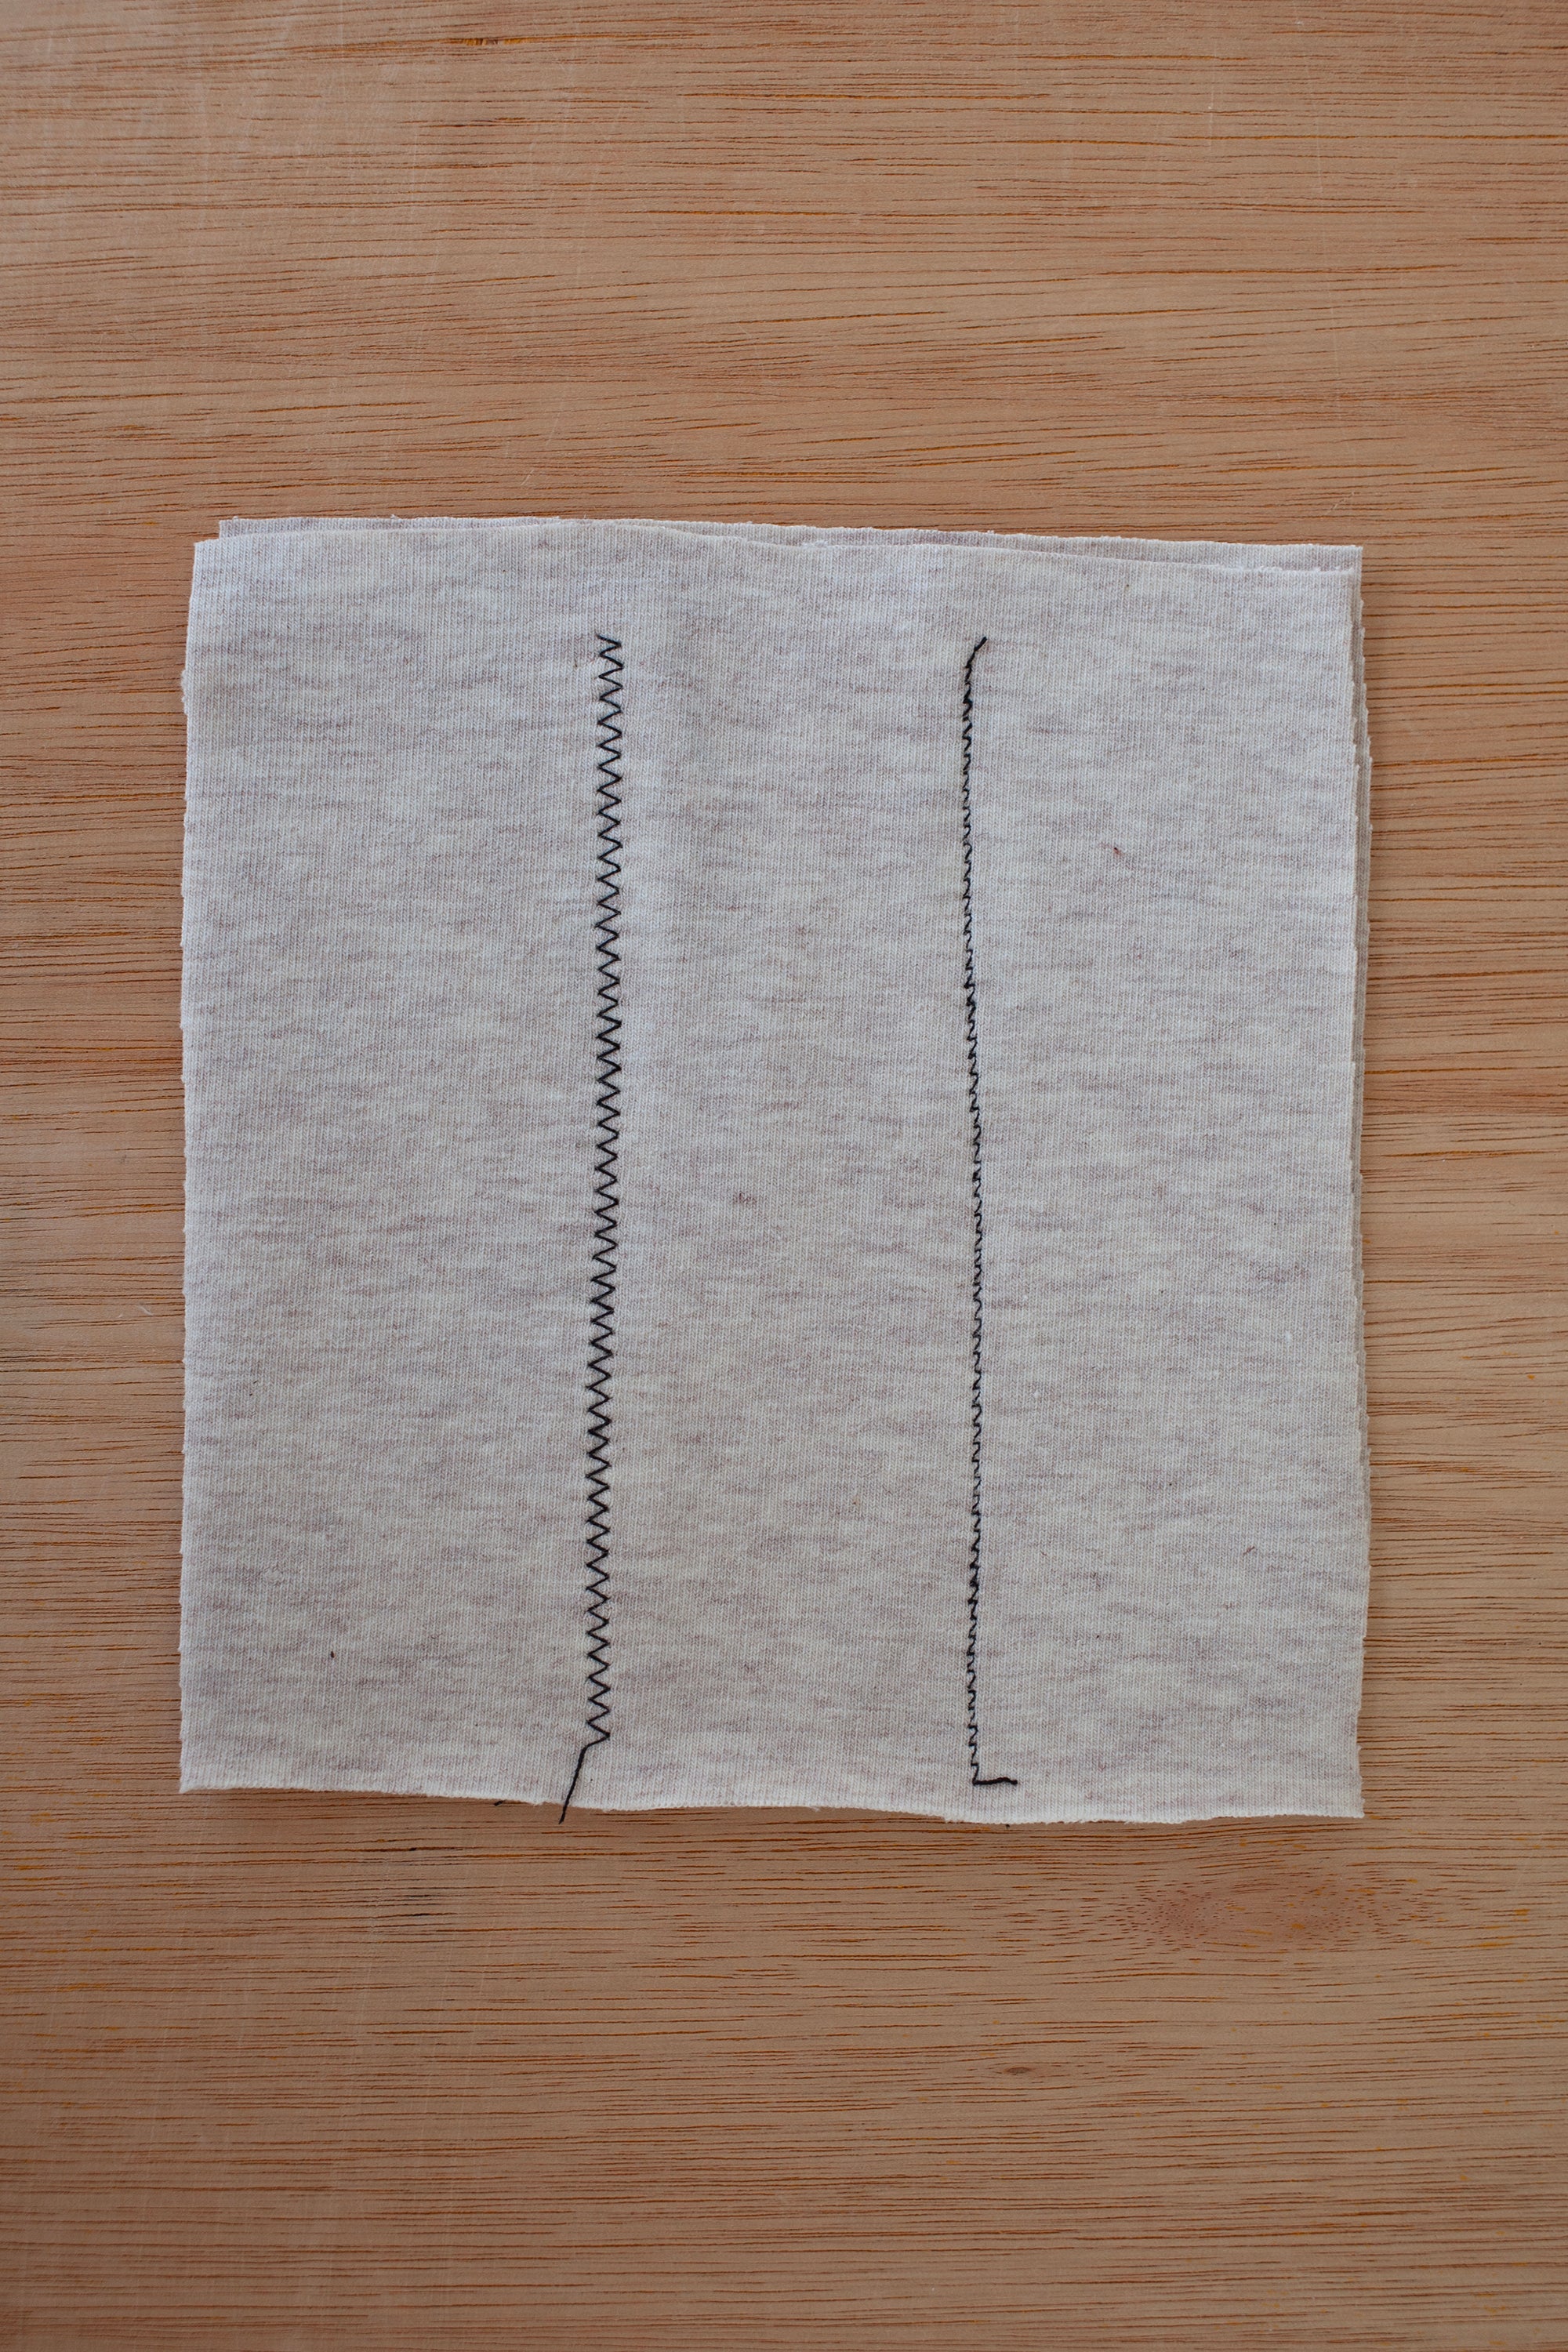
1.
The two most common jersey stitches are zig zag stitch (on the left) and lightning bolt stitch (on the right). Always use a jersey needle or a ball point needle, they have a slightly blunt end to them which stitches in-between the knit rather than breaking through the threads.
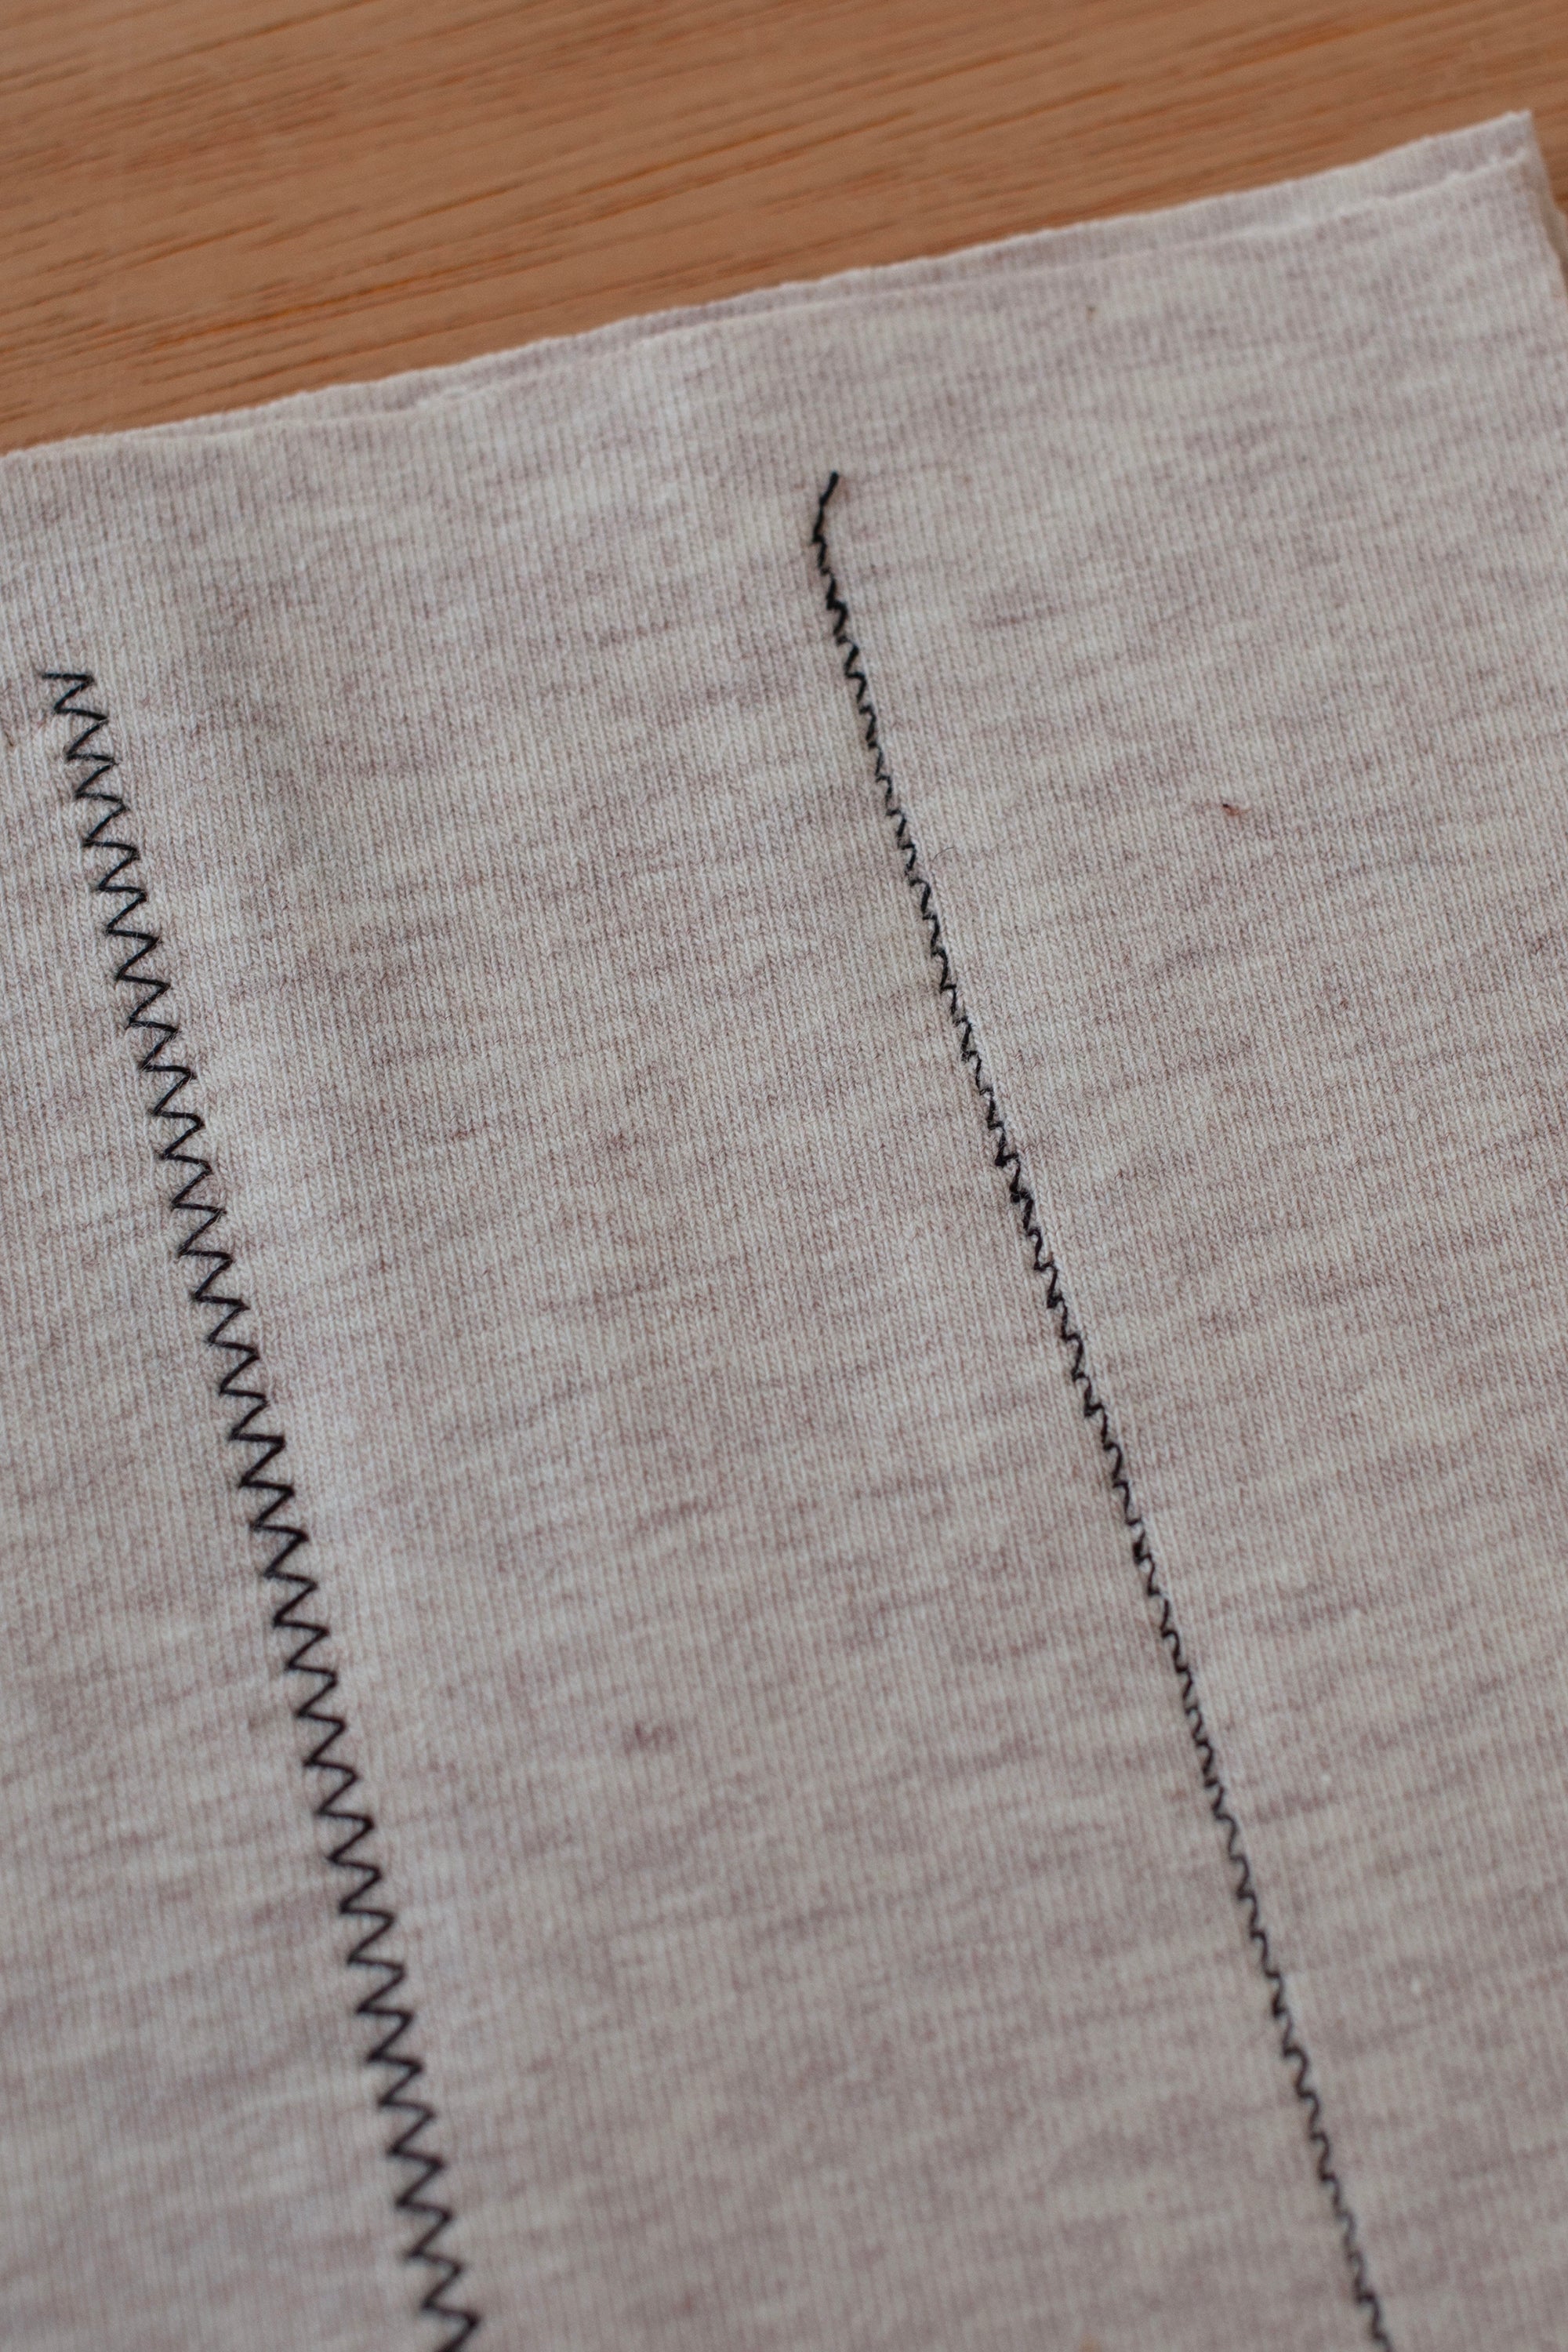
2.
When sewing with a zig zag stitch, your stitch should not be too wide or too long to ensure the thread has enough length and won’t snap. Your thread should be nice and strong, standard polyester will work fine, but a cotton thread is not as strong and might end up snapping.
3.
Sew a test seam and then stretch the jersey to make sure it doesn’t snap. It’s always best to re-test on each new jersey you sew, for example a thick jersey for a sweater might require a different stitch to a thin t-shirt jersey.
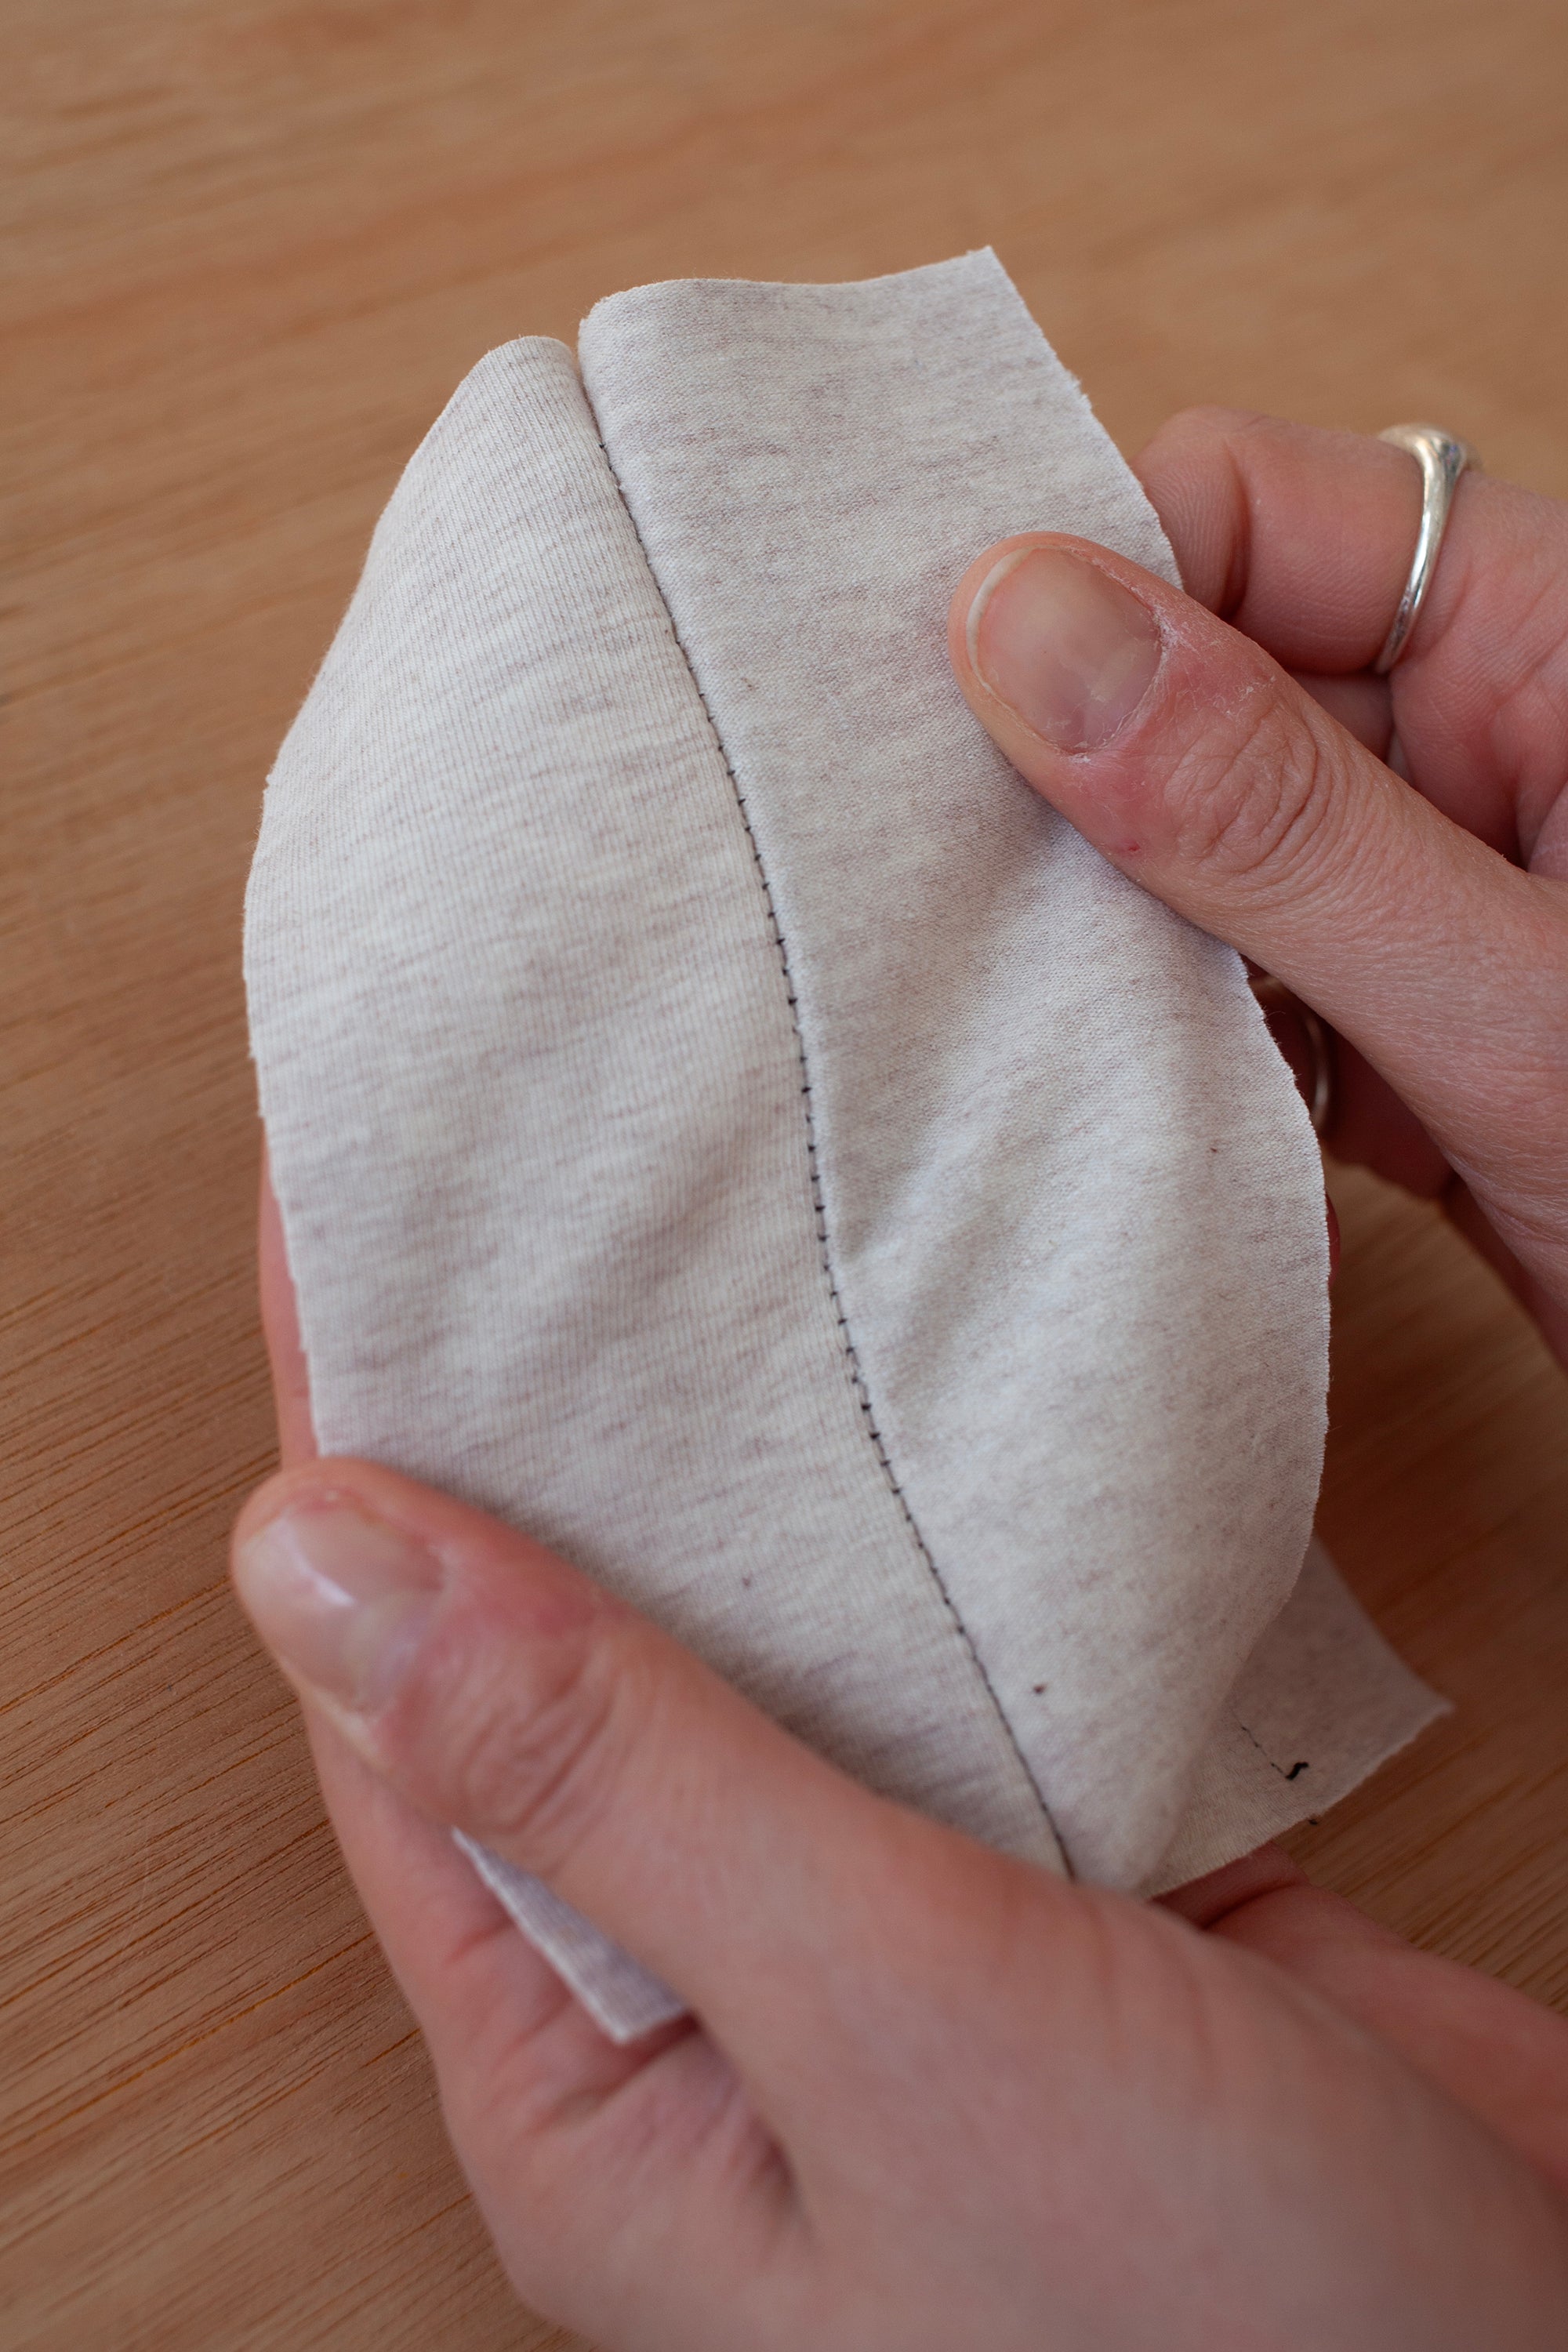
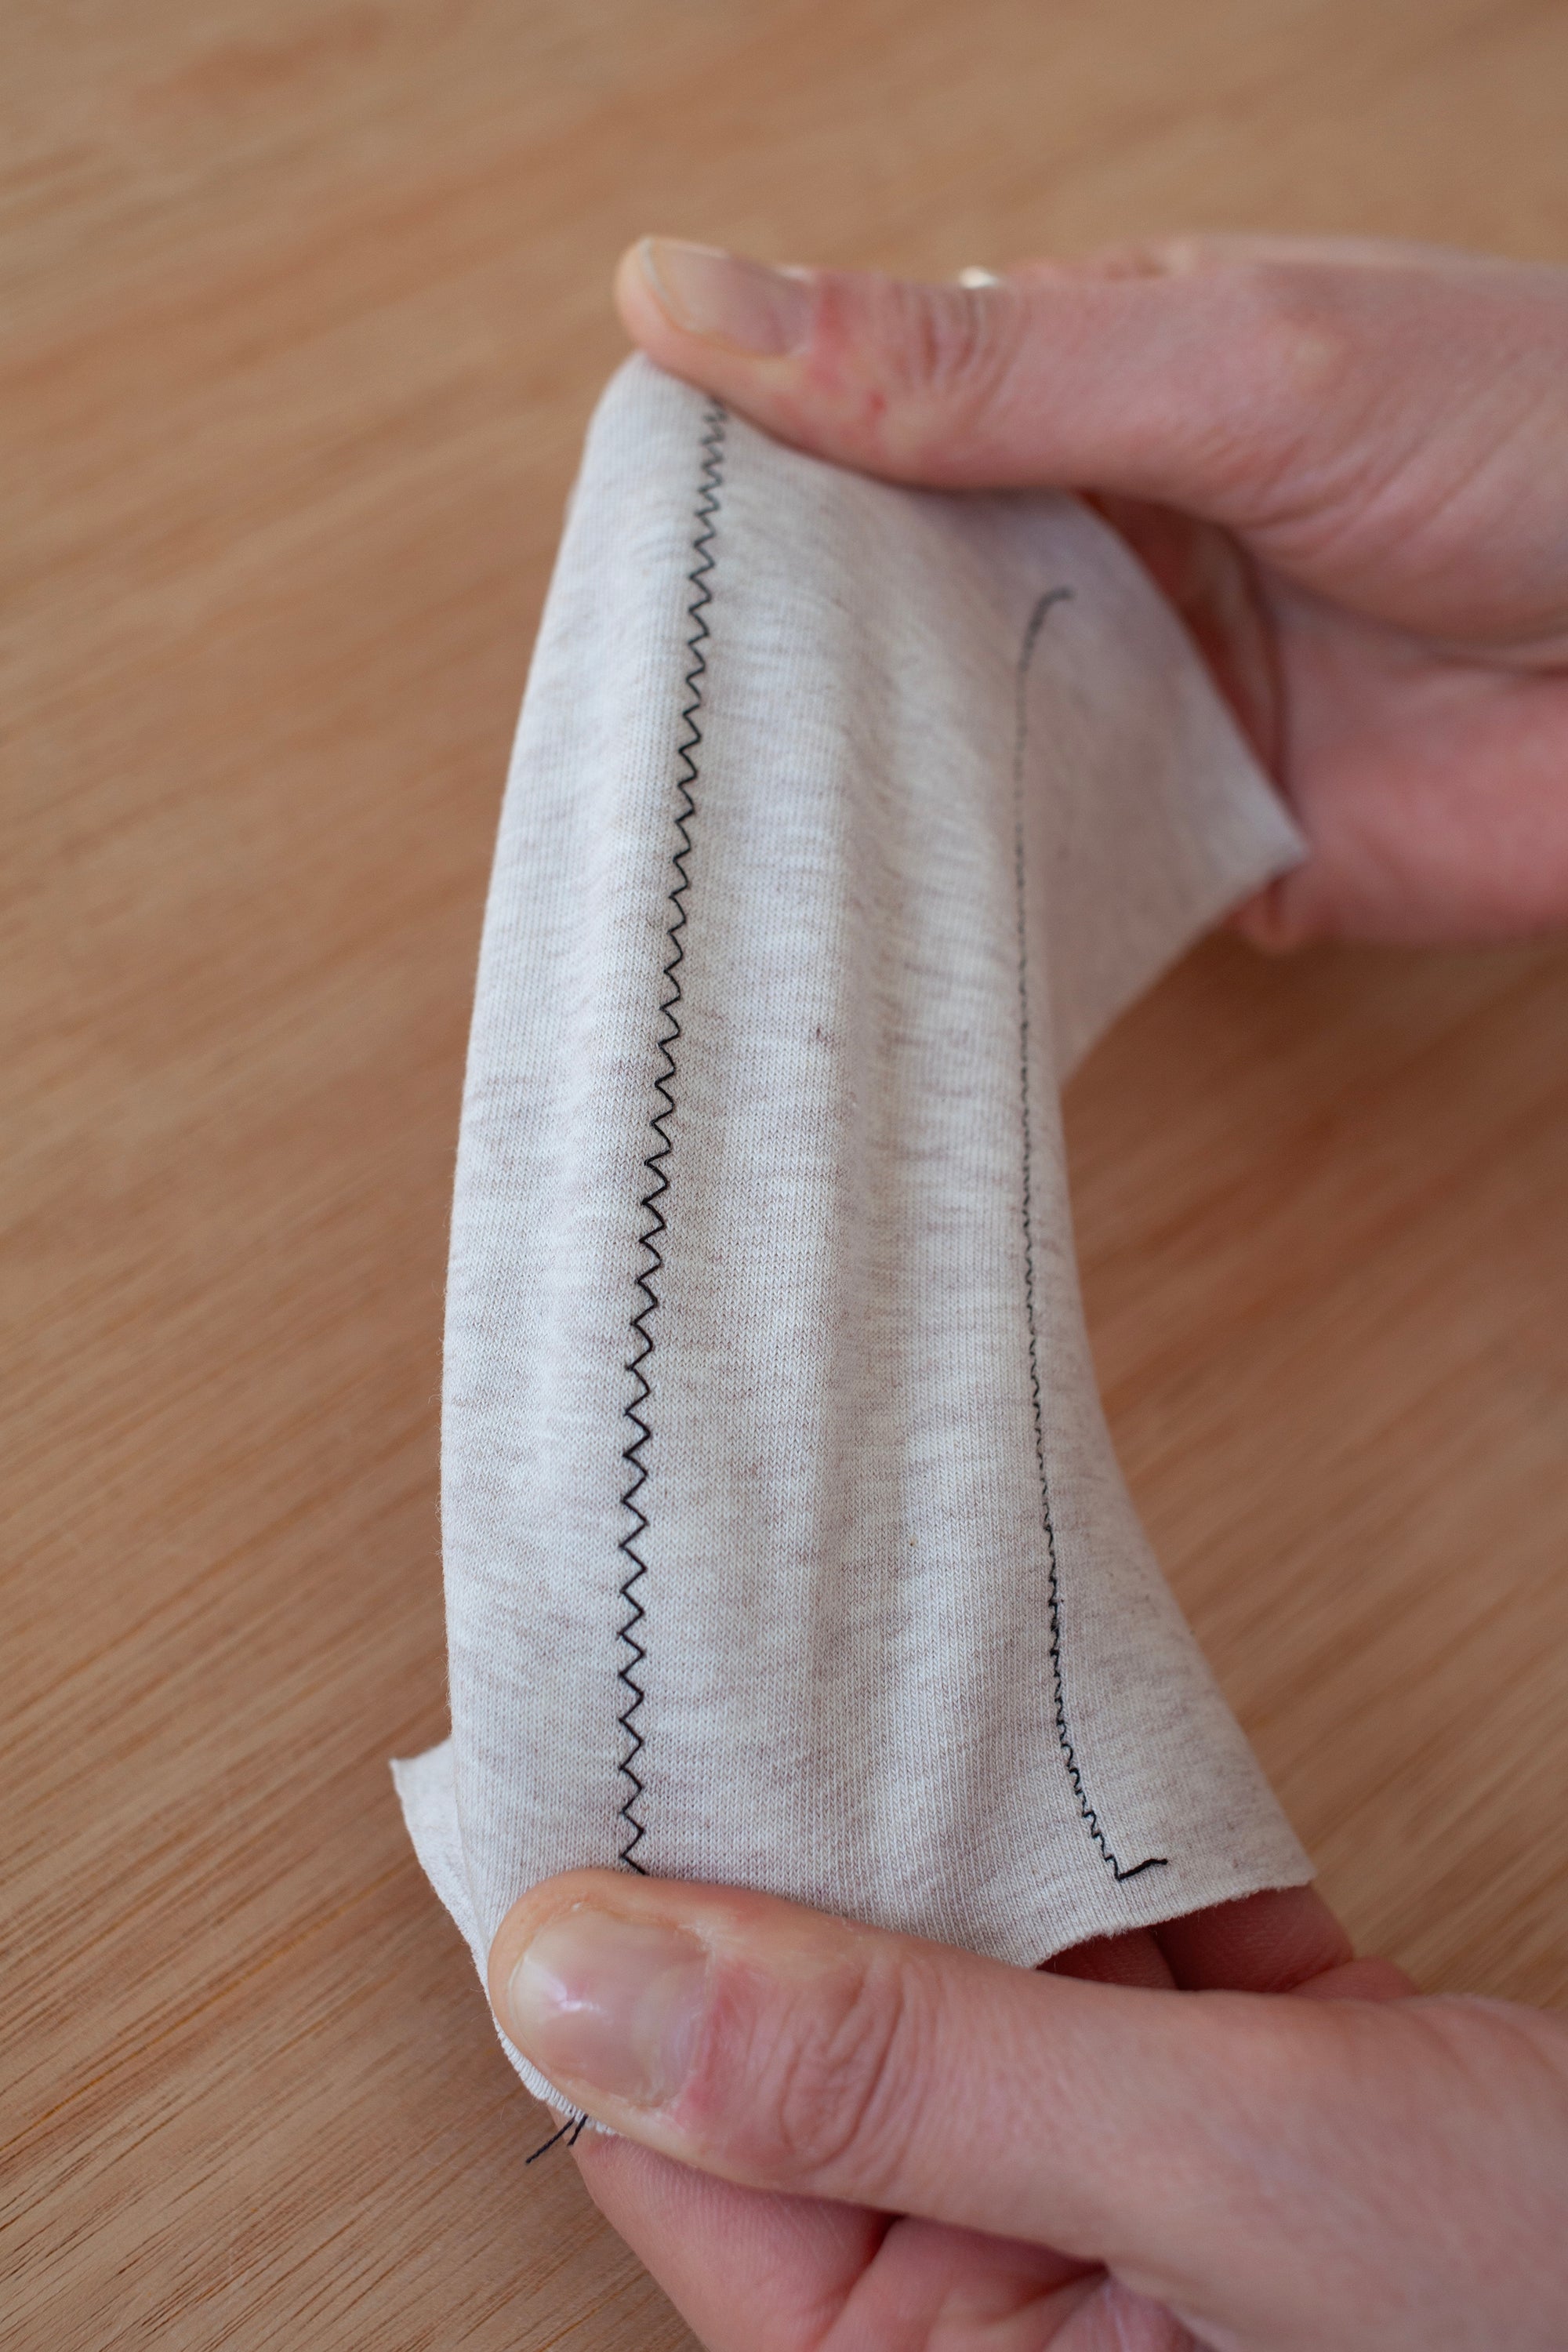
4.
Always pull apart your seam to test the strength. This is a good example of the stitch at a good tightness. Normally you would use a matching thread and the stitch wouldn’t be quite as visible here.
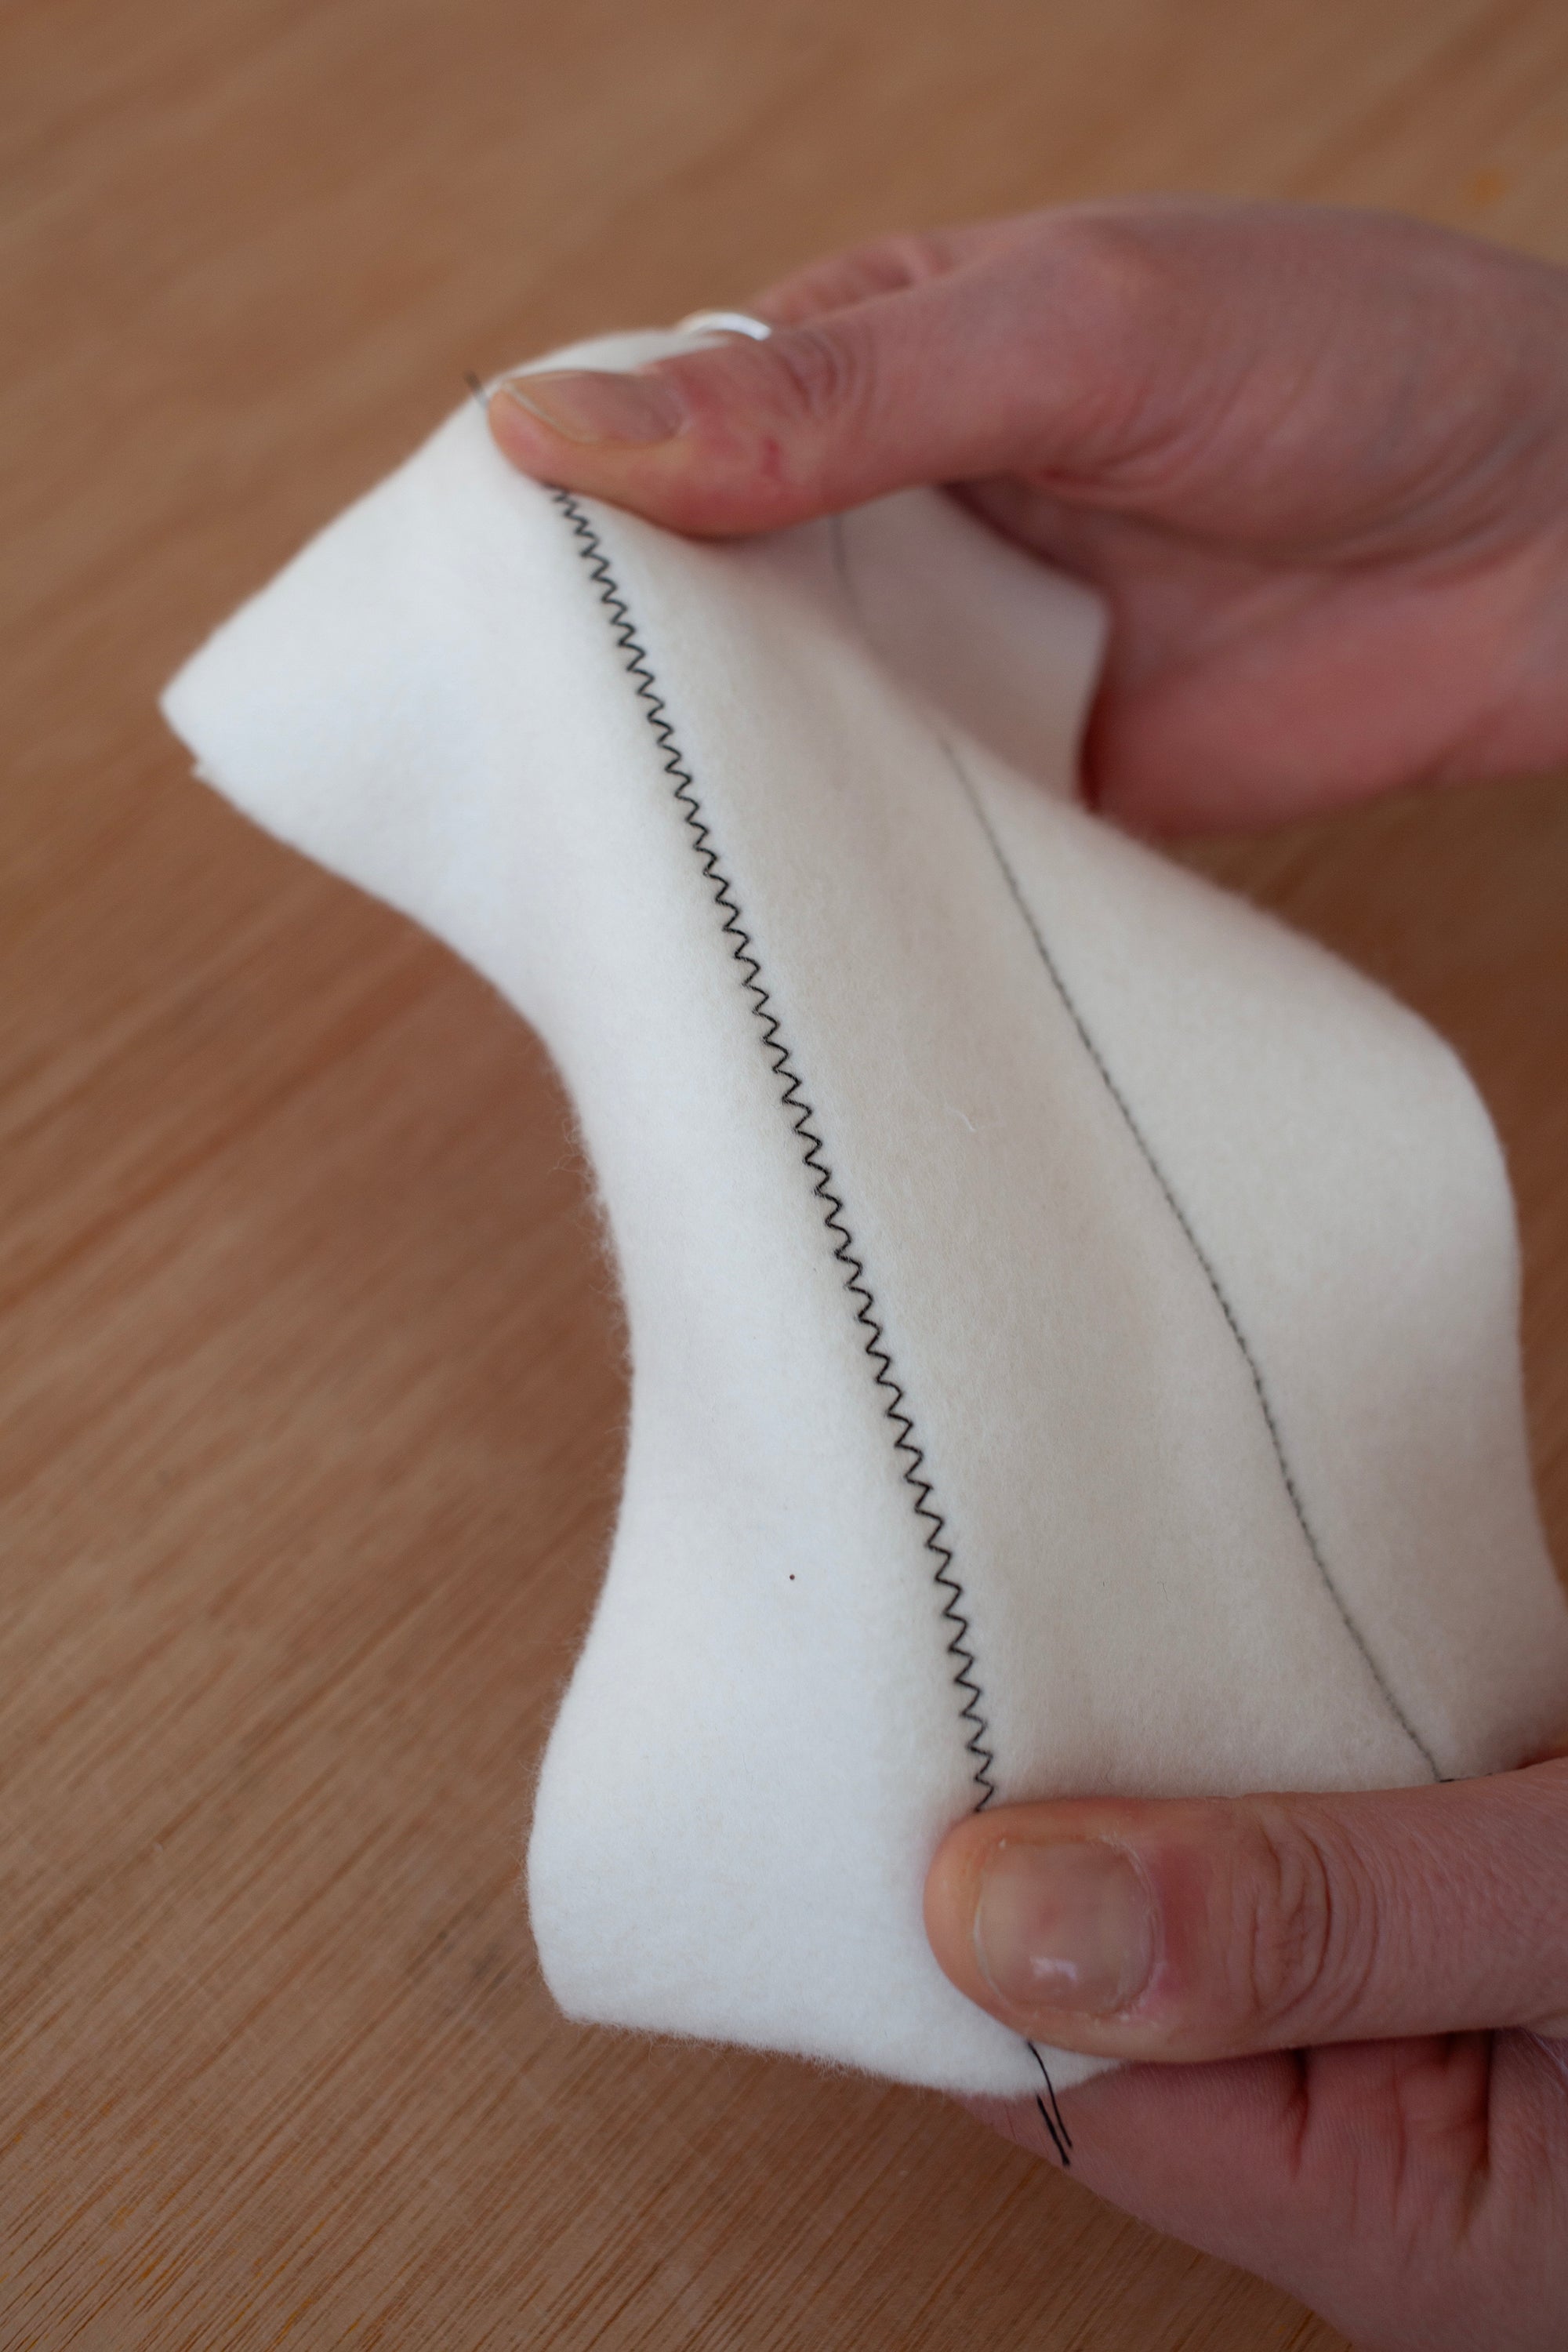
5.
Here we are using a thicker jersey fabric. Seeing as this fabric is a different weight to the previous piece we are testing which stitch to use.
6.
And once again pulling the pieces apart to test the strength of the practise seam.
Sewing With Jersey
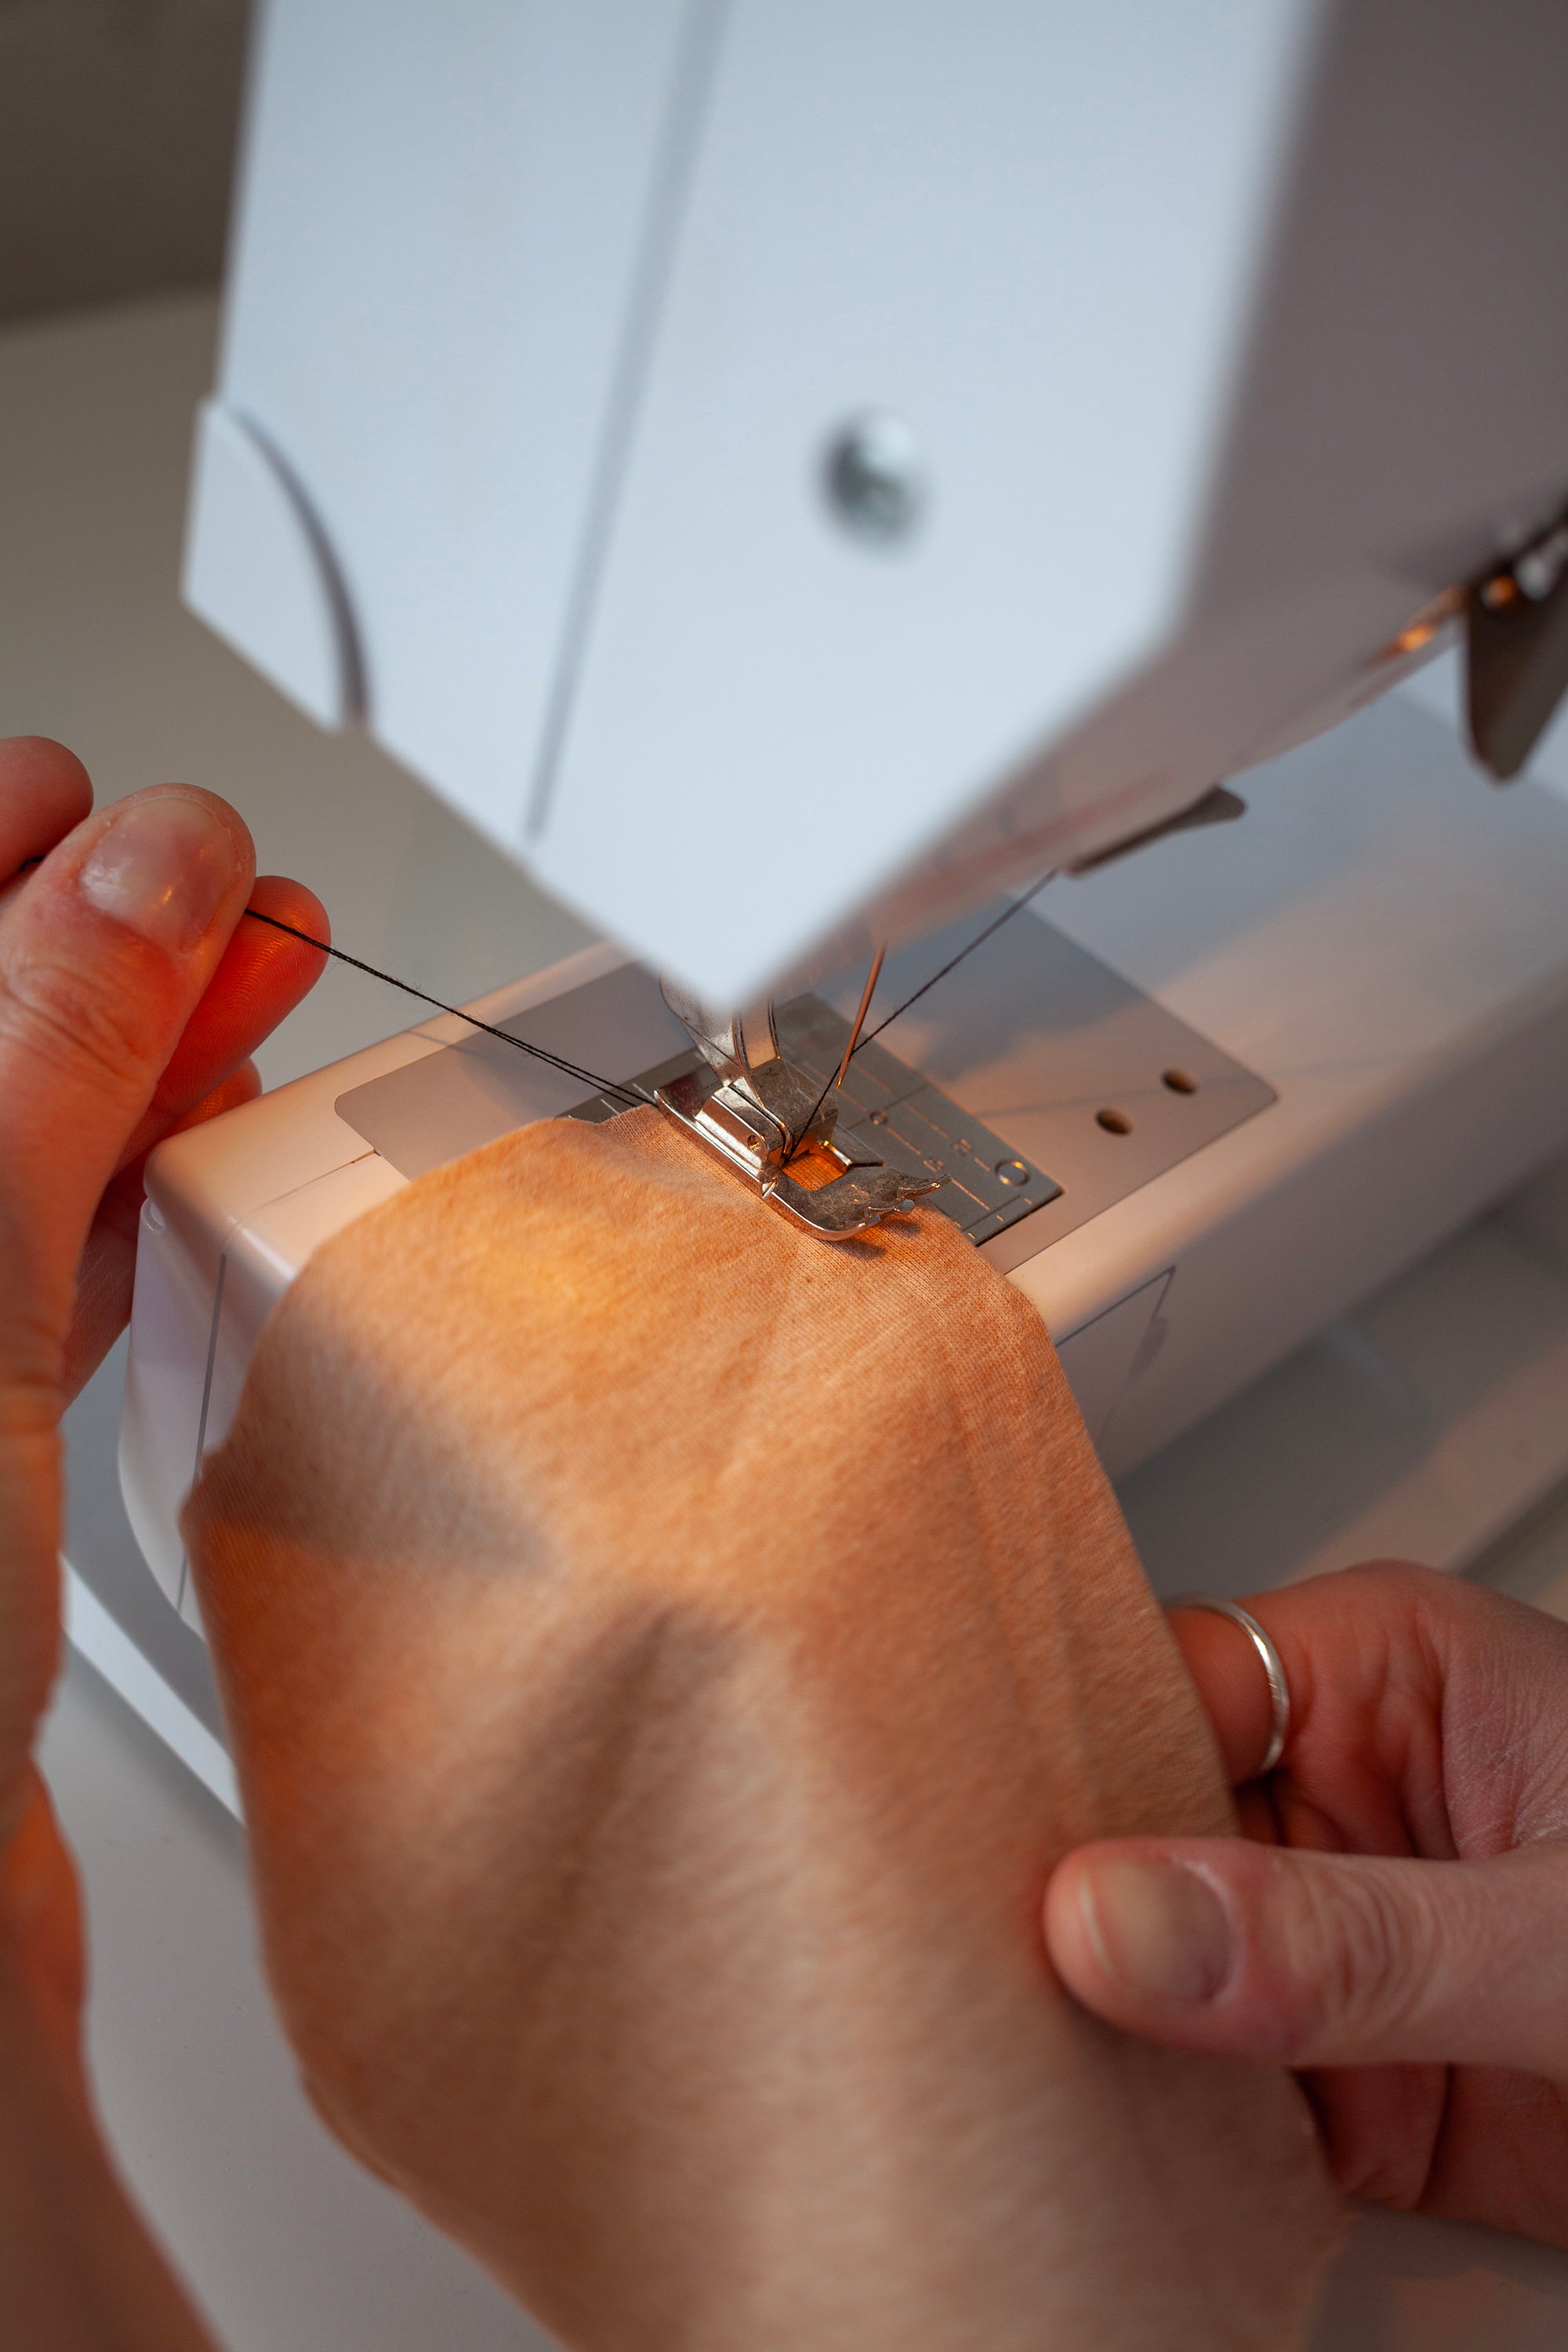
When using a lighter weight jersey, start each seam at 1 or 2cm in from the edge, back stitch to the start and then sew the rest of the seam. This avoids the fabric being sucked into the machine at the start of the seam.
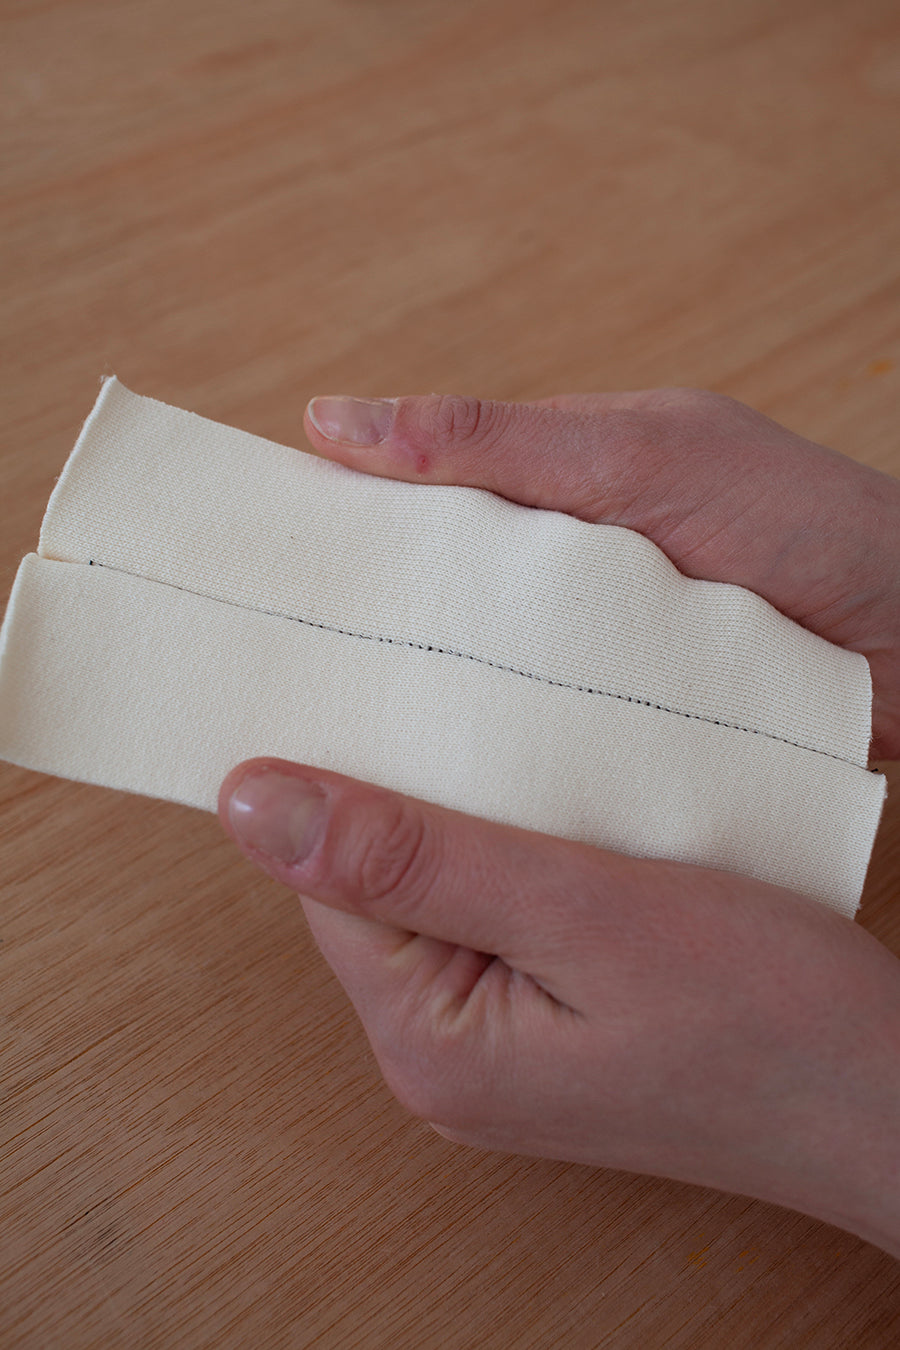
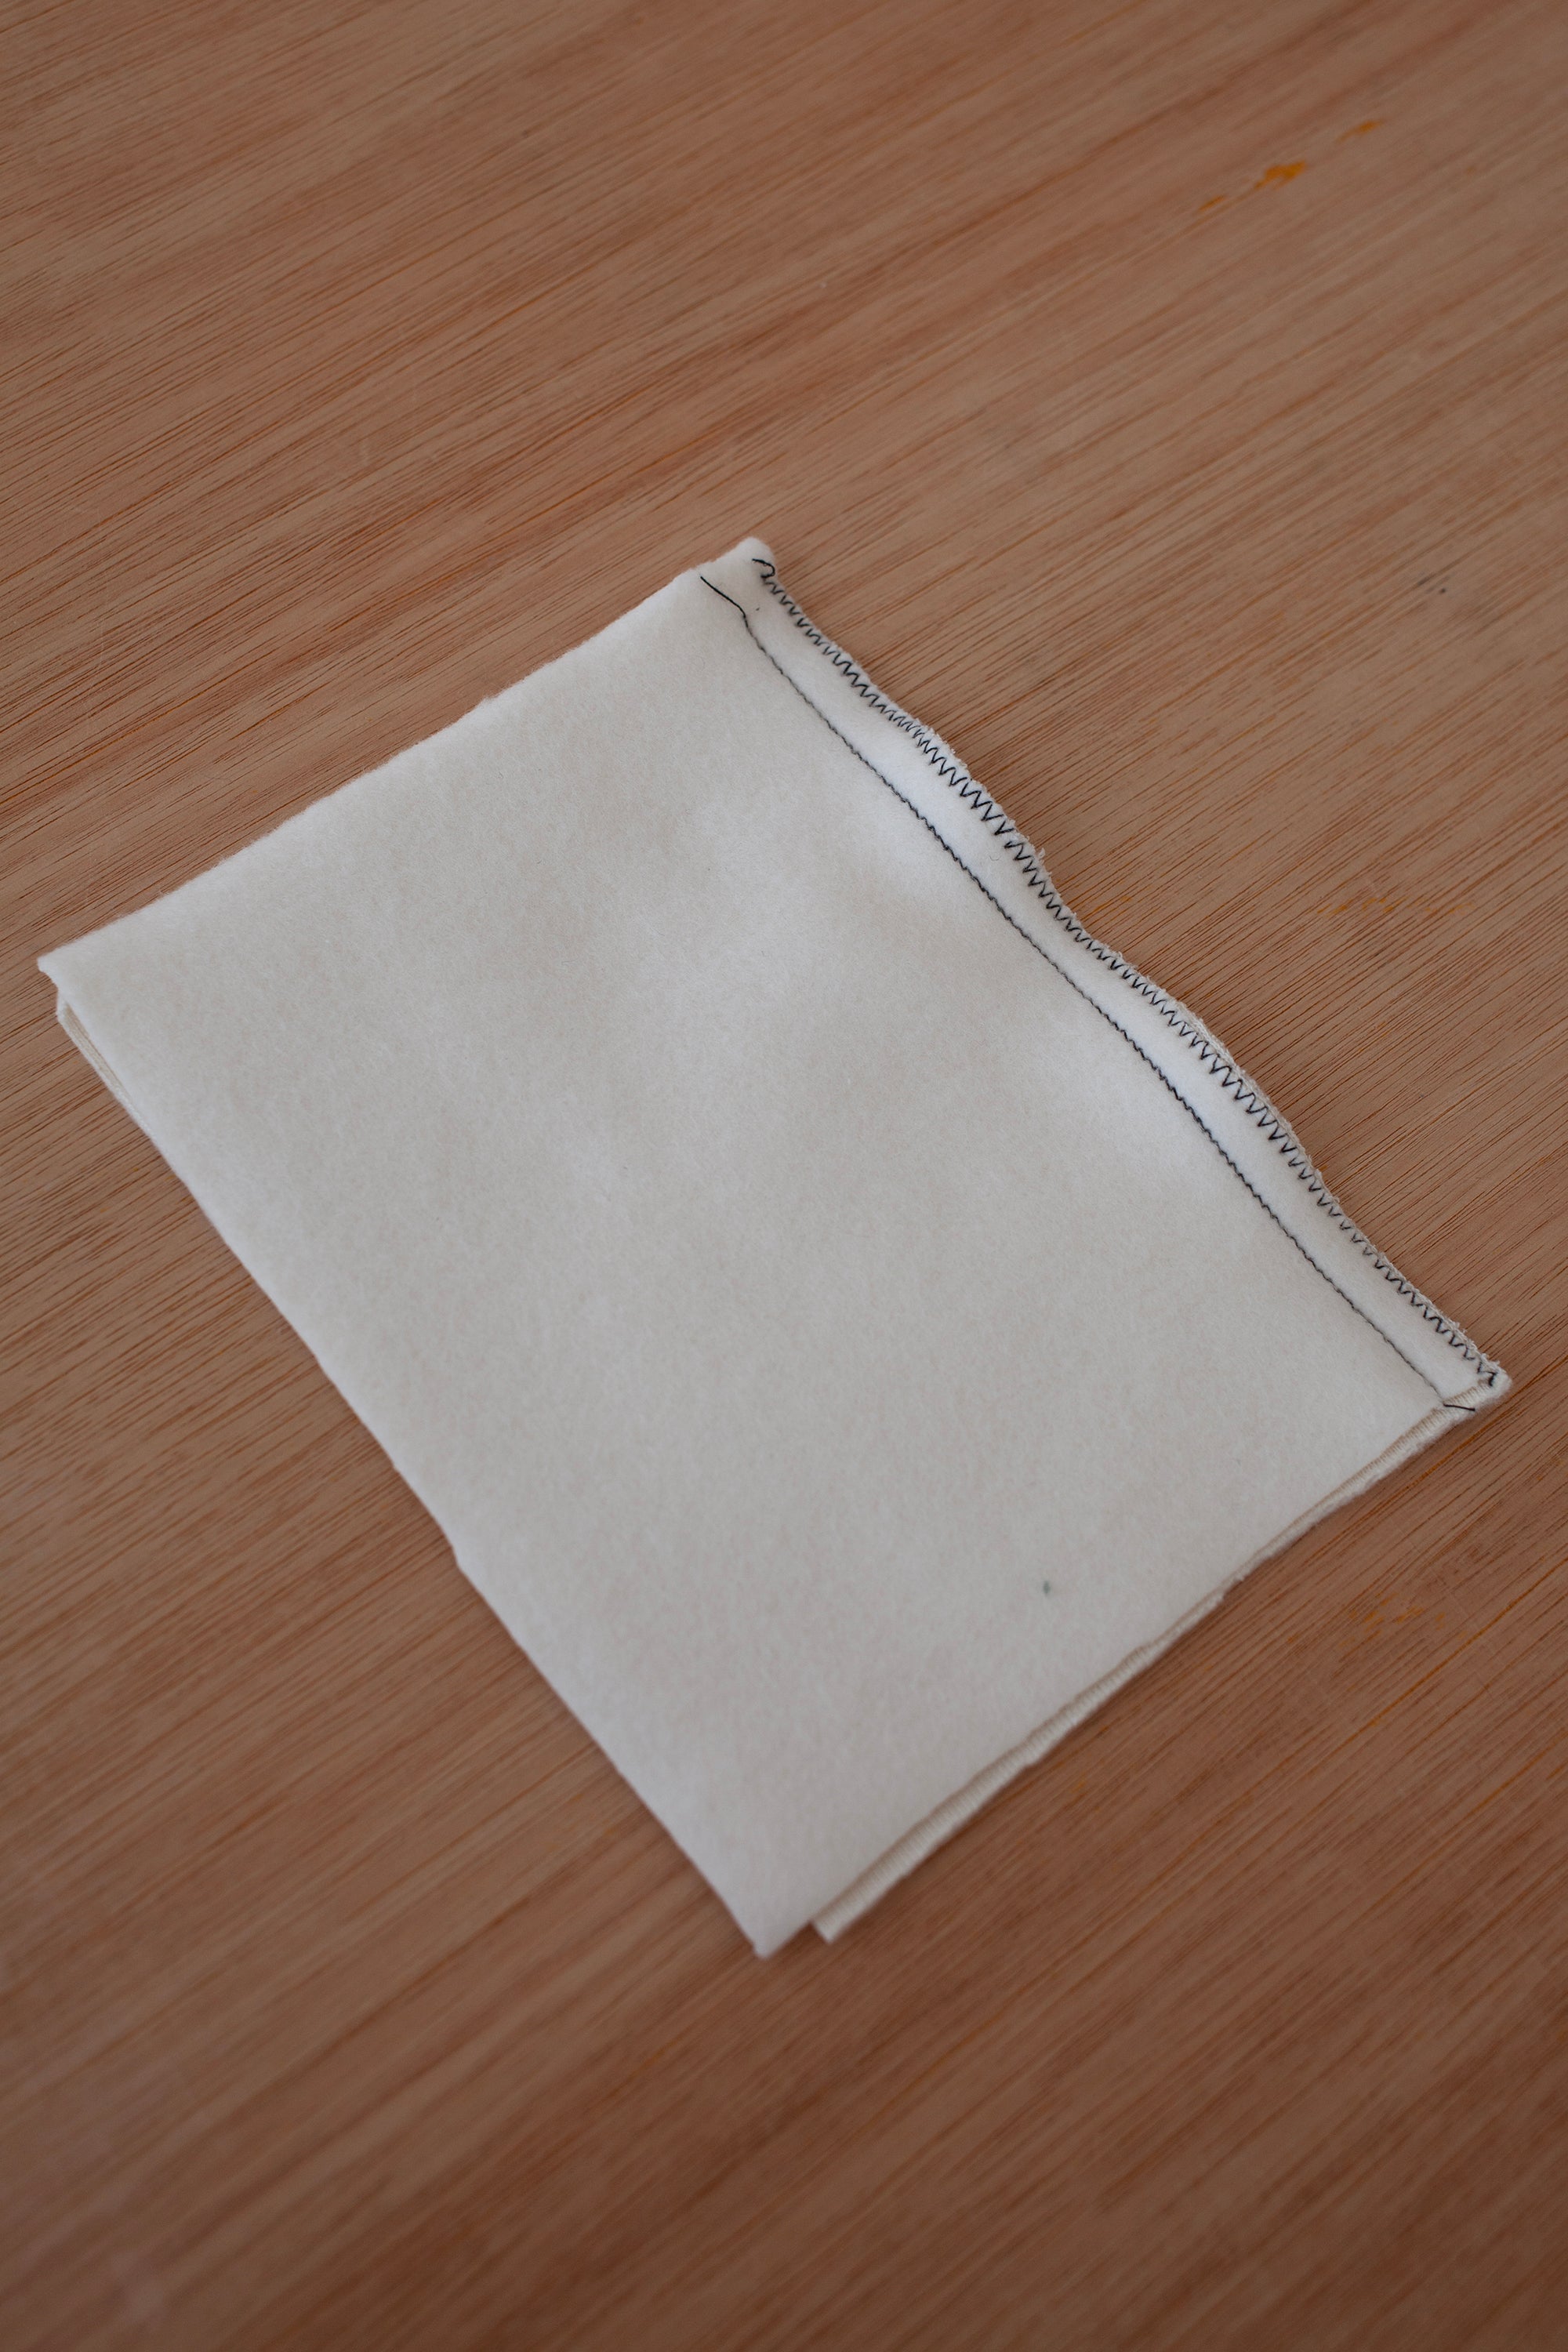
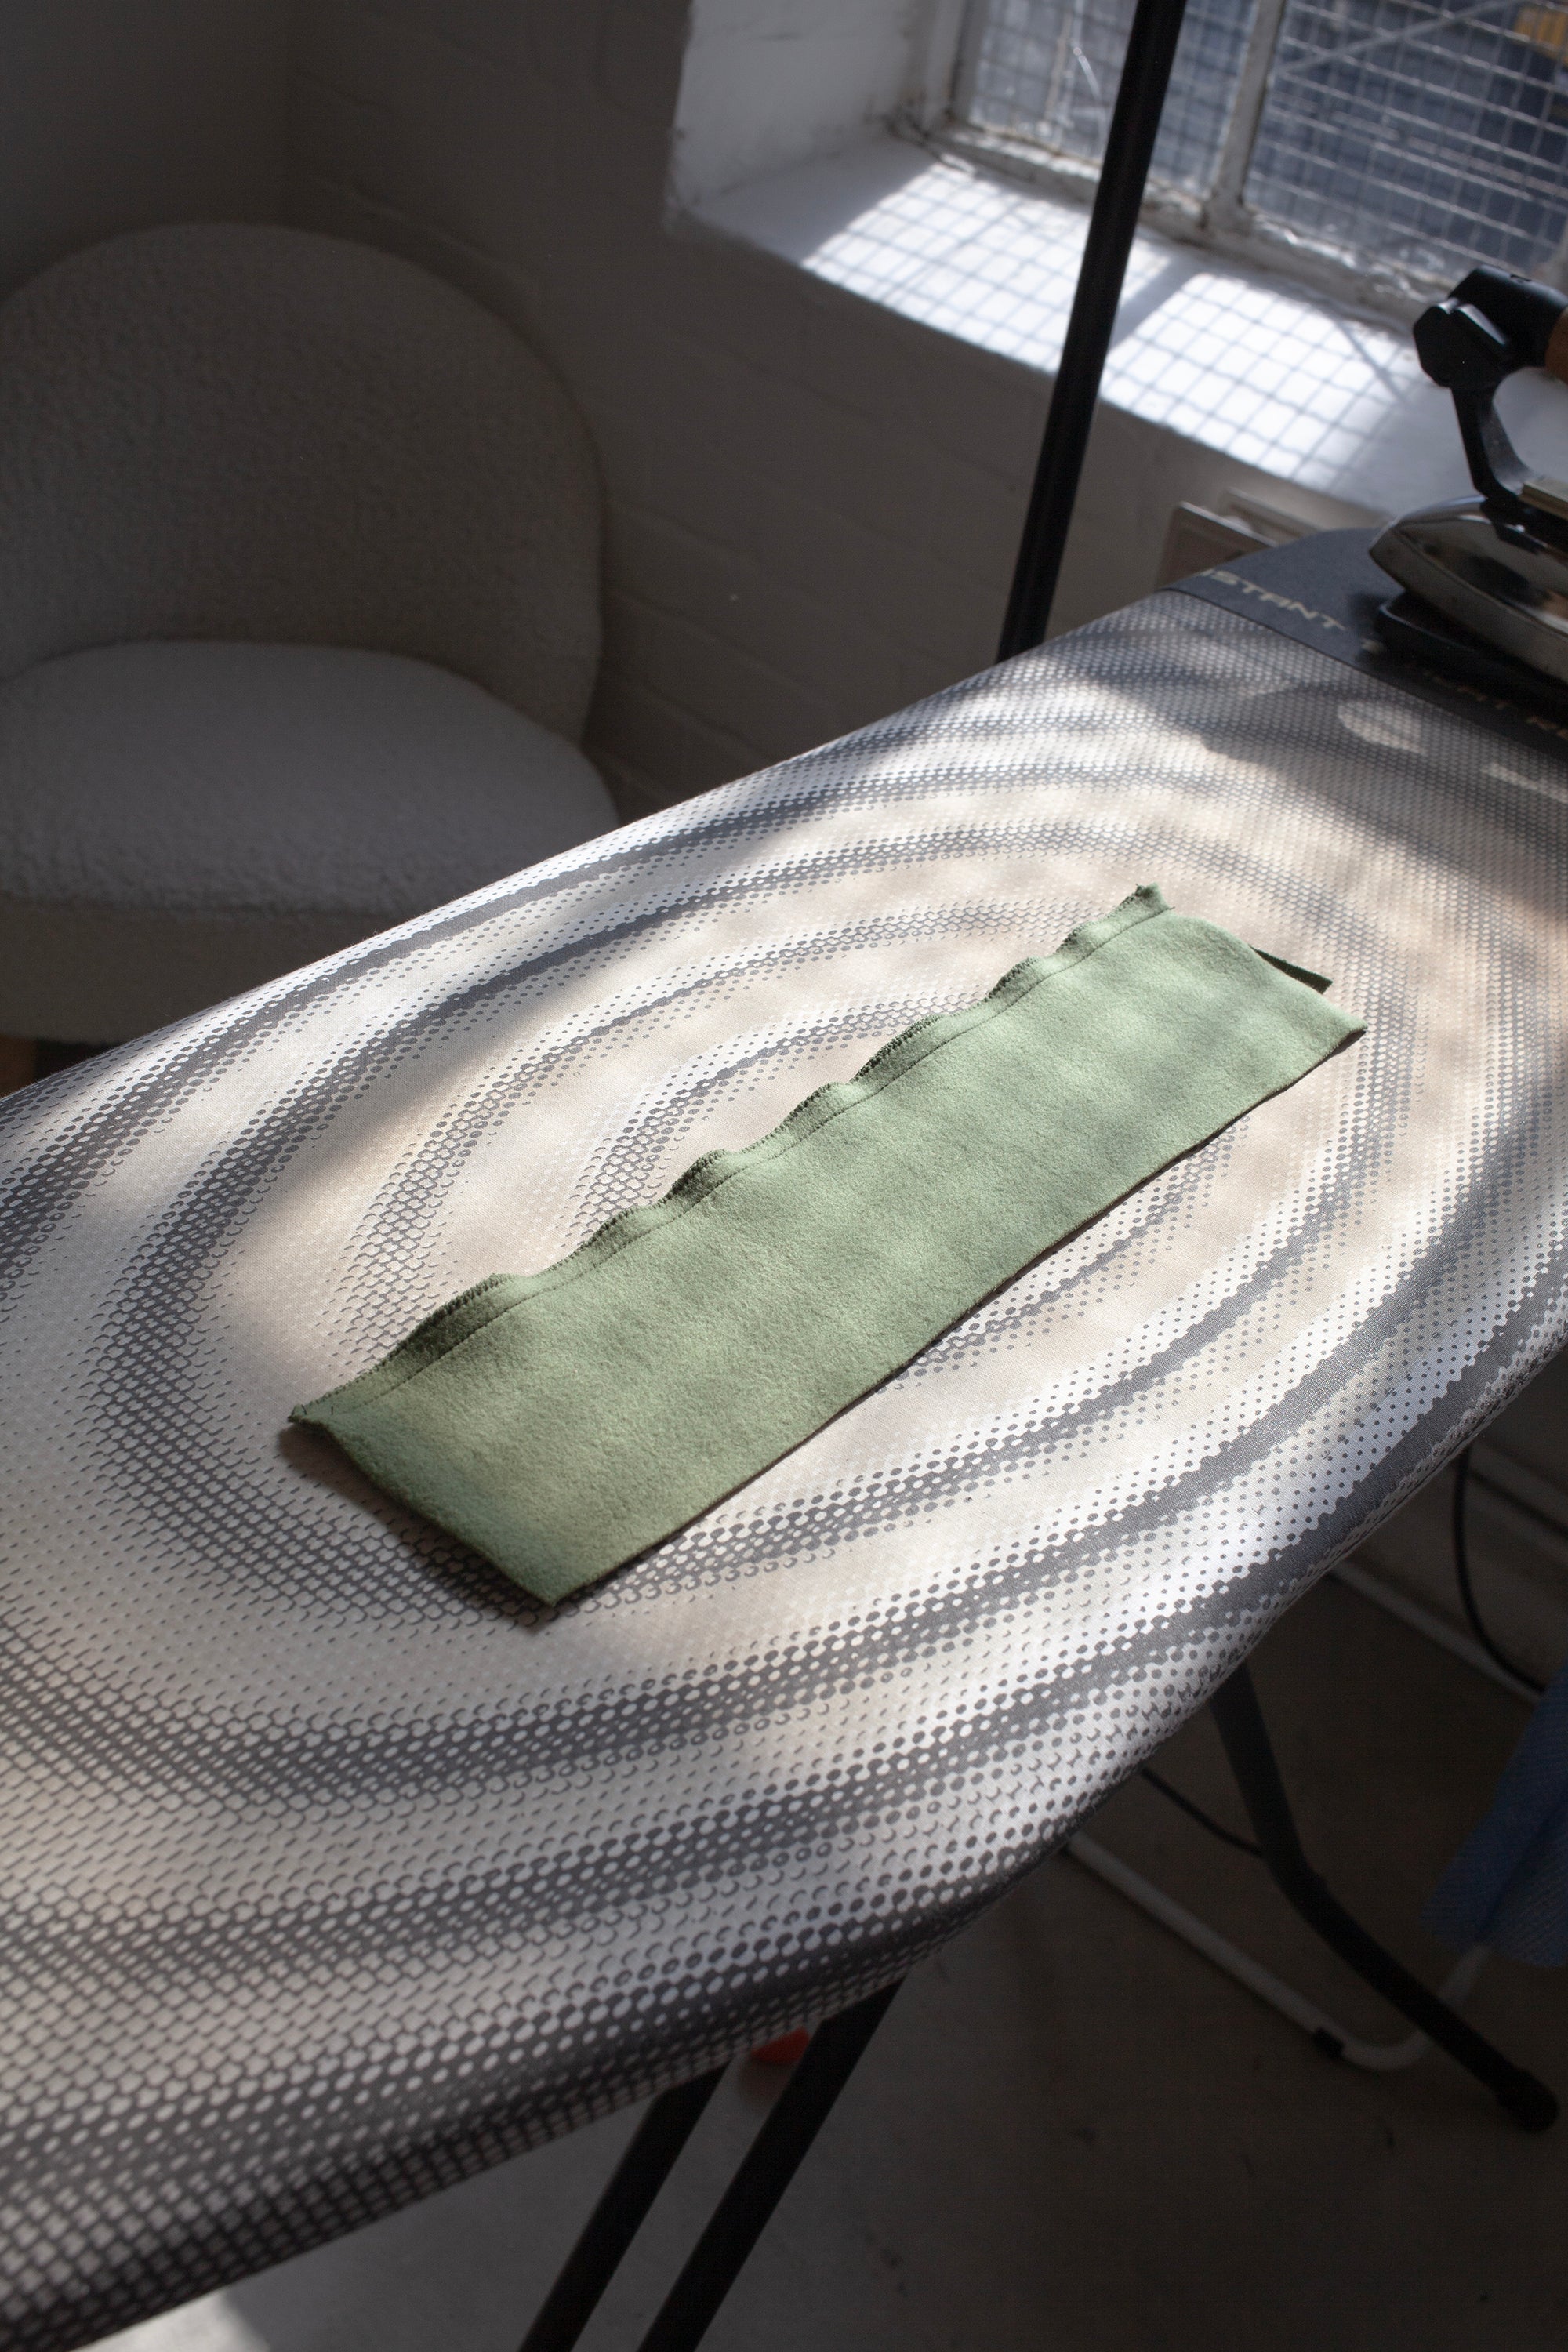
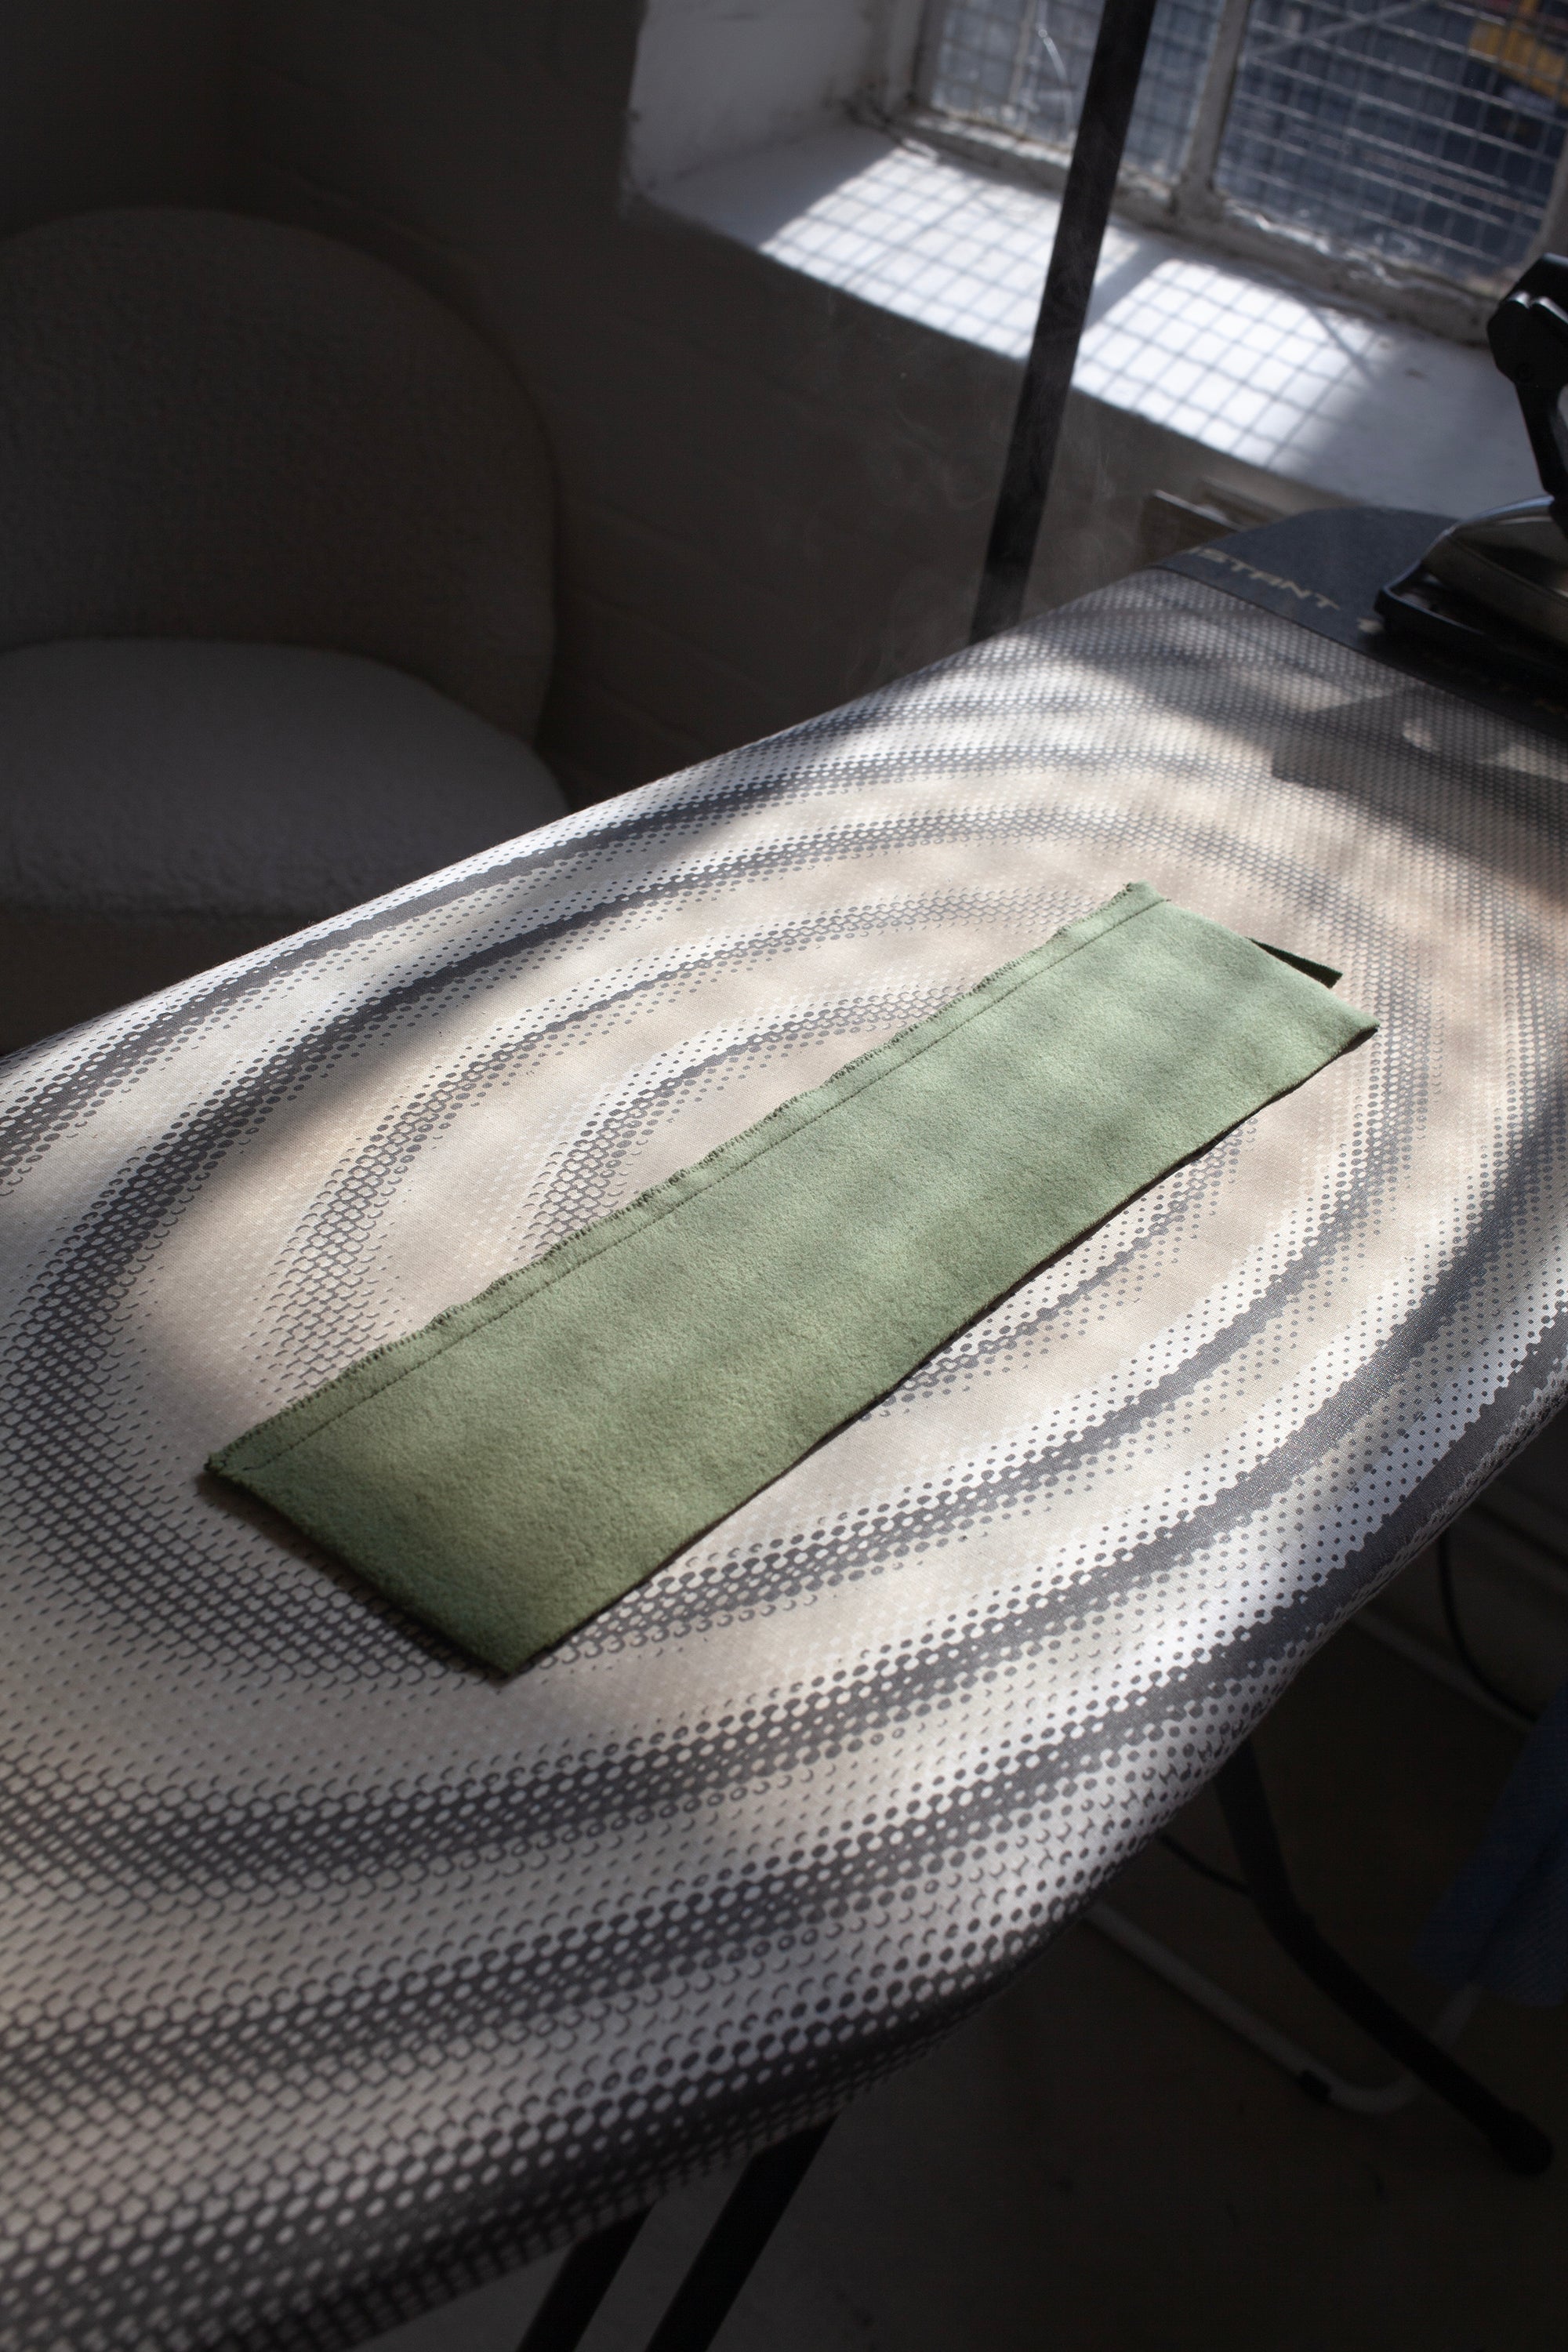
Finishing Seams
1
There are a couple of ways you could finish your jersey seams. You might like to use a zig-zag stitch along the seam edges, however if your fabric doesn't have a bouncy recovery it may cause the seam to stretch and wobble (as shown above).
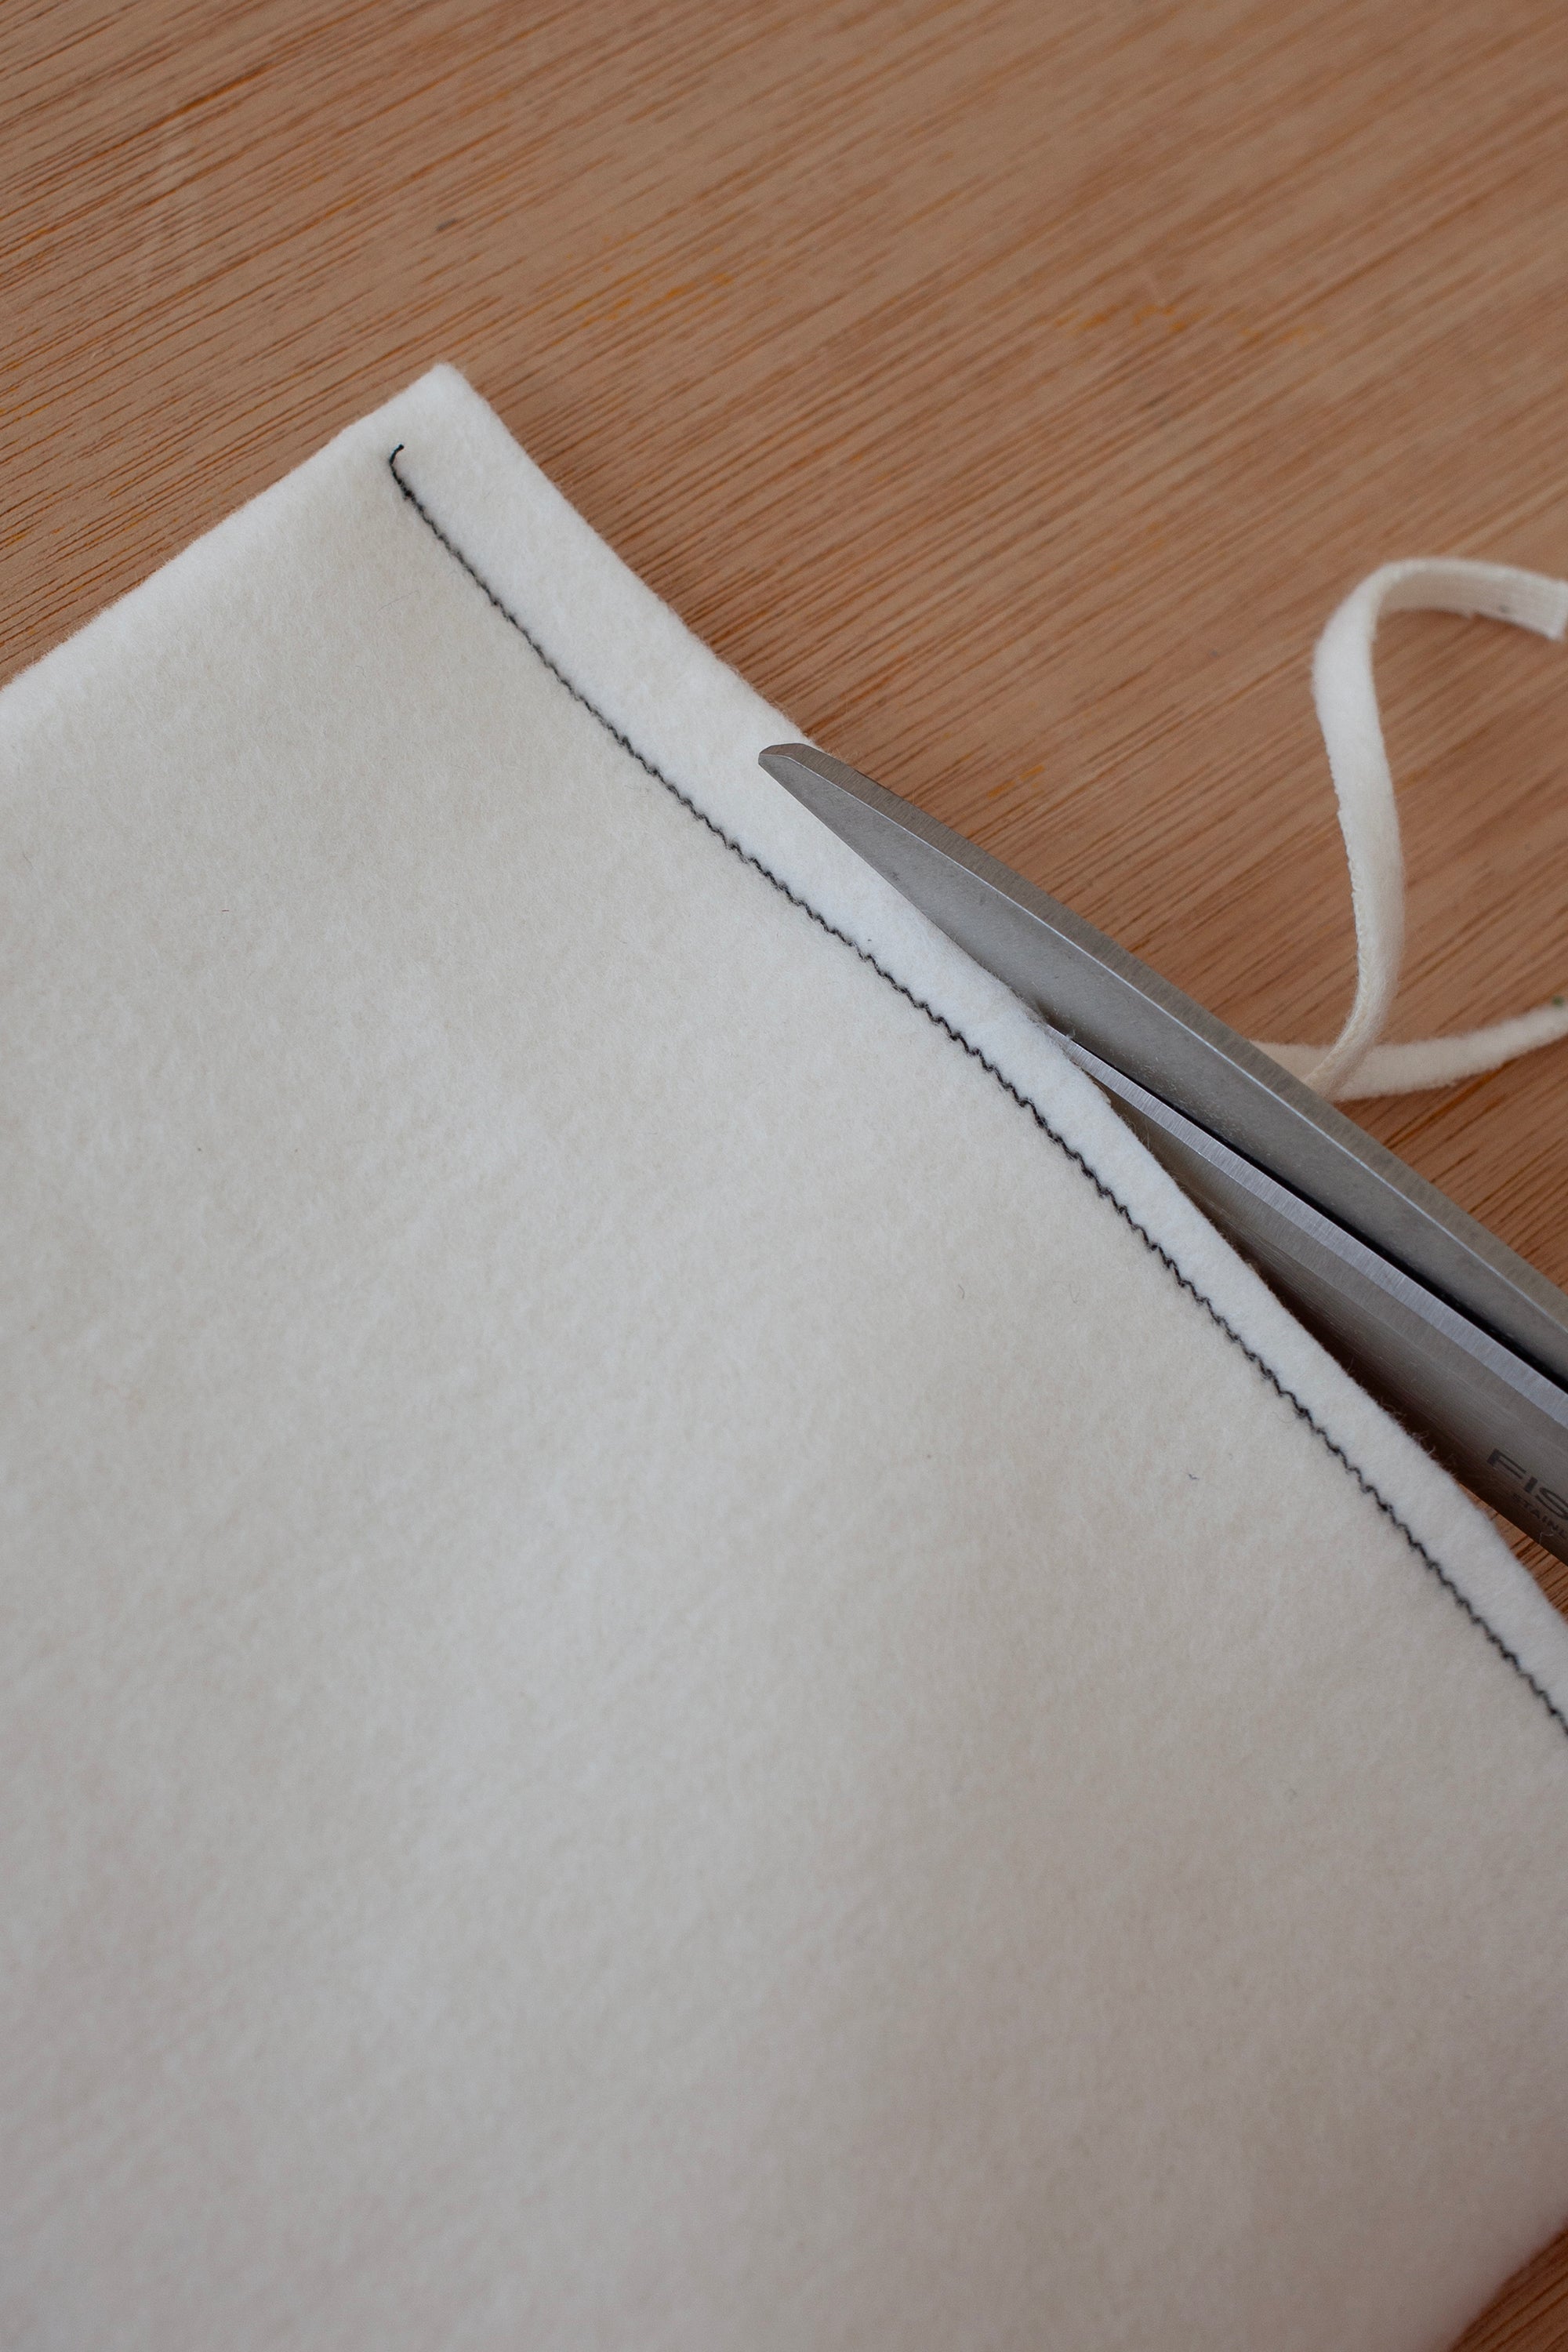
2
If this is the case you can simply trim your edges to sit a bit neater. Jersey doesn't fray so leaving the edges raw is perfectly fine.
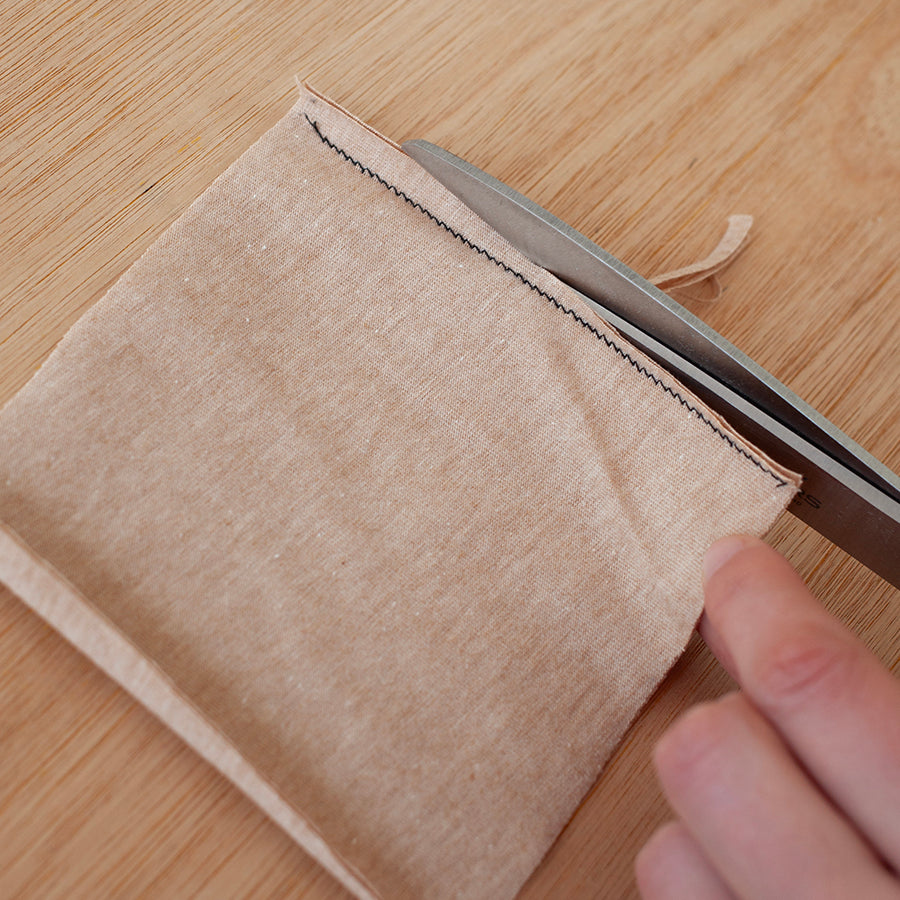
3.
This also works on lighter weight jerseys.
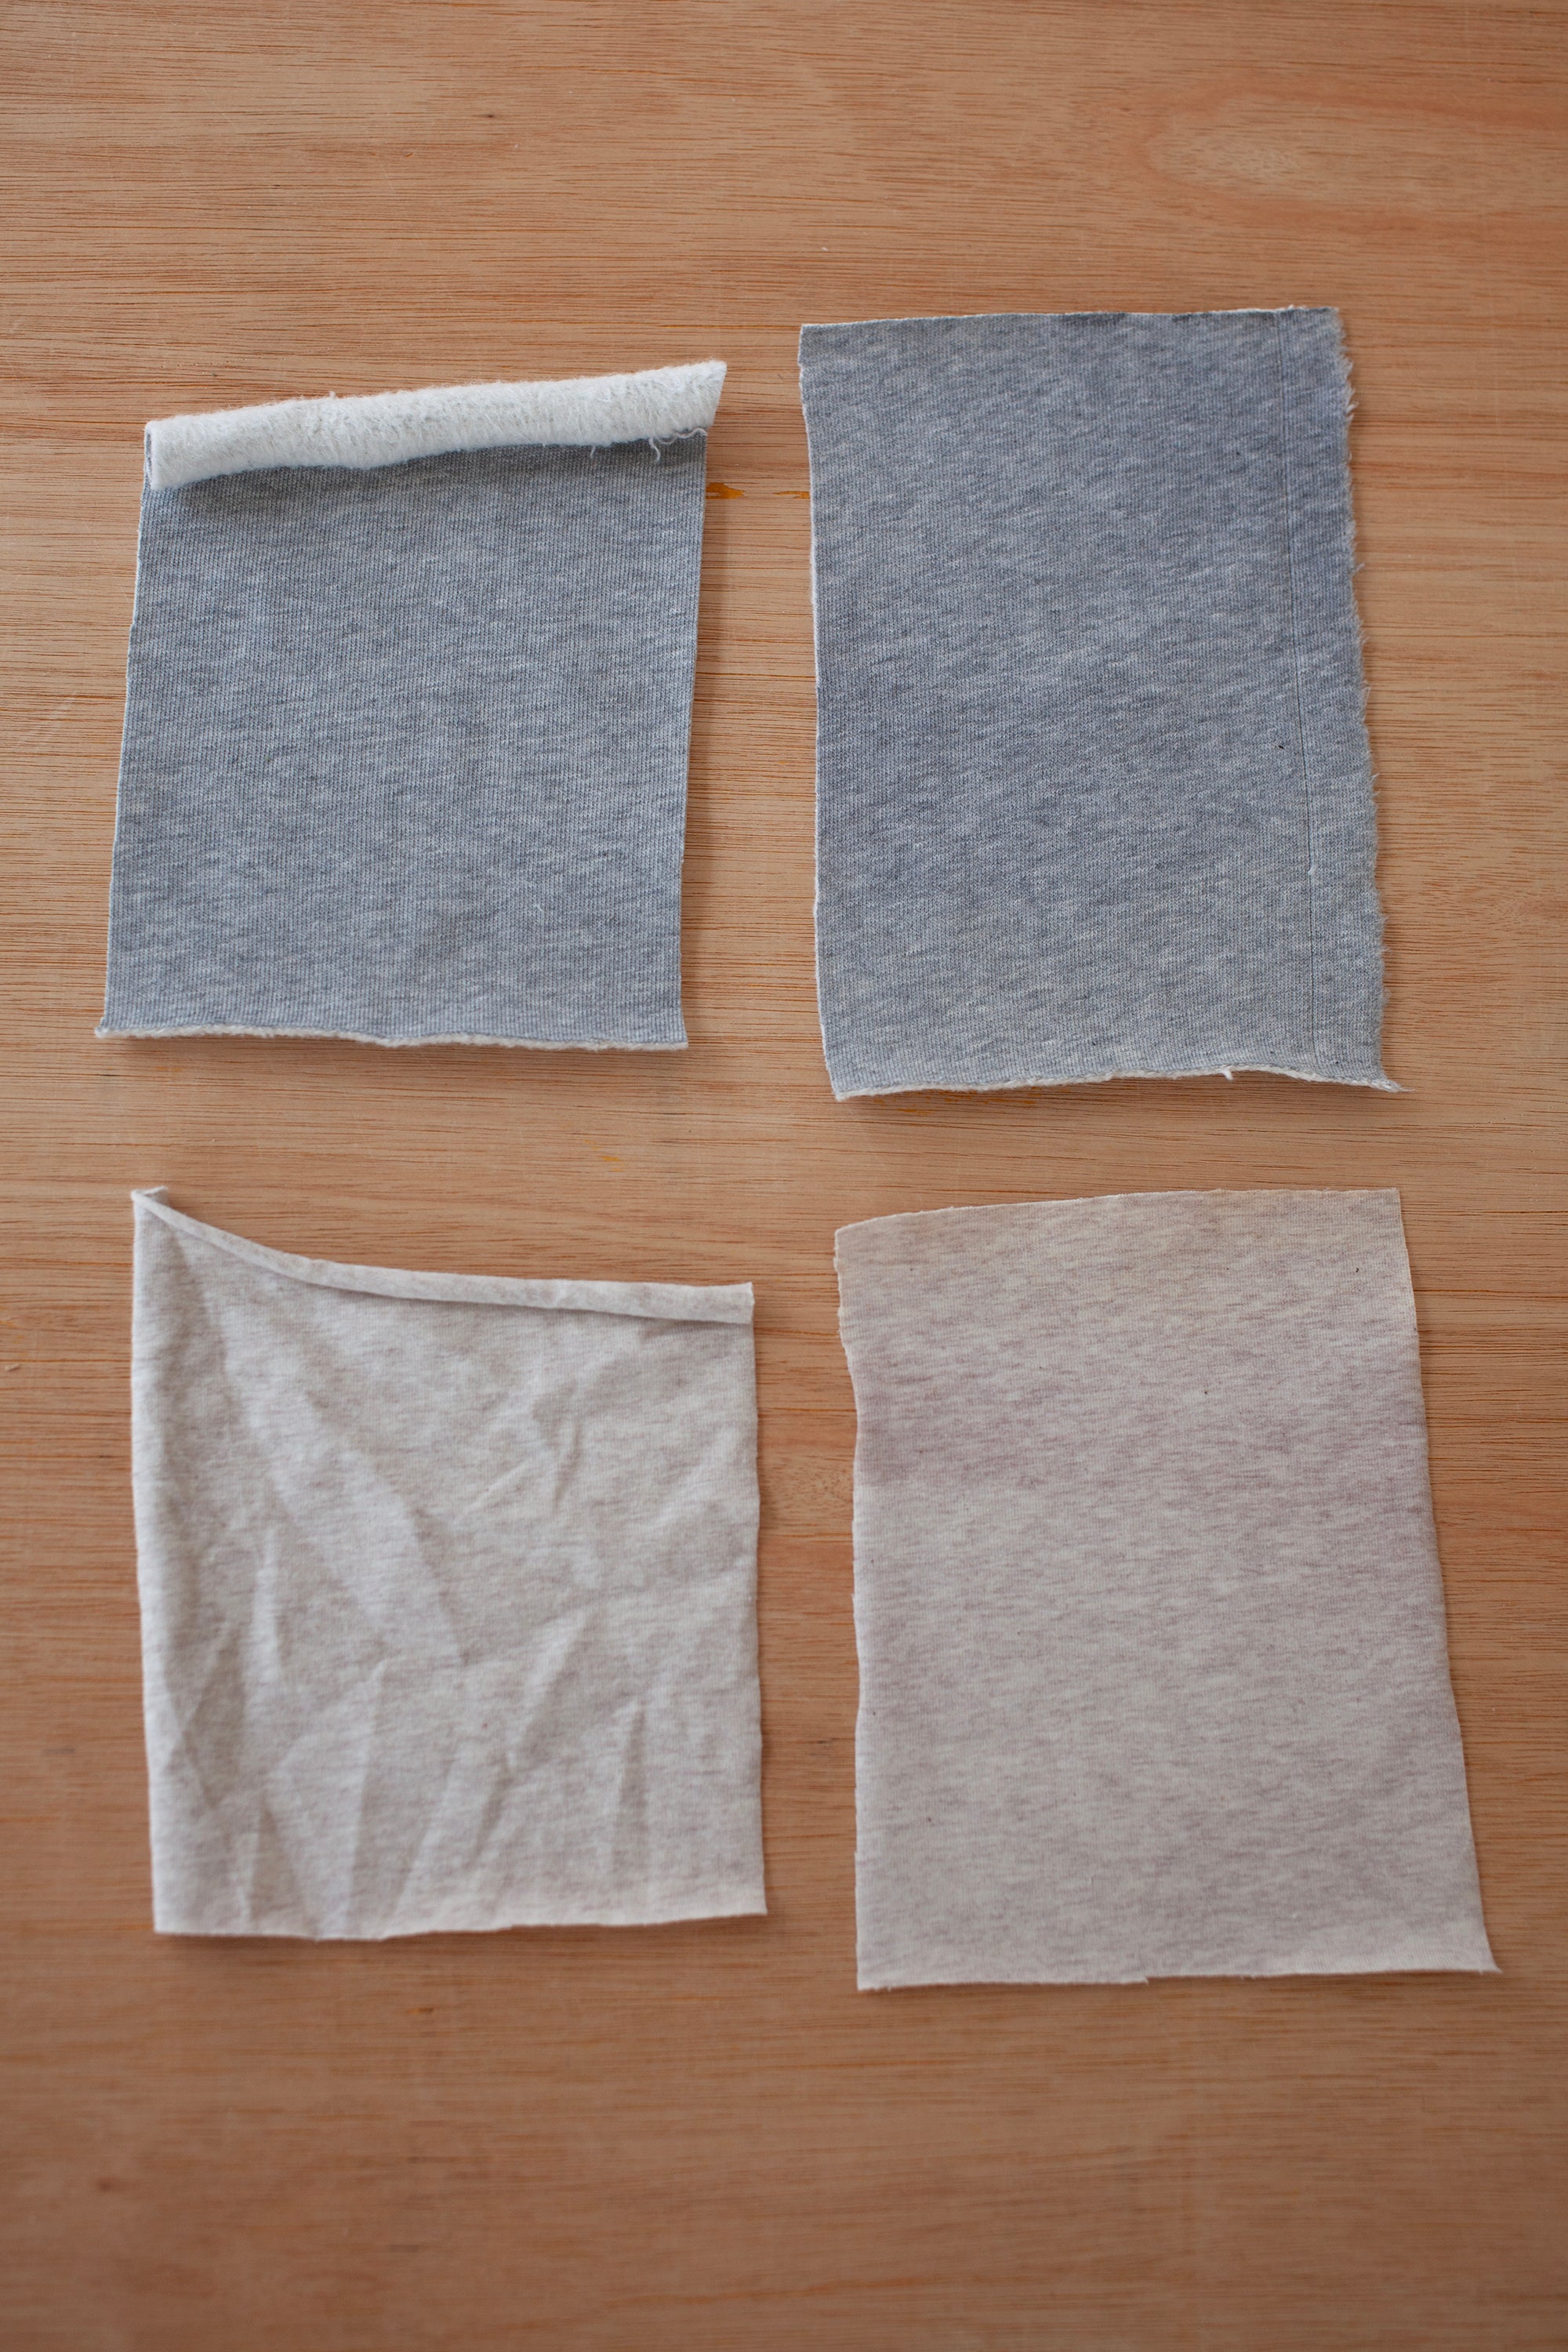
Stabilising Your Fabric

1.
Jersey has a tendency to roll at the sides. This can happen particularly after cutting your pattern pieces out.

2.
You can use a starch spray to prevent this and help keep your pieces nice and flat as you sew them. We got our starch spray for £3 at a local hardware store.
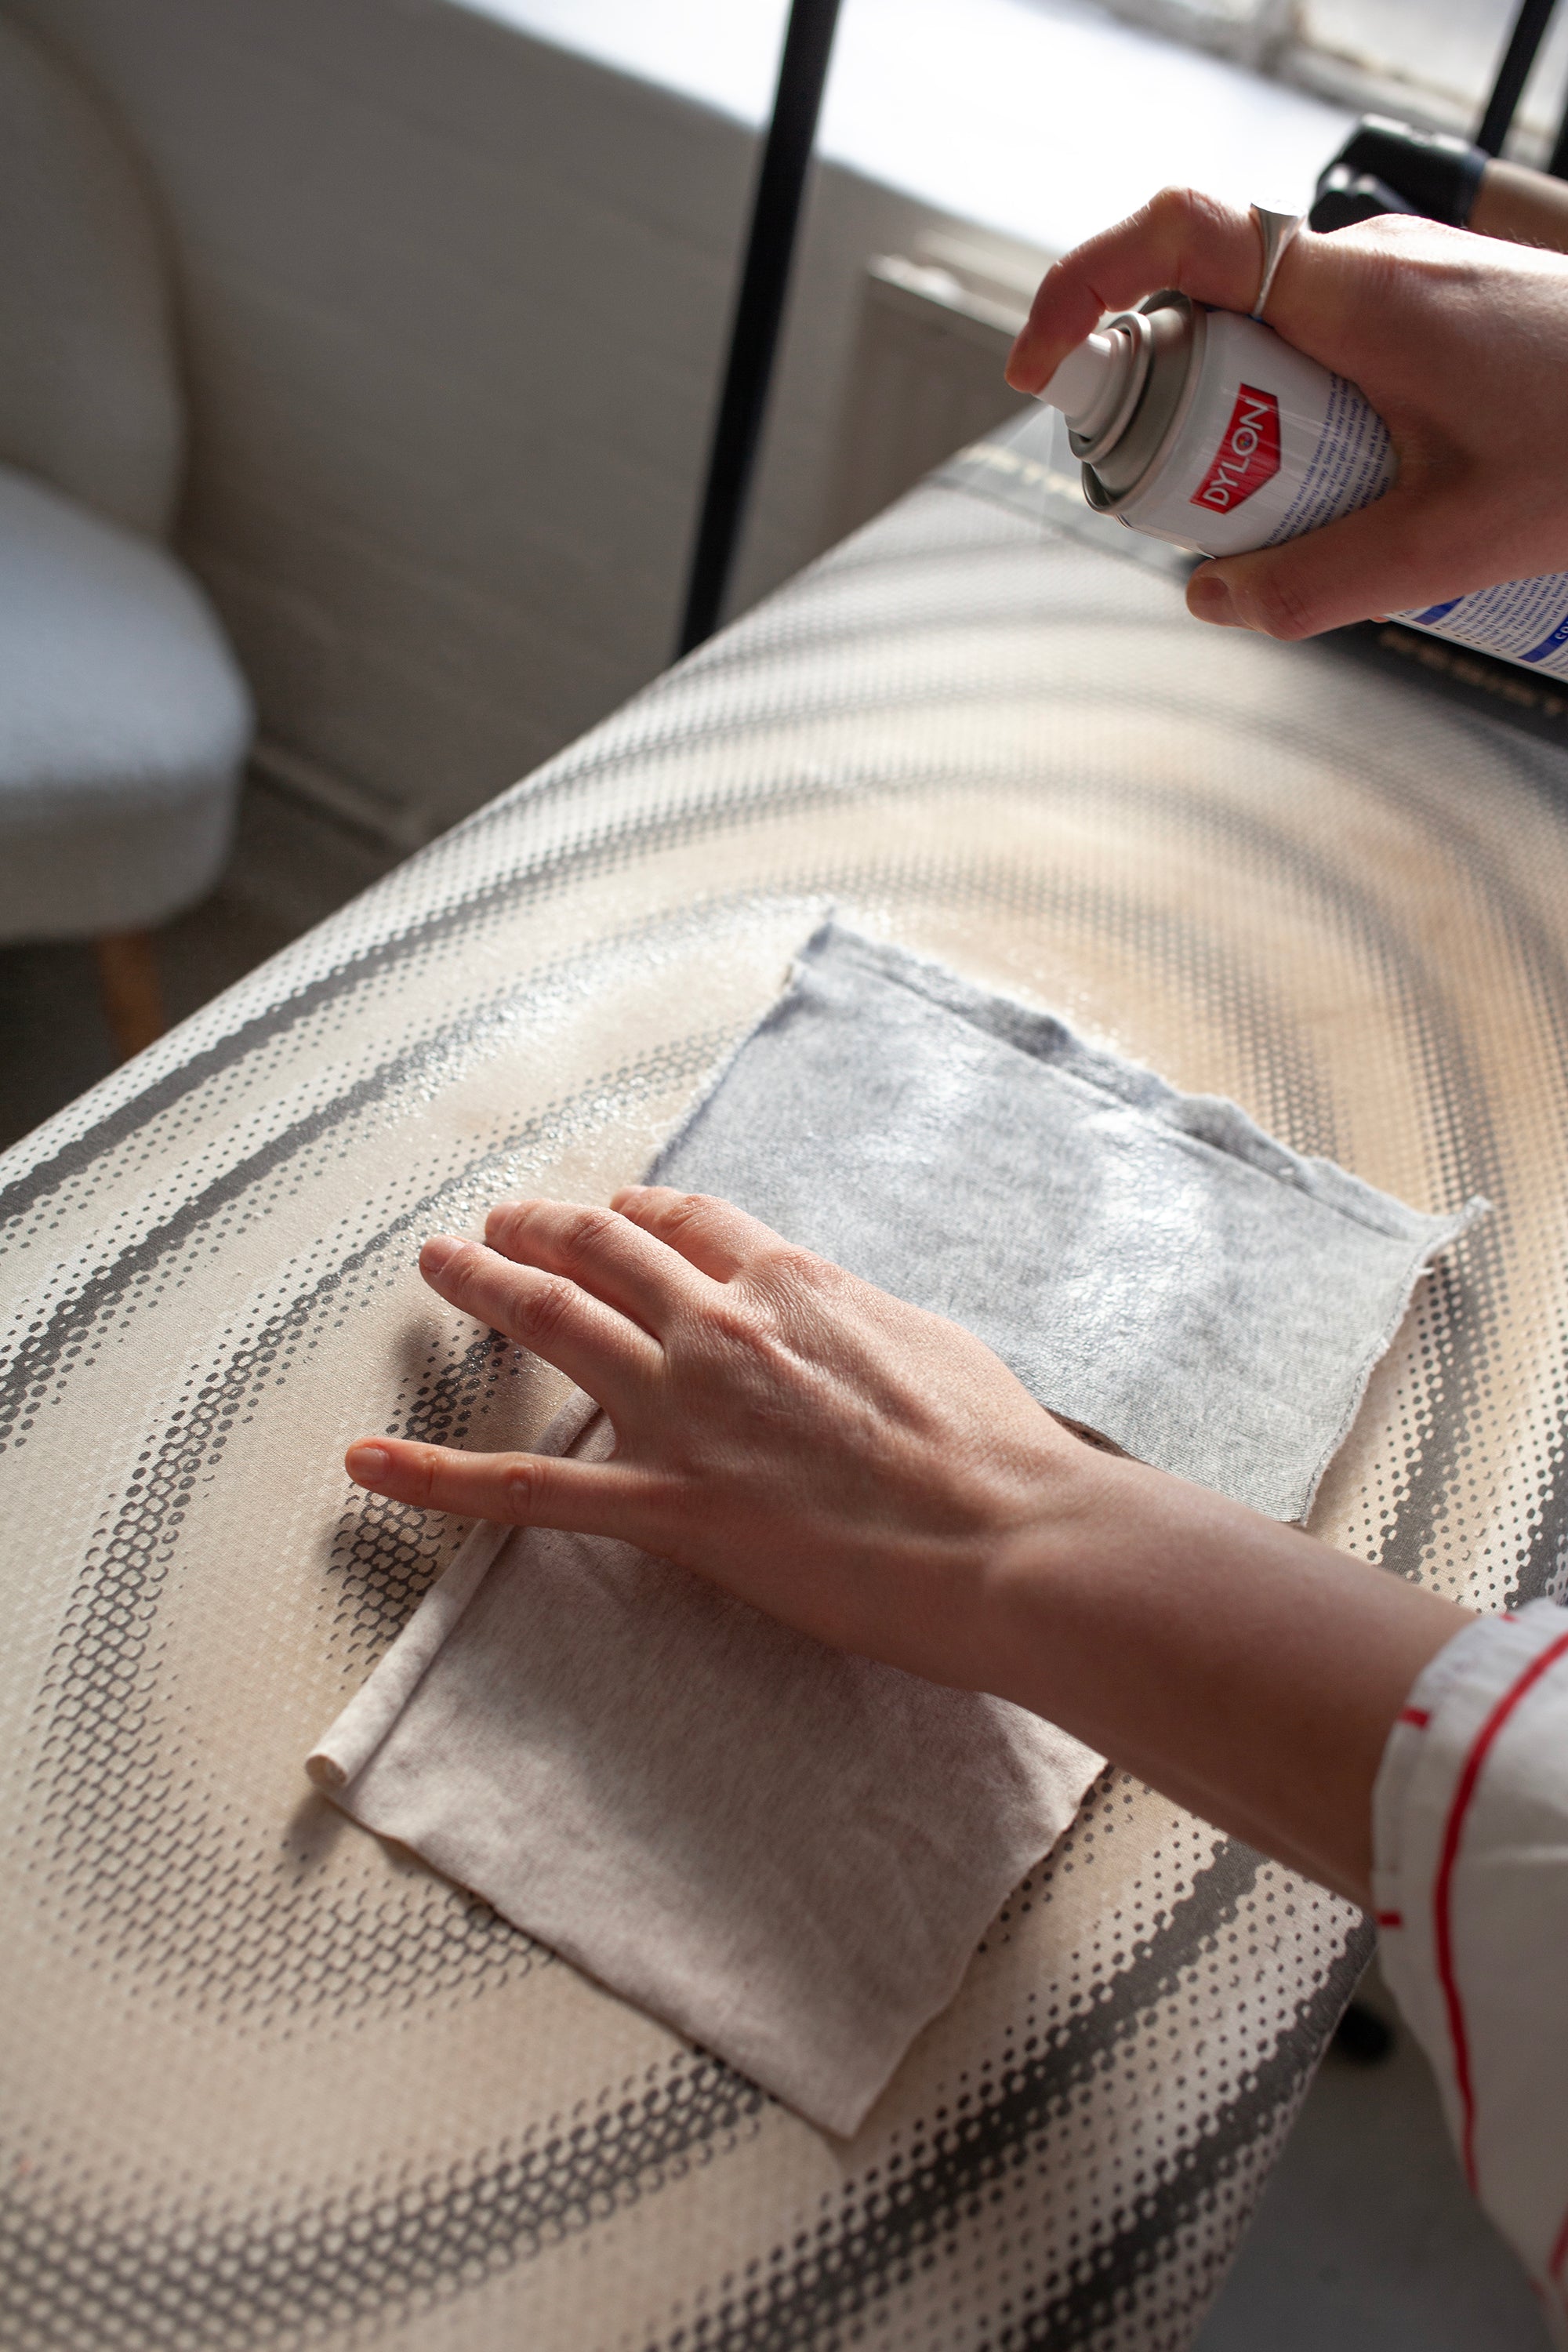
3.
To use the starch spray, hold about 20cm away from the fabric and spray as evenly as possible.
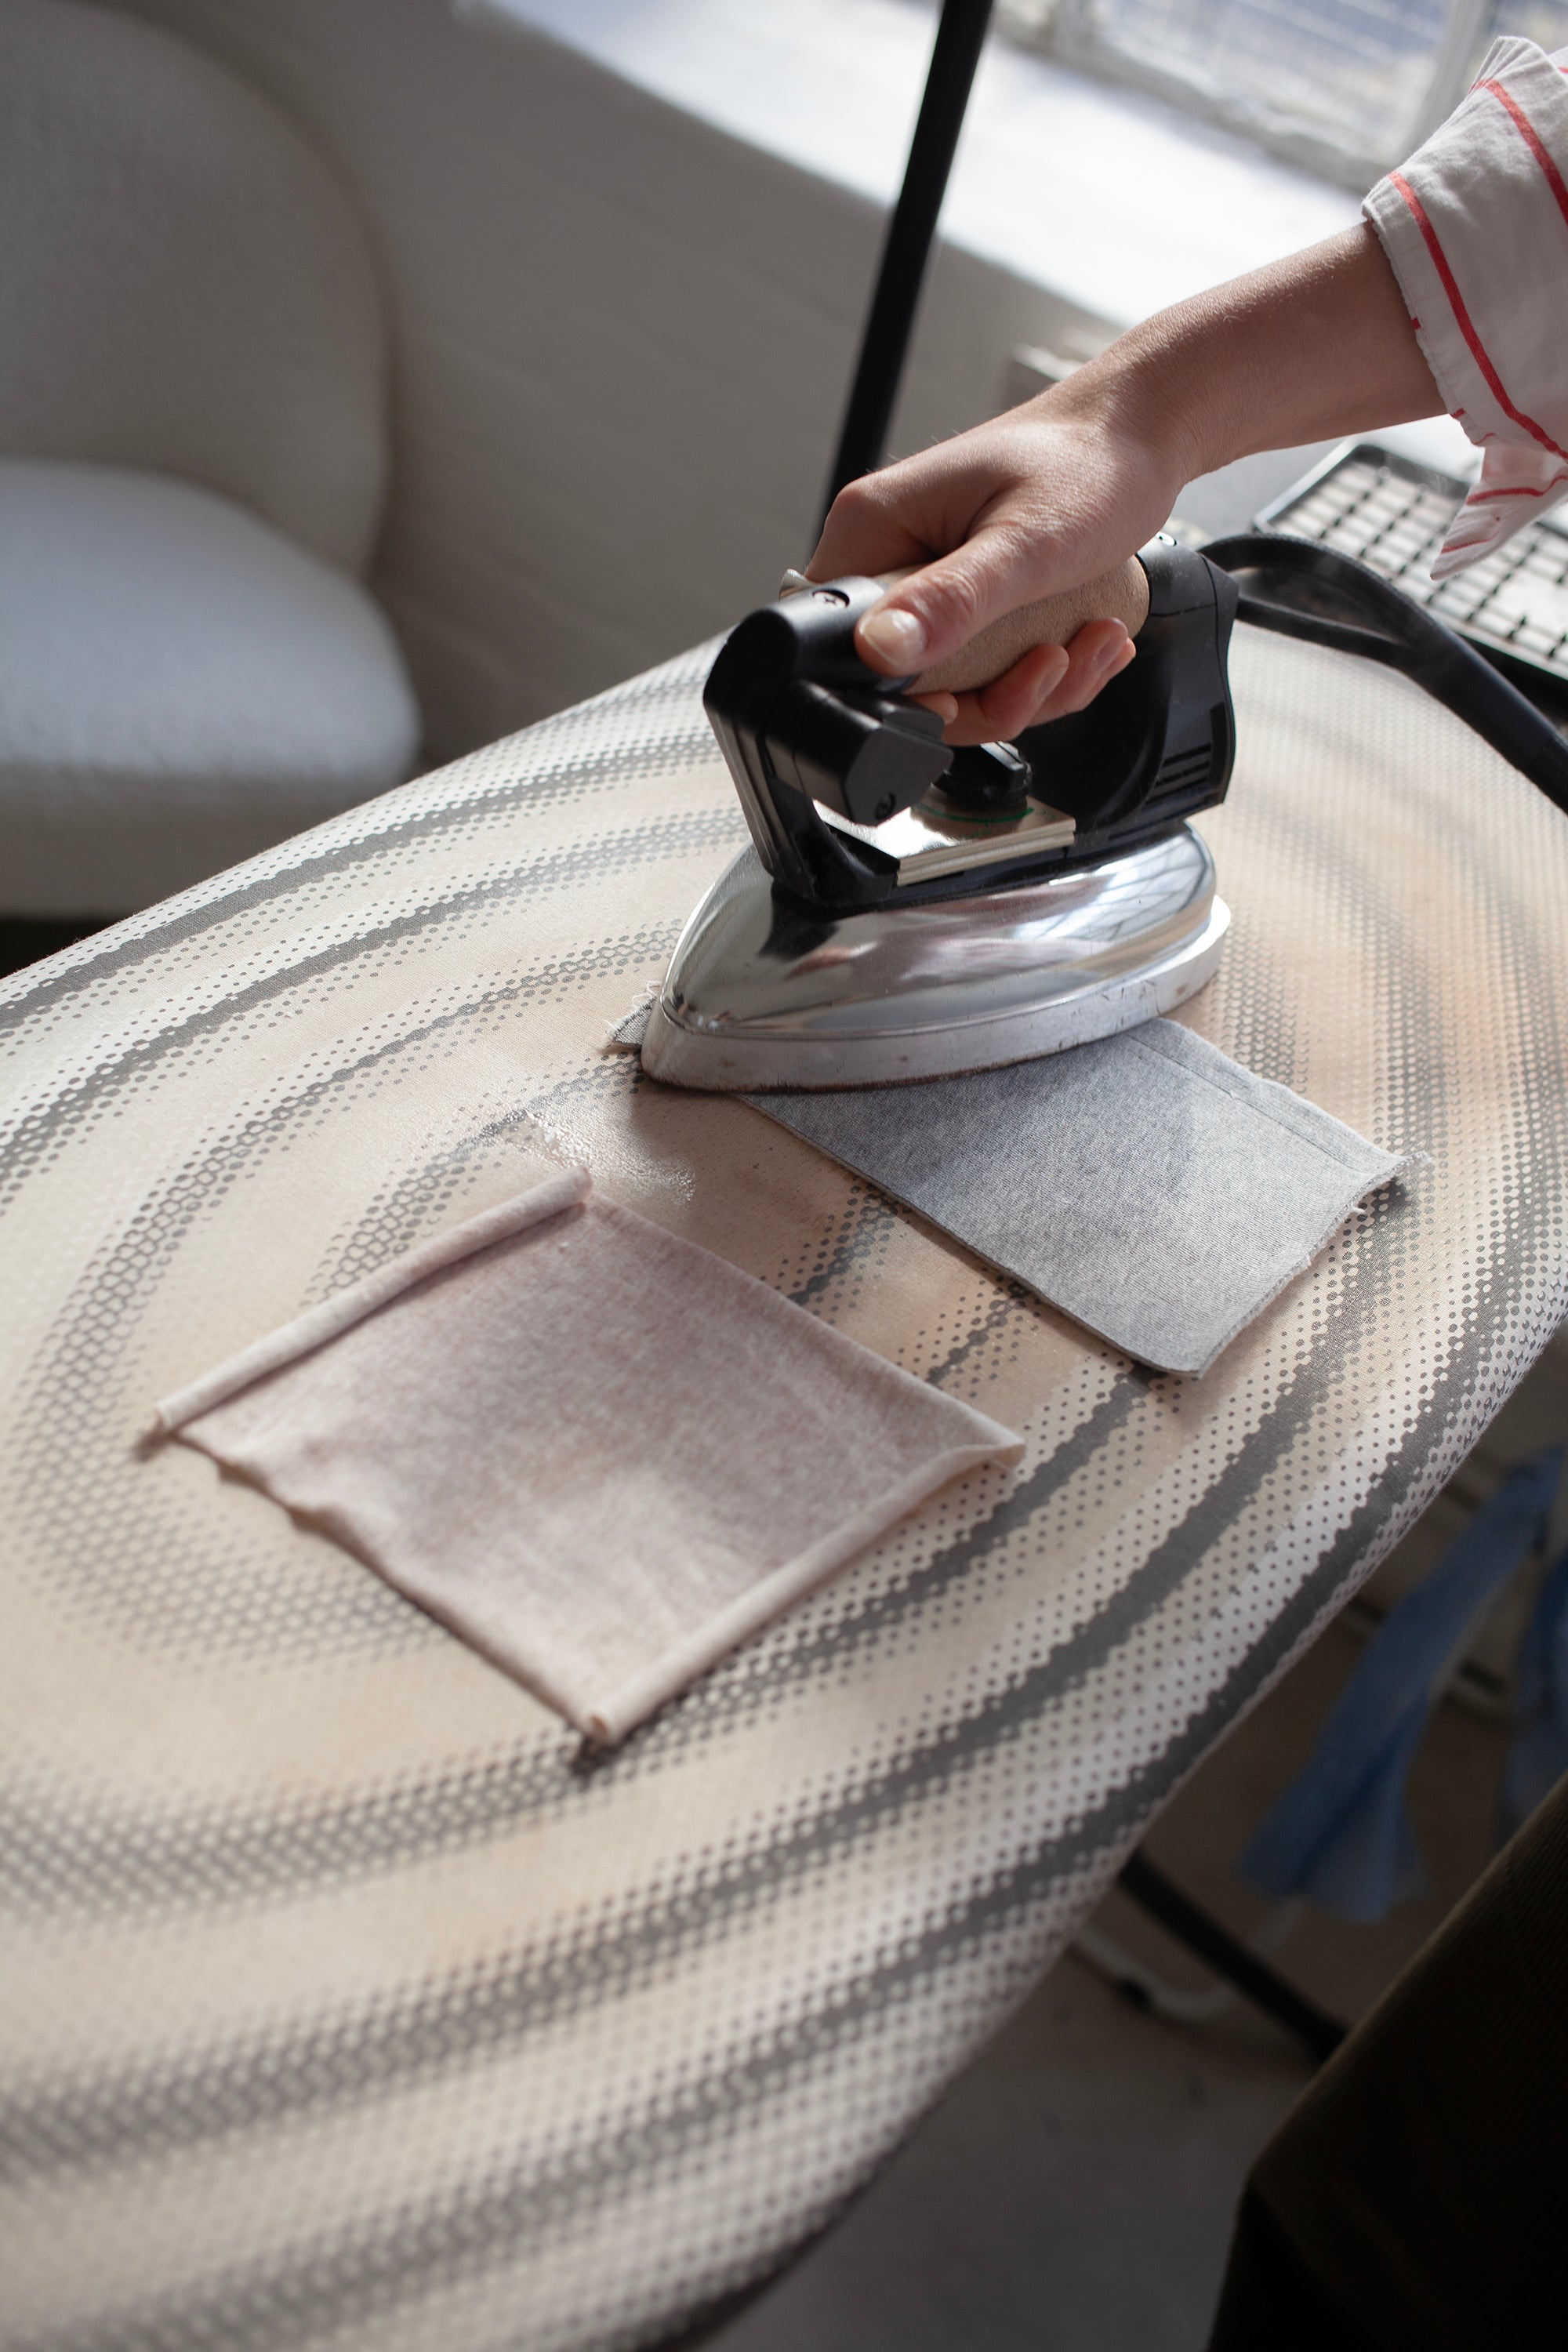
4.
To set the starch spray gently iron flat without steam. If your fabric is still rolling, keep the iron on the fabric until dry.
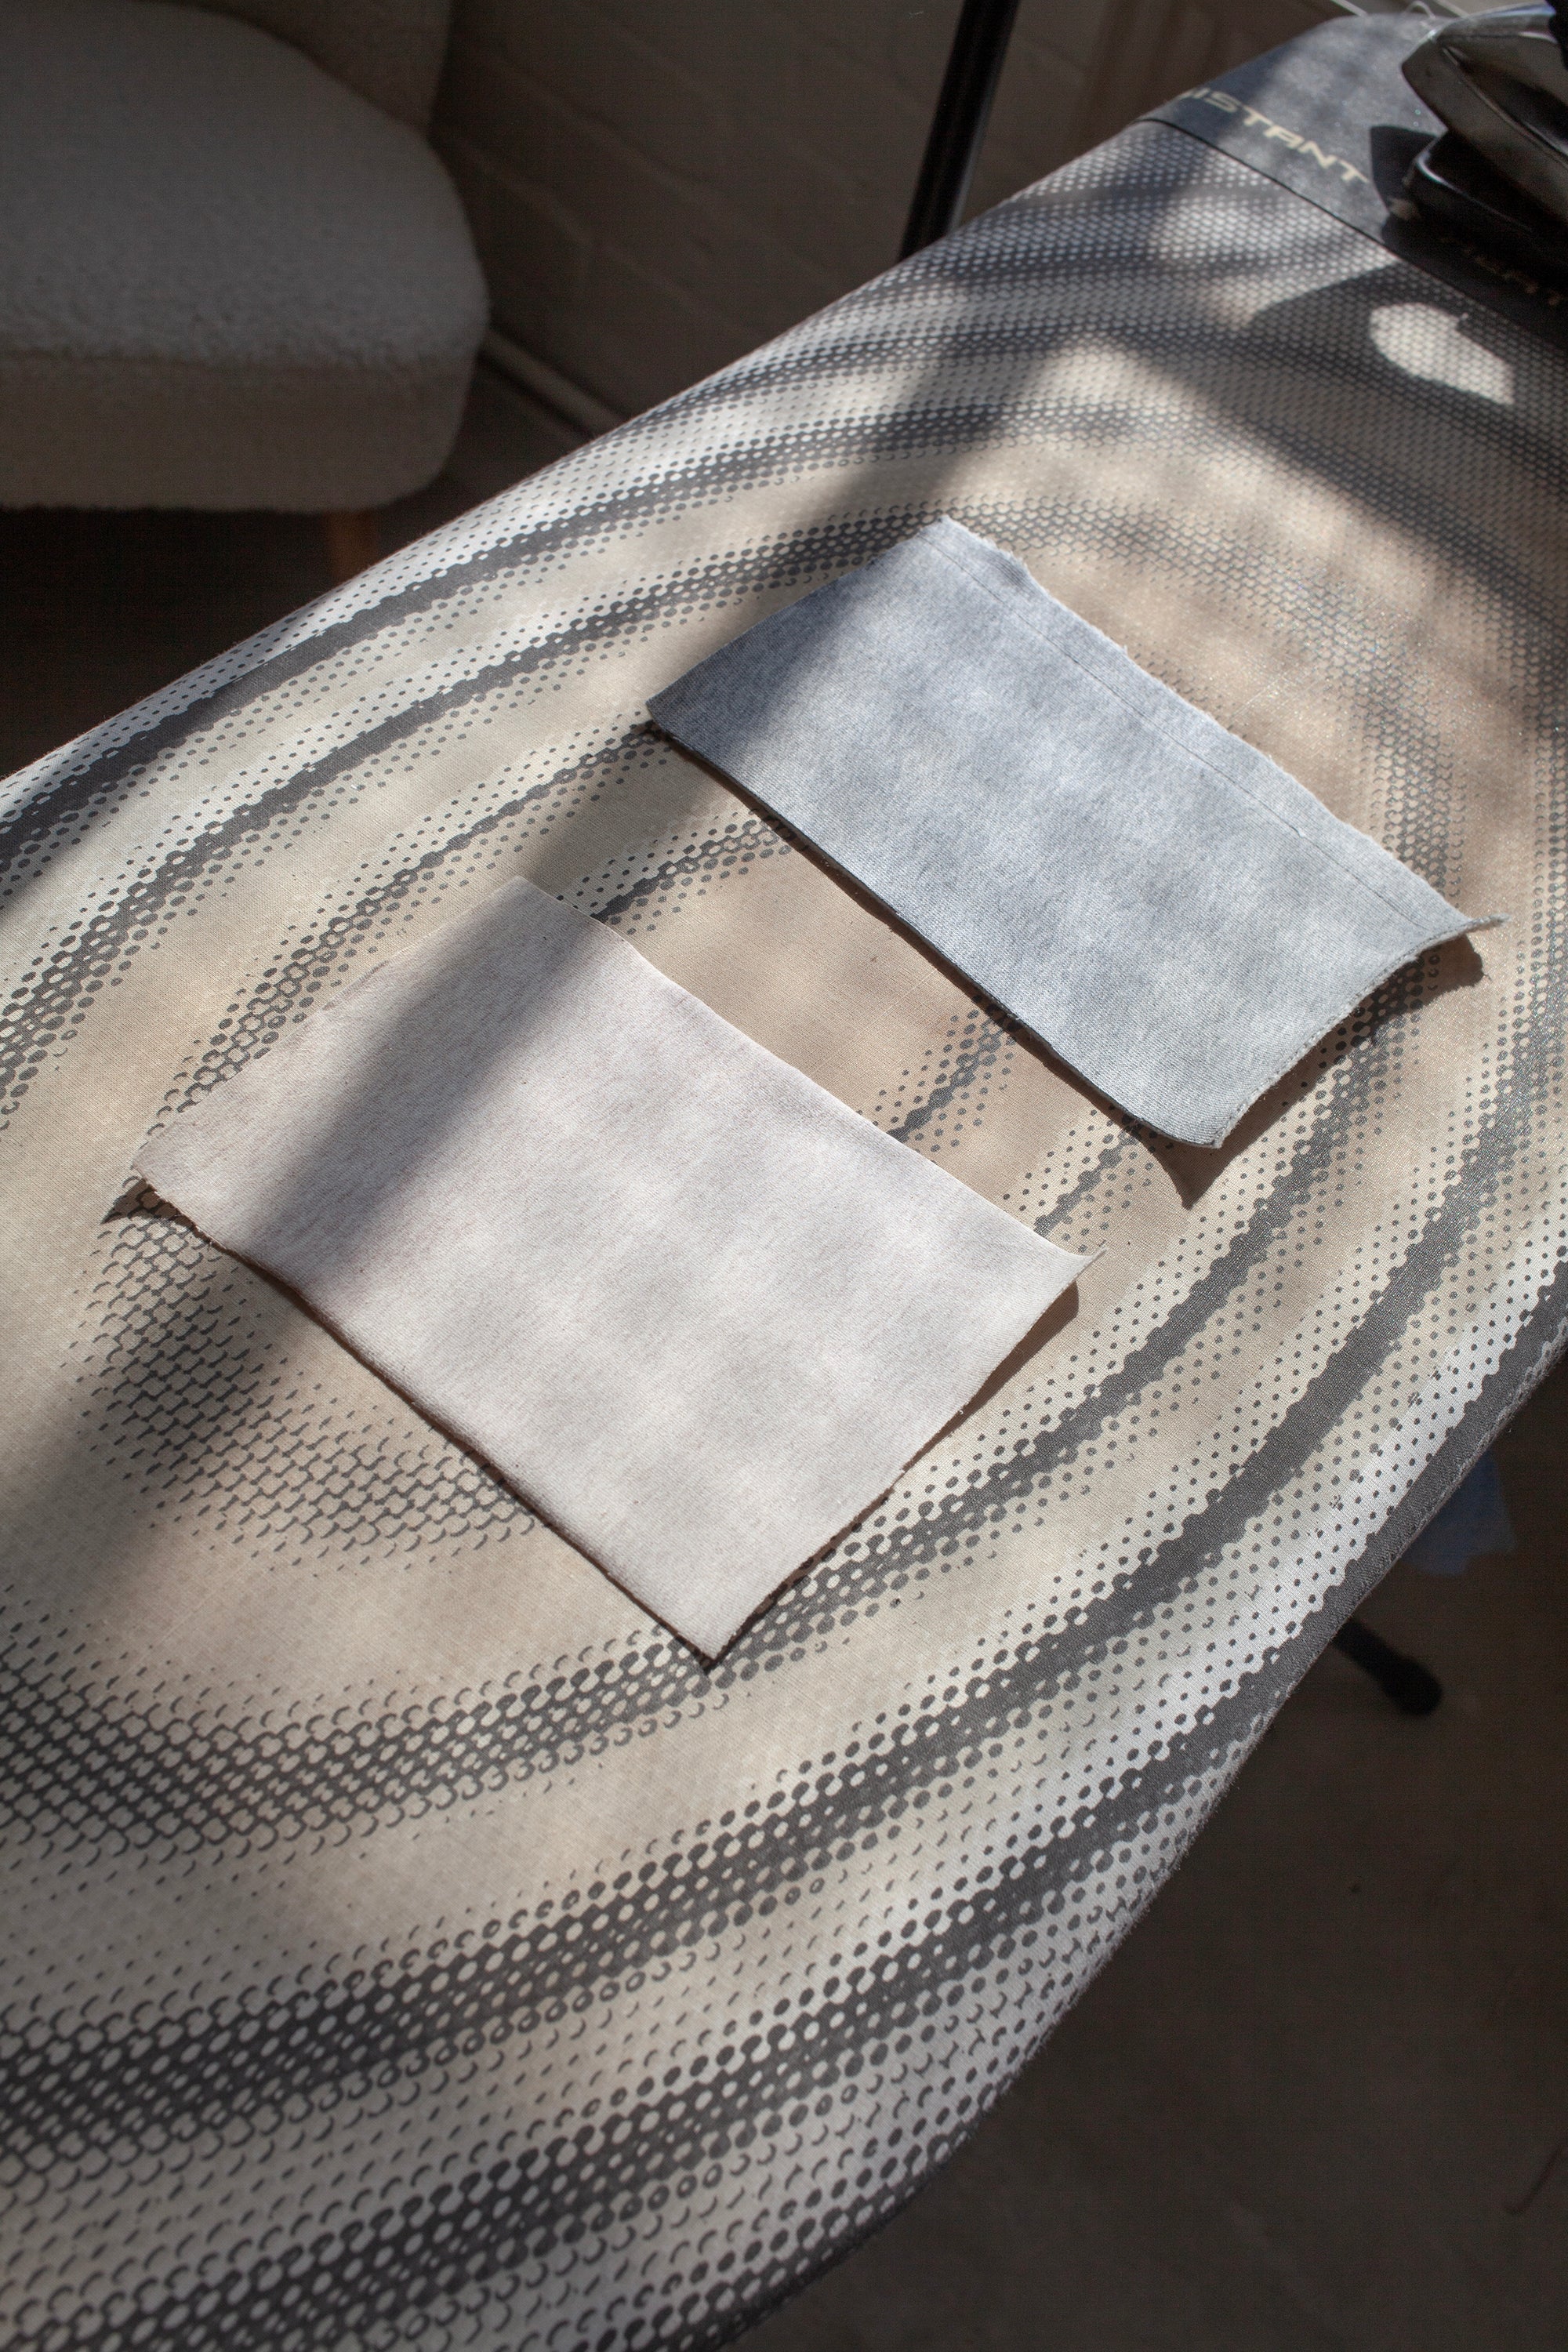
5.
The lighter weight jersey on the left took a little longer to flatten, but worked perfectly when the iron was kept on until the spray was dry.
6.
Before and after! Note: once you have finished your garment you will need to wash it to remove the starch before wearing it, otherwise it will feel a bit stiff.
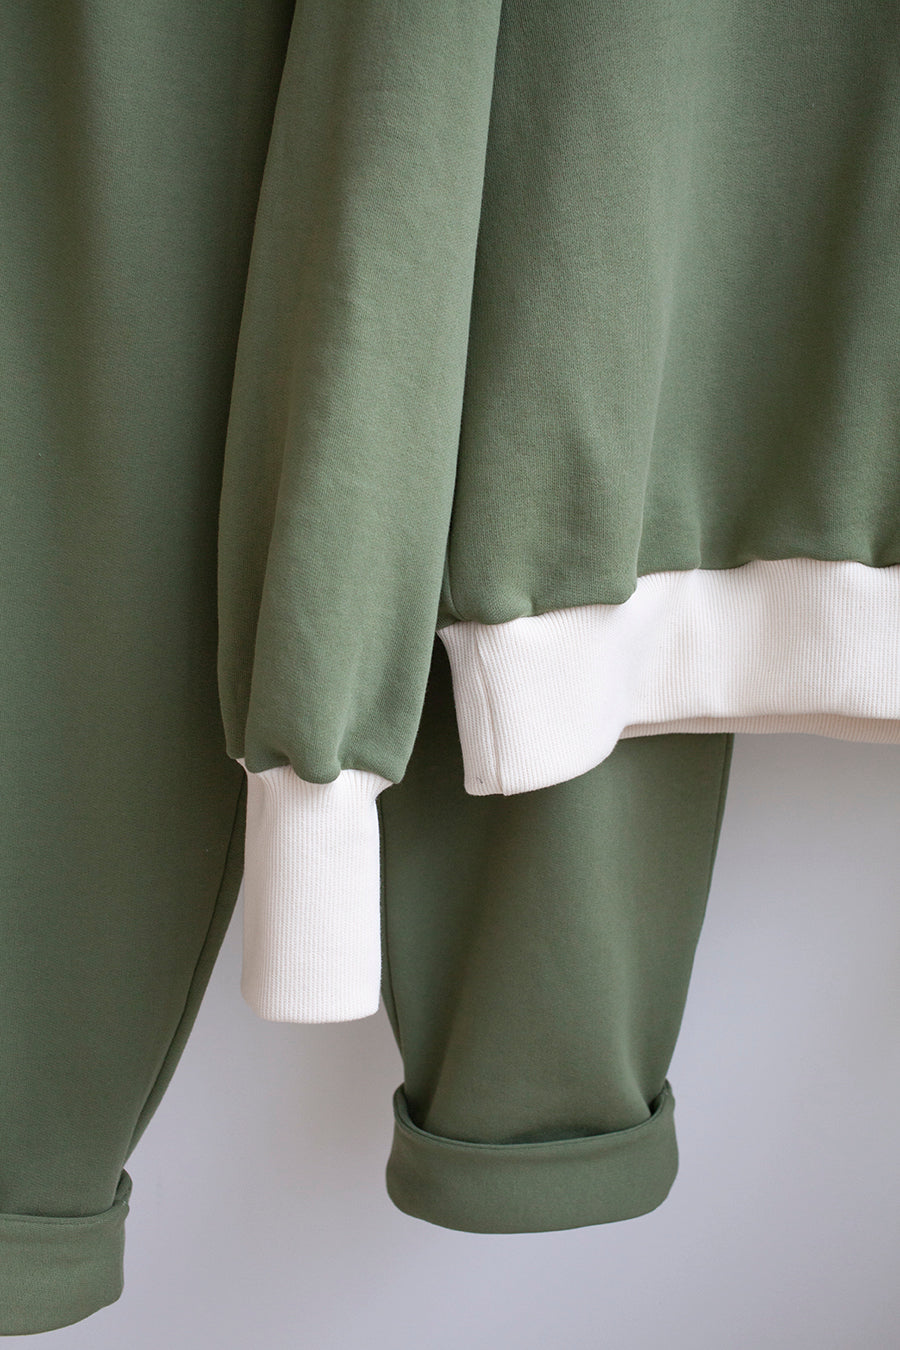
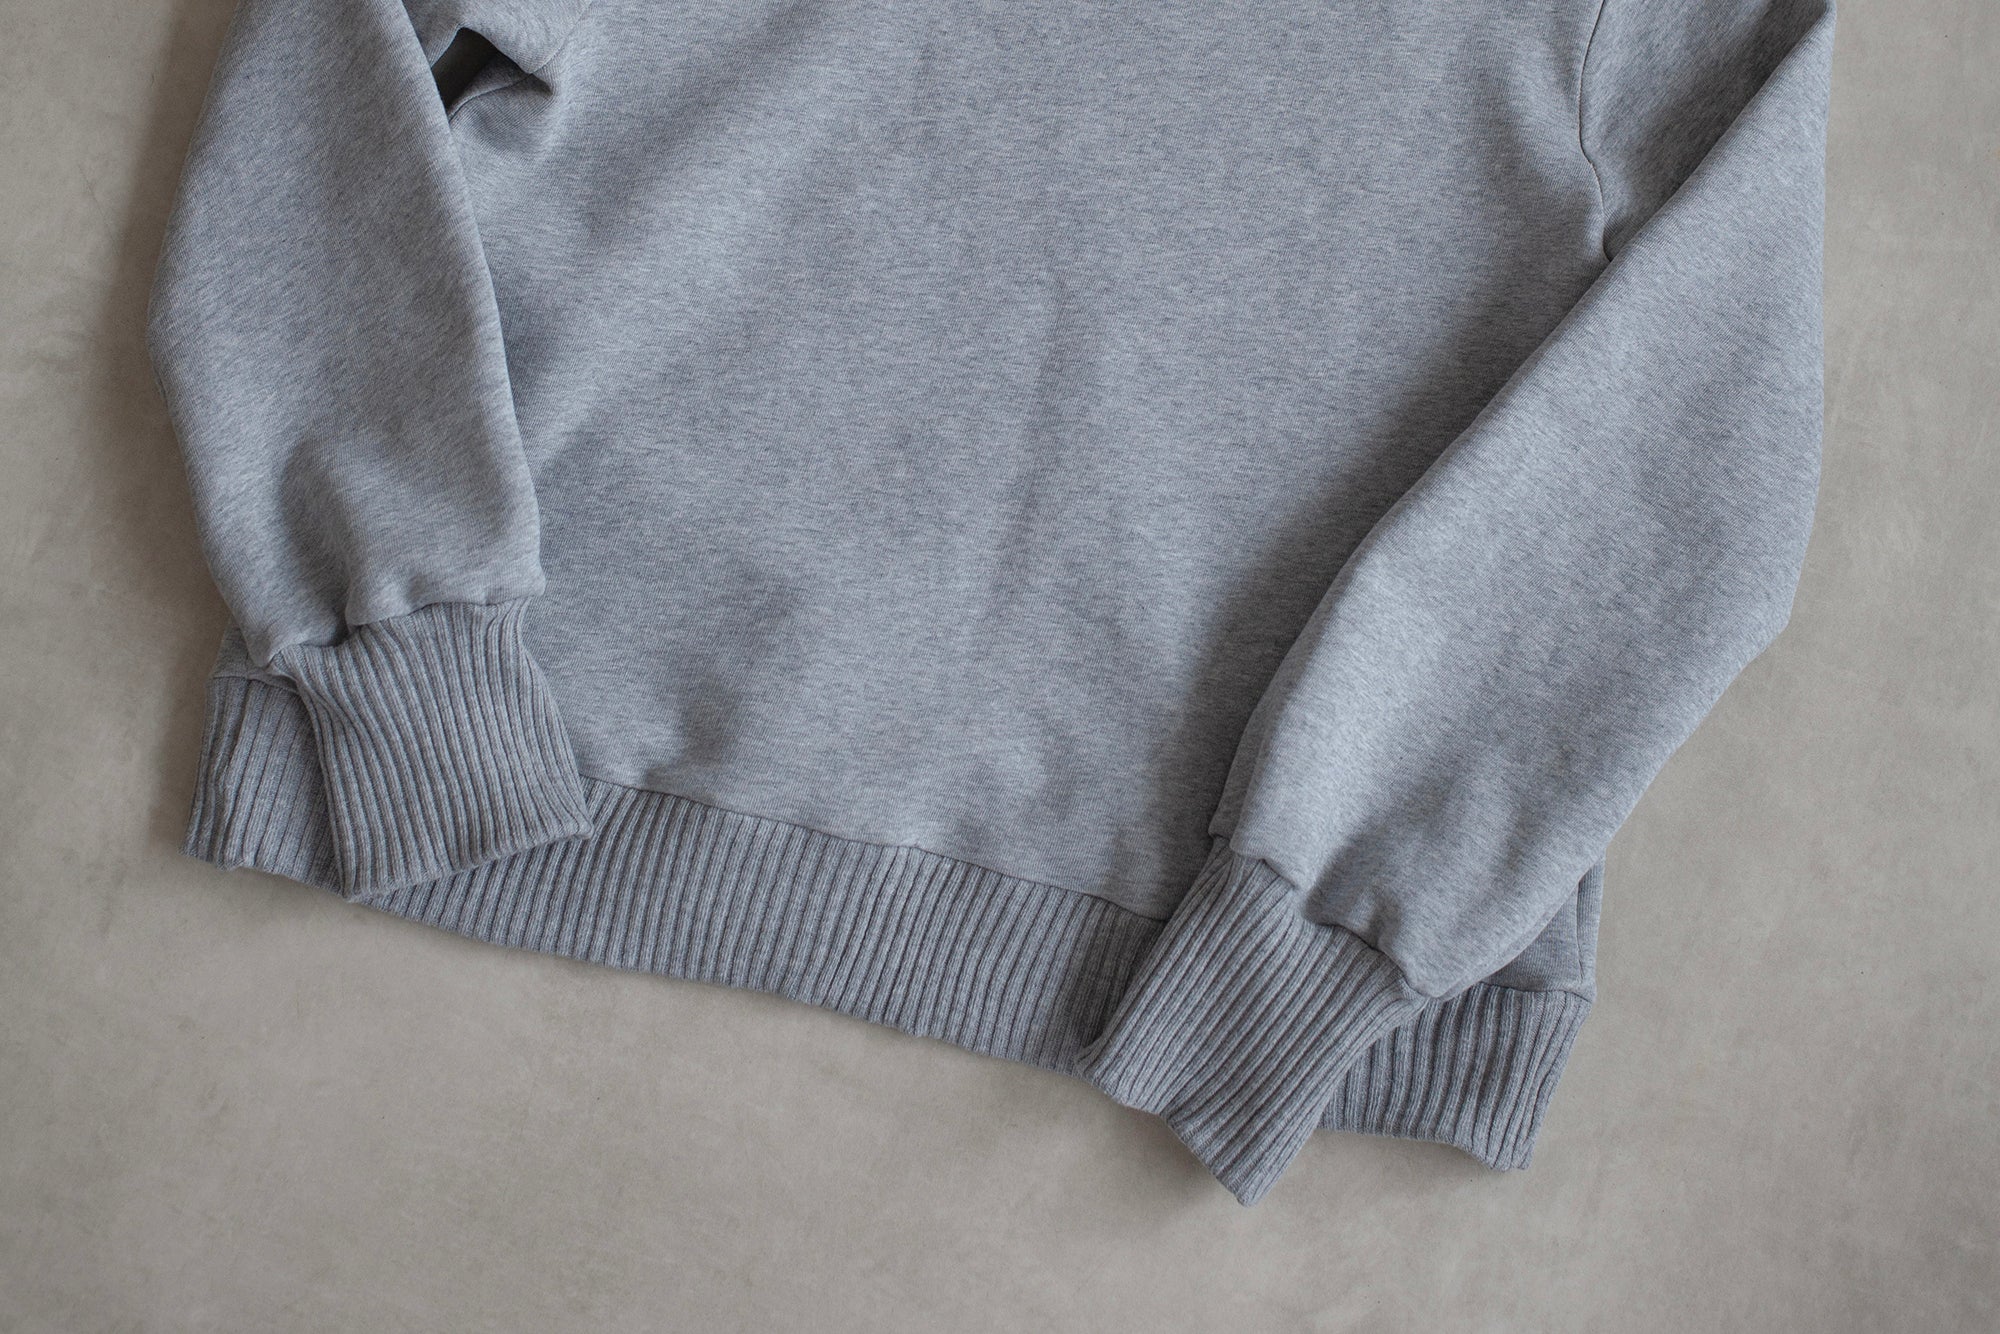
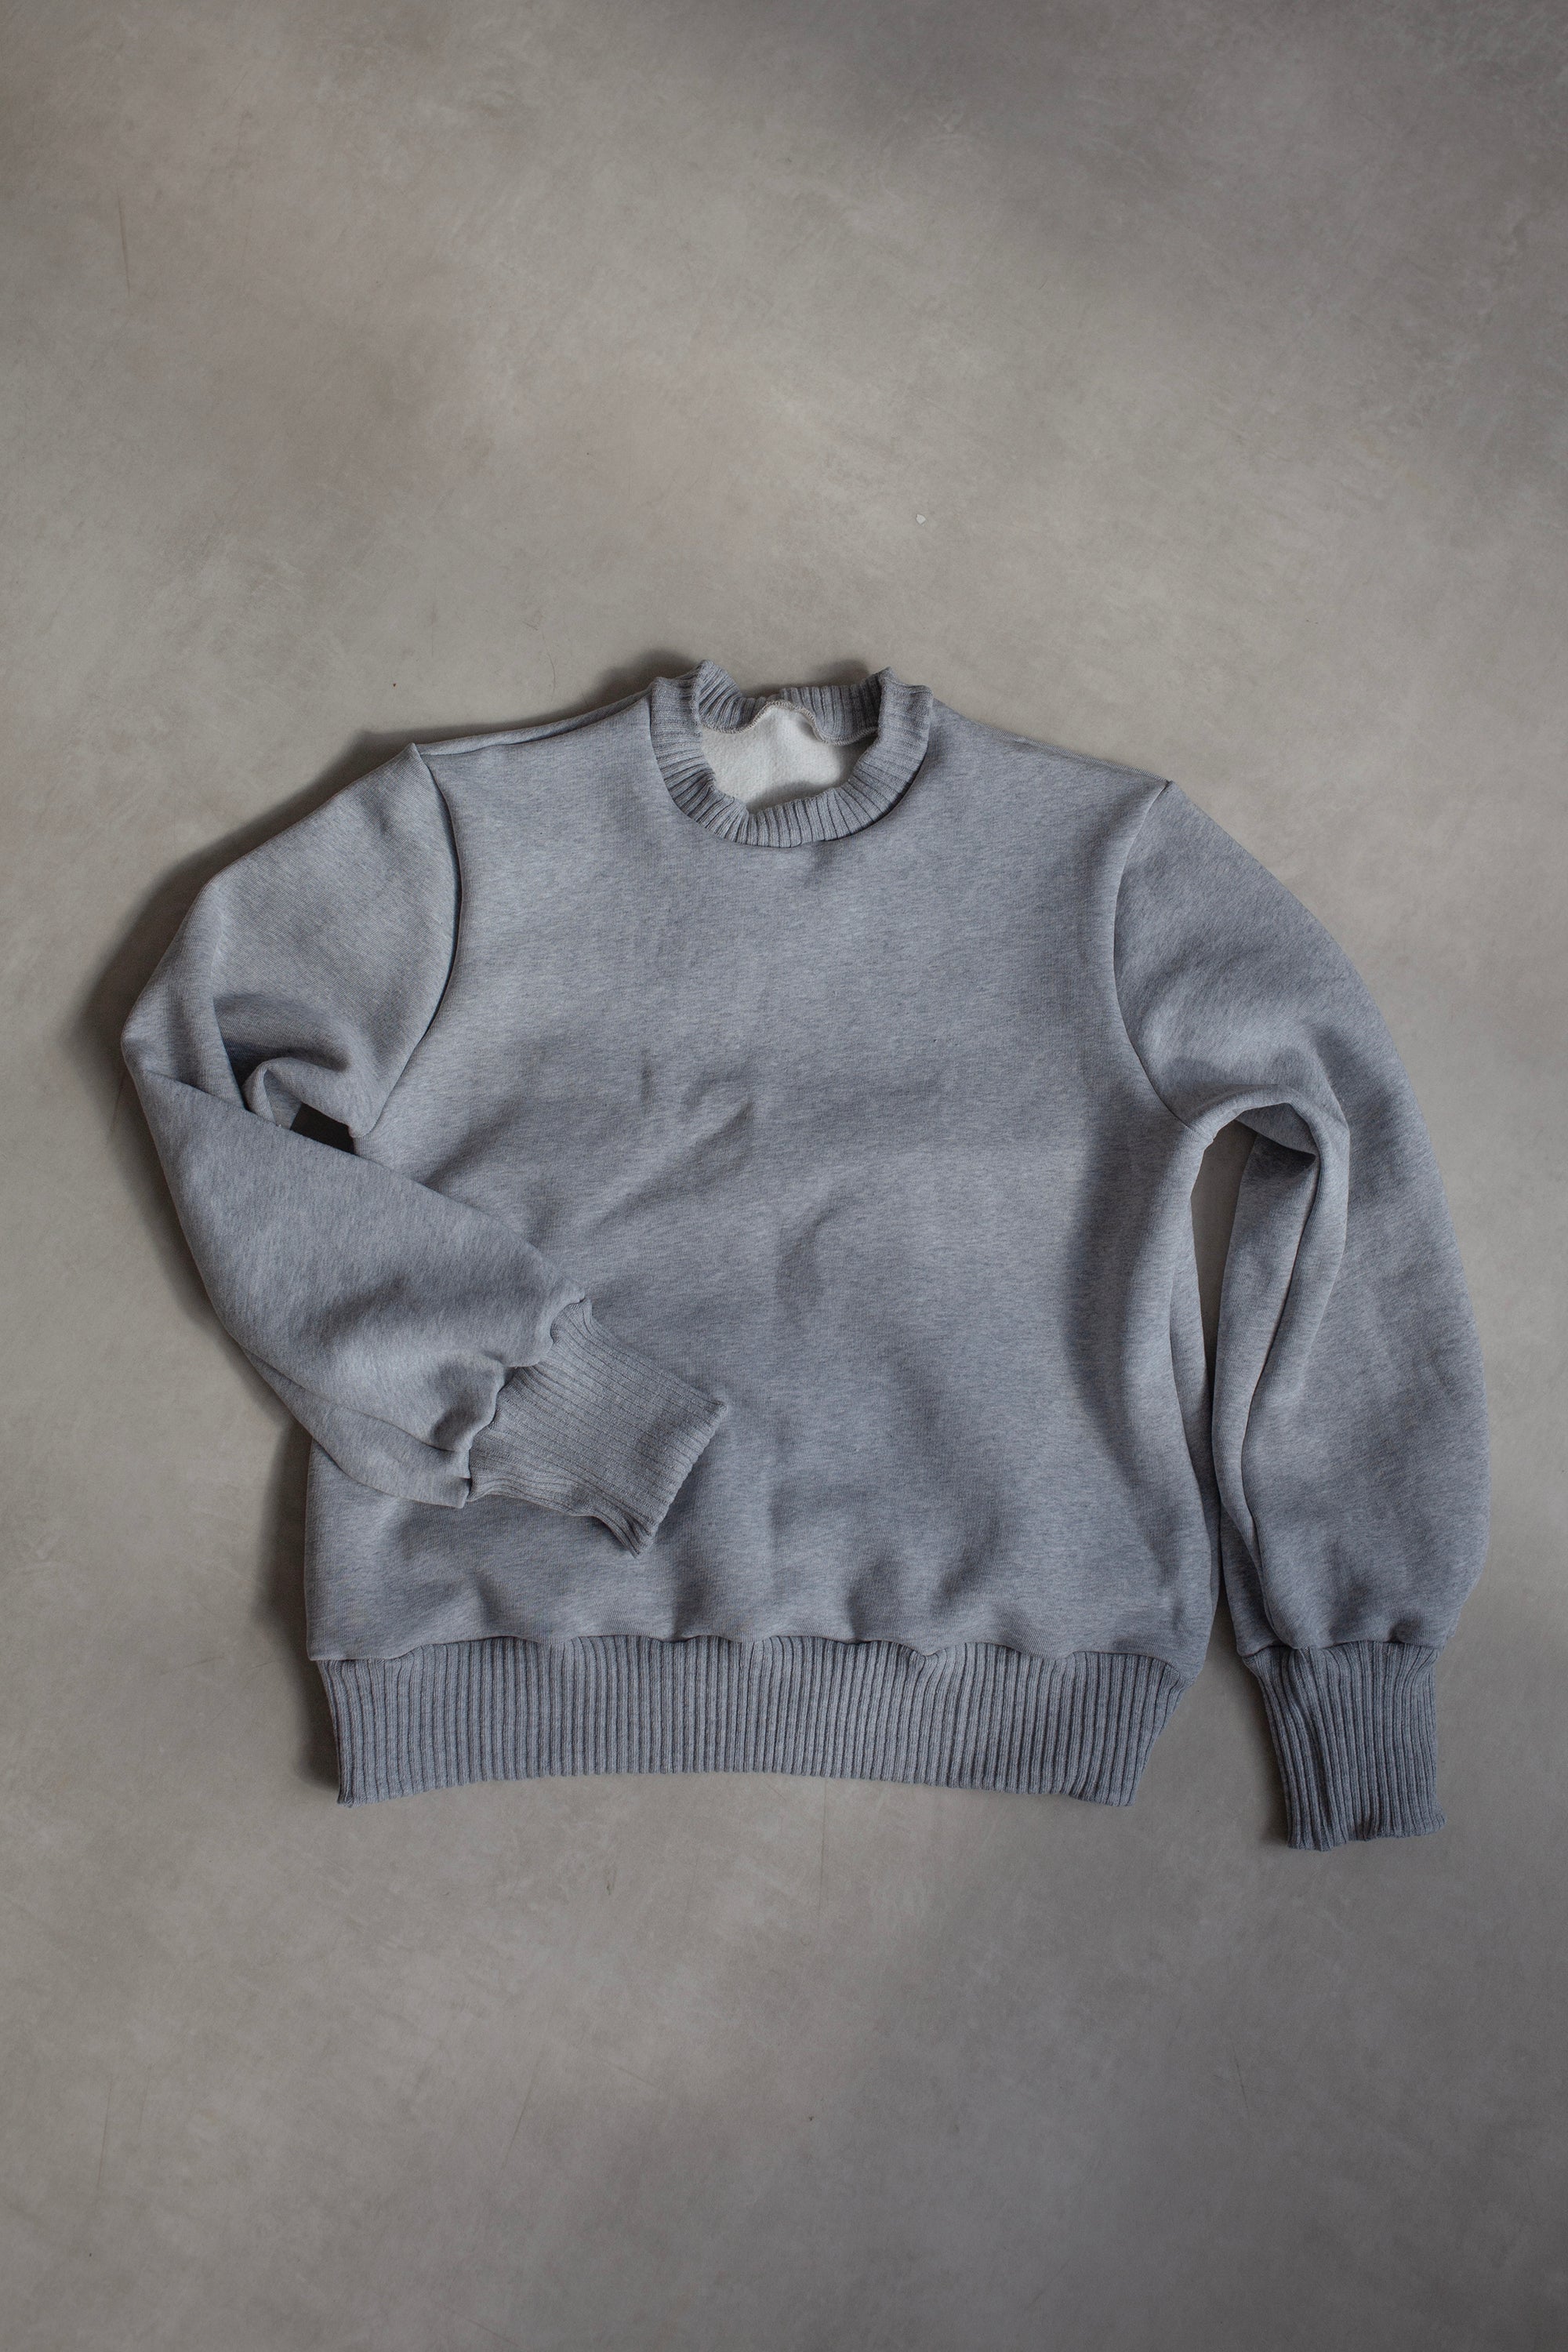
Sewing A Stretched Ribbing

1.
Ribbing is often used on cuffs, necklines and hems to help finish a garment. The ribbing will be cut shorter than the piece it will be attached to as it's purpose is to pull in that section of garment. For example the cuff rib will help taper the sleeve in to a narrower finish and a neck rib ensures the neckline stays taut and flat. This means you'll need to stretch the ribbing slightly to attach it.
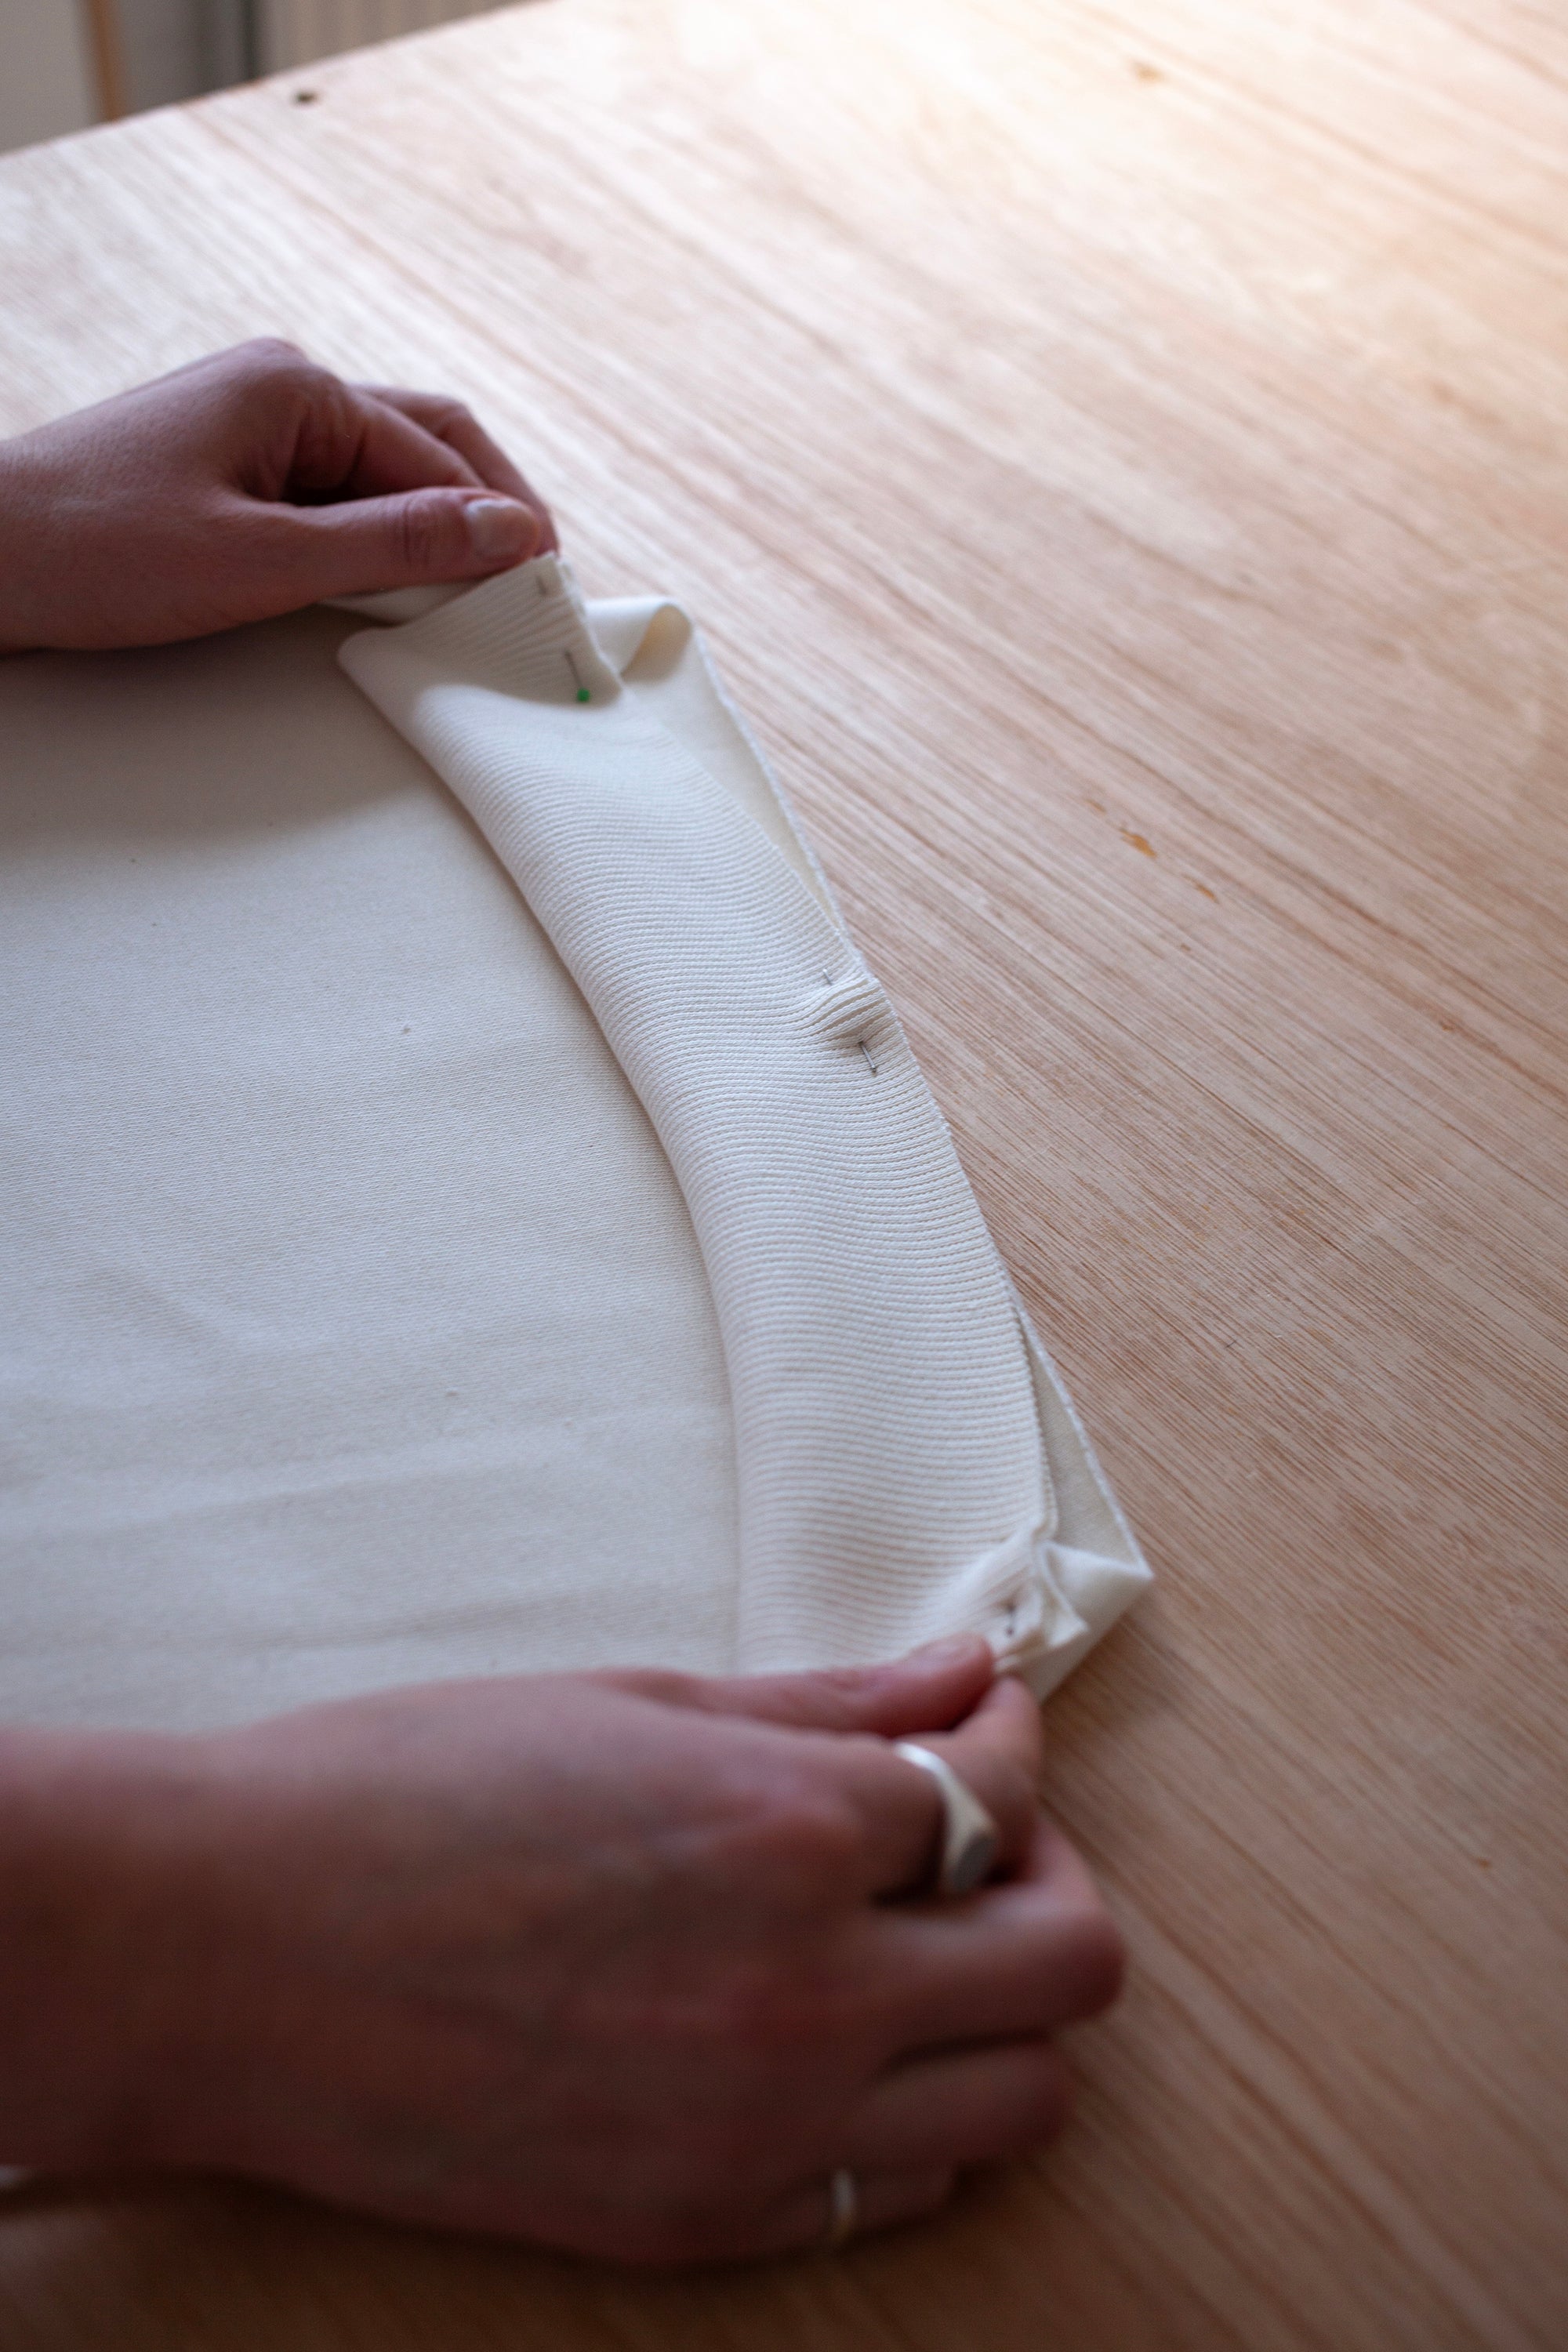
2.
To sew the ribbing, pin it at one anchor point (this might be a seam or Centre Front/Centre Back notch) and then gently stretch it to distribute the volume evenly. Carefully pin it in place, re-stretching to check it.
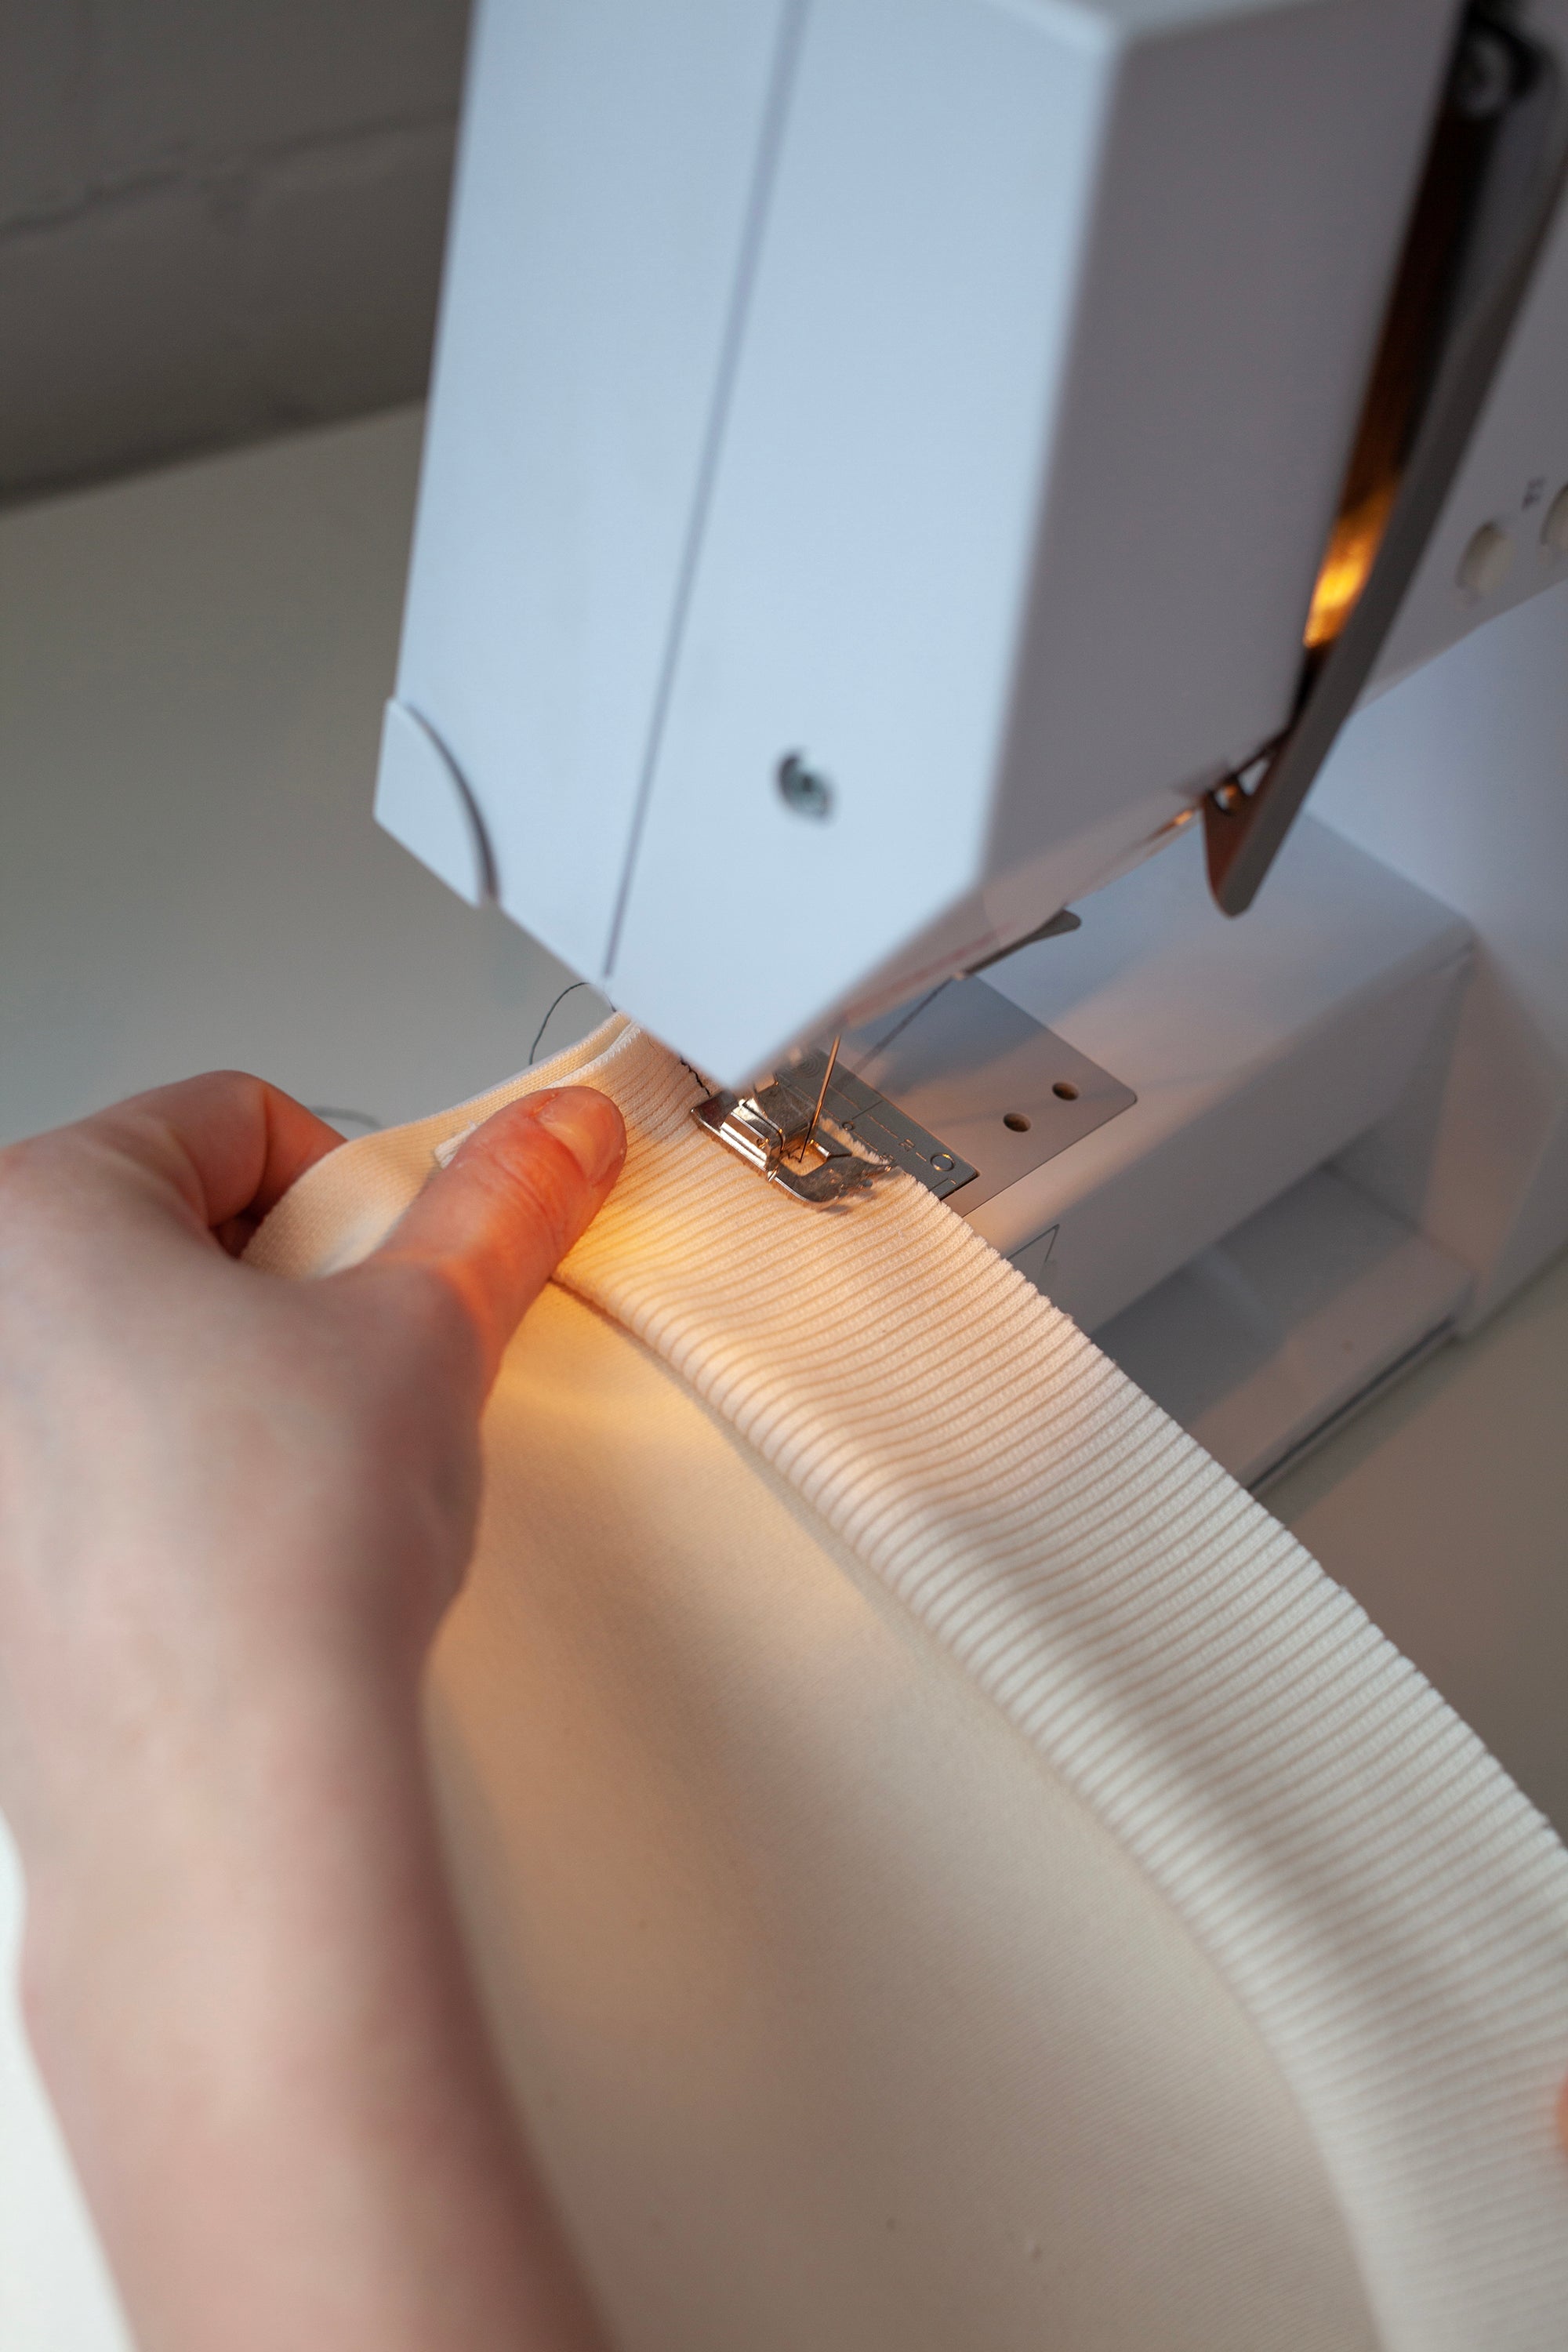
3.
When sewing, keep the fabric stretched so your fabric is evenly distributed a you sew.
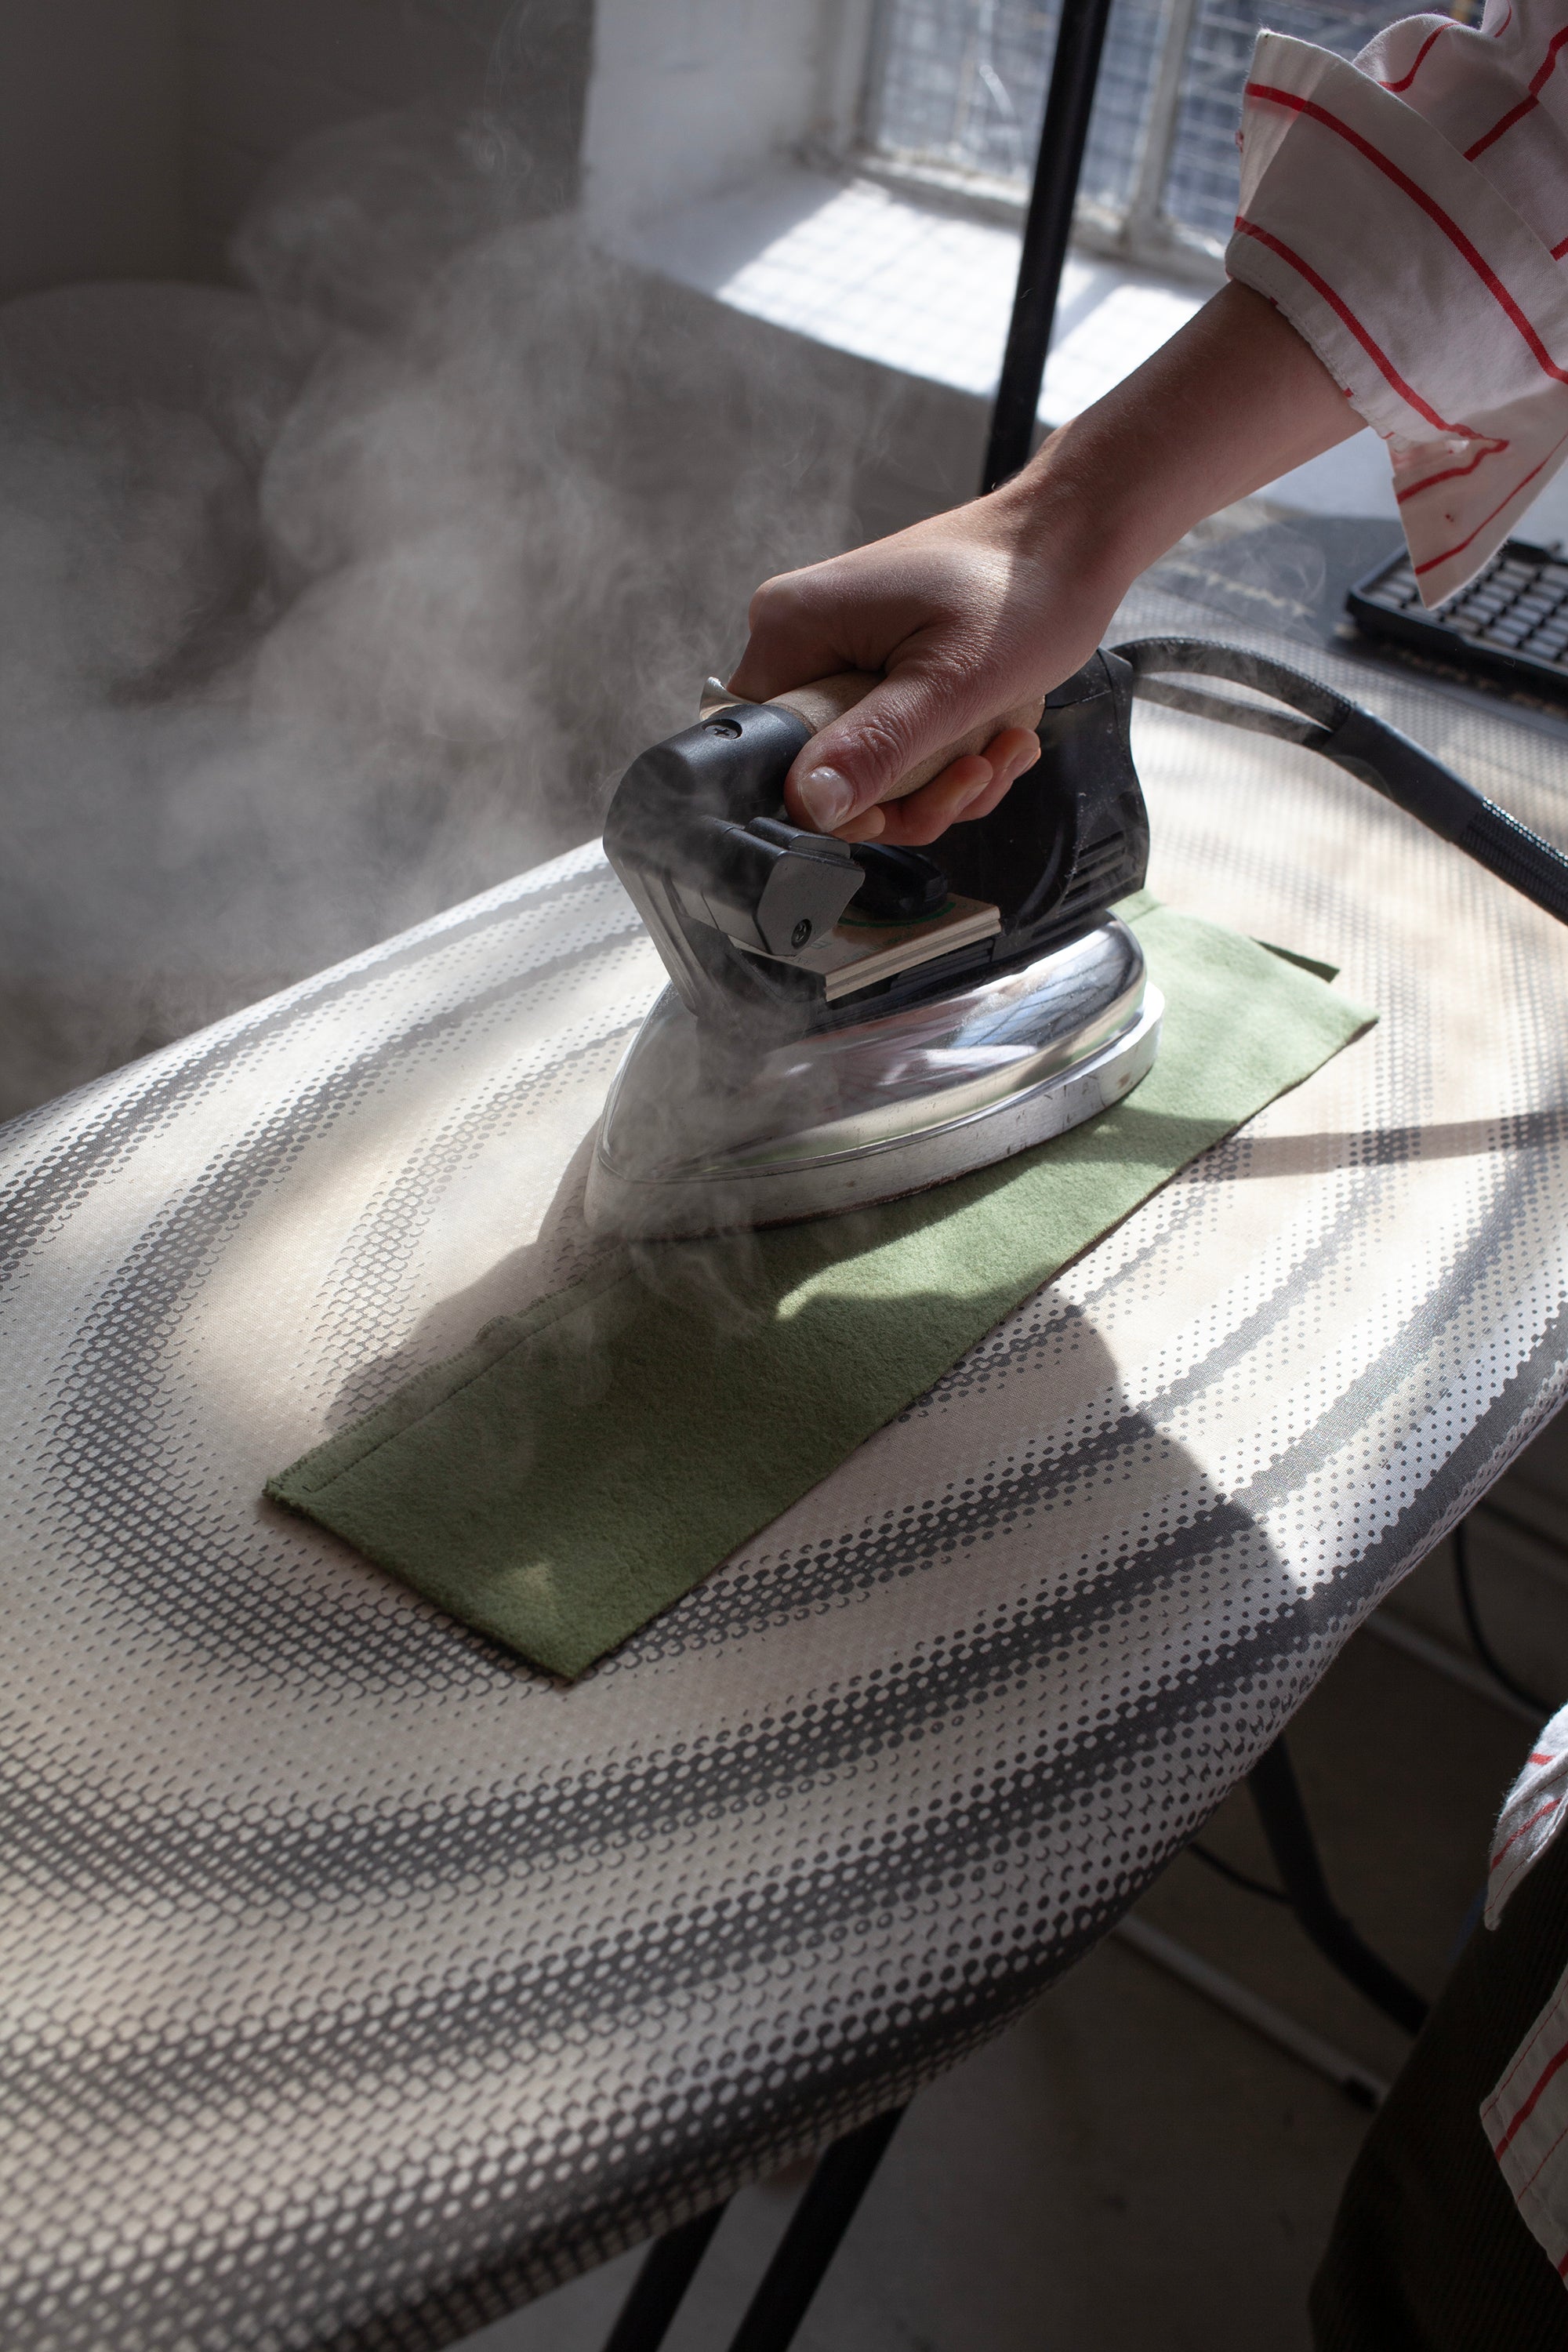
Pressing Jersey
1.
You’ll often find jersey wobbles and stretches after sewing a seam.
2.
To help correct this, use the iron with lots of steam to even it out. It helps to continuously lift and press with very gentle pressure. The aim is to push the jersey back into place while letting it sit nice and flat.
3.
It's a satisfying way to retain the shape of your garment. Below are two photos of the Rib Sweater, before and after the final pressing!
Before
Before the final pressing...
After
After the final pressing!