

Gallery

Cut: Over Shirt
Size: 14 - I'm usually a 10 but for this piece I sized up by 2 sizes. I think is crucial for making the drawstring feature work.
Adjustments:
- I added about 20cm to the length
- Drawstring feature with brass eyelets
- Different patch pocket shapes
- Extra 1.5cm on the outer edge of the collar

Adding to the length
This pattern is a fairly square fit so it's an easy one to add length to. I simply chalked on an extra 20cm to the bottom which was the perfect length including a 2cm hem.

Back Loop
I made a bit of a feature out of the back yoke loop by making it slightly wider, longer and fitting it really close to the yoke. I pinned a couple of other variations including a contrast loop before choosing.


Front Button Stand
As this is a shirt pattern the front button stand is a 3cm double fold. I started to make it this way but it looked too narrow for the overall feel so I ironed it back out and made it wider with just a 1cm fold to finish it. (This will probably make more sense if you look at your pattern piece and imagine the folds).

The main event...
The Drawstring
The main feature of this hack is the drawstring that goes around the waist. As this fabric was 150cm wide I simply cut long strips across the grain to make the channel and drawstring.
The Channel
The channel is 2.5cm wide but you could opt for a wider one if you'd prefer (remember to add 1cm on either side for the seam allowance).
The Drawstring
I cut the drawstring 4cm wide, folded into 4 equal parts and then stitched it closed. The finished width is 1cm. It only just squeezed through my eyelets so be aware of the width!
Eyelets
I used brass eyelets from Prym, the box comes with everything you need, you just need a hammer! If you didn't want to use eyelets you could achieve the same thing with a small button hole.

Drawstring Method
1. Press the seam allowances of the channel in at the top and bottom by 1cm
2. Press and stitch the drawstring so it's ready to attach
3. Try the jacket on and nip the garment in at your waist using your hands to find where you want the drawstring position. Mark it with a pin or chalk, then take the garment off and pin/chalk the channel position all the way around the inside
4. At this point you'll need to do your eyelets or button holes at the front for the drawstring to come out through. Add a tiny bit of fusing around the opening of the holes to strengthen them.
5. Thread the drawstring through the exit points
6. Pin your channel into place and then stitch all the way around, enclosing the drawstring as you go

Contrast Fabric
With shirt making you sometimes have to stitch through around 7 layers of fabric. If your main fabric is quite stiff or thick it can be a good idea to use a lighter weight fabric for areas like plackets and under collars.
I used a tencel twill in a contrast colour for the following pieces: the placket, inside yoke, under cuff (I split it into two), the under collar, under collar stand and inside neck loop.

Topstitch Thread
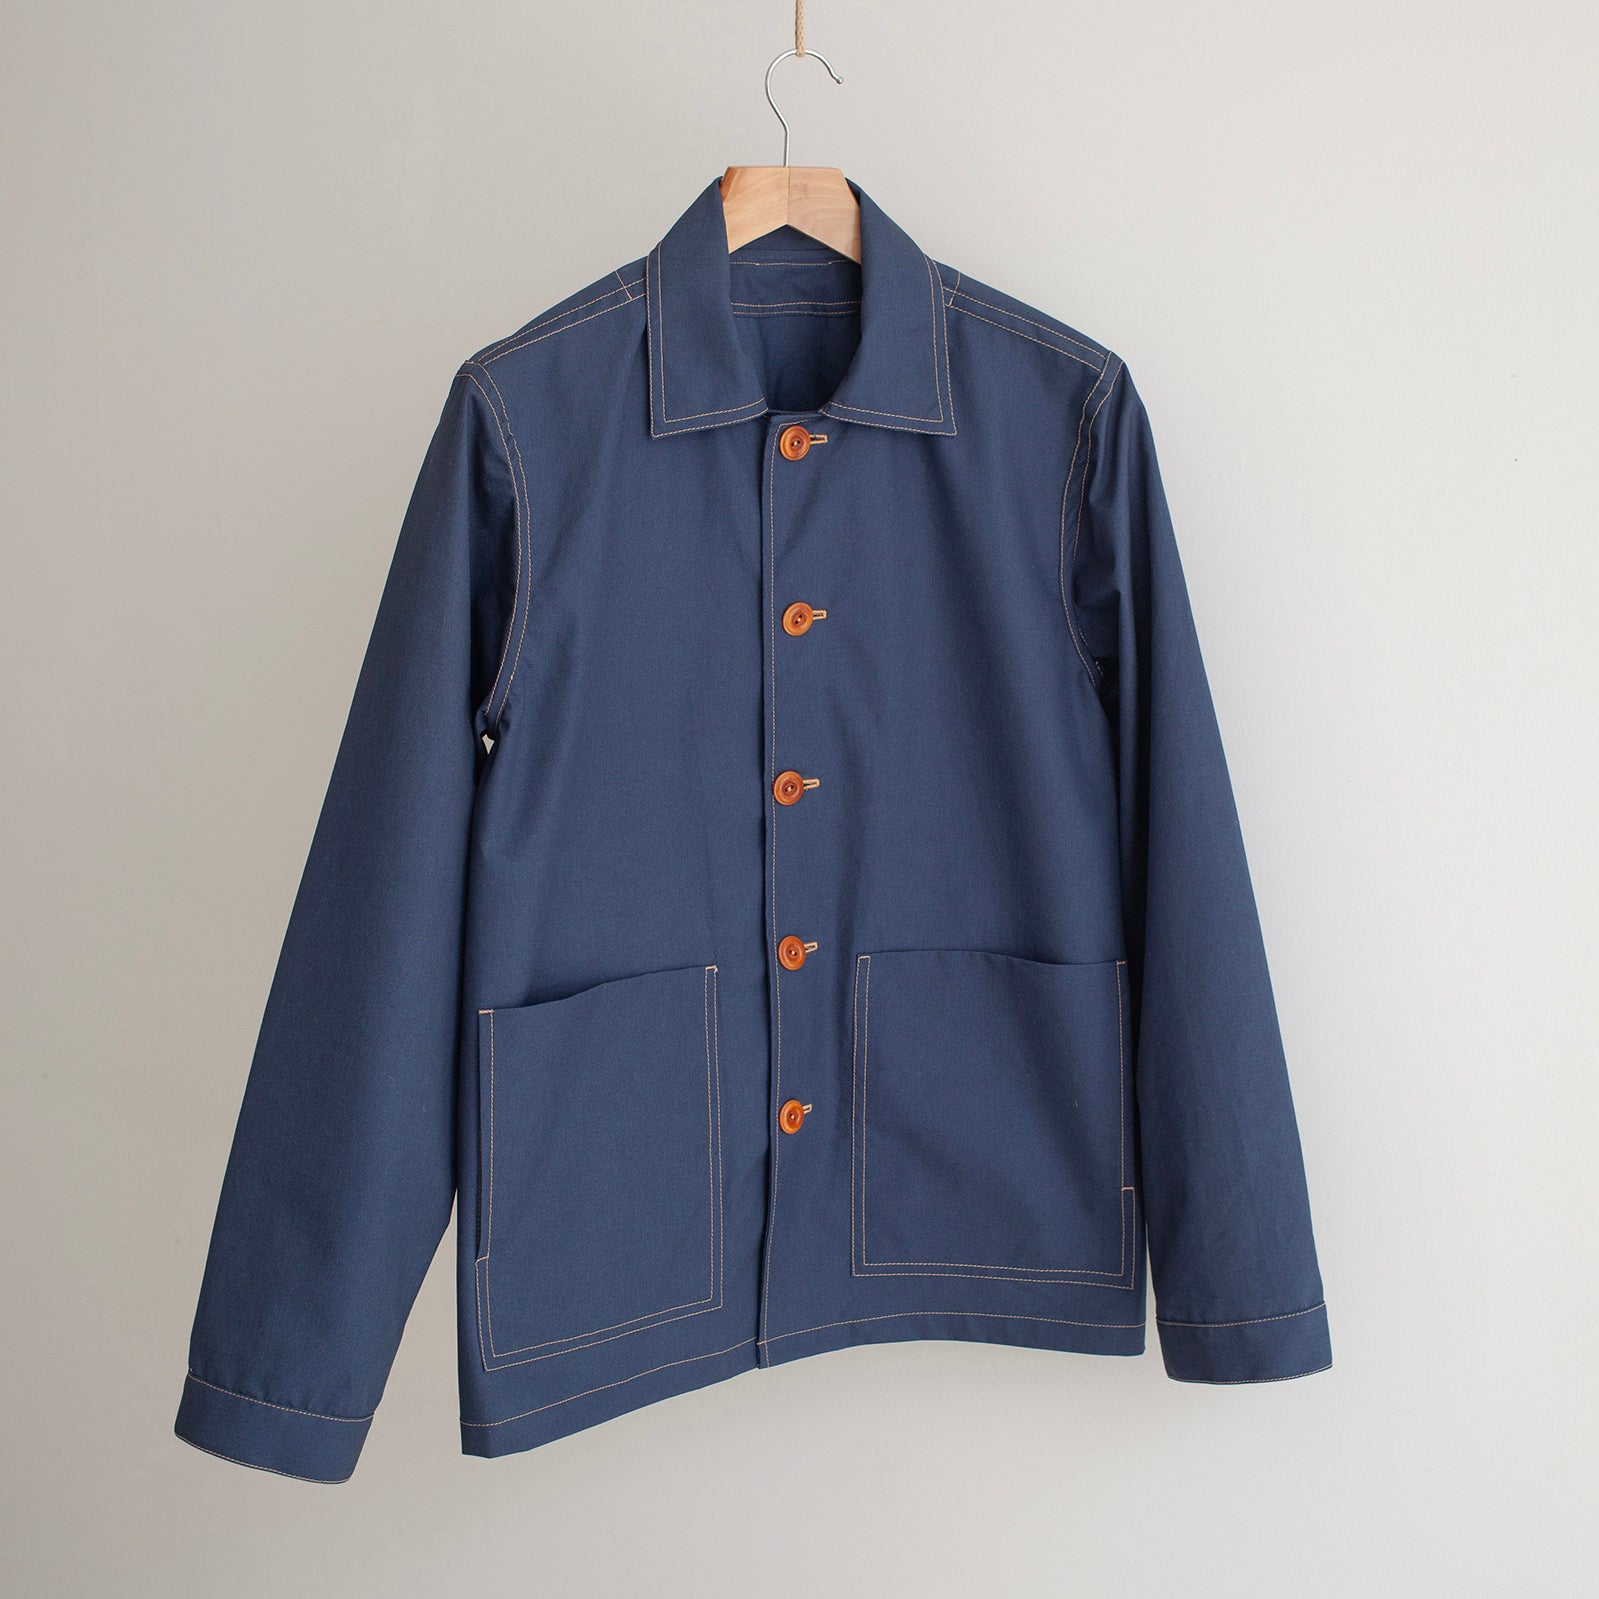
A big part of what makes this garment work is the thick topstitch thread in the contrast colour. I have only started to play with thread thickness very recently and I’m hooked. It makes a piece look more bespoke, especially if you’re brave enough to choose a contrast colour. I highly recommend playing with heavier threads if you haven’t ventured already, it’s a lot of fun.
To use a heavy weight thread you just need a topstitch needle for your machine and you’re good to go. I recommend the Gutermann top-stitch threads however they do come at a higher price so it’s something I’ll only do for special garments.
Stitch Length
This is the first garment I've made where I've used stitch length as a design feature. I sew all of my garments with a stitch length of 2.5 but on this piece I chose a 4. It really helps the topstitching to sing and I think it's a genuinely a noticeable design feature.

Patch Pockets
I could go on forever but I'll round it off by mentioning that I went a bit freestyle on the patch pockets and made some new shapes. This is a really nice simple way to personalise a garment.

In summary...
I'm actually slightly obsessed with this piece. It feels like a statement garment that's totally wearable. I'll be taking some proper pictures of it on myself next week along with the summer capsule round up.
If you haven't made a shirt before I wouldn't recommend starting with this hack but it's a very achievable project to work up to. The 'Art of Shirt Making' is one of our most popular bundles and it's a great place to start building confidence in shirt making.

