This site has limited support for your browser. We recommend switching to Edge, Chrome, Safari, or Firefox.

Join us for our next Capsule Course by 31st January

Cart 0

No more products available for purchase

Products
Pair with
Subtotal Free
Shipping, taxes, and discount codes are calculated at checkout

Your Cart is Empty

Over Shirt Deep Dive

The weekend long read.
With the range of PDF Patterns now standing at 16 pieces I’m enjoying revisiting them to ‘deep dive’ into the details and character of each one. As I sat down to write this I realised that the Over Shirt is the pattern that has probably had the most significance in my career so far.
In 2016 I developed a small line of ready-to-wear shirts and launched my first business, Henri London. The Over Shirt was the quickest style to sell out and I had it on constant re-stock from 2016 to 2021. Since shifting from selling clothes to selling patterns it has remained been a firm best seller (second only to the unstoppable Worker Trousers).
It's hard to believe but back in 2016 casual cotton chore jackets weren't as common as they are now. I distinctly remember walking through the park one summers evening and imagining creating something that looked like a shirt but felt like a cardigan. Something that you could wear for warmth and comfort but still looks put together enough to feel smart and confident.
2018 - Sitting outside my shop in my Over Shirt
I spent many hours in 2016 developing the pattern around this premise. Looking back at this it was a rather blurry few months of a highly caffeinated younger Hetty, constantly sewing and getting through metres and metres of calico. The result was something that is still integral to my business today so it was really worth all of the anxious caffeine shakes.
A year or so after initially launching this style I started to teach shirt making as a side hustle. I would gather 3 other makers in my tiny studio once a month and teach them the intricacies of shirt making over the course of a weekend and when the pandemic hit I turned my studio workshops into online pre-recorded tutorials. The Modern Sewing Co. was born as a result of the pandemic and here we are, talking about sewing patterns rather than shop bought clothes - a far more fulfilling way to dress in my opinion.
The Over Shirt shirt worn with the Frida Shirt & Worker Trousers.
So in homage to this pattern I thought I’d do a ‘deep dive’ and share the details of the pattern along with my top tips for making it. And at the end I’ve added some wonderful makes from customers to show just how much you can do with this pattern.
I hope it’s useful (and interesting!) and if you’re left with any questions just hit reply to this email.
Hetty
x
The Cut
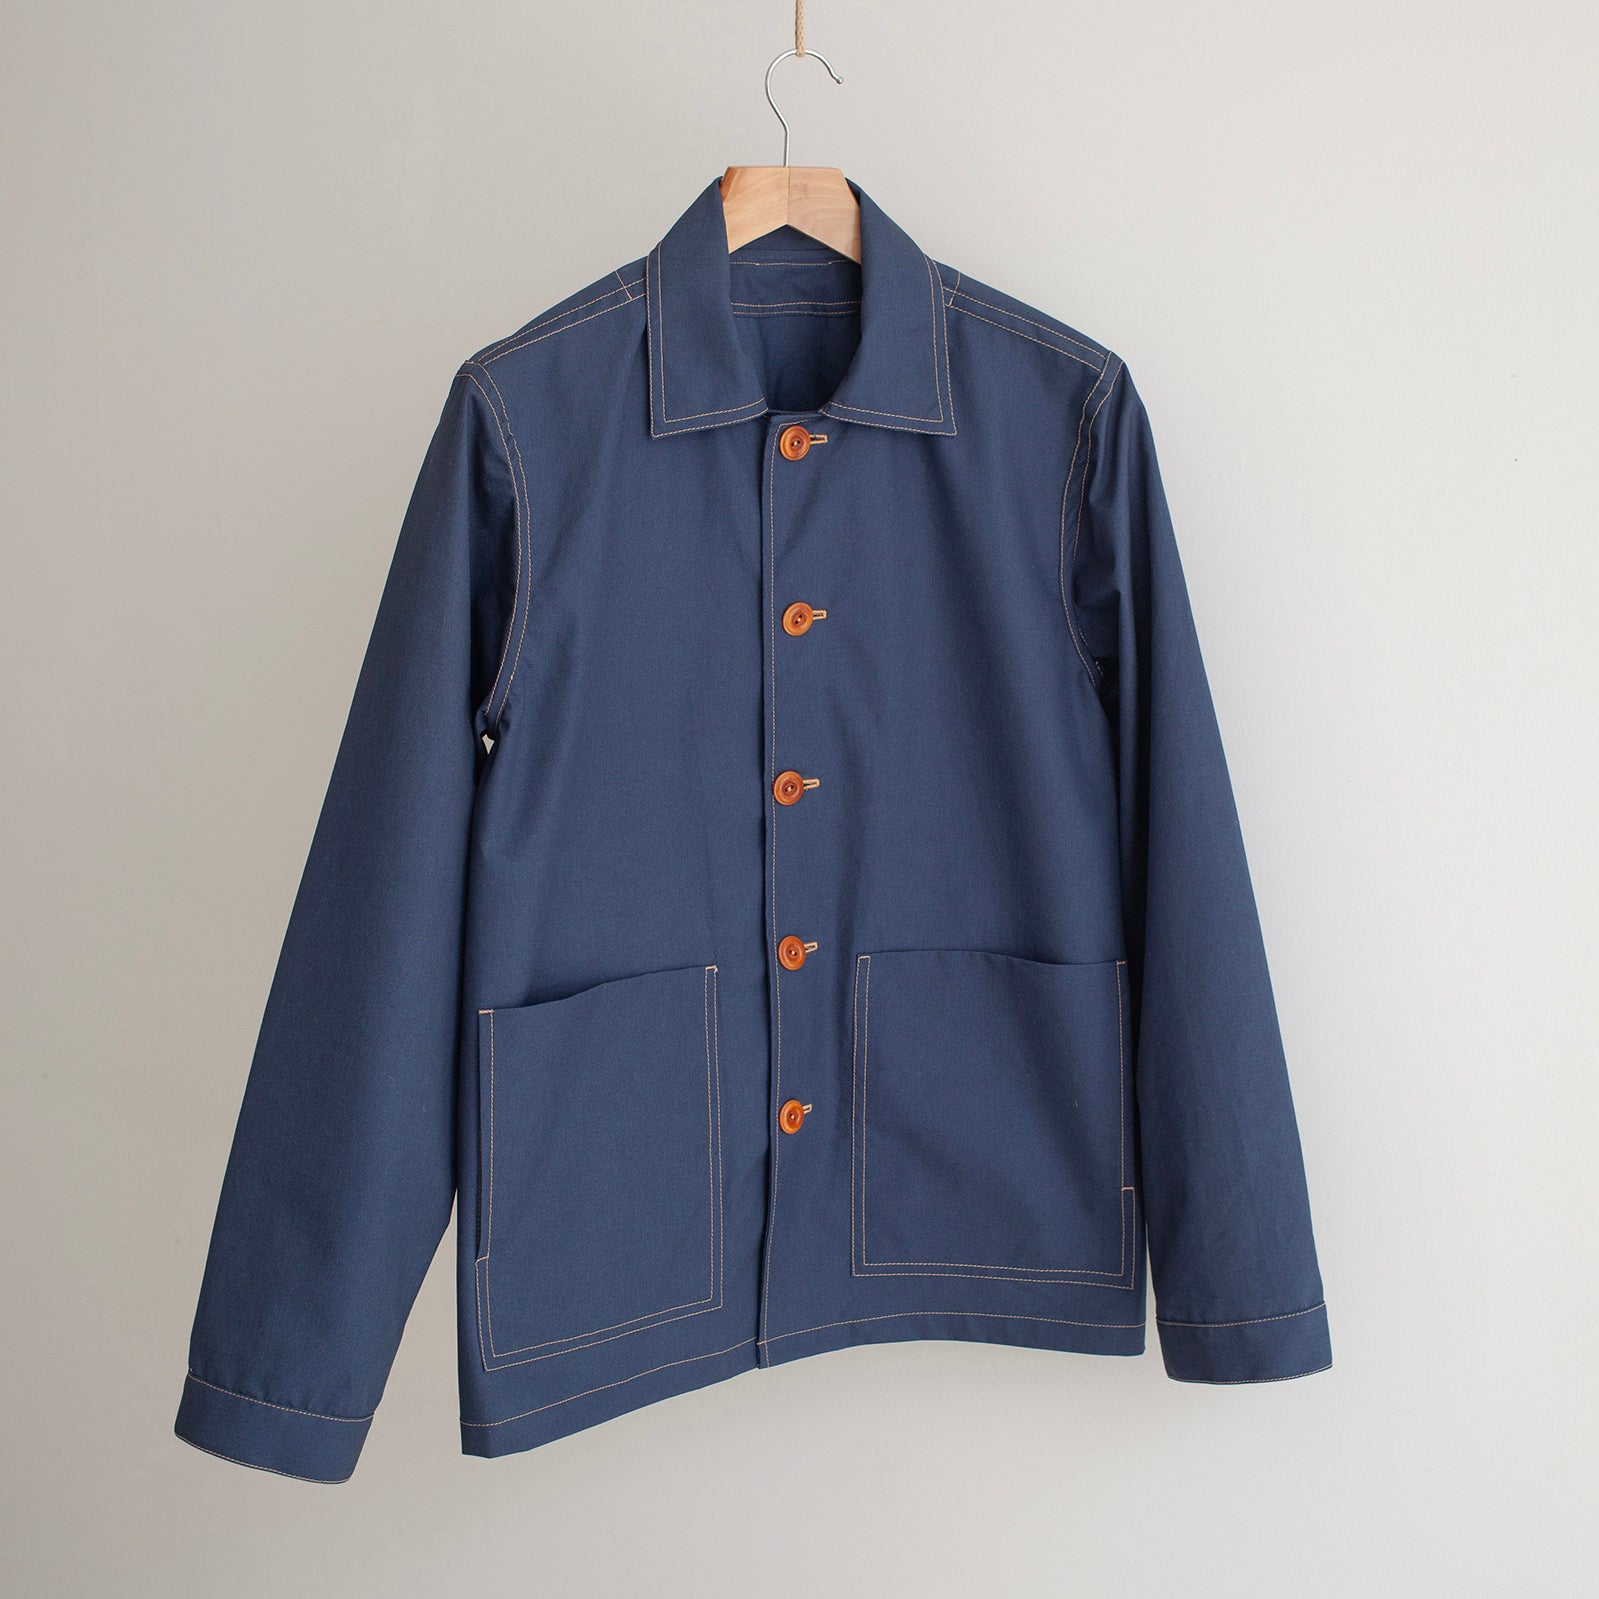
The Over Shirt is a classically constructed shirt with the feel of a light jacket. The silhouette is a loose fit with dropped shoulders and a cropped length which overall gives it quite a square shape. Despite the dropped shoulder the armhole isn't too deep which makes for a neatly fitted sleeve with a placket and cuff.
As a classic throw on shirt it has a centre front button stand and a classic shirt collar and collar stand. It also features patch pockets and a small coin pocket on the front panels.
Sewing Techniques
This style has a few processes that require a little extra brain power but I wanted to make sure it’s as accessible as possible. The online workshop is there for anyone who is early in their sewing journey but doesn’t want to limit themselves to easy projects.
The pre-recorded online tutorial takes you through every step in great detail and will allow inexperienced sewers to make a high quality shirt. I don’t want you to have to waste fabric and time on ‘practise projects’, I’d much rather you have the guidance you need to get your teeth straight into garments you actually want to wear.
So without further ado, the construction techniques you’ll use (whether you’re following the tutorial or written instructions) are:
- Run & fell seams
- Button stand
- Collar & collar stand
- Back yoke
- Sleeves with plackets & cuffs
- Inserting the sleeve on the round
- Patch pockets
- Topstitching details
- Buttons & button holes
 

I always like to think of sewing a shirt as completing a series of stages. It’s a nice idea to break down the sewing process if you feel a bit overwhelmed at the amount to sew.

I always start with the front panels and sew the button stands and then add the pockets. Next I sew the back and yokes together and then join the shoulder seams and side seams. Once this is done I approach the sleeves and the collar as 2 separate tasks. And after that it’s just the buttons and the hems to complete.

Tips 

...for a smooth and professional make.

It's really nice to aim for a high quality of finish with something as wearable as an Over Shirt. It's likely to be in your wardrobe for many years so it's a great chance to push your finishing skills as far as possible. Here are a few extra tips to achieve that extra special quality of finish:


Think in millimetres and not centimetres. Shirt making is a precise process and it helps to really zoom in and think in small increments.

-

Cut out your pattern pieces as neatly as possible and carefully snip every single notch as you go. This will ensure your seam allowances are accurately marked which gives you neater guidelines to work with.

-

When it comes to sewing, focus on getting your stitch lines nice and straight using the seam allowance notches as mentioned above.

-

Trim back the inner seam allowances where bulky areas meet such as where the plackets join the cuff and where the collar stand joins the button stand. This will help those areas to sit much flatter, giving it a neater finish.

Use the iron generously. Take your time and apply plenty of steam and weight. If you set yourself the task of spending twice as long pressing your garment throughout the process you'll have a garment that is twice as crisp when you finish.

-

Always, ALWAYS pre-wash your fabric.

-

Check the sleeve length before you cut your fabric out. You don't want to sew a whole placket and cuff to realise that the sleeve is too long or short.

-

Length is very easy to add to this garment as it is a square cut. You can use a ruler to chalk the extra length directly on to your fabric before you cut it out.

-

You can pre-fuse all of your pieces for a smooth sewing process.

Your Makes

(and some hack ideas).

1. By the Book

To kick off here are a couple of lovely makes that are by the book with no hacks or changes. 

Above made by @knitxxor 

Below made by @adinskausminsk

2. Go Full Utility

If you're looking to make a more substantial 'jacket' style Over Shirt then you can easily do so by adding to the length. This maker also played with the pockets and it was so good that she made two..!
 

Above & below made by @beccalgood

3. Colour Blocking

The Over Shirt pattern has quite a few pattern pieces which makes it a great piece to play around with block colouring.

The piece above is made of scraps of fabric left over from other projects which is such a great way to save on waste and create a piece of clothing for free.

Above made by @the.hero.of.this.story

Below made by @handverkshverdag 

4. Upcycling Magic

I'm a bit obsessed with both of these makes and I immediately need to go tablecloth shopping. The make below opted to turn the sleeve pleats into gathers and they also left the pockets off. Both of these design decisions means the beauty of the fabric isn't interupted.

Above made by @zuzstories

Below made by @flippingcurtains

5. Rain Ready 

Another option for a more substantial 'jacket' feel is to use a waxed cotton and add a lining.

When sewing with waxed cotton you should use the iron sparingly so it's a good idea to loose the placket and cuff like this one has. To make up for the minimal ironing you can use additional topstitching to get a more crisp finish.

Made by @heritageninja

6. Short Sleeved Sass

And last but not least here is a very lovely short sleeved version, the perfect piece for summer!

Made by @heritageninja