


Unisex Shirt PDF Pattern
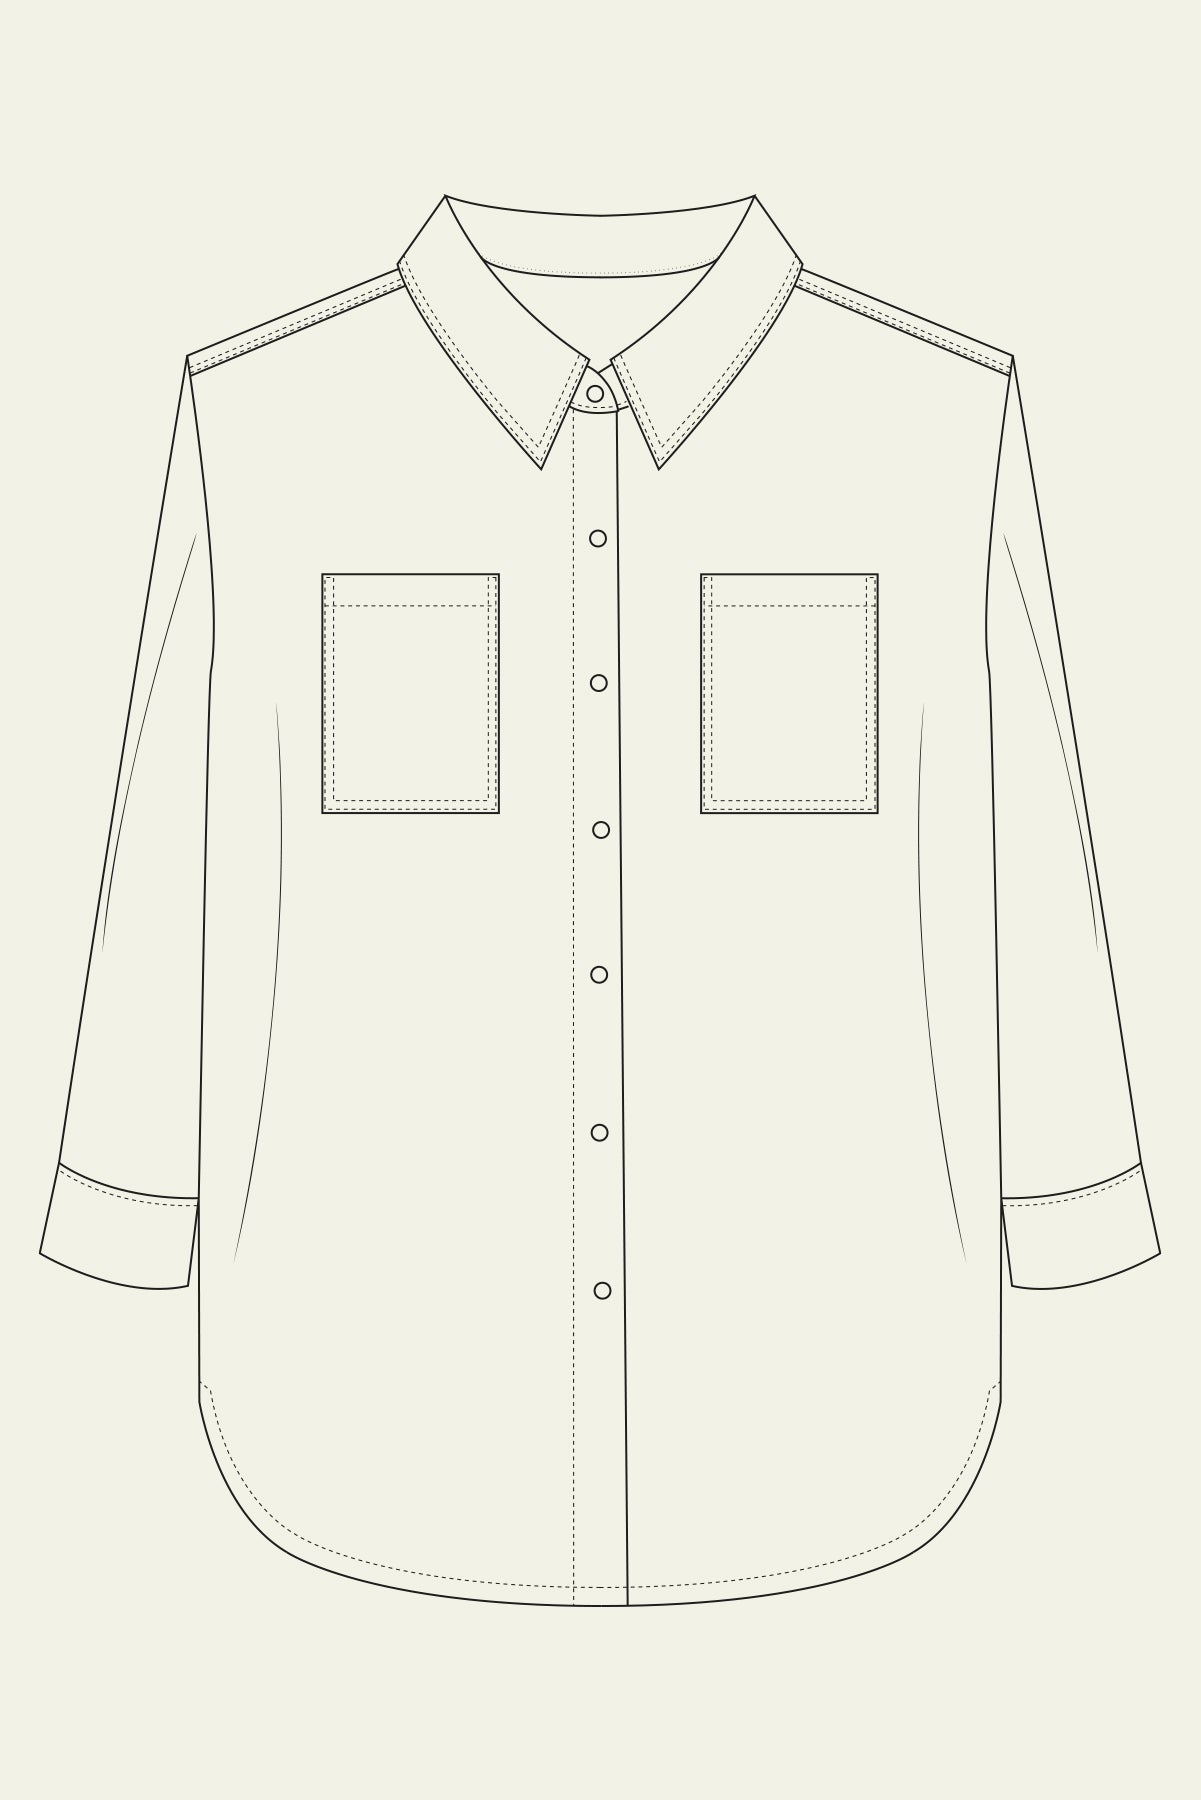
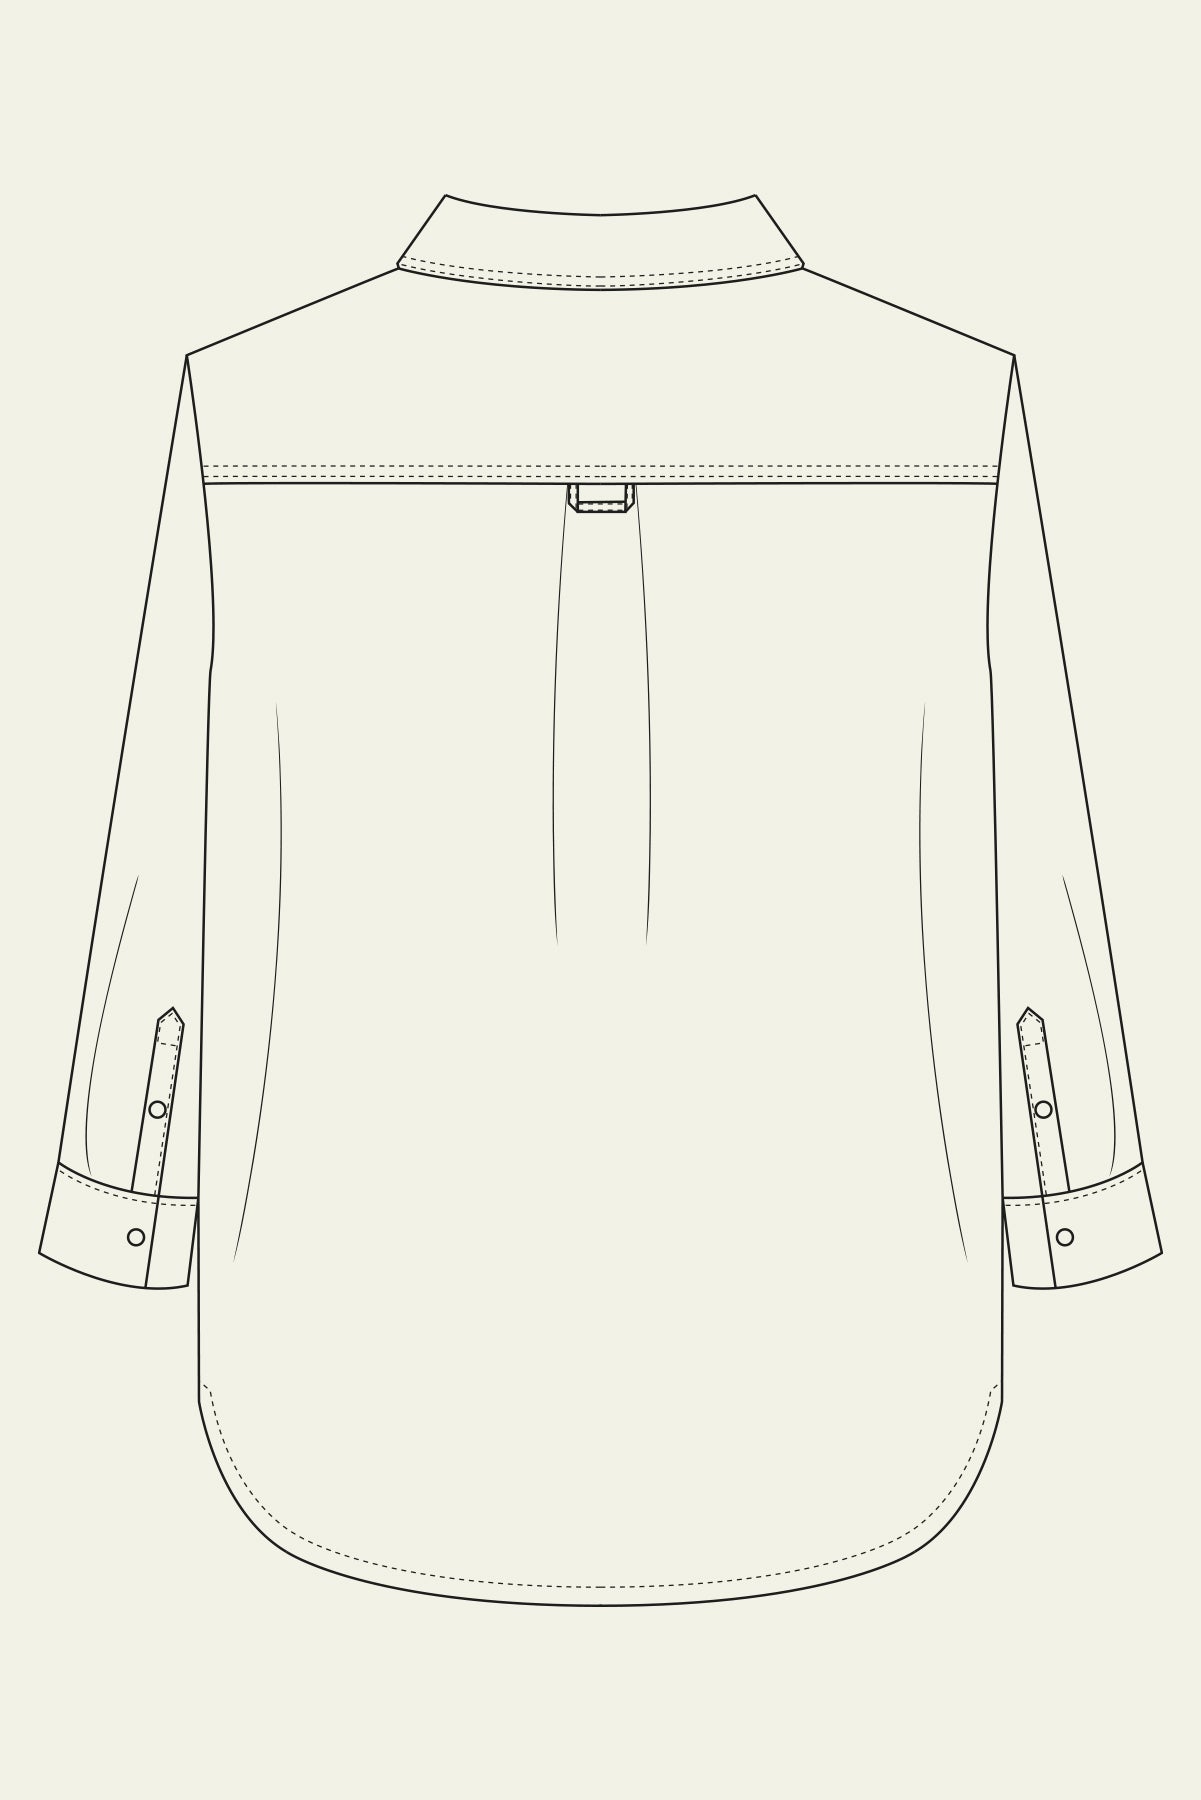
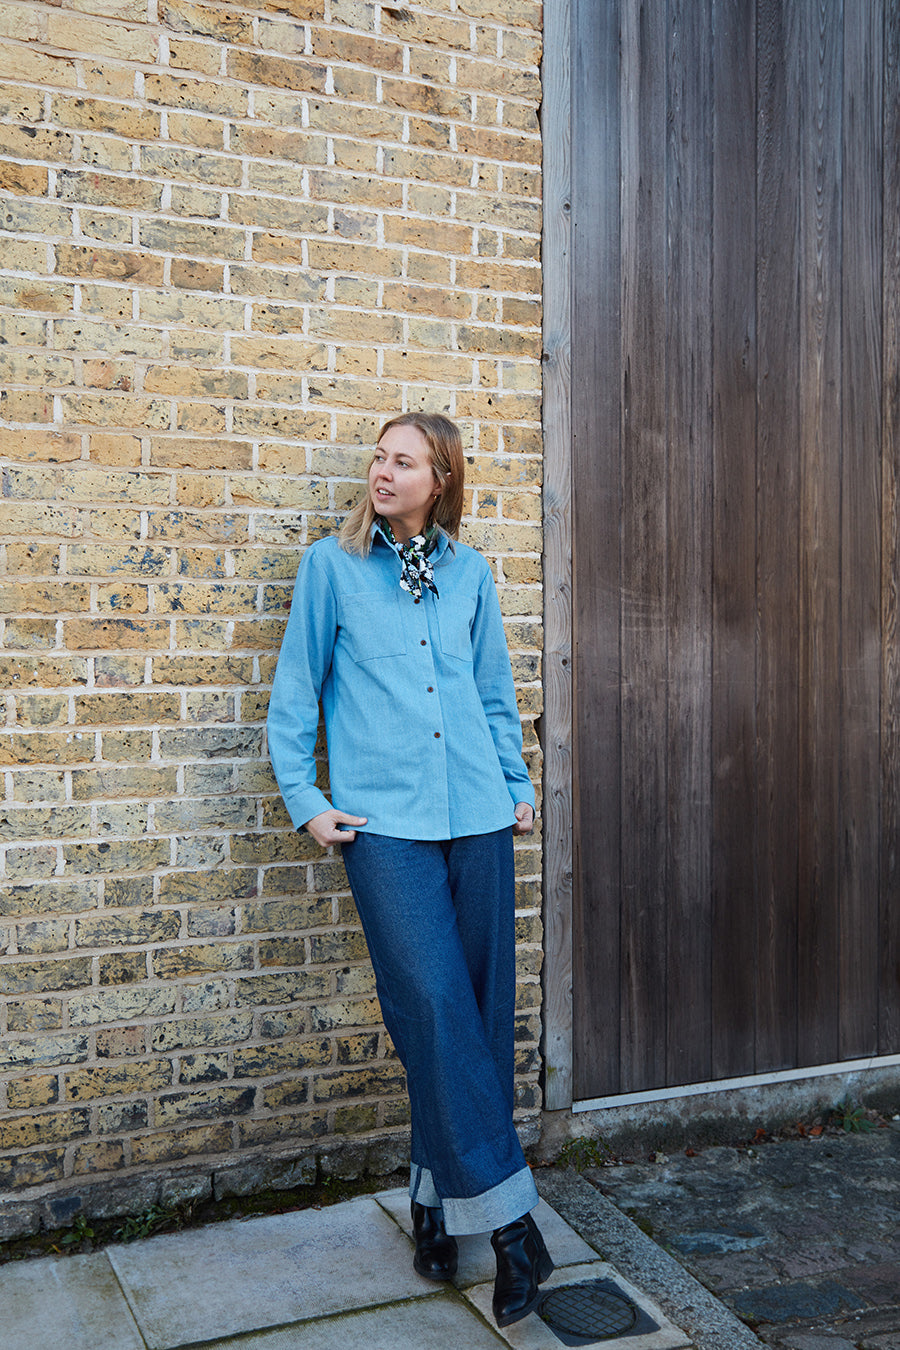
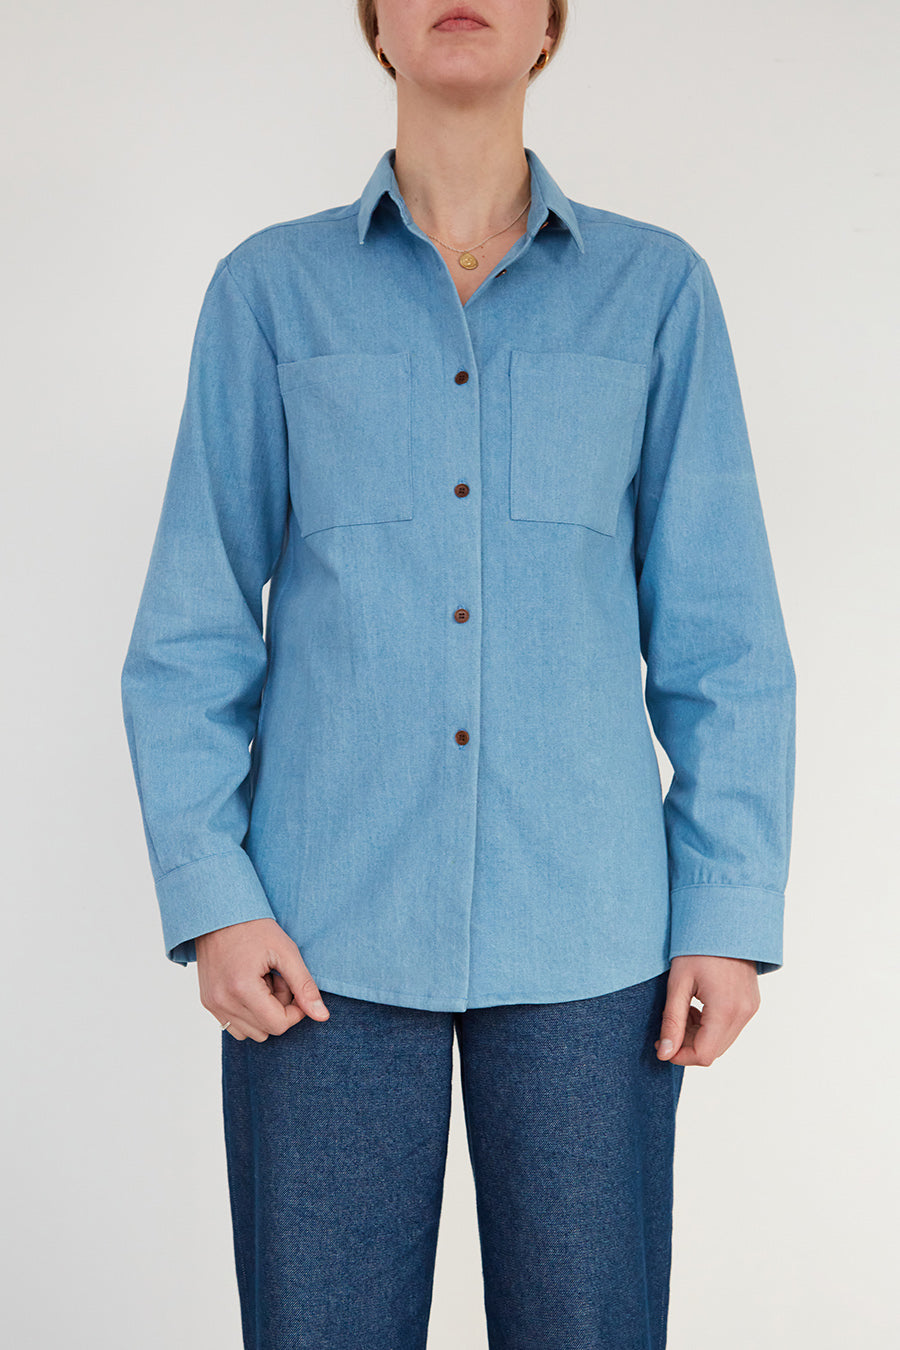
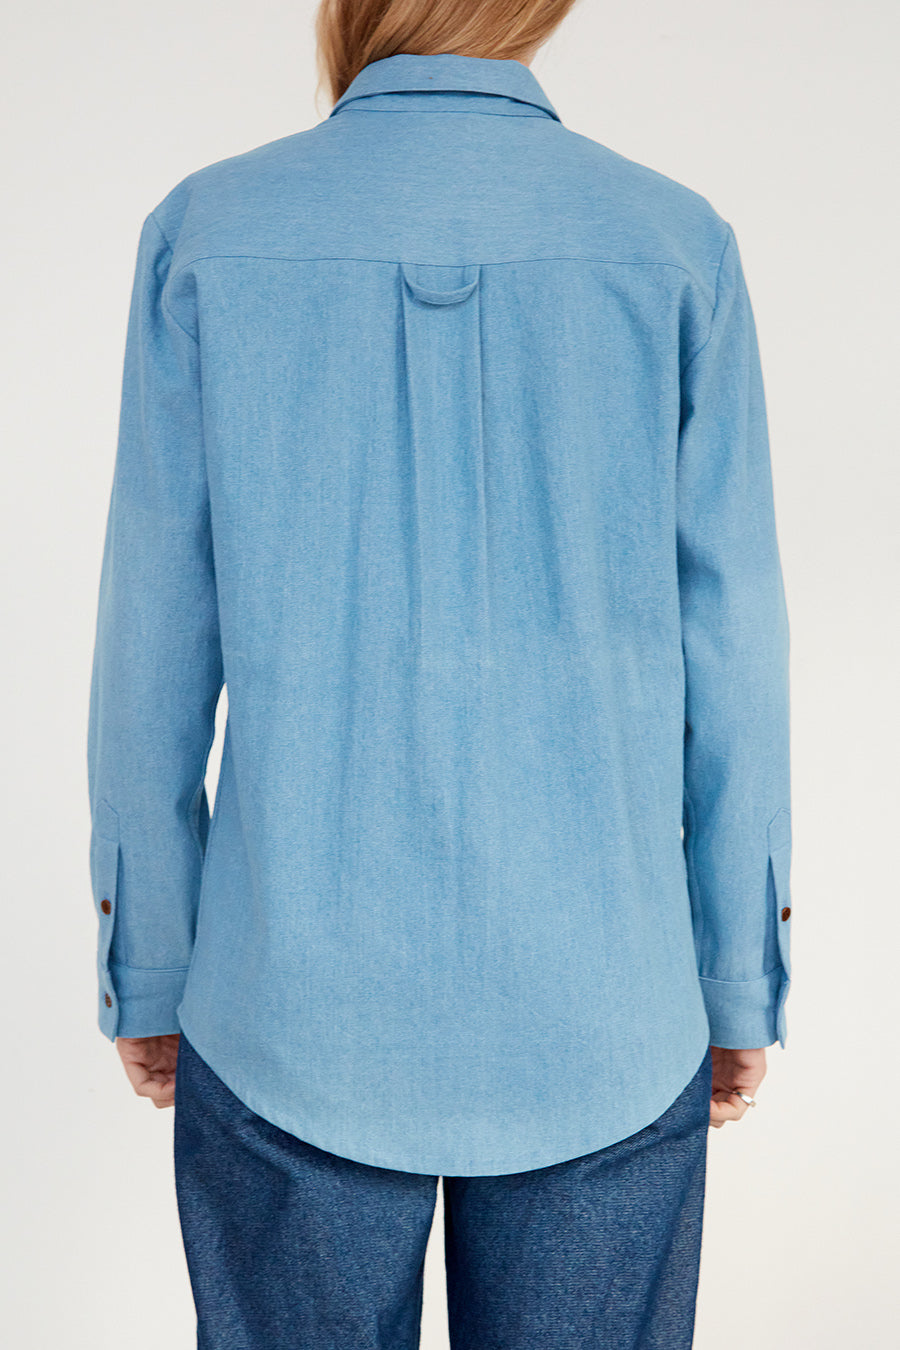
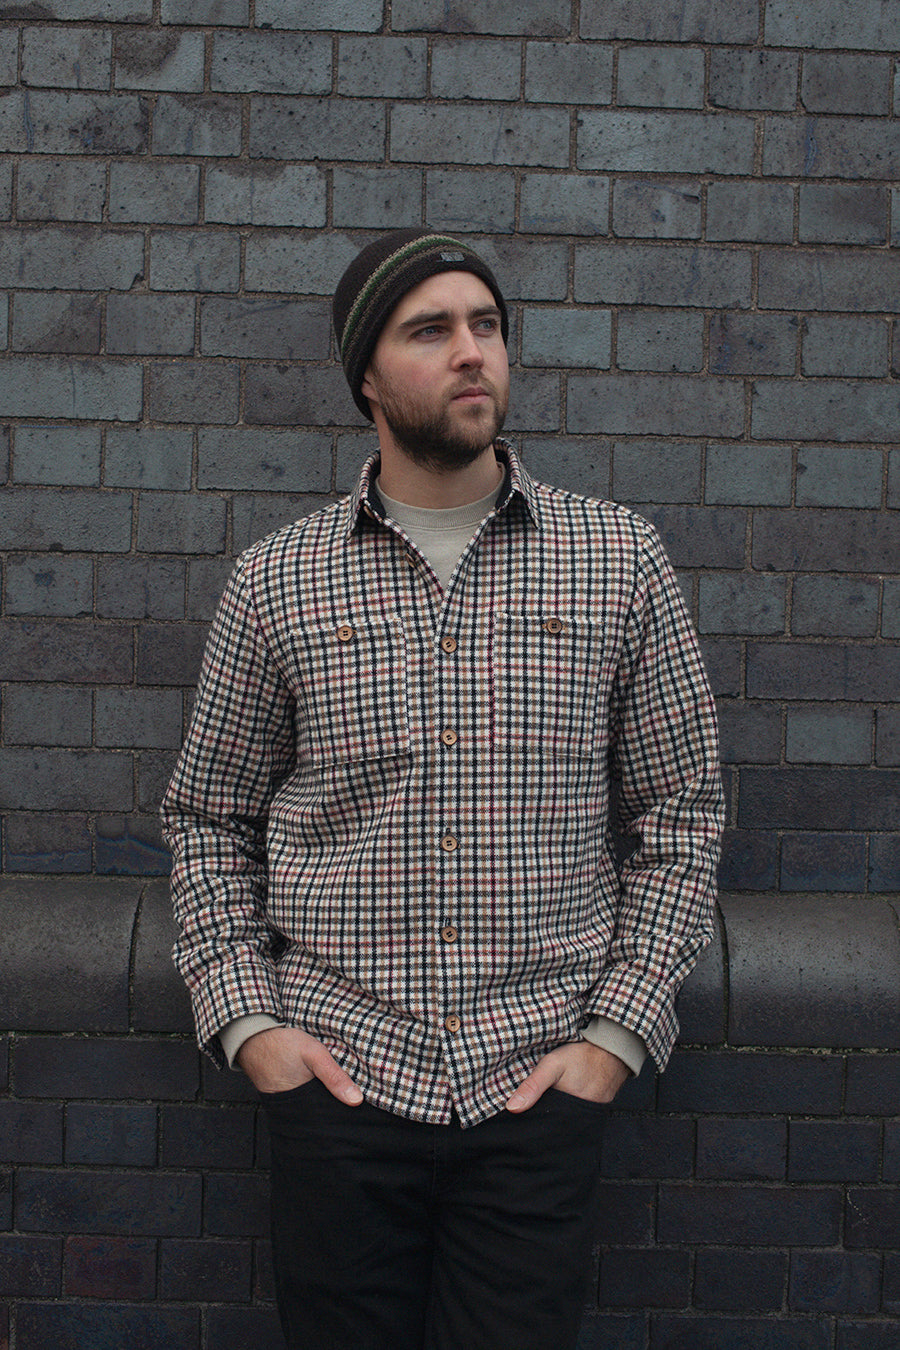
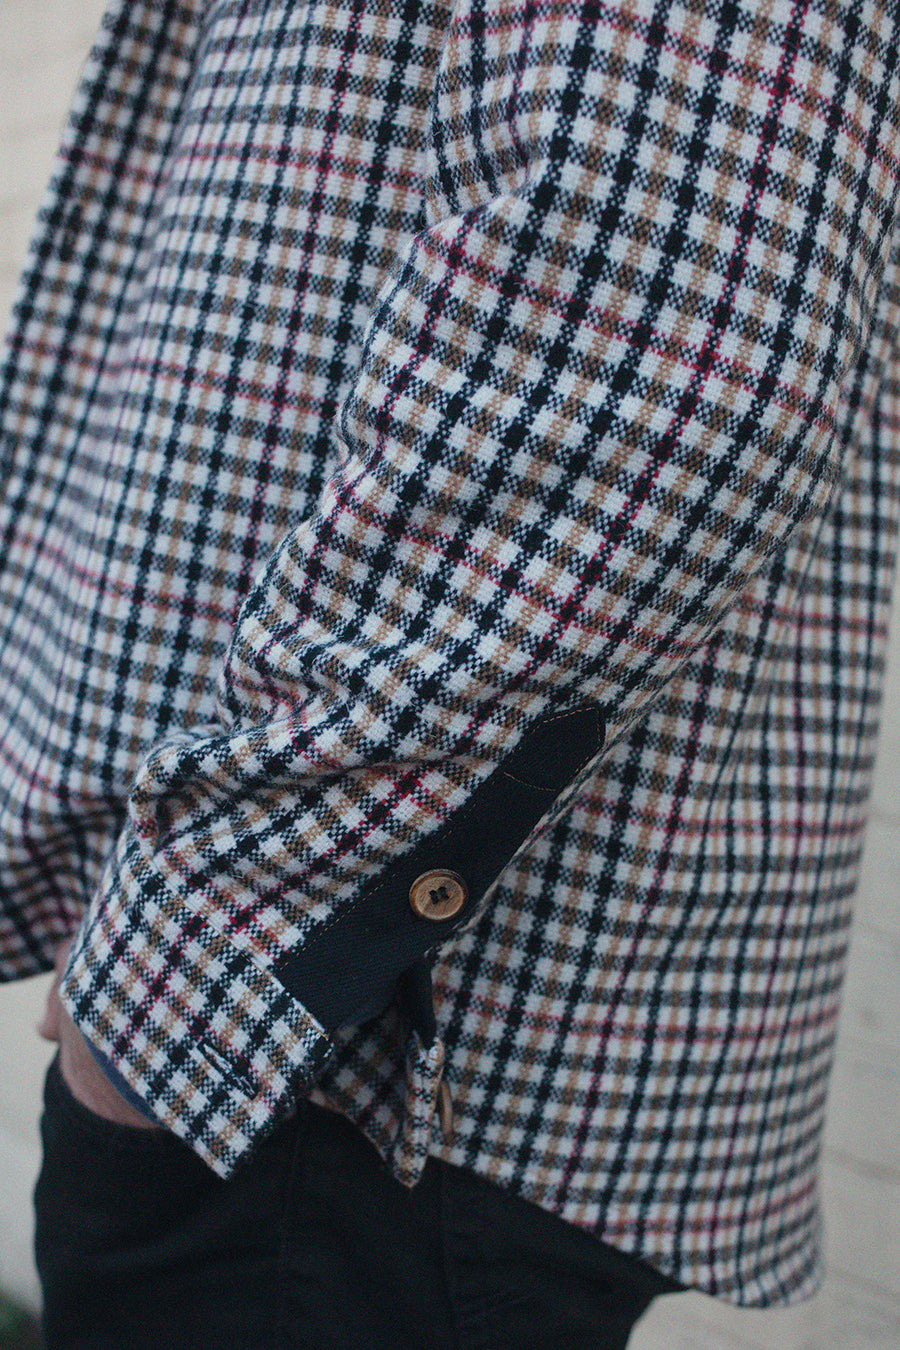
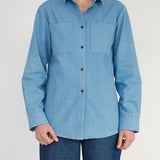
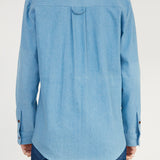
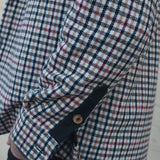
The Unisex Shirt is a classic men’s shirt that has been slightly modified to accommodate the curves of a female body. It sits broader on the shoulder than the Classic Shirt and generally has a leaner silhouette.
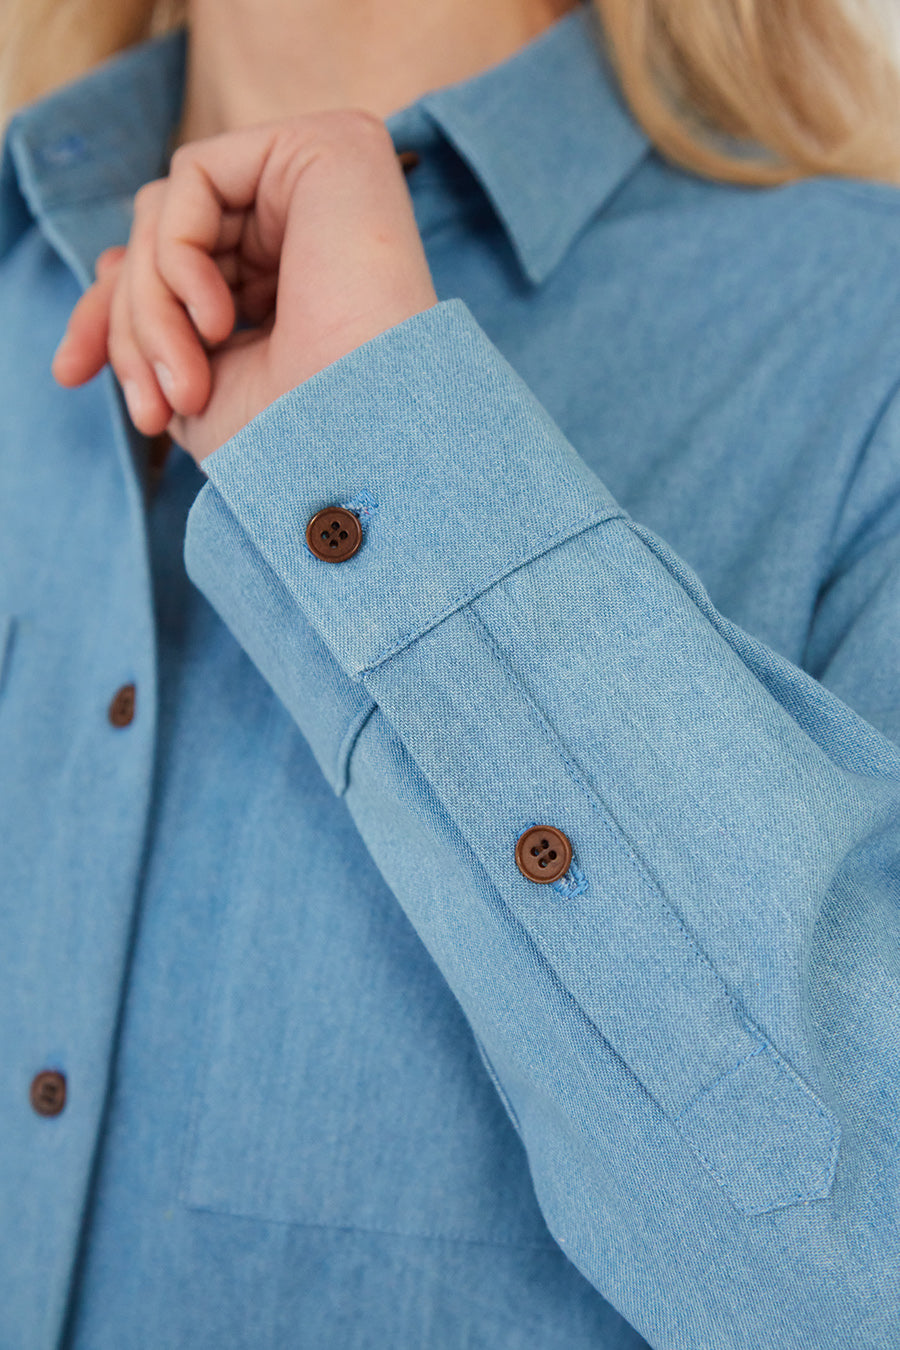
Here at the Modern Sewing Co. we love shirt making. Once you've learnt the techniques to a high standard you can apply them again and again. If you're totally new to shirt making you might like to consider our Art of Shirt Making workshop bundle. Click through for more details on how find your feet with tailoring.
You can search instagram for customer makes with the hashtag #msunisexshirt
Skill Level
Suitable for Intermediate sewers. This piece is constructed almost identically to the Over Shirt which is why the Art of Shirt Making workshop is a great option.
Construction techniques: Classic collar & collar stand, placket & cuffs, double shoulder yoke, run & fell seam, inserting sleeve head with ease, patch pockets & standard hem.
Sizing & Fit
Mens sizes XS2 - XL3 / Women's sizes 4 - 20 (with PDF Layers)
This is a classic style shirt with a neat but fairly broad shoulder and a very straight torso. Instead of narrowing towards the hips like typically male shaped cuts, there is slightly more room to accommodate the wider hip of more female body shapes. This pattern comes with 3 different sleeve length options.
Measurements in cms
XS2 | 32 InchesChest - 90, Collar - 36, Length - 72, Sleeve 1 - 63.5, Sleeve 2 - 58.5, Sleeve 3 - 53.5
XS1| 34 InchesChest - 95, Collar - 37.5, Length - 72.6, Sleeve 1 - 64, Sleeve 2 - 59, Sleeve 3 - 54
XS | 36 InchesChest - 100, Collar - 39.2, Length - 73.2, Sleeve 1 - 64.5, Sleeve 2 - 59.5, Sleeve 3 - 54.5
S | 38 InchesChest - 105, Collar - 40.8, Length - 73.8, Sleeve 1 - 65, Sleeve 2 - 60, Sleeve 3 - 55
M | 40 InchesChest - 110, Collar - 42.4, Length - 74.4, Sleeve 1 - 65.5, Sleeve 2 - 60.5, Sleeve 3 - 55.5
L | 42 InchesChest - 115, Collar - 44, Length - 75, Sleeve 1 - 66, Sleeve 2 - 61, Sleeve 3 - 56
XL | 44 InchesChest - 120, Collar - 45.6, Length - 75.6, Sleeve 1 - 66.5, Sleeve 2 - 61.5, Sleeve 3 - 56.5
XL1 | 46 InchesChest - 126, Collar - 47.3, Length - 76.3, Sleeve 1 - 67.1, Sleeve 2 - 62, Sleeve 3 - 57.1
XL2 | 48 InchesChest - 132, Collar - 49, Length - 77, Sleeve 1 - 67.7, Sleeve 2 - 62.5, Sleeve 3 - 57.7
XL3 | 50 InchesChest - 138, Collar - 50.7, Length - 77.7, Sleeve 1 - 68.3, Sleeve 2 - 63, Sleeve 3 - 58.3
Materials Needed
Suitable fabrics: This piece works in a huge range of fabrics such as denims, twills, canvas, corduroy, needlecord, light woollen weave, flannel and brushed cotton along with lighter fabrics like cotton poplin/lawn, linen.
Fabric requirements: Our lay-plans are always done on a single layer of fabric to reduce wastage.
Fabric width 150cm | Sizes XS2 - M = 140cm | Sizes M - XL3 = 180cm
Fabric width 110cm | Sizes XS2 - M = 190cm | Sizes M - XL3 = 250cm
Materials list: Fabric, 13 x small buttons (about 1cm wide), thread, about 40cm of high quality fusing
Pages to print: Instructions - 18, A4/US Letter - 51, A0 - 3
How to use PDF Patterns
Where to find your patterns & workshops:
After purchasing you'll find your PDF pattern download and any workshops in your account page. Simply log in (or create an account using the same email address used to purchase) and click the account button in the top right corner. The most up to date versions of the patterns will always be available from within your account. If any changes are made to the pattern or instructions you’ll receive an email notification.
Opening your files:
Some older Window computers have problems opening zip files. If this is the case, you can use the free programme 7-Zip to open your files.
How to print your pattern:
You have two options for printing out your pattern.
1. You can get it printed in A0 at a printing shop or sewing pattern company. Search for "sewing pattern printing company" to find a company that does this in your region.
2. Or you can print it yourself on a home printer in A4 or US Letter format and then tile the pages together using tape.
Using PDF layers:
All of our patterns come with PDF layers so you can select the sizes you want to view and print. To do this you’ll need a PDF viewer such as Adobe Acrobat Reader (this is free to download).
-
More details on printing, using PDF layers and general preparation tips can be found on the ‘Using Our Patterns’ document (download for free here). This document comes with all of our patterns.
Unisex Shirt PDF Pattern


I made this shirt for my boyfriend, and we are both very happy with the result! I really enjoyed the process of following this beginner-friendly pattern - the instructions were clear and easy to follow, making the sewing experience truly enjoyable. My boyfriend loves the shirt, and it fits him perfectly. We chose the size based on his body measurements, and the fit turned out just right.
Thank you so much for this great pattern!
I loved making this shirt. It was so good to re-learn and practice skills from over 50 years ago at school!! I decided to make it for my husband with fabric from my rather large stash, sourced from an amazing clothing design store here in Dunedin N.Z. They sell off ends of rolls they have finished using on their incredible designs, from a suitcase in their store and I have been collecting my fabric from them for many years. I chose this gorgeous soft cotton, which also may have some linen in it, and I am so pleased with how it turned out. I definitely could do with another go at the jet pocket as it over laps a little instead of meeting neatly, and the collar stand is ok but probably a little improvement needed.
Overall though I am so enjoying this Capsule course. To be able to sew at my own pace, have heaps of instructions and videos from Hetty and see everyone's efforts and finished garments on the chat (although I am more a voyeur than a participant on that platform), has truely renewed and inspired my love of sewing.
I made this shirt as a gift, and I'm ready to make so many more.
The instructions are great and the fit allows for so many fabric options (overshirt, work shirt, classic shirt, etc.). The sleeve placket instructions are is really clear, but I think there might be a few steps missing for the button placket part of the construction. It should, however, be easy to figure out if you've sewed shirts before :)
- Recently viewed