


The Art of Shirt Making
For All Sewing Levels
Online at Your Own Pace
12 Sewing Skills & 3 Hours of Videos
1 Online Workshop + Step-by-Step Photos
All PDF Patterns Included | UK/AUS Sizes: 4-28 | US Sizes: 2-24
Metric + Imperial Measurements (with pattern layers)
Detailed Fitting Guidance
Lifetime Access
Master the Art of Shirt Making
The Art of Shirt Making is a self-paced workshop designed to elevate your sewing skills and build your confidence. You'll learn how to make all 3 of our shirt patterns - the Over Shirt, Classic Shirt and Unisex Shirt - using the Over Shirt Workshop along with our fitting tutorial & step-by-step photo guides.
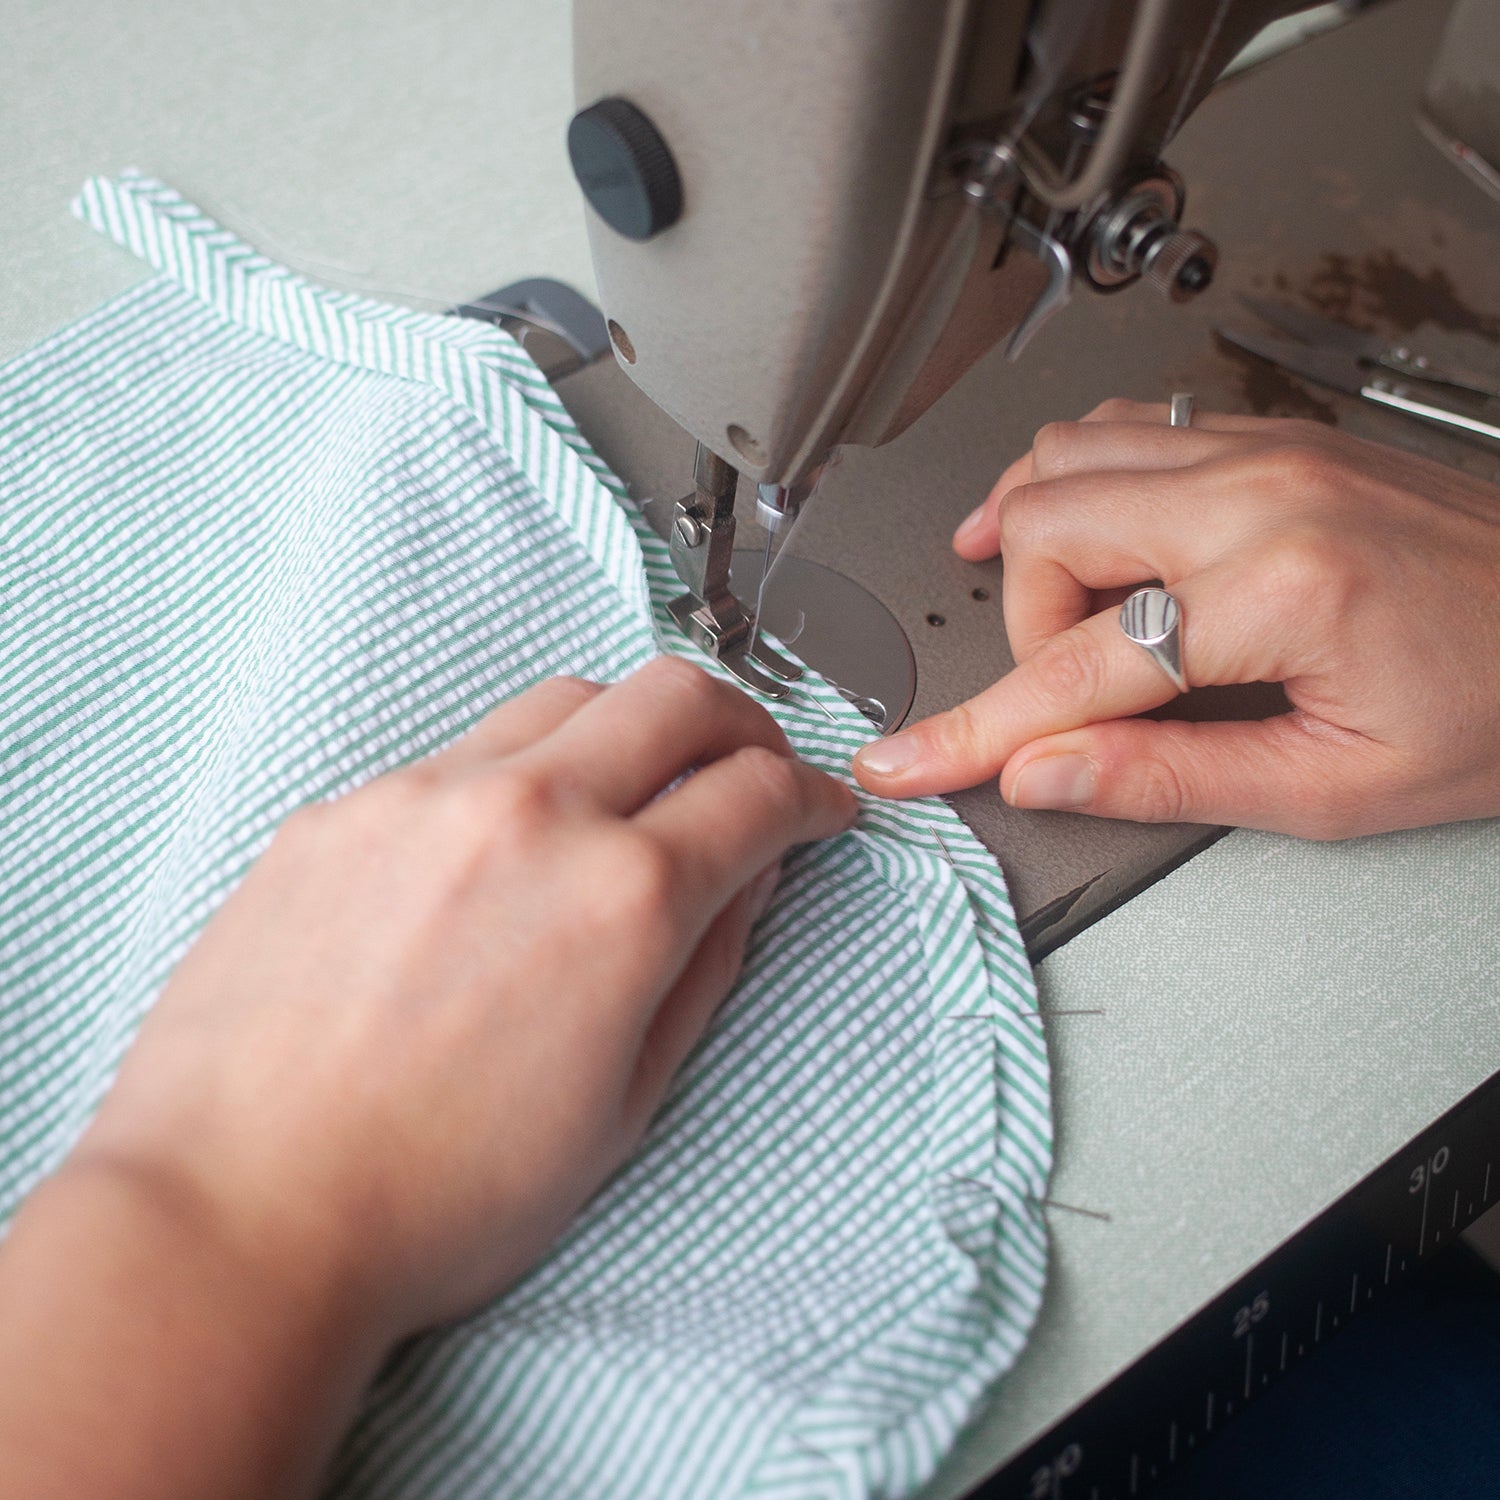
Shirt making is a wonderful craft and offers endless opportunities for creative flair. You’ll master the fundamental techniques like run & fell seams & french seams, intricate plackets, inserting sleeves and classic collar construction as well as tips on pattern adjustments to achieve the perfect fit.
With built-in chapters that break the project into bite-sized stages, you can learn at your own rhythm at home.
Highlights:

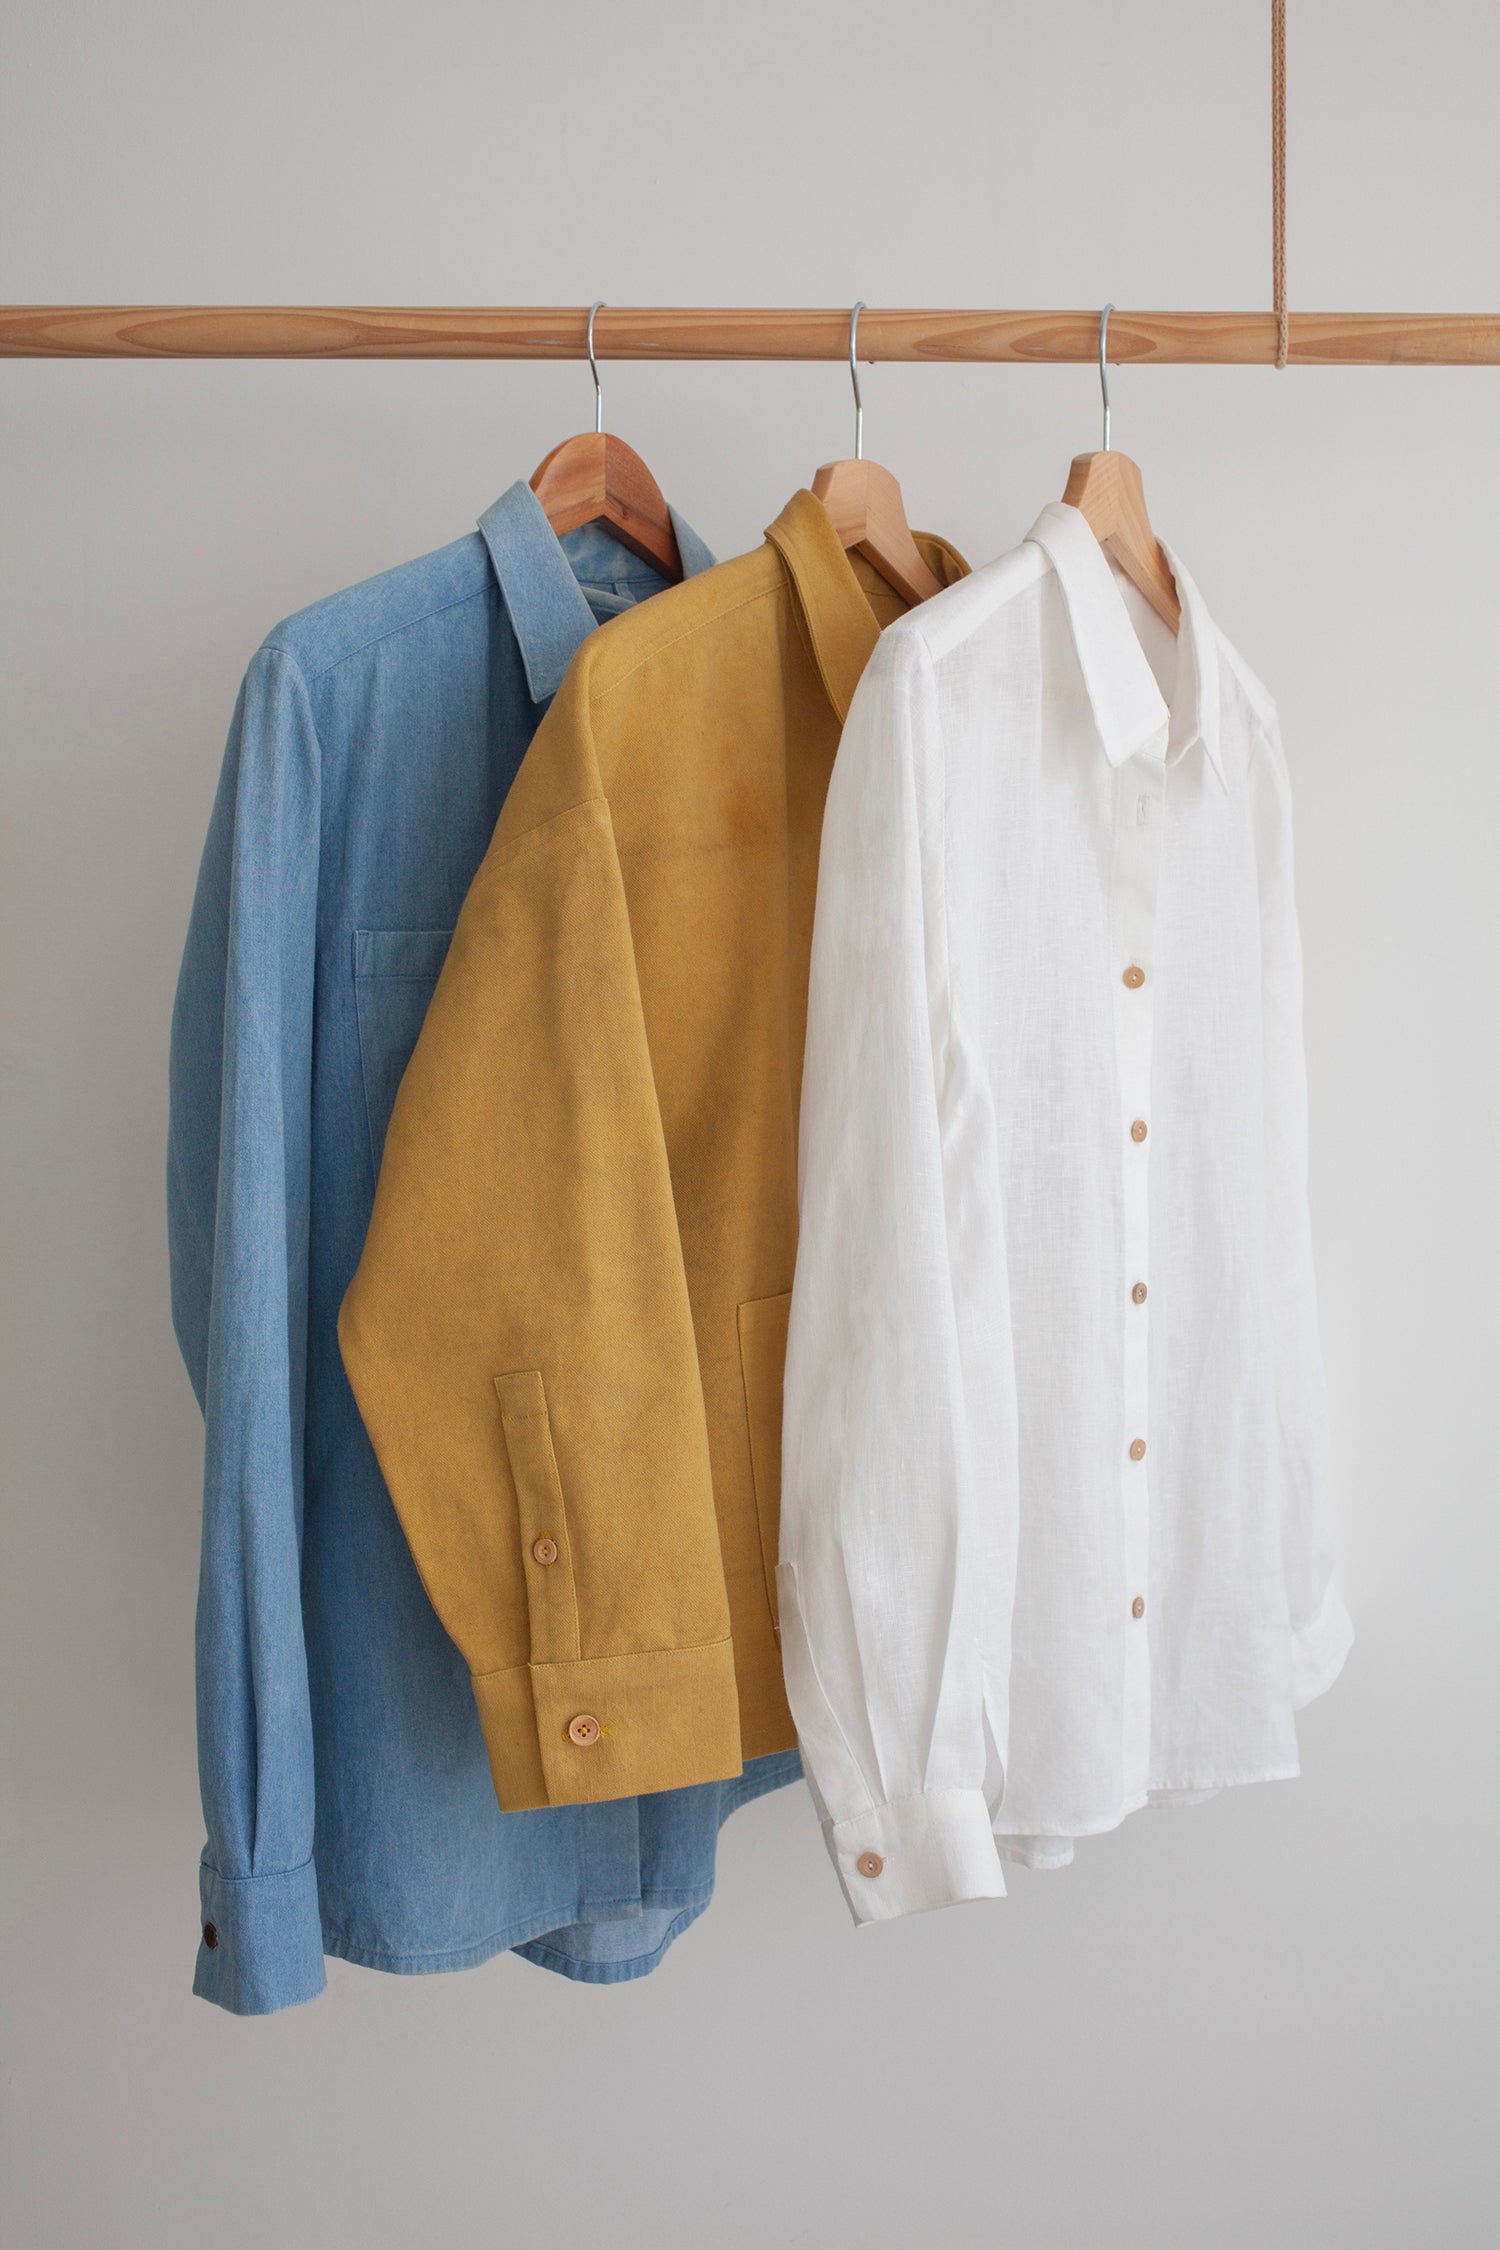
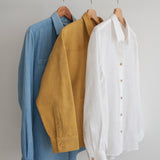
Make 3 Exceptional Garments
Sew an Over Shirt, a Unisex Shirt and a Classic Shirt with endless creative possibilities.
Master Your Skills
Learn industry standard techniques from a professional pattern cutter and designer.
Get Inspired
Get your creative juices flowing with our inspiration section sharing our favourite shirt blogs & hack ideas.
Your Perfect Fit
Make shirts that fit you perfectly with clear guidance on a range of pattern alterations.
What's Included:

12 Skills to Master Shirt Making
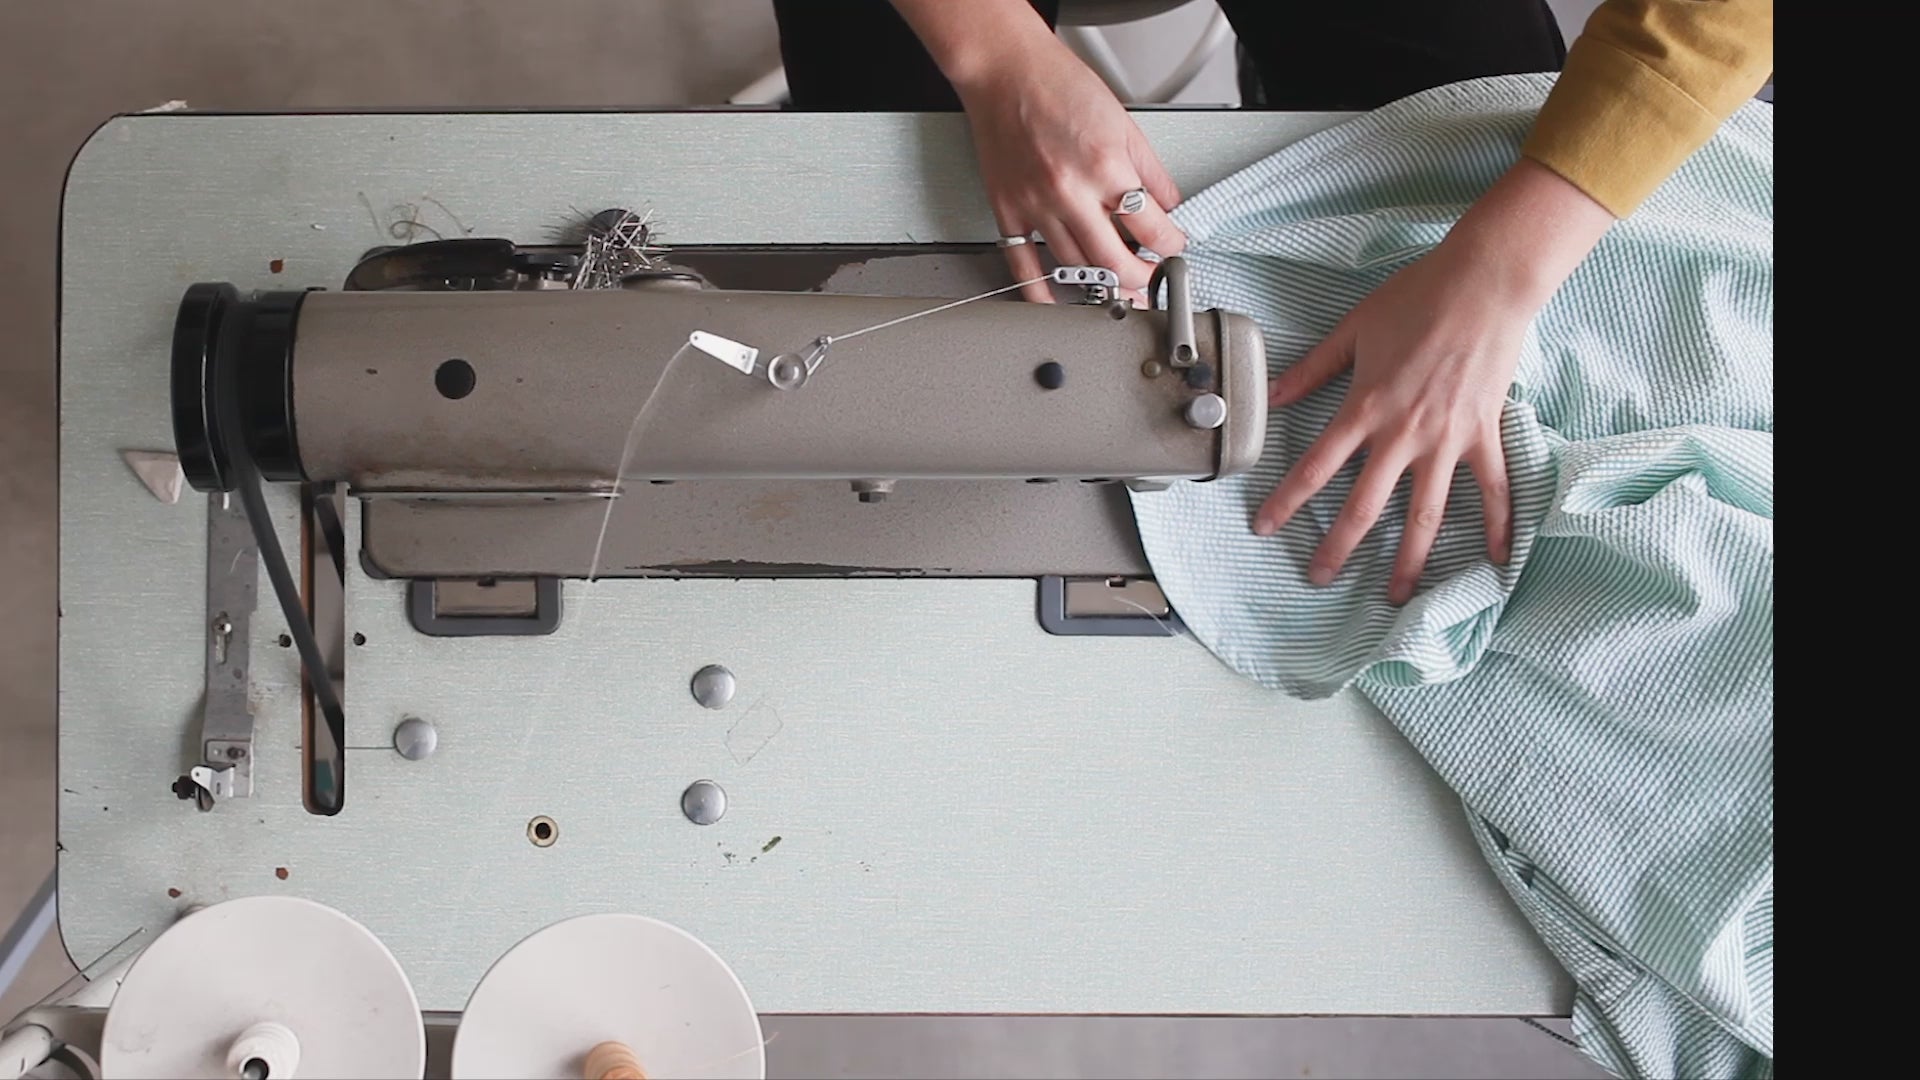
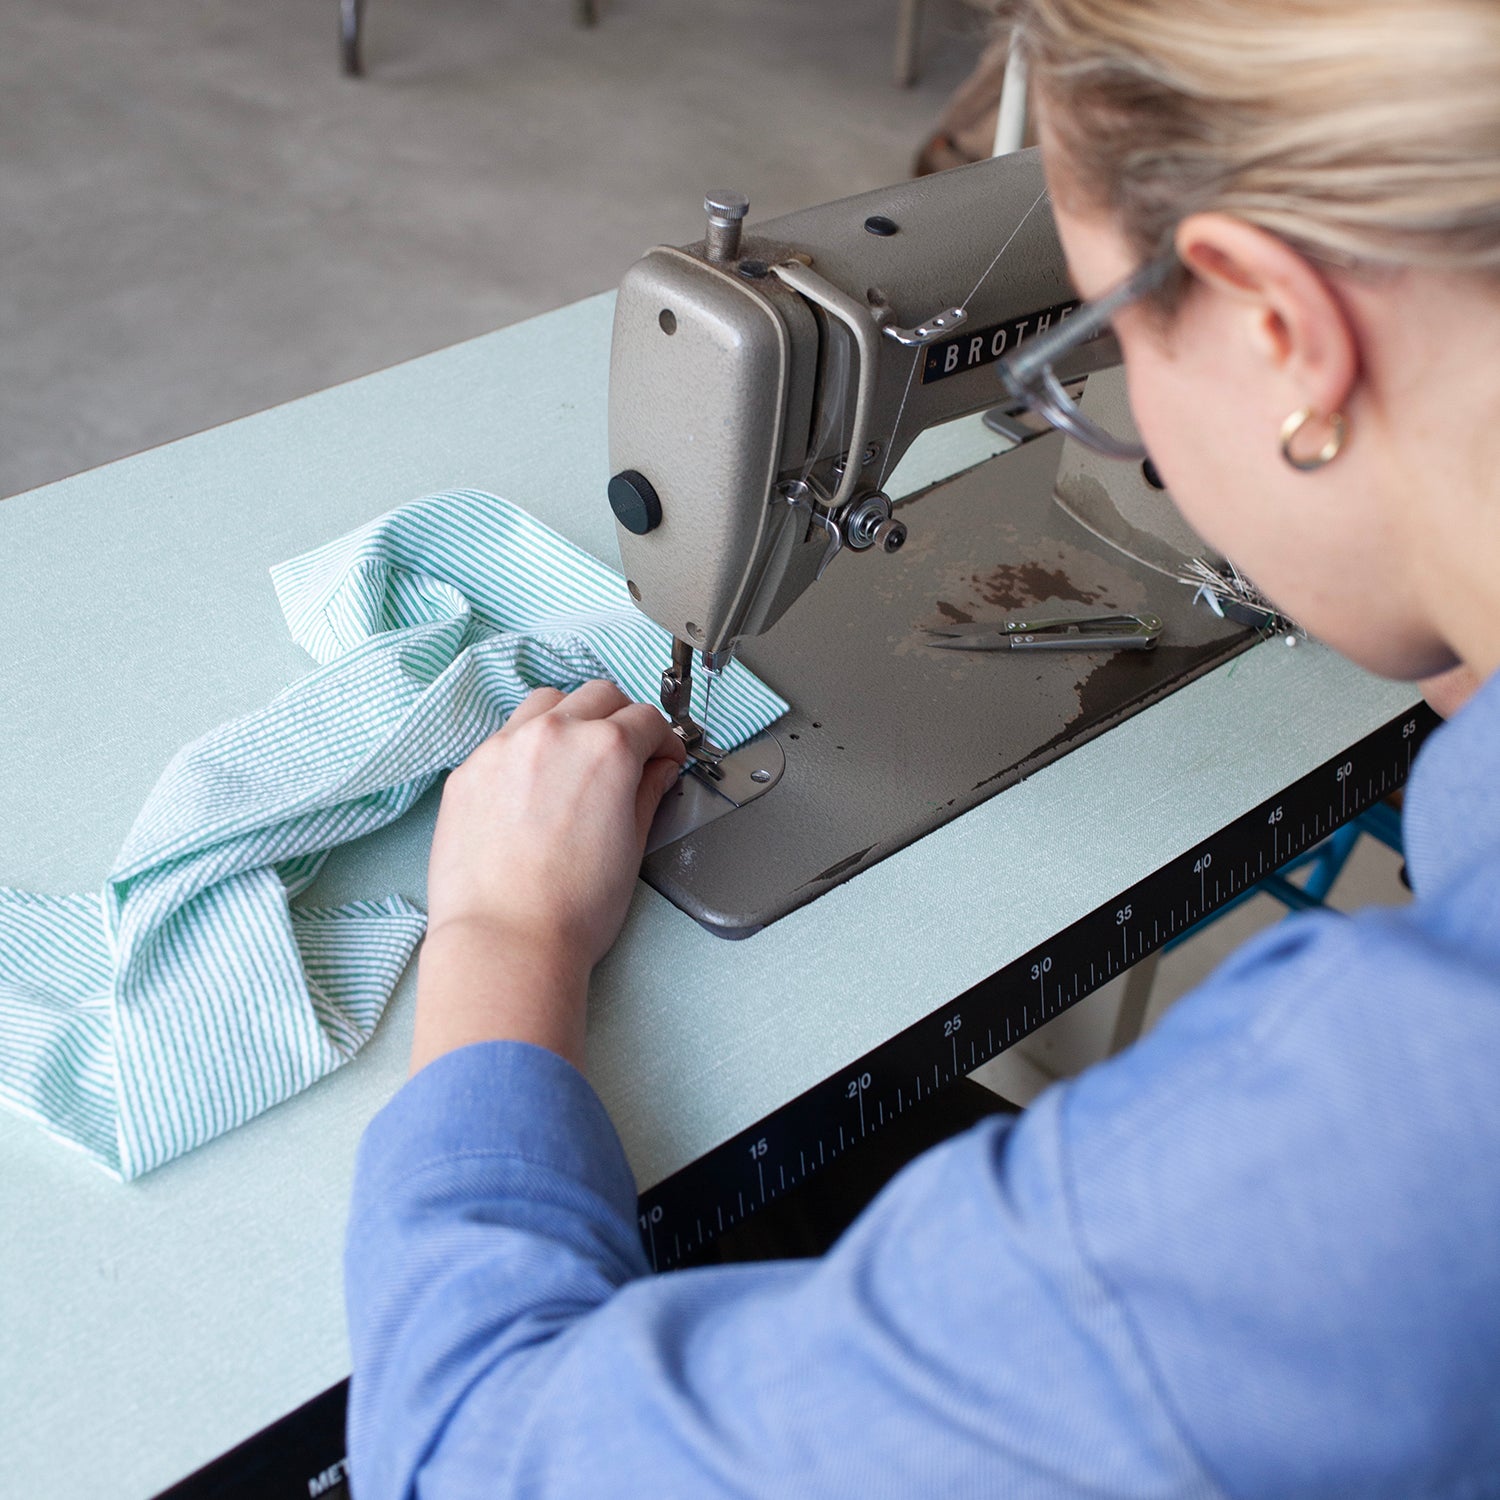
Our 2-hour video tutorial for the Over Shirt will teach you over 12 sewing skills to give you the fundamentals of shirt making.
Step-by-step Guides
You'll receive additional step-by-step photo guides to help you sew the Unisex Shirt & Classic Shirt with different finishing techniques.
In-depth Fitting Tutorial
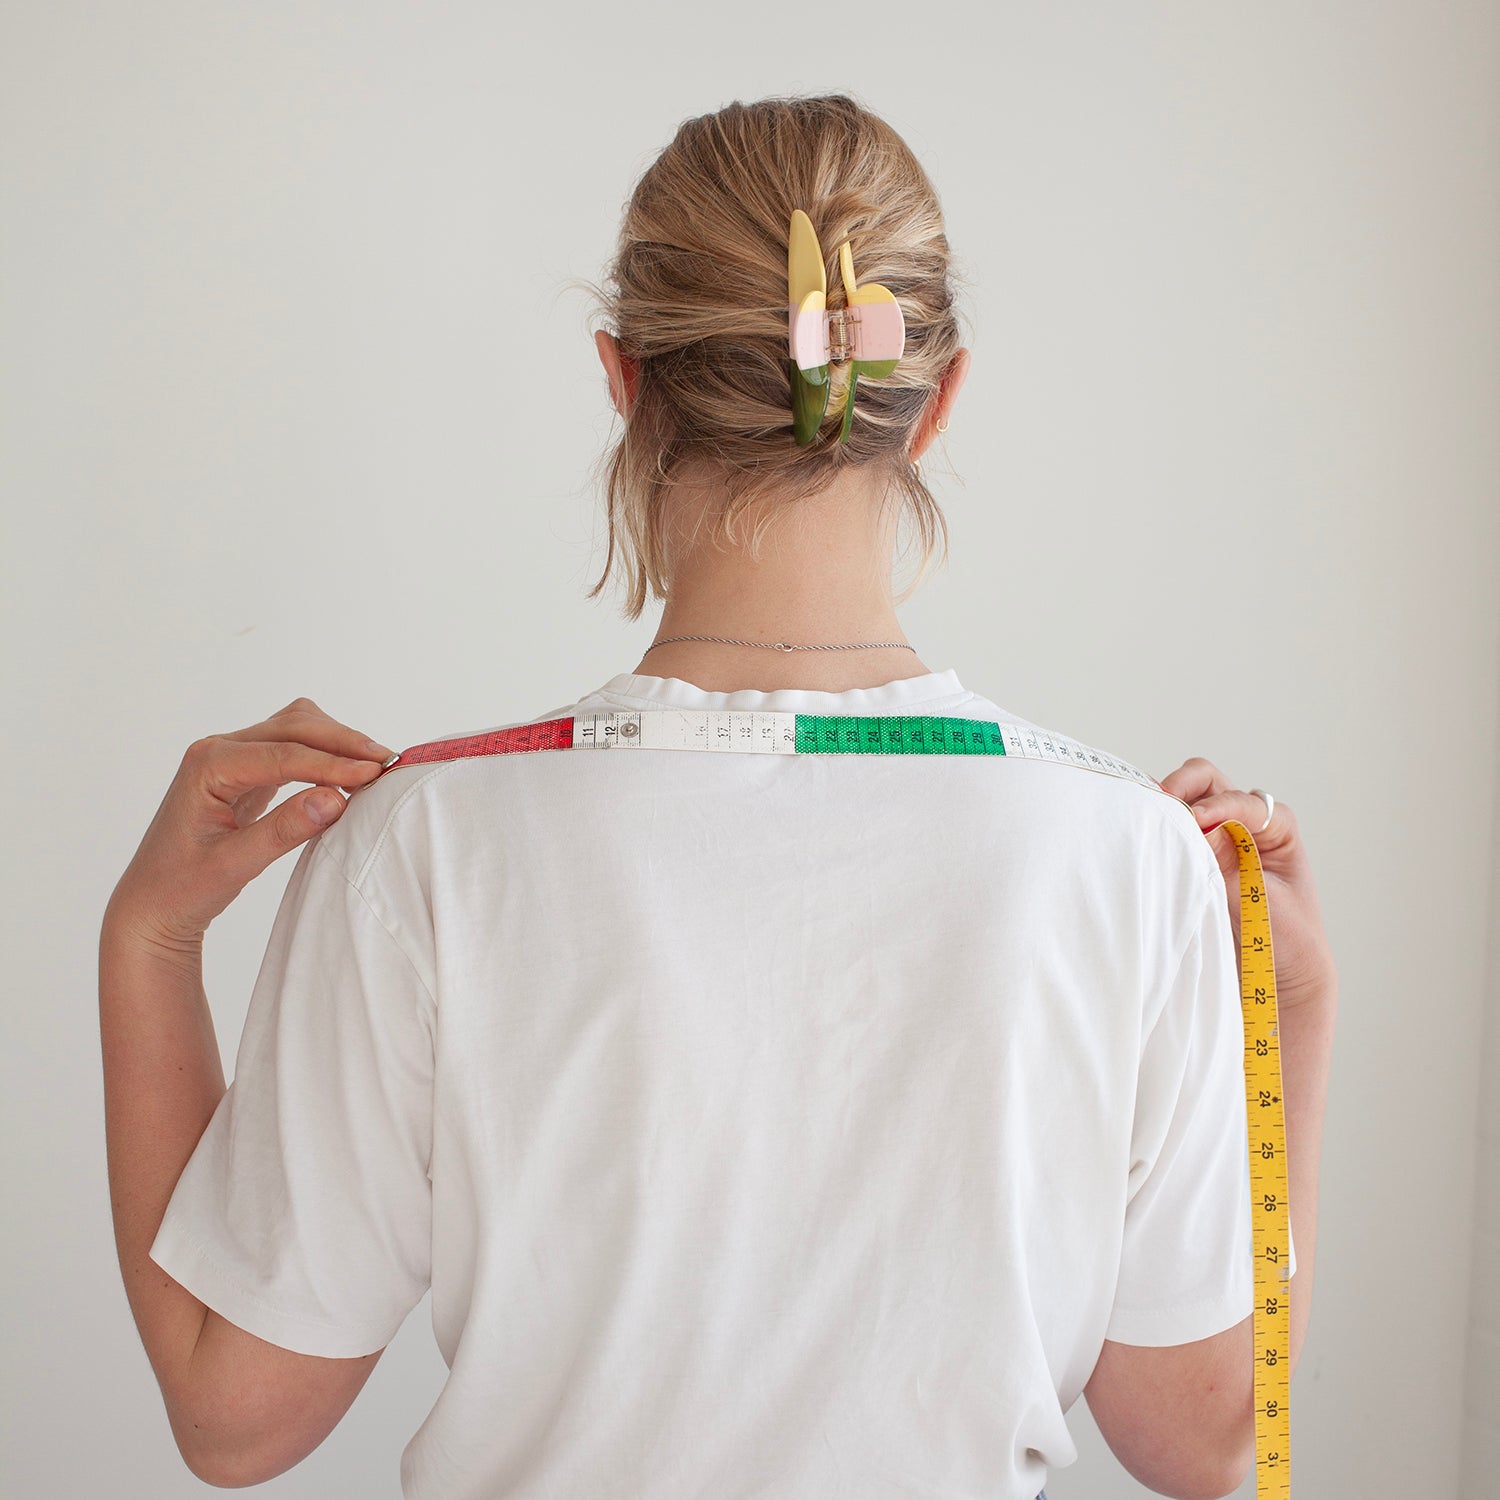
Our 11 part fitting tutorial includes 1 hour of videos and covers everything from measuring your body accurately to ensuring a good fit on your shoulders, bust, back neck and arms.
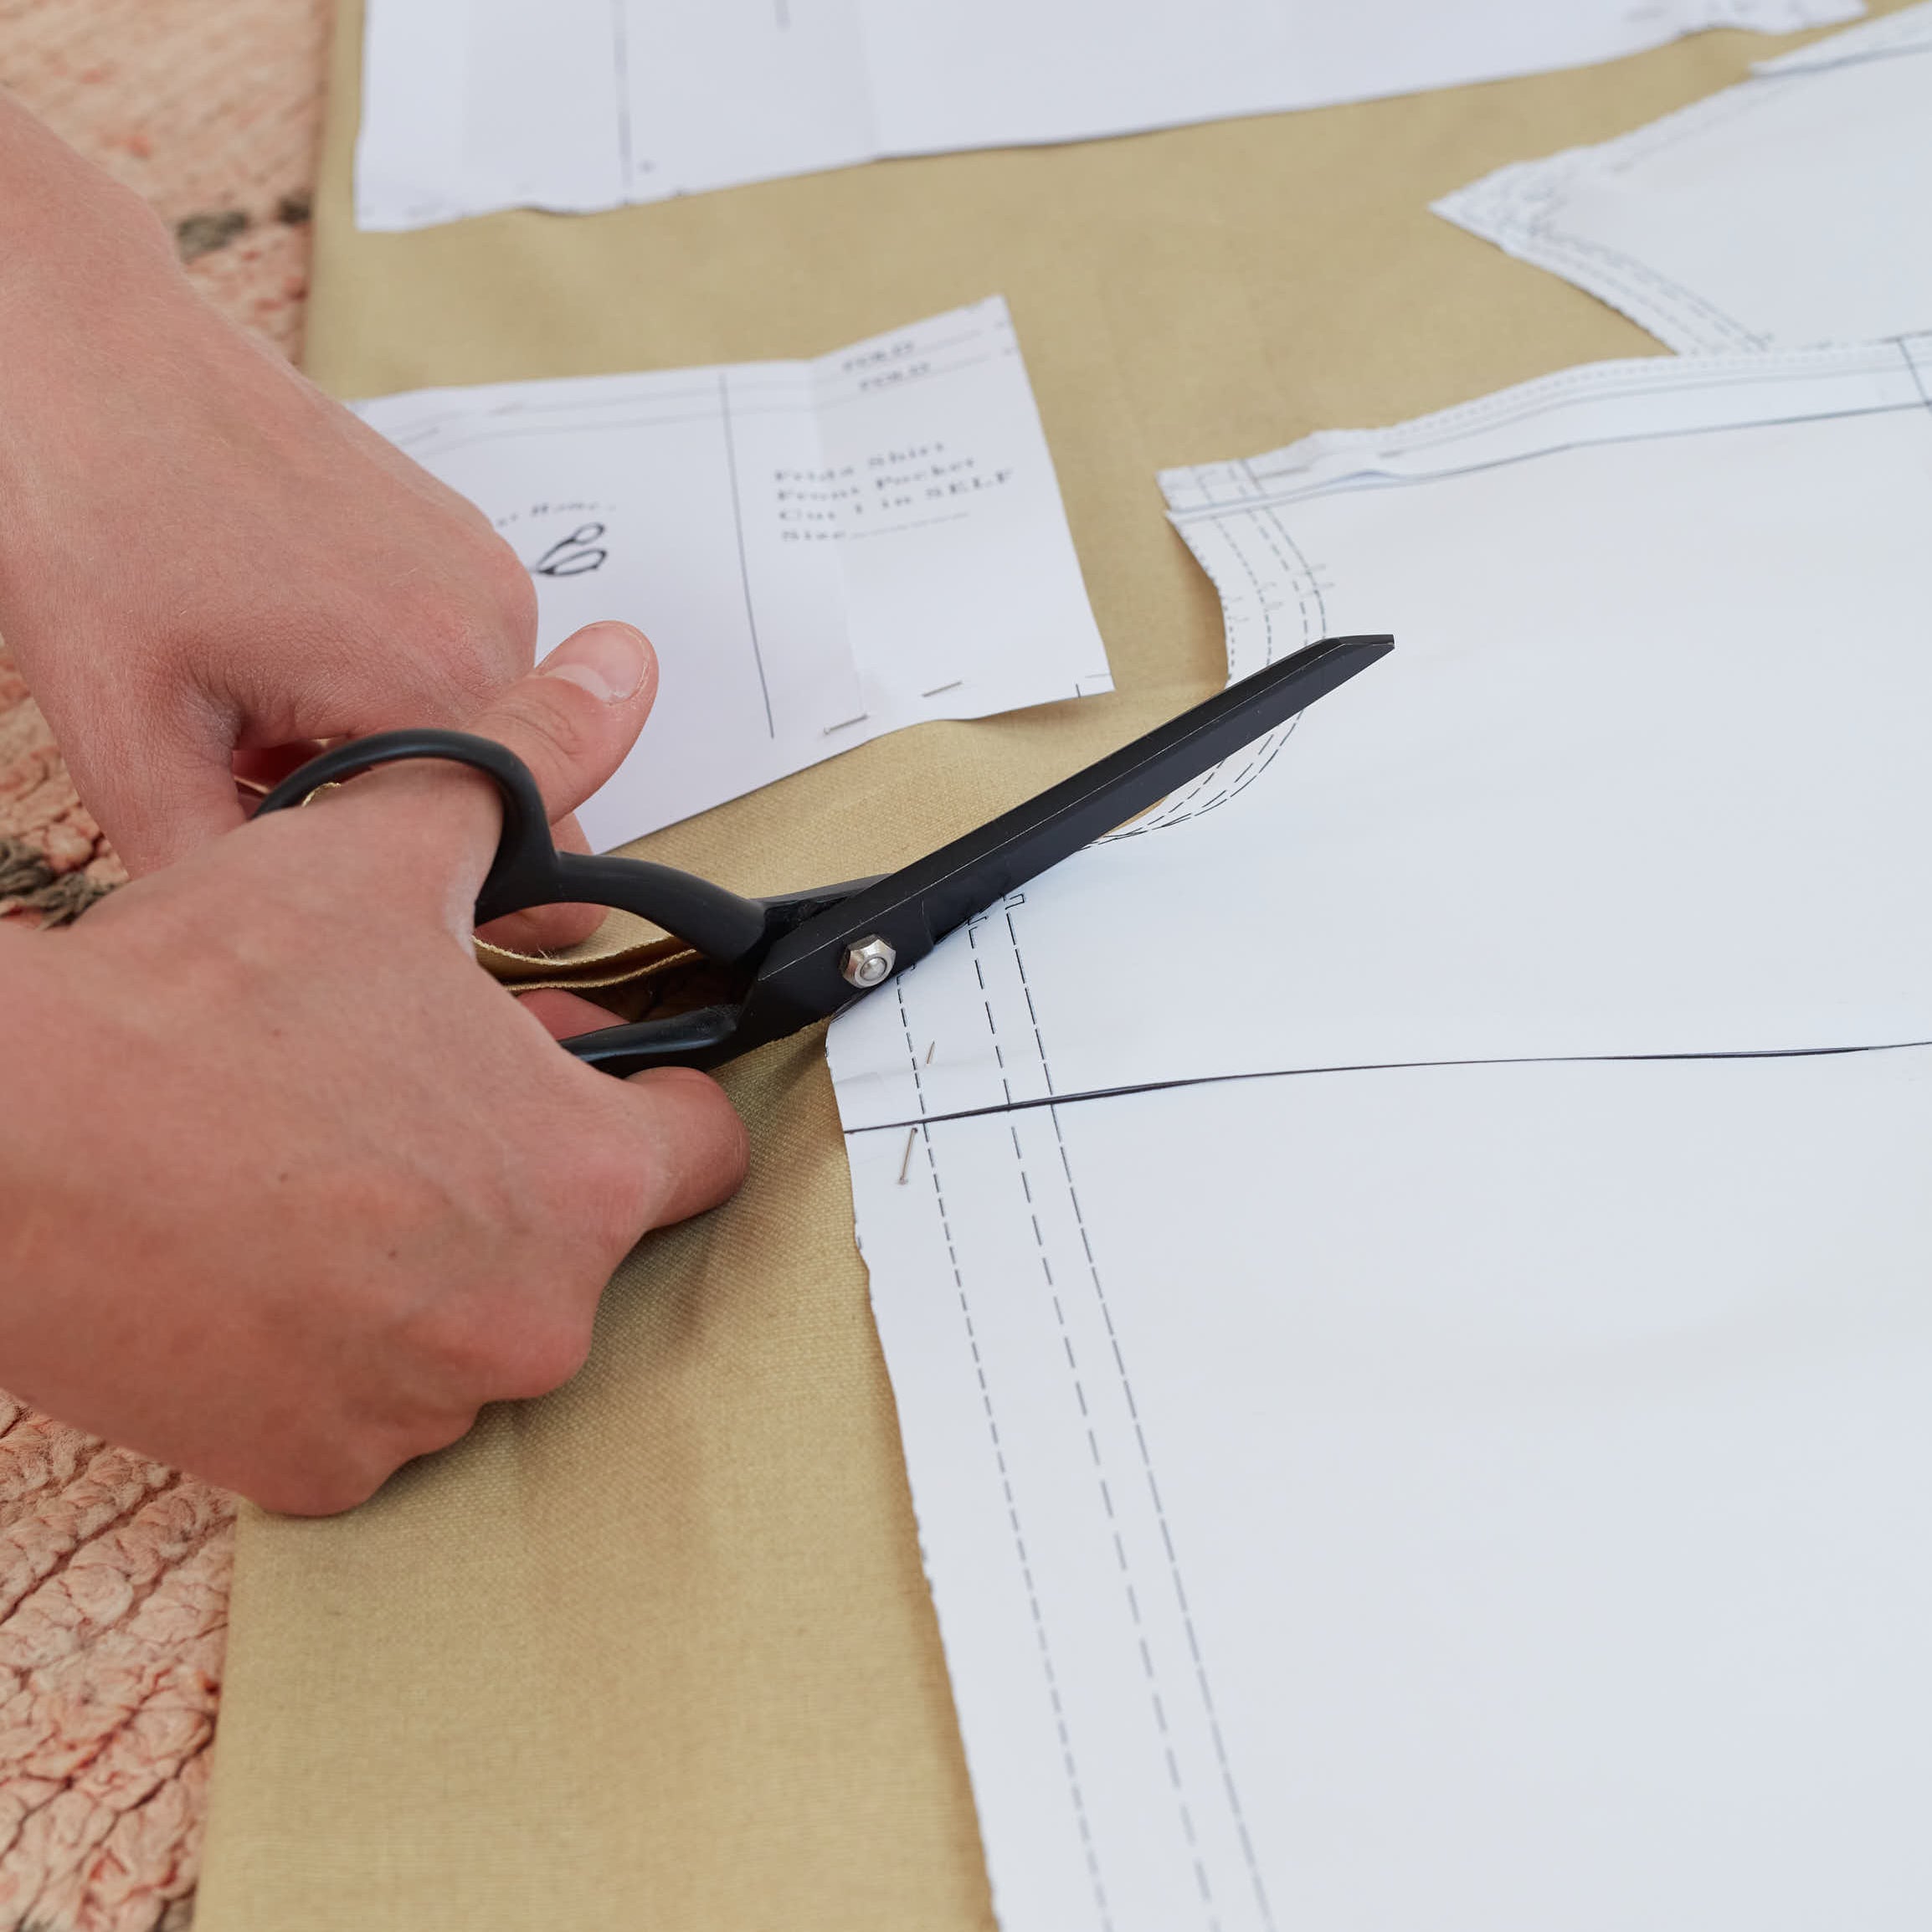
3 x Professional PDF Patterns
You’ll receive 3 professionally drafted PDF patterns: Over Shirt, Unisex Shirt & Classic Shirt.
What You'll Make:
Course structure
get started
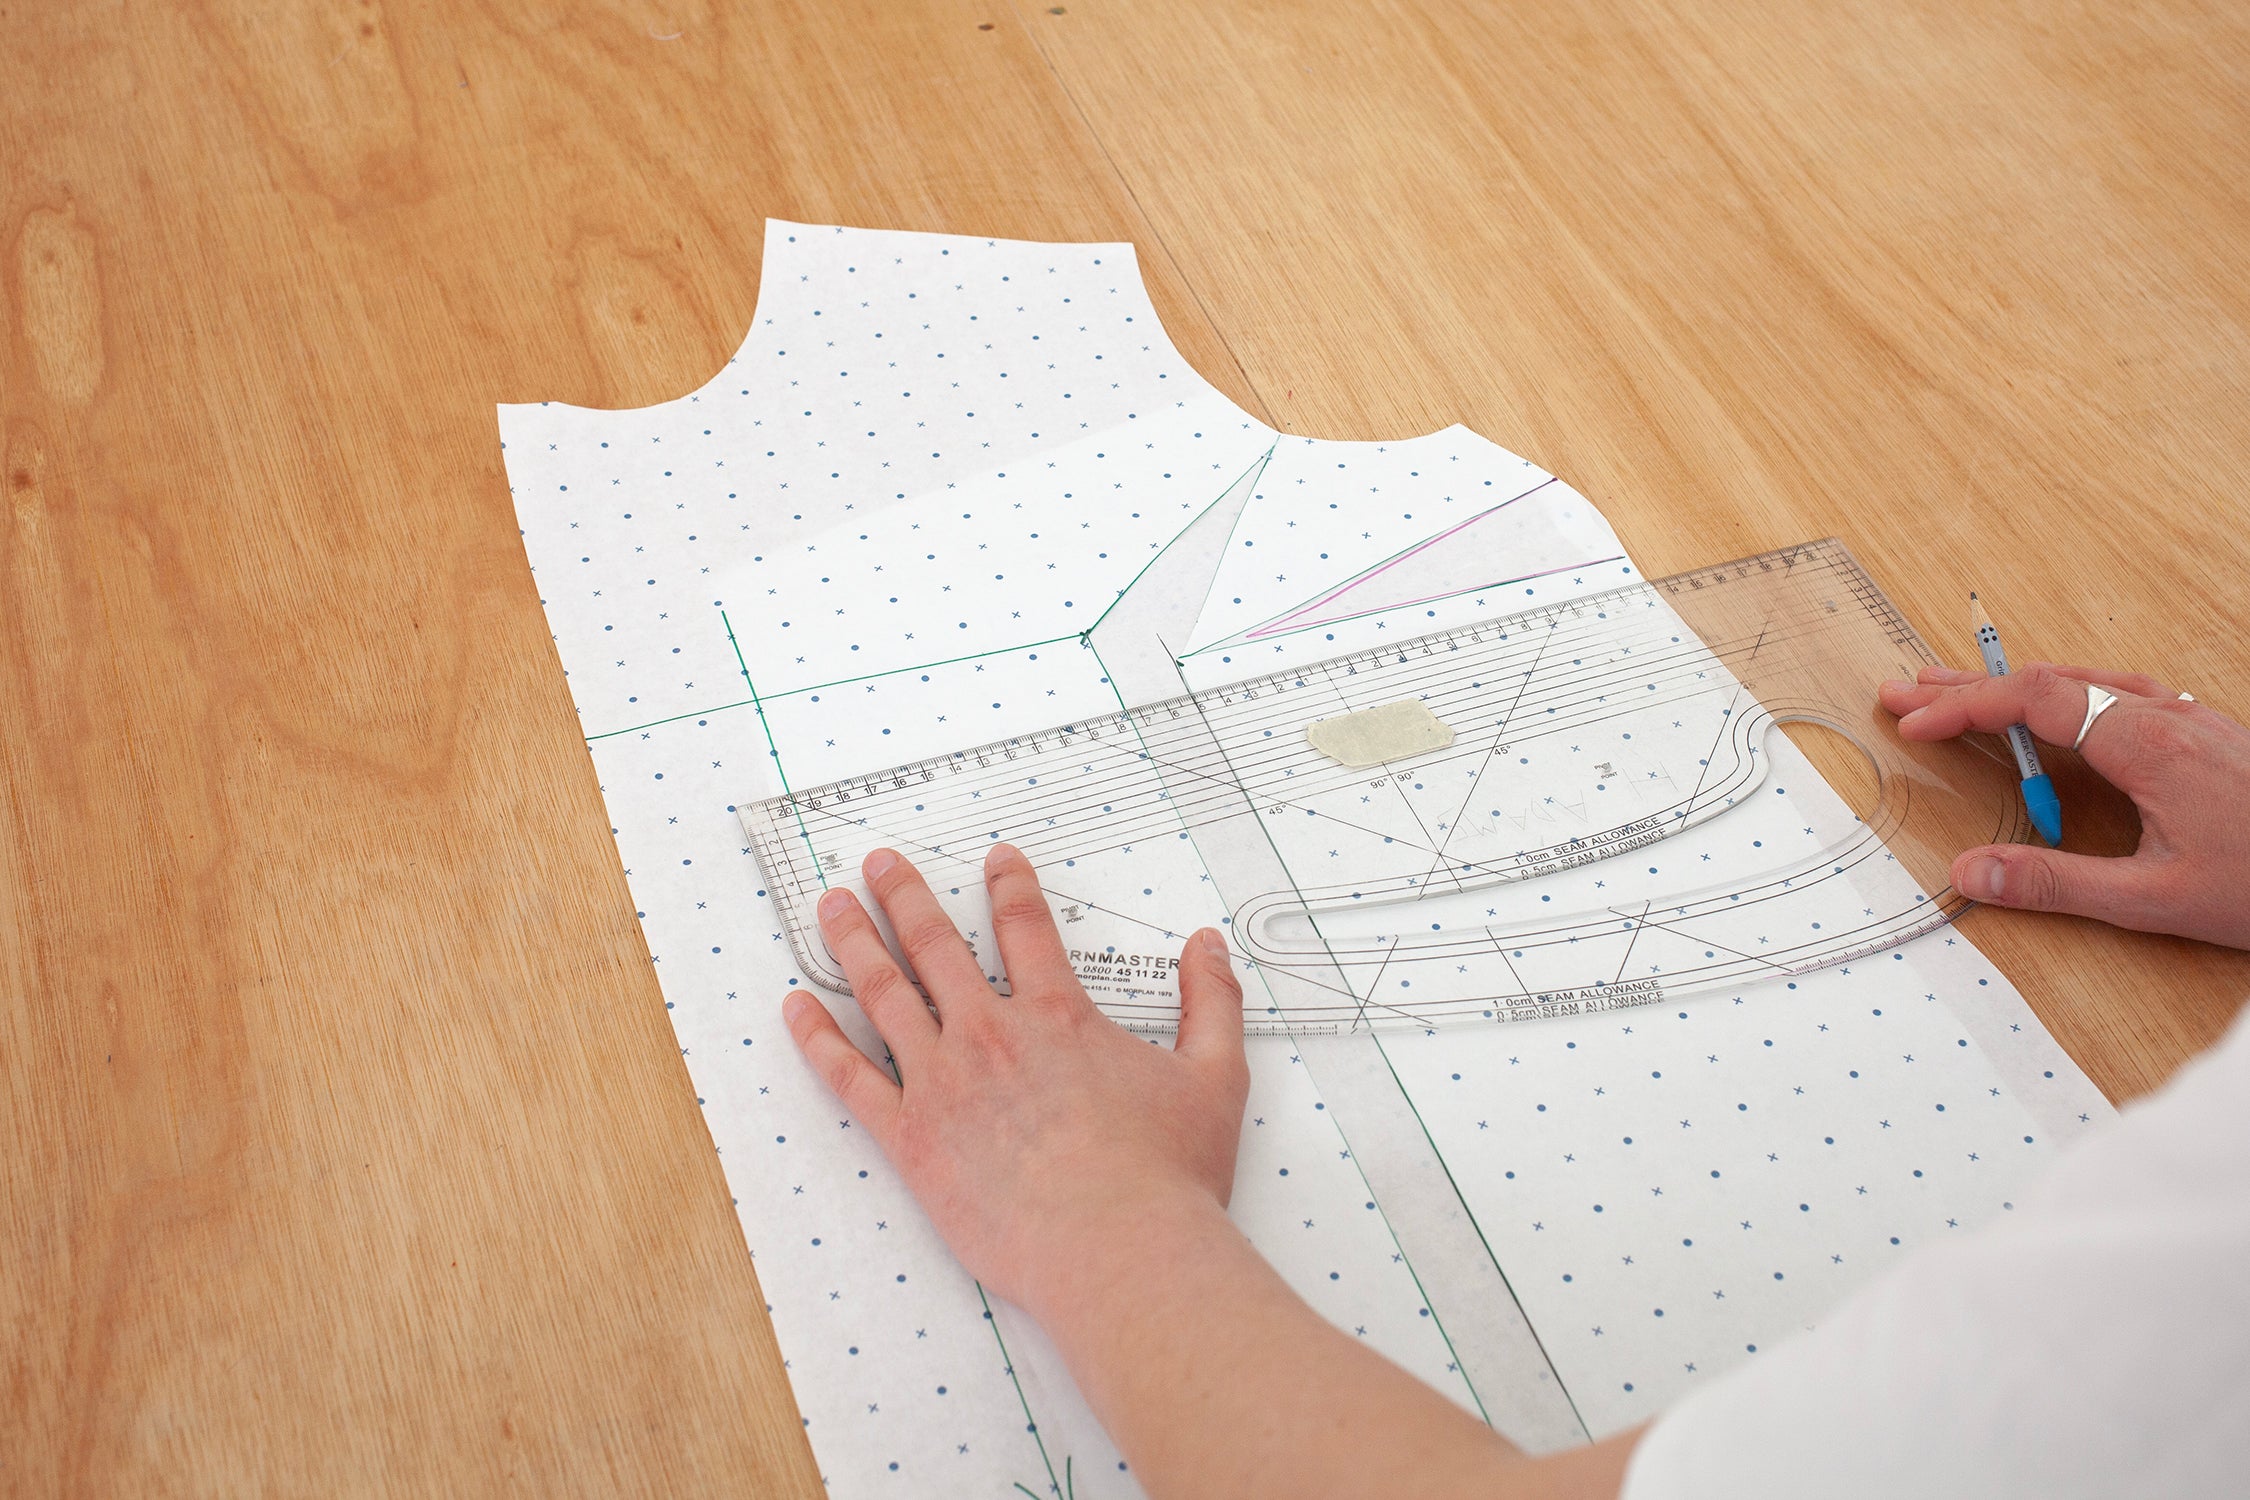
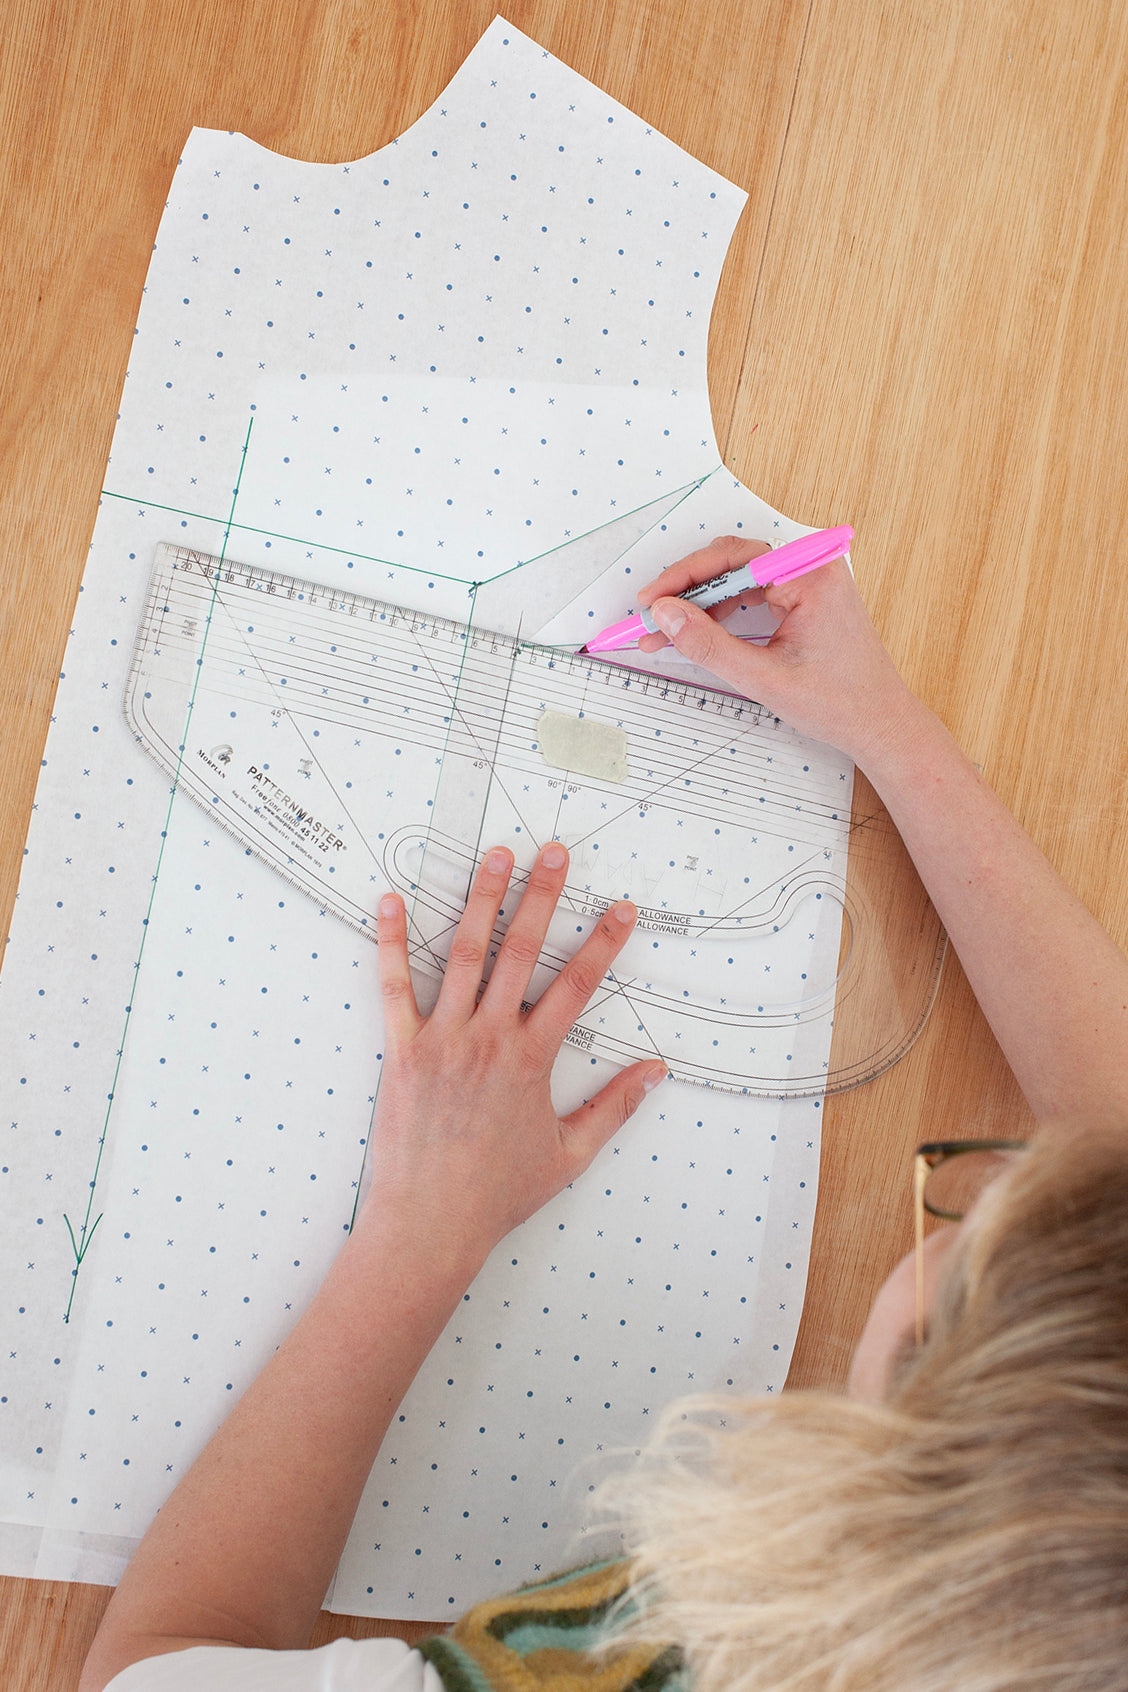
Fit Adjustments
To start your Art of Shirt Making journey check out our comprehensive guide on how to get a great fit for your own body. This 11 part tutorial will teach you how to make pattern adjustments to achieve a comfortable and flattering fit with skills you can re-use in future projects.
Sizing:
- How to Measure Your Body
- Grading Between Sizes
- Shortening & Lengthening Pattern Pieces
Full Bust Adjustments:
- How to Add a Dart
- Increase the Size of a Dart
- Full Bust Adjustment without a Dart
- Reposition Your Dart
Further Fit Adjustments:
- Narrow Shoulder Adjustment
- Wide Shoulder Adjustment
- High Rounded Back Adjustment
- Full Bicep Adjustment
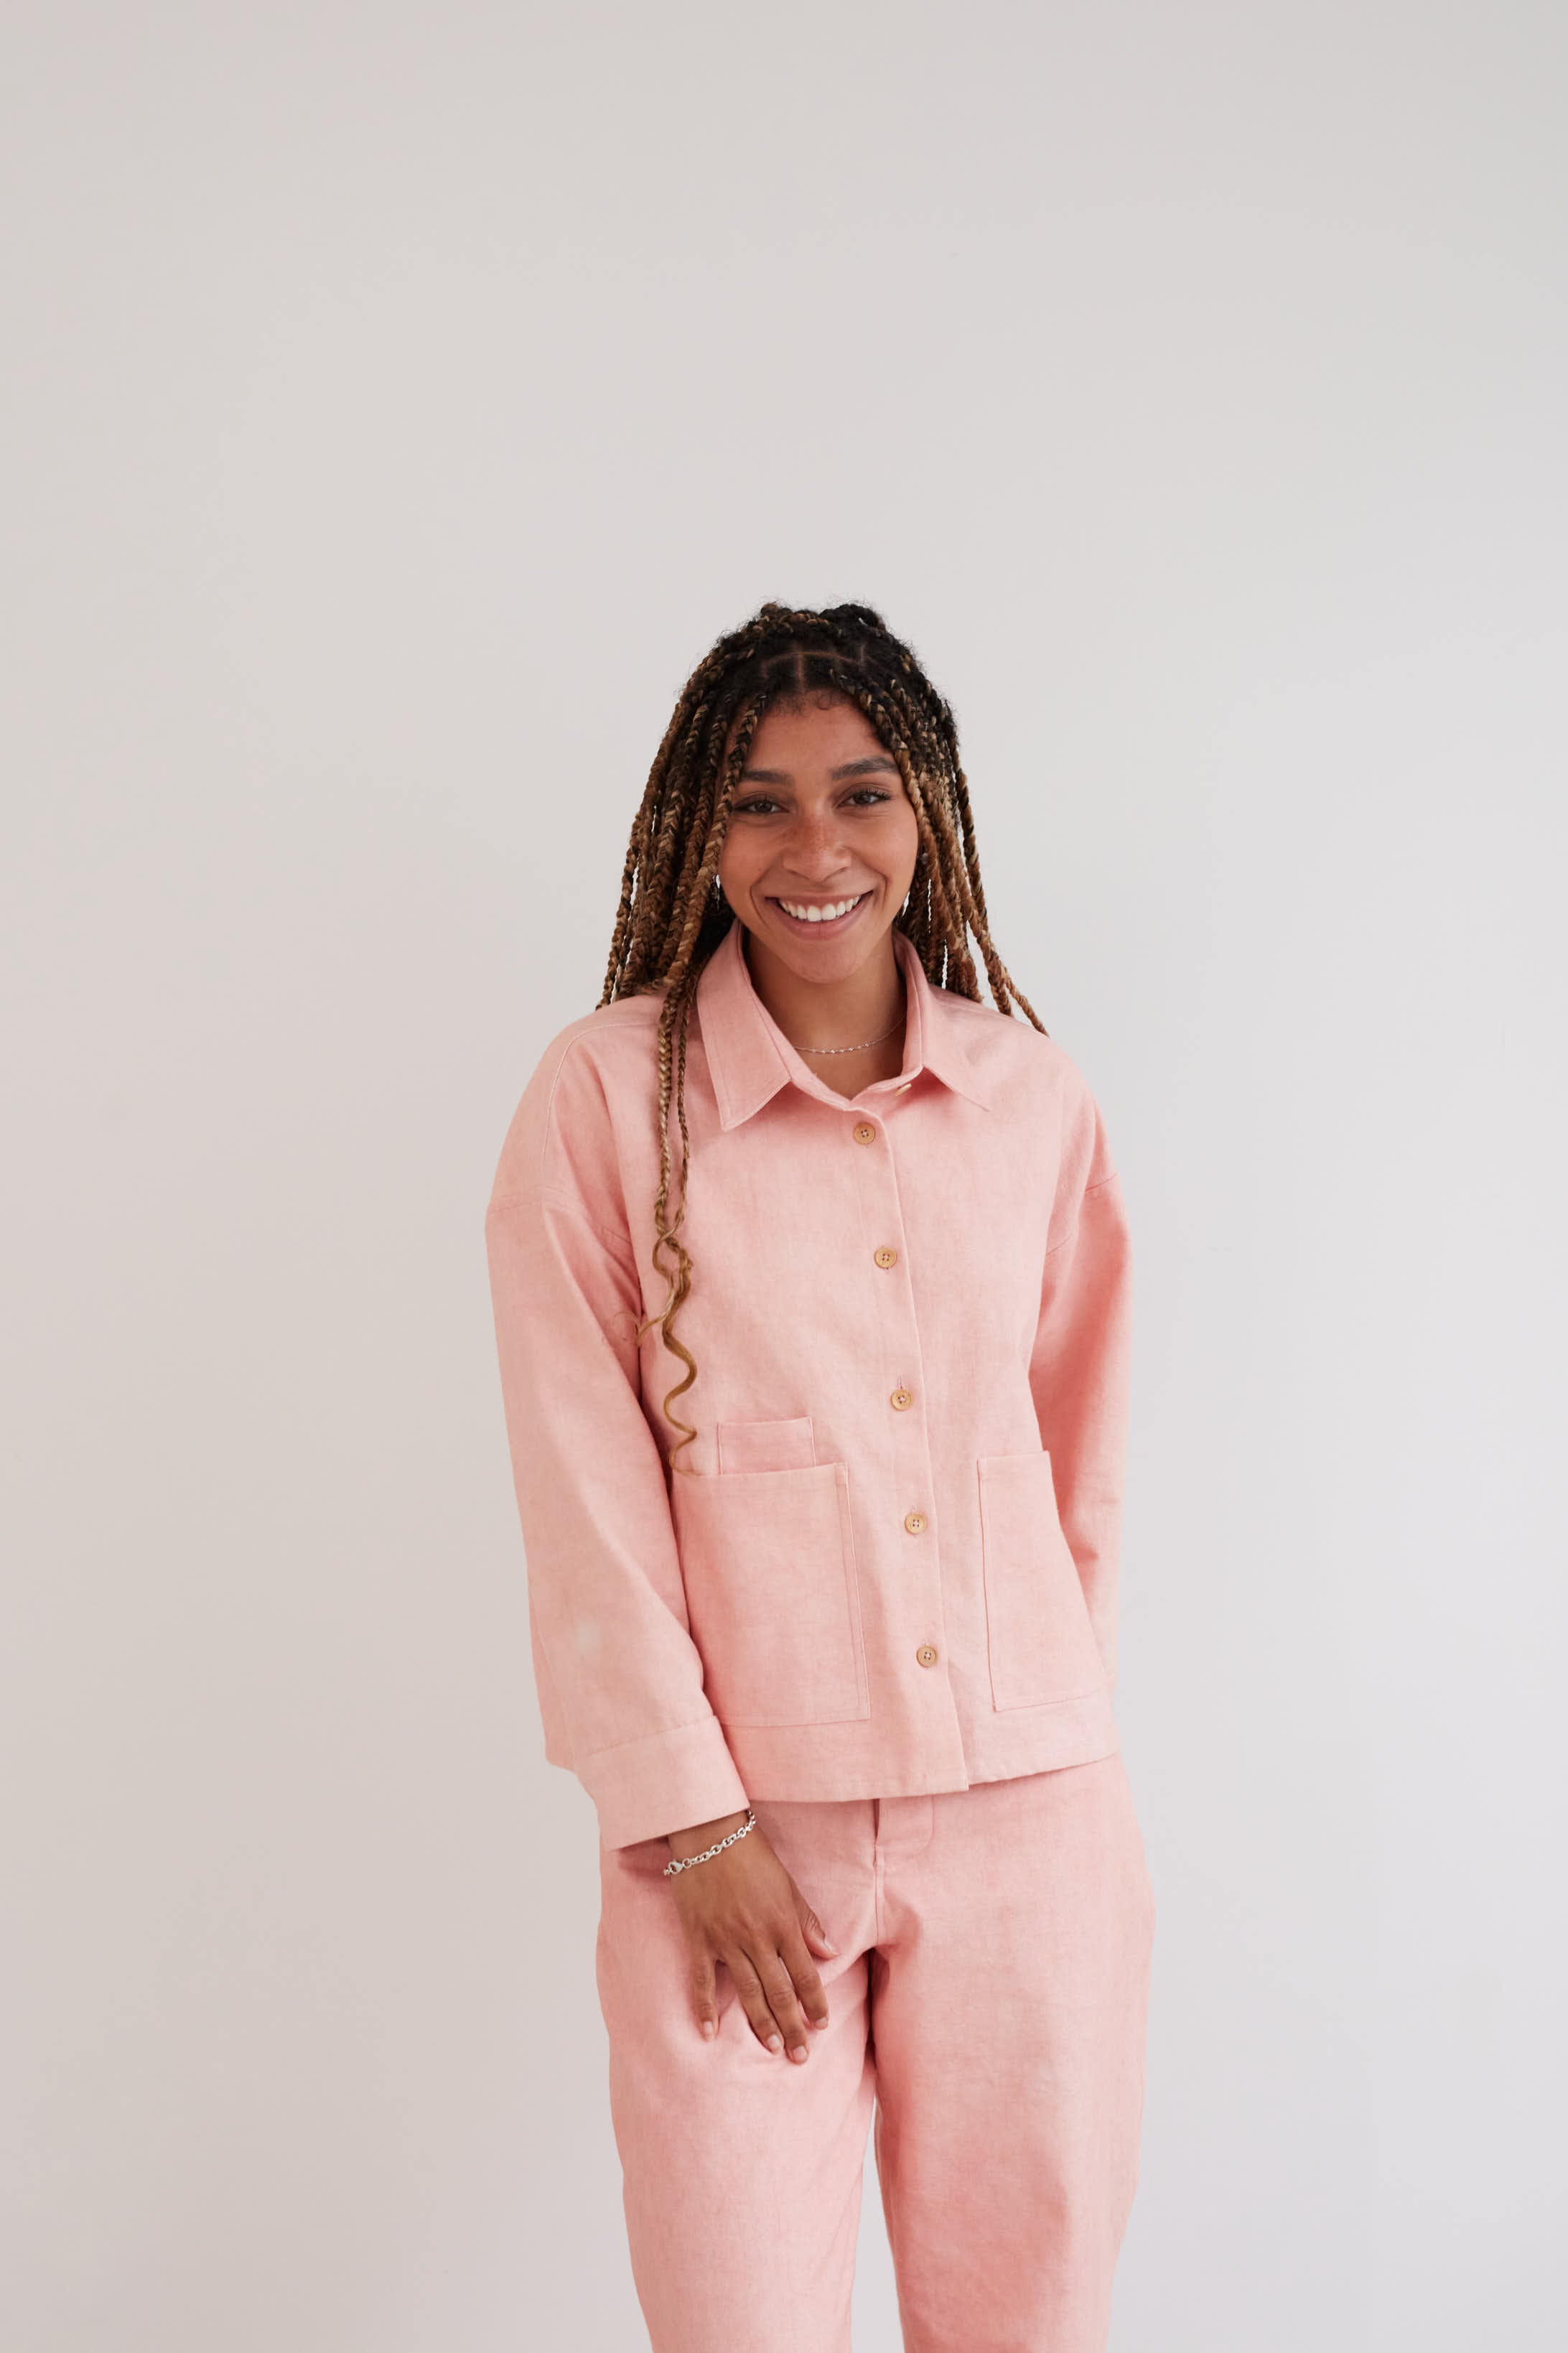
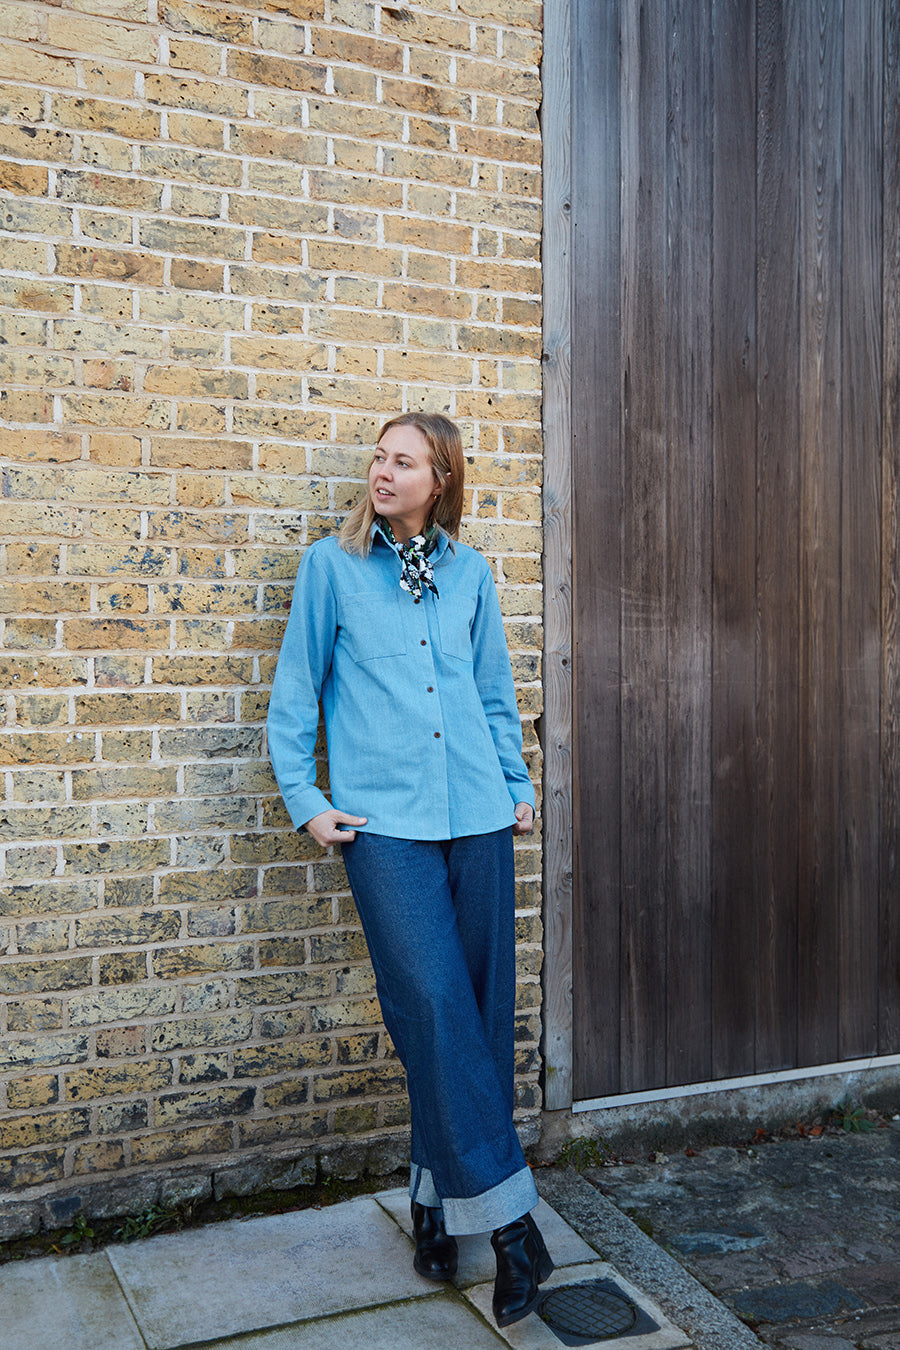
Project 1
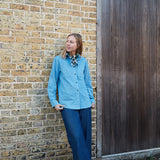
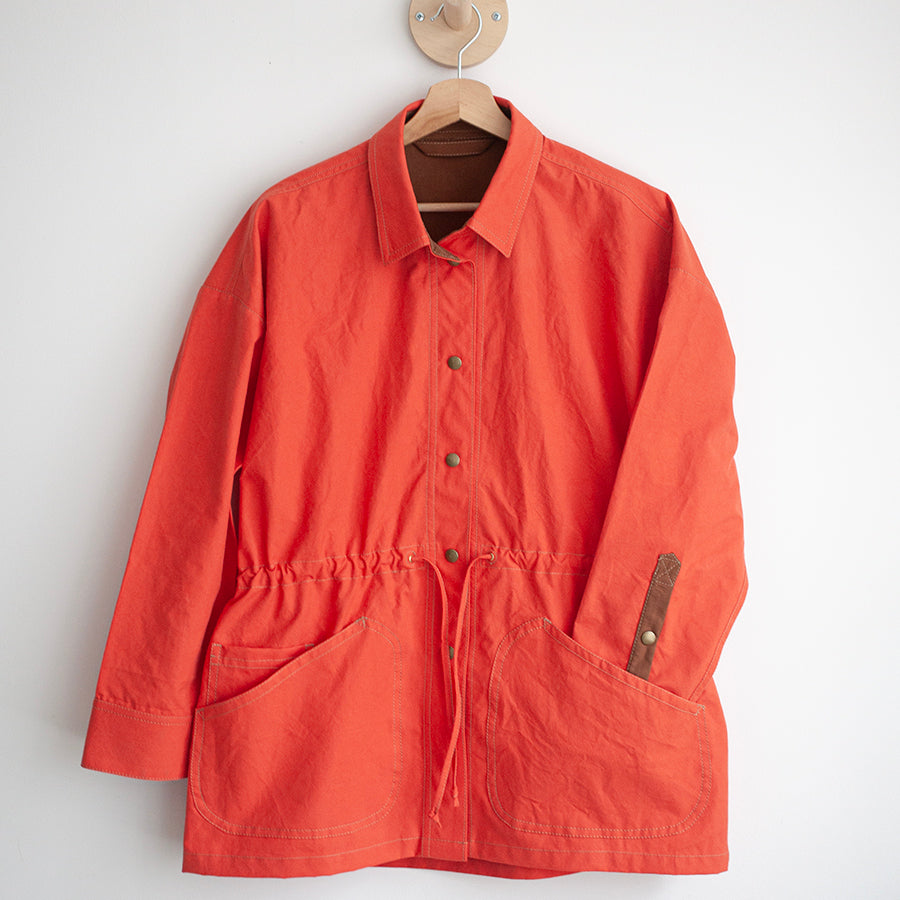
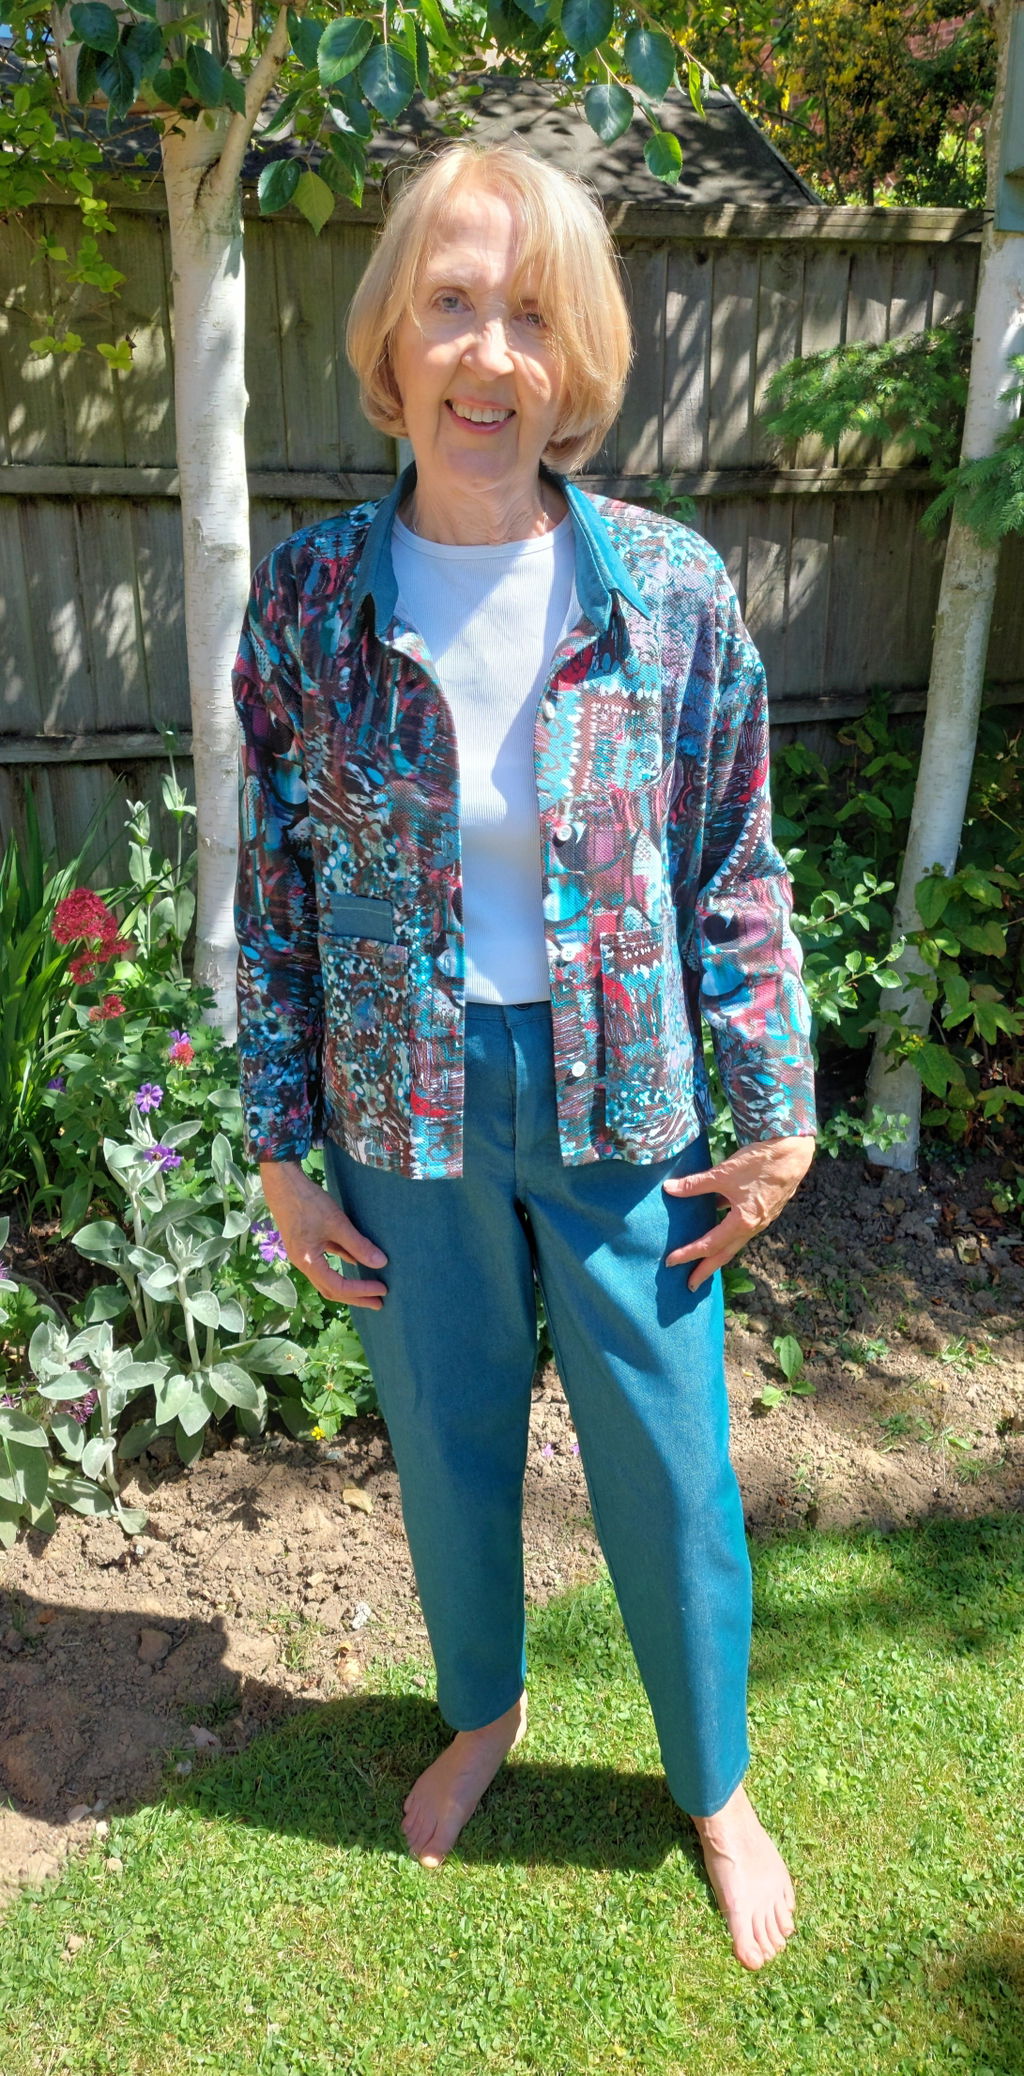
Over Shirt
To begin your shirt making journey we recommend starting with the Over Shirt. This project includes the 2 hour video tutorial which will give you a groundwork of knowledge in shirt making.
Skills:
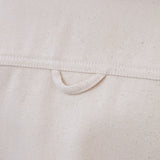
- Run & fell seams
- Patch pockets
- Grown on Button Stand
- Double yoke with back loop
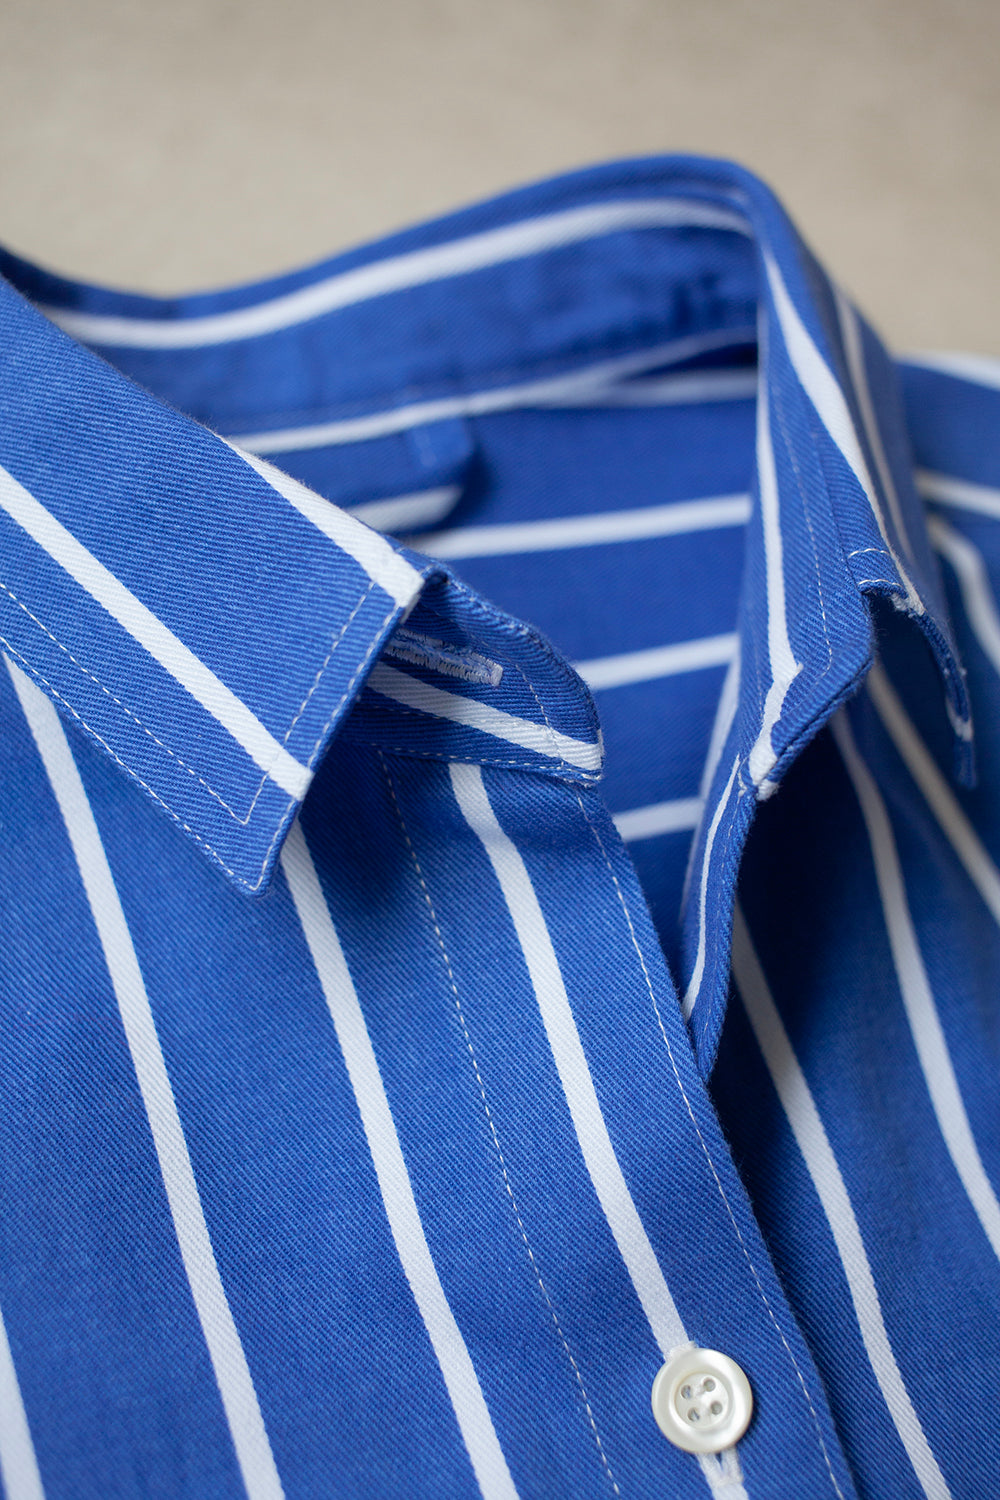
- Classic collar and collar stand
- Square topped placket and cuff
- Sleeve (no pleats) with insertion & no shoulder ease
- Hemming & buttons
Project 2
Unisex Shirt
Moving on to the Unisex Shirt, you’ll be following an almost identical making process to the Over Shirt. We recommend referring to the video tutorial and following the PDF instructions for the parts that are different.
Skills:
- Run & fell seams
- Patch pockets
- Grown on Button Stand
- Double yoke with back loop & inverted pleat
- Classic collar and collar stand
- Triangle topped placket and cuff
- Sleeve (with pleats) with insertion & 1cm ease
- Hemming & buttons

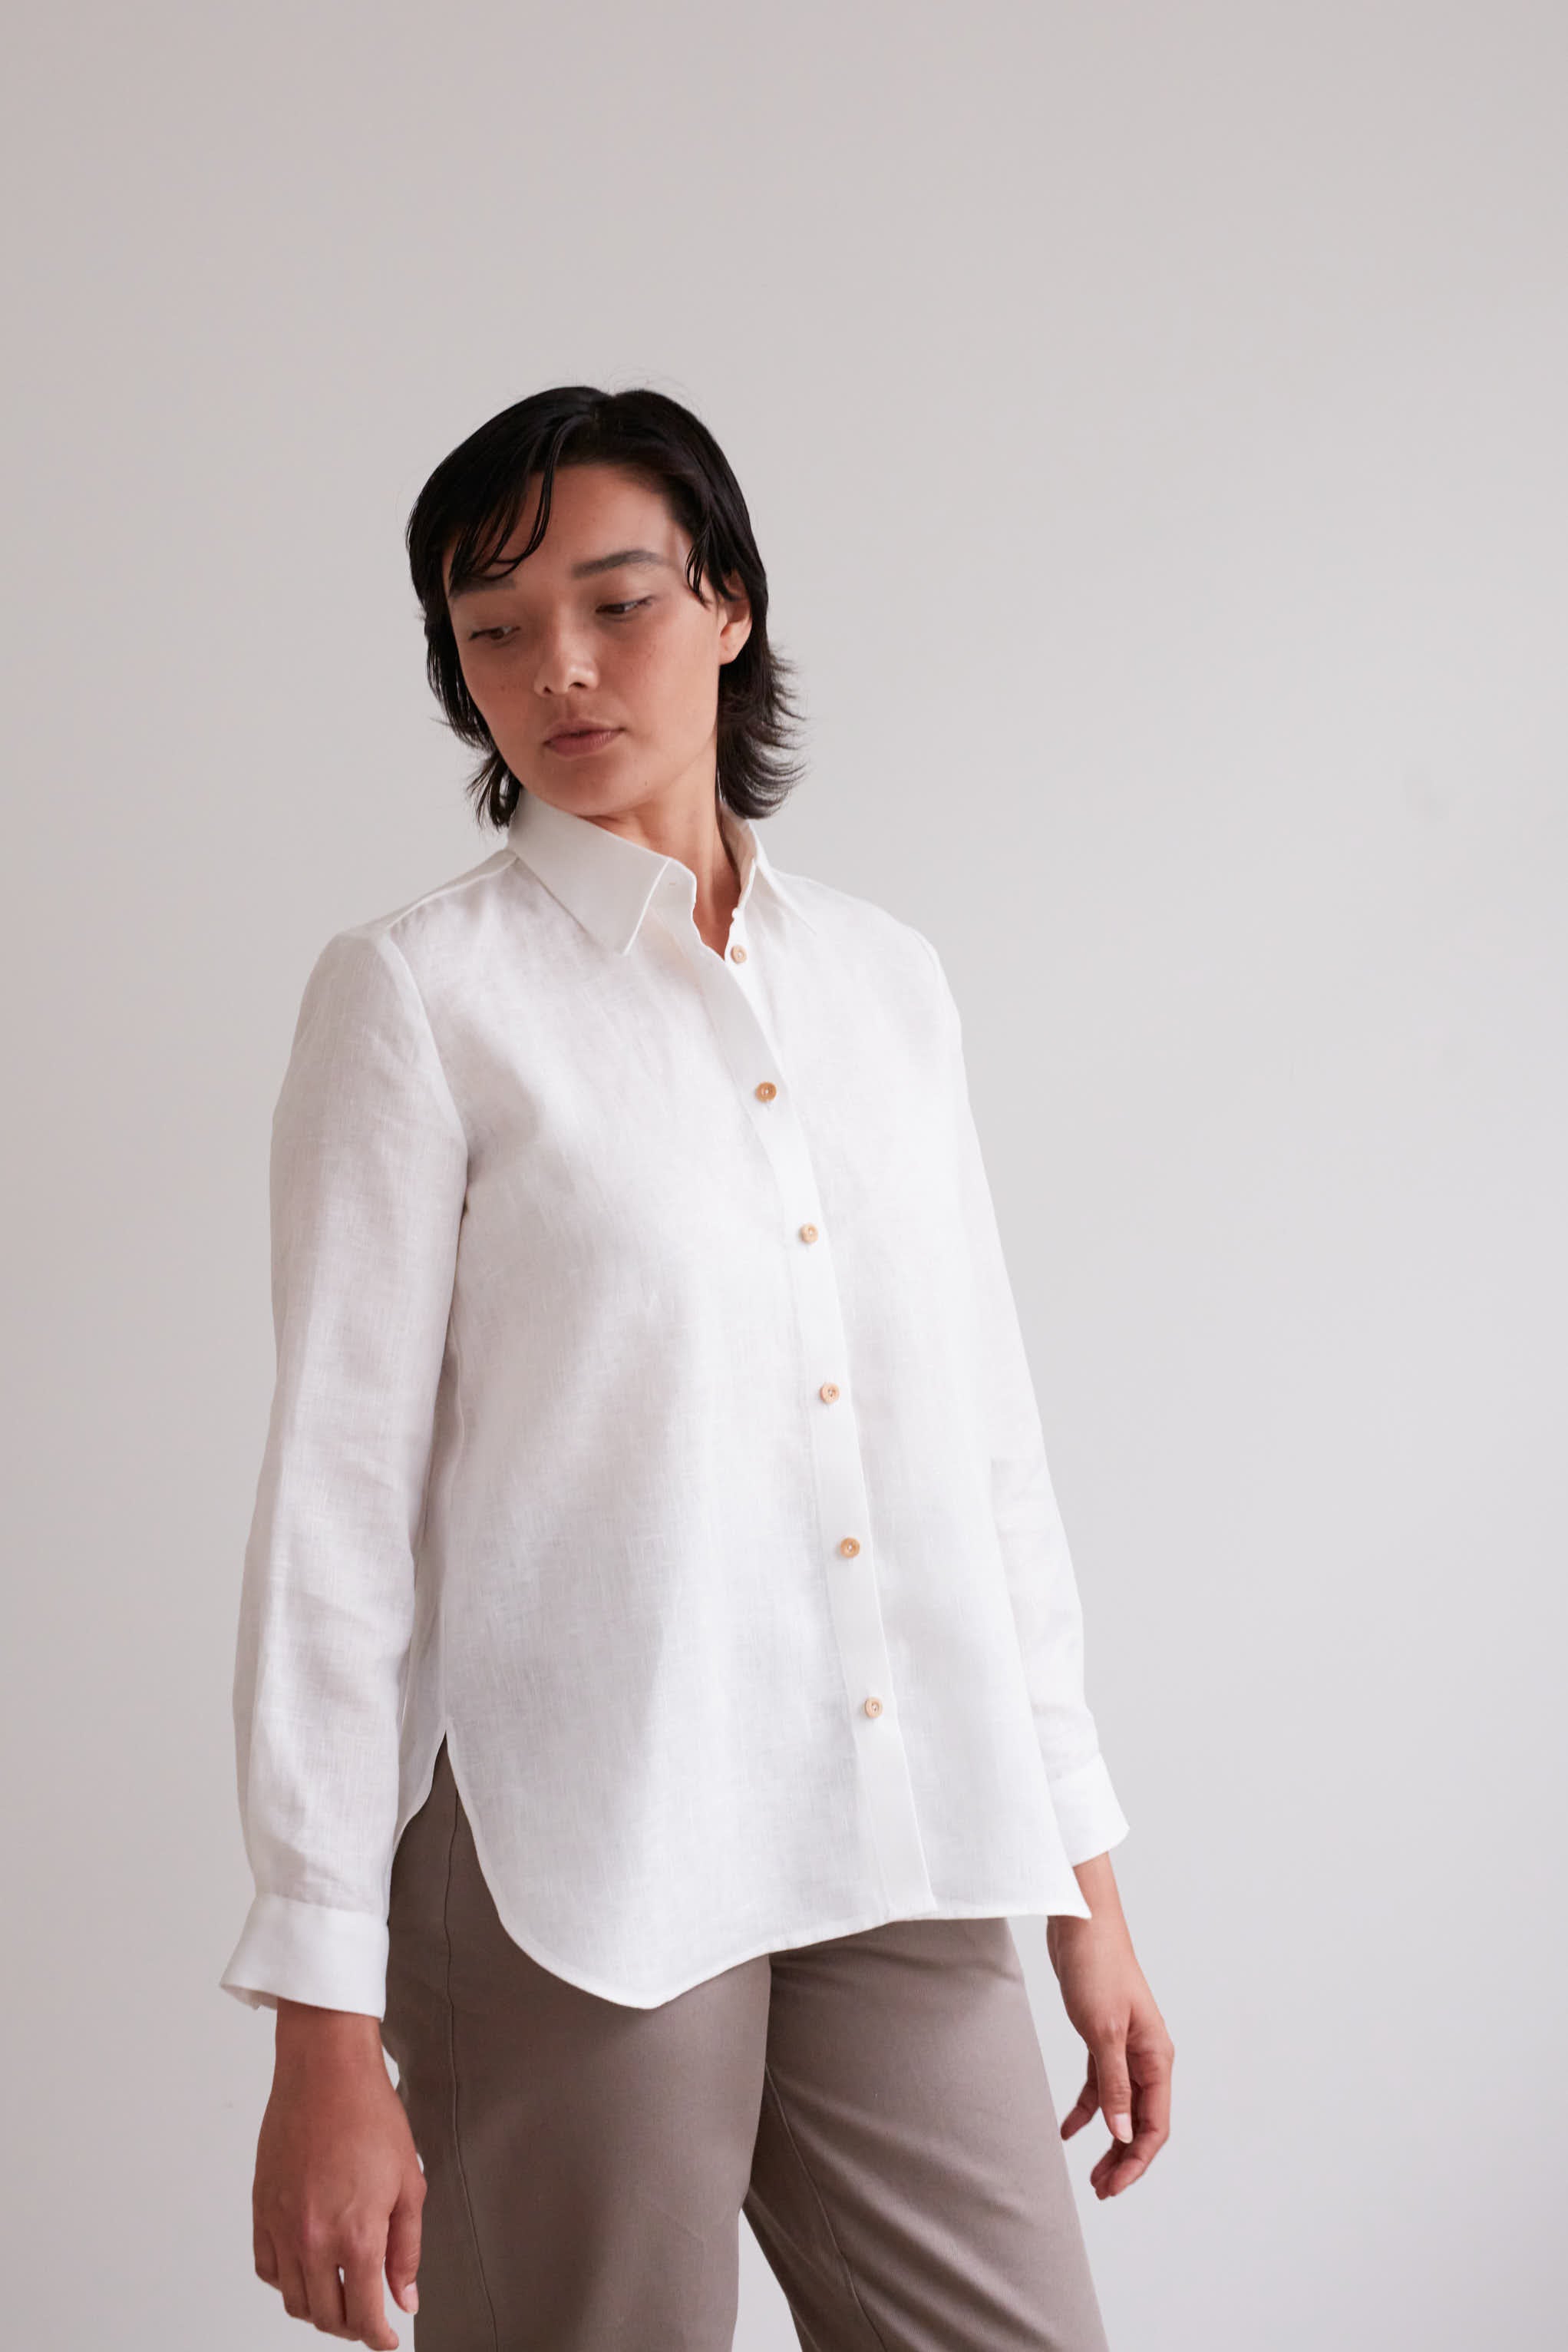
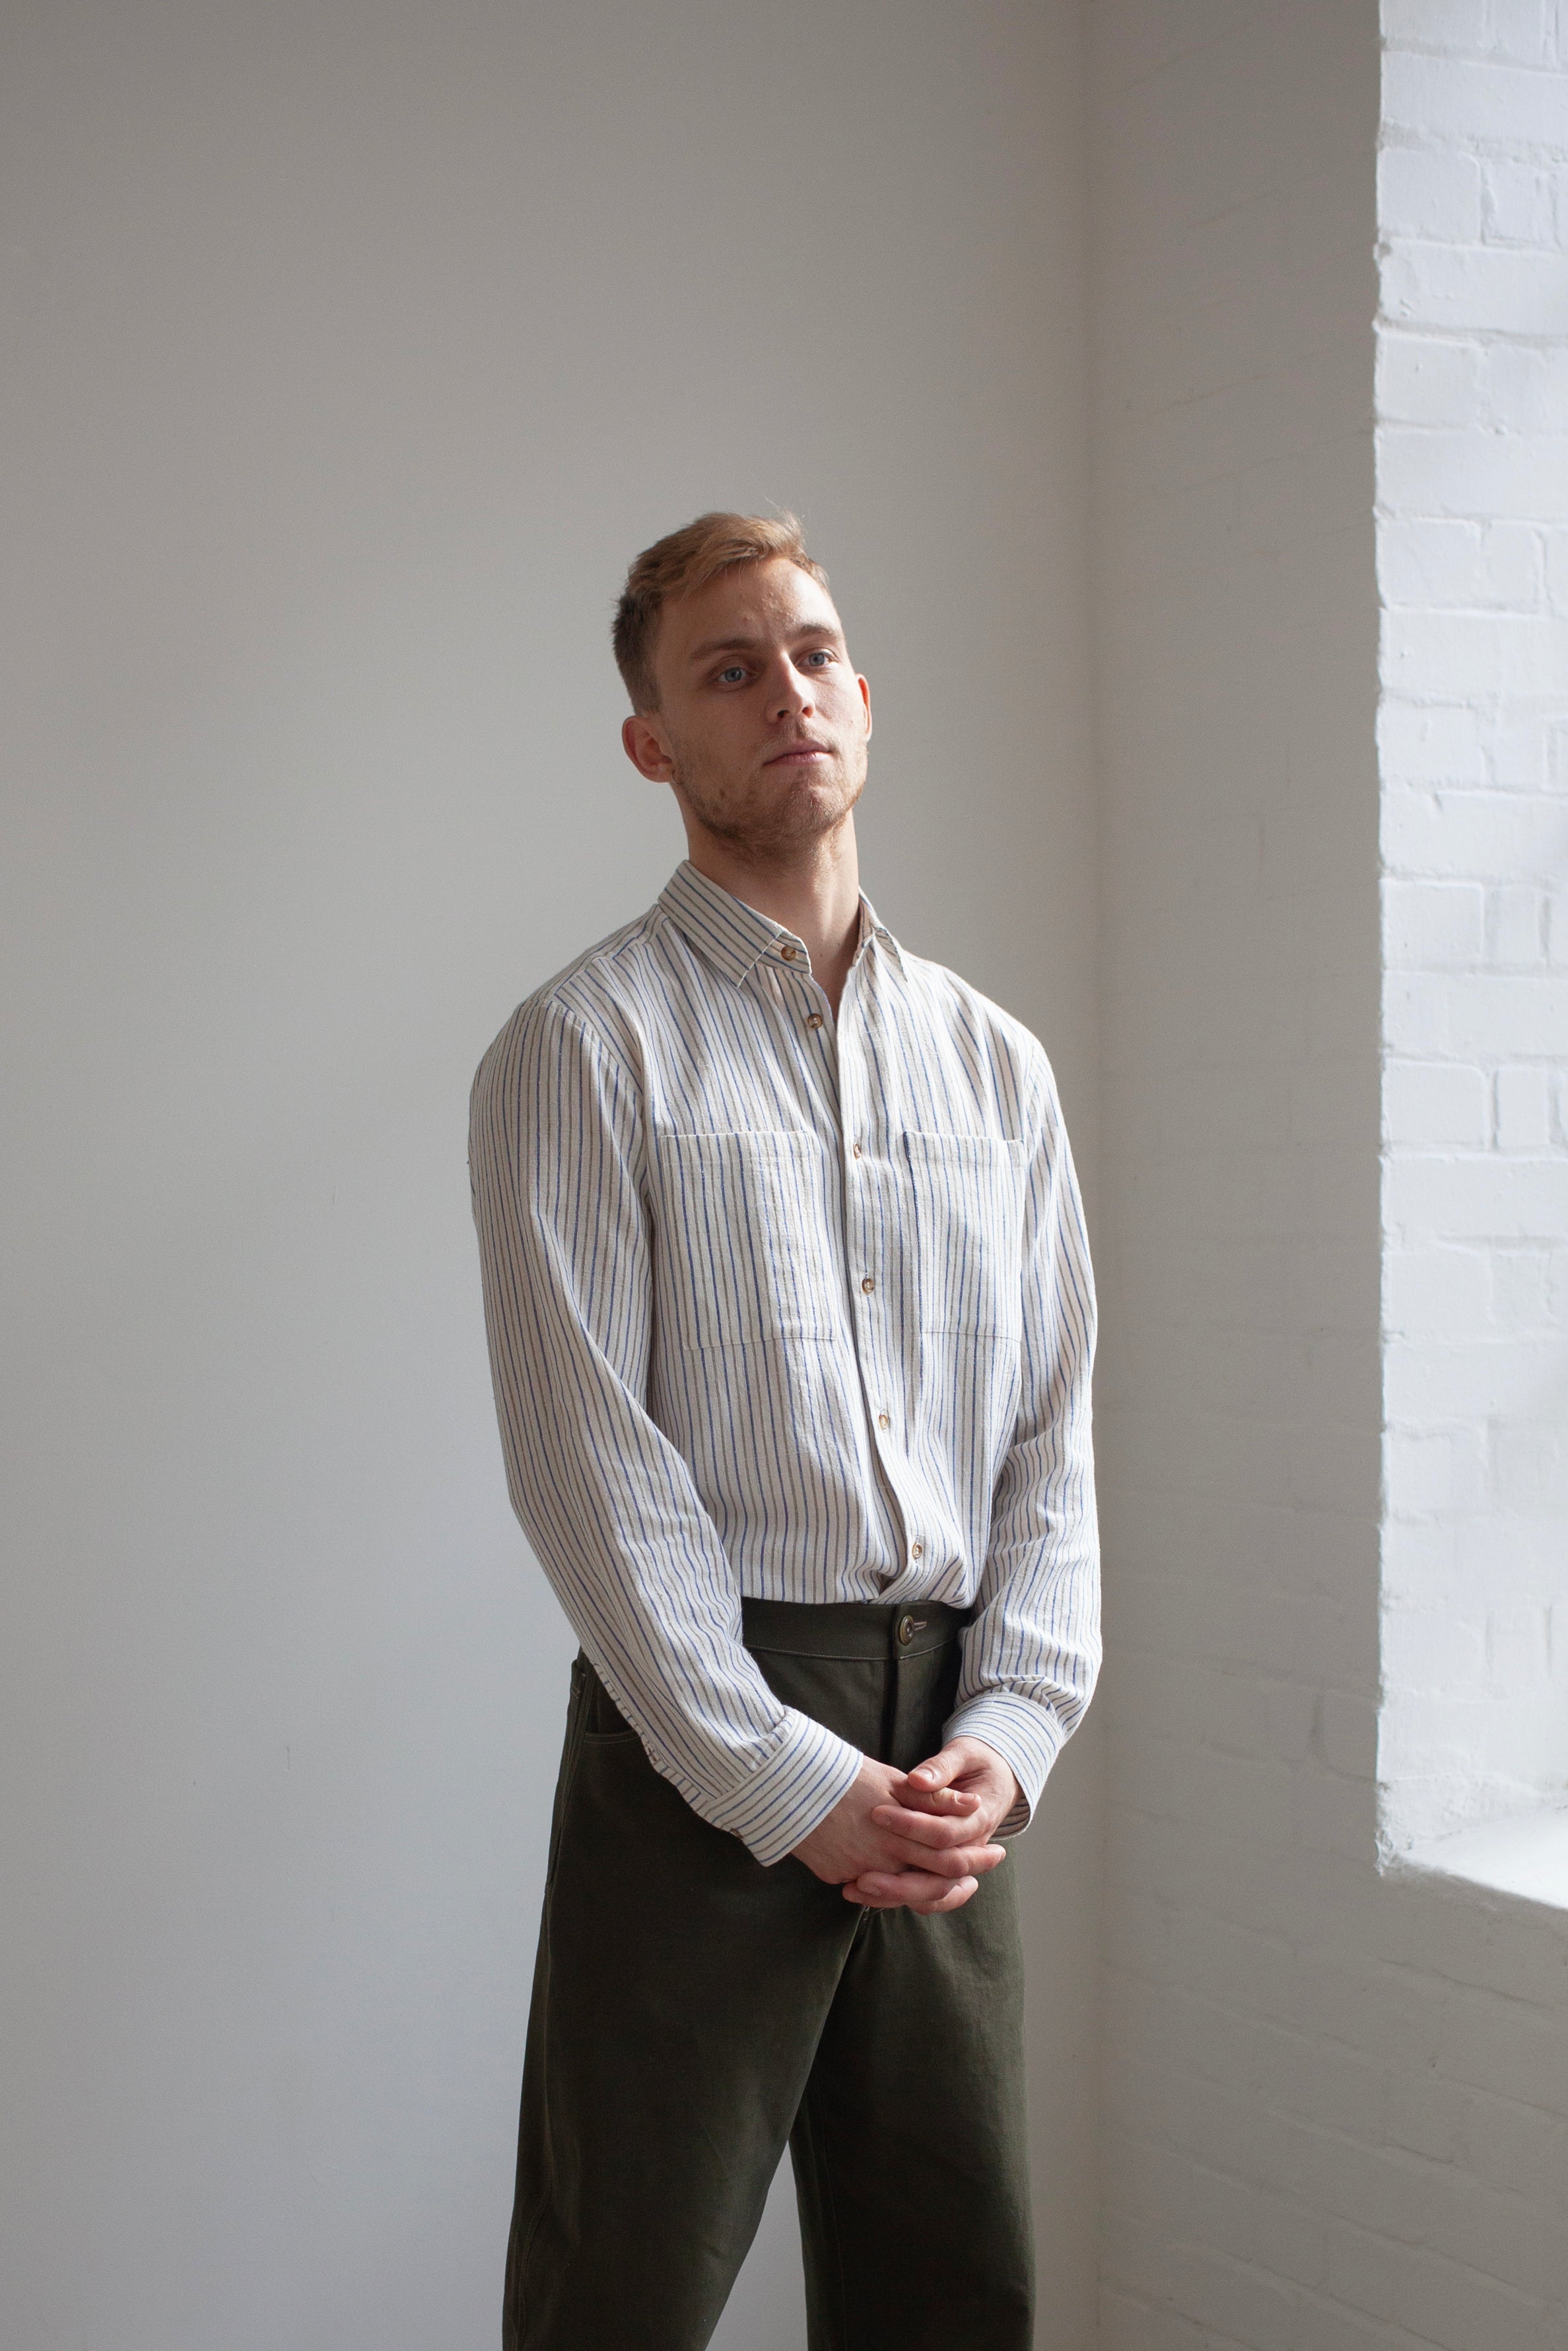
Project 3
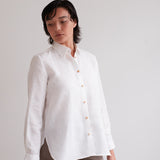
Classic Shirt
Lastly, in the Classic Shirt project you’ll use the skills you’ve already learnt along with some additional finishing techniques shown in the step-by-step photo guides. We recommend following the PDF instructions as well as referring to the photo guides and Over Shirt tutorial.
Skills:
- French seams
- Grown on Button Stand
- Double yoke with pleat
- Classic collar and collar stand
- Square topped placket and cuff
- Sleeve (with pleats) with insertion & 1cm ease
- Flat binding on curved hem
- Buttons

You’ll finish with:
At the end of the workshop you’ll finish with 3 beautifully made shirts complete with industry standard finishing techniques. You’ll have learned professional sewing habits along with many transferable skills to take forward with your sewing.
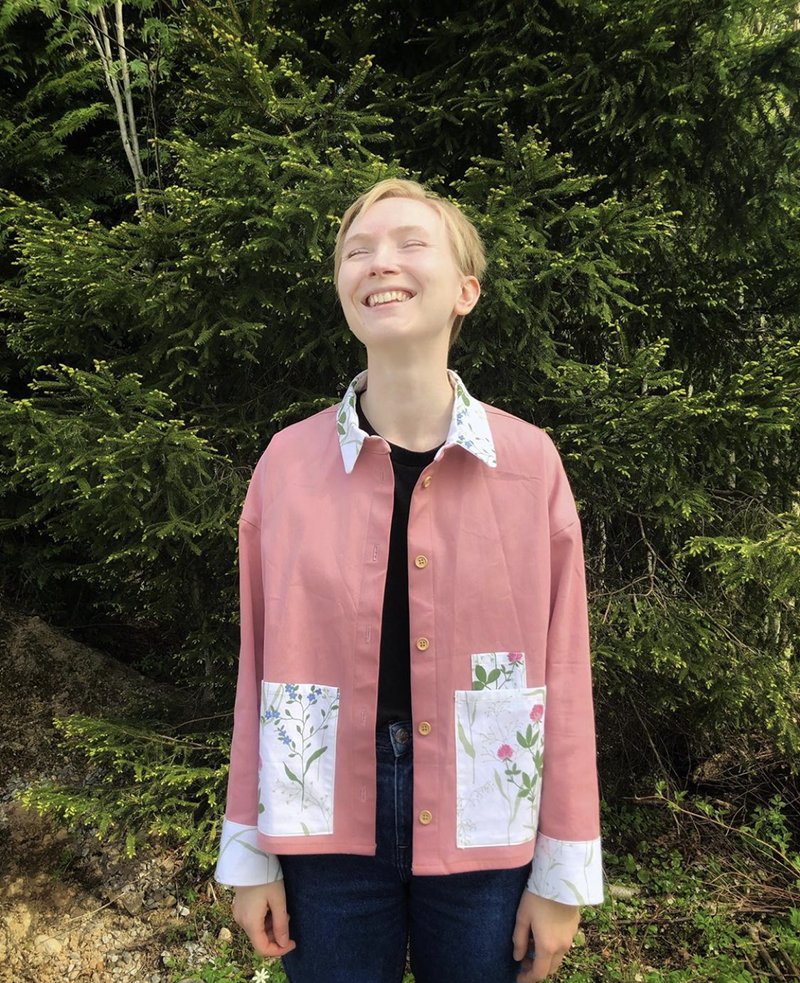
Wonderful makes from our community:
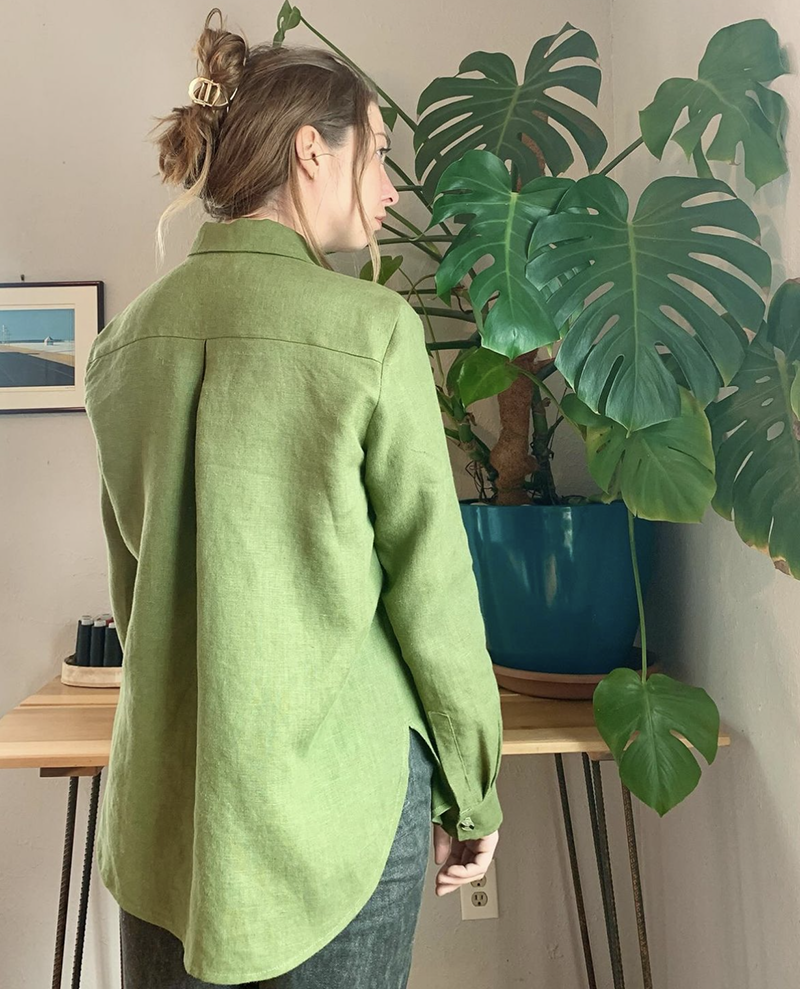
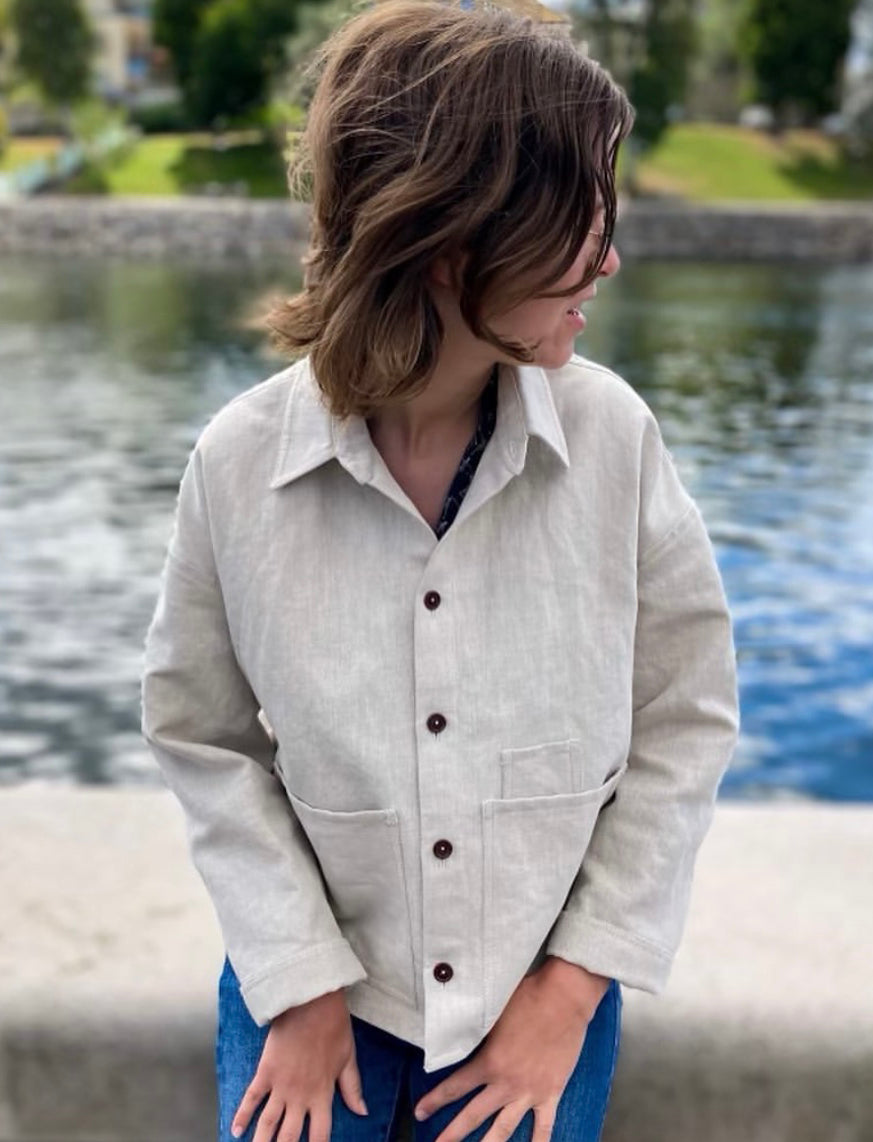
@handverkshverdag
Classic Shirt
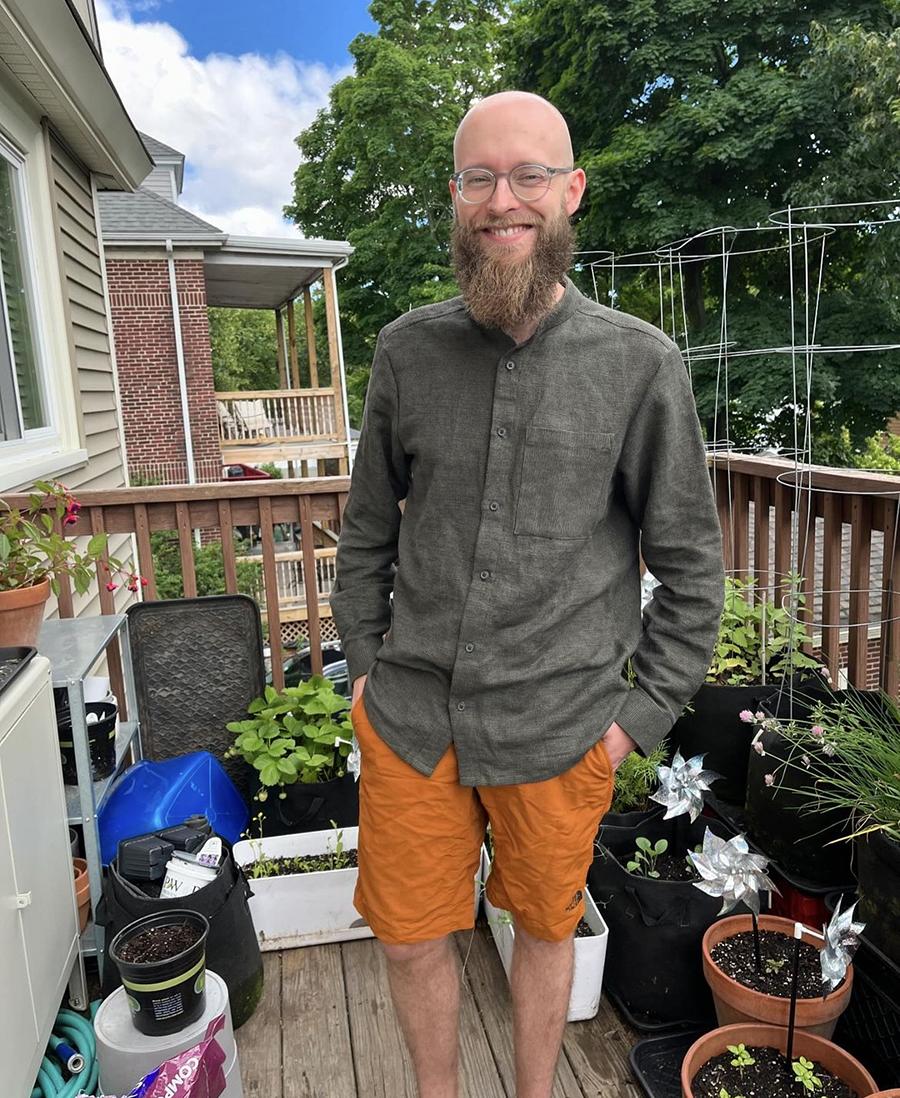
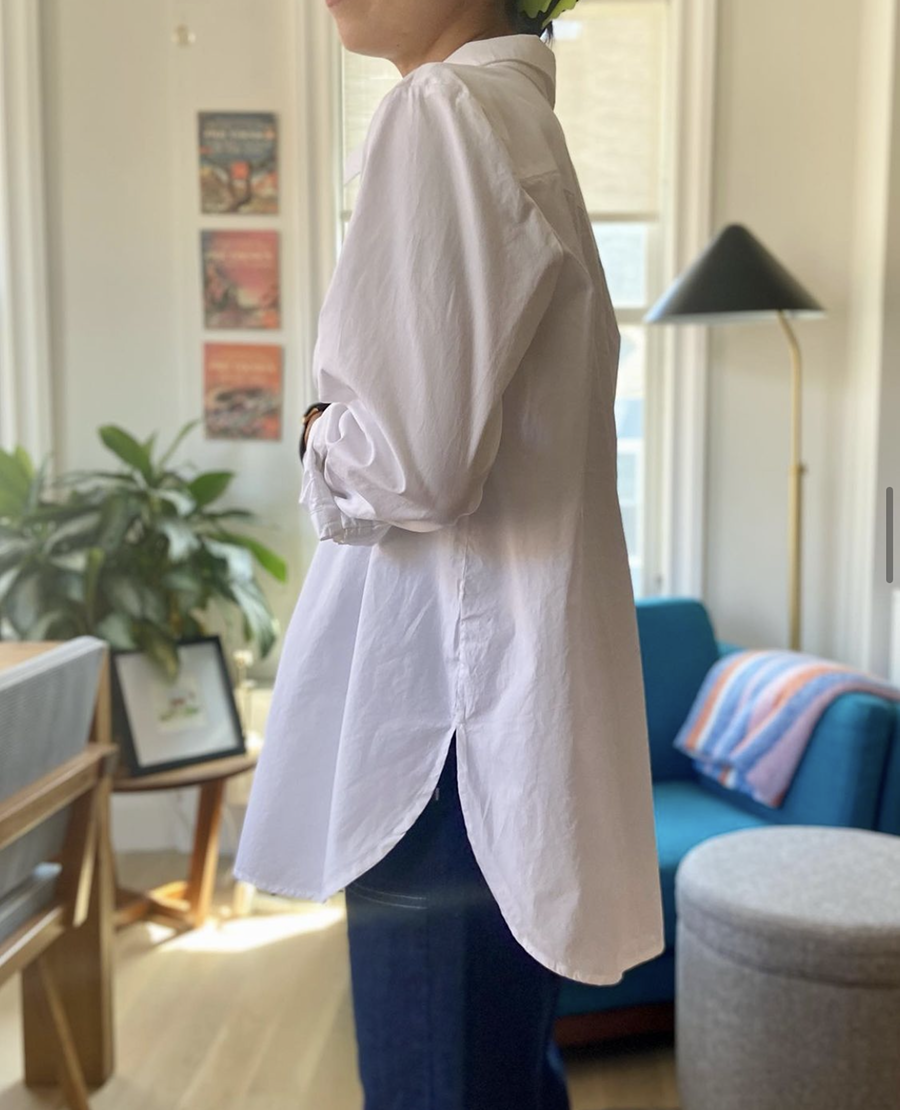
@flomaa
Unisex Shirt

@penny_mac
Classic Shirt
@thread.ringer
Classic Shirt
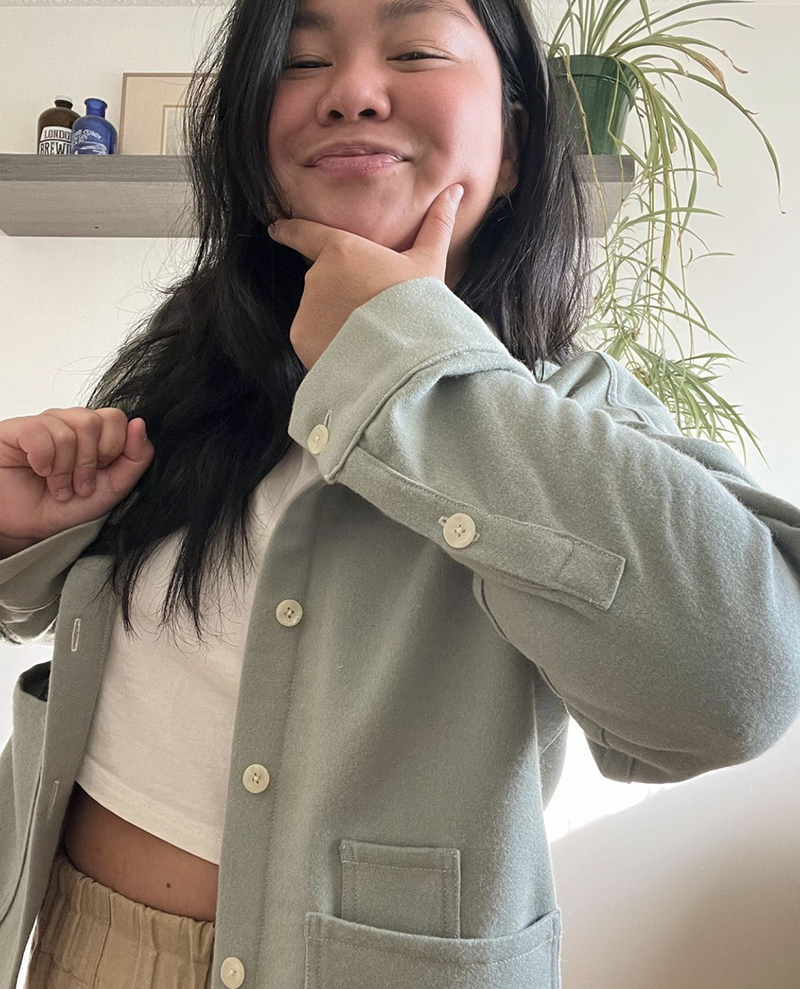
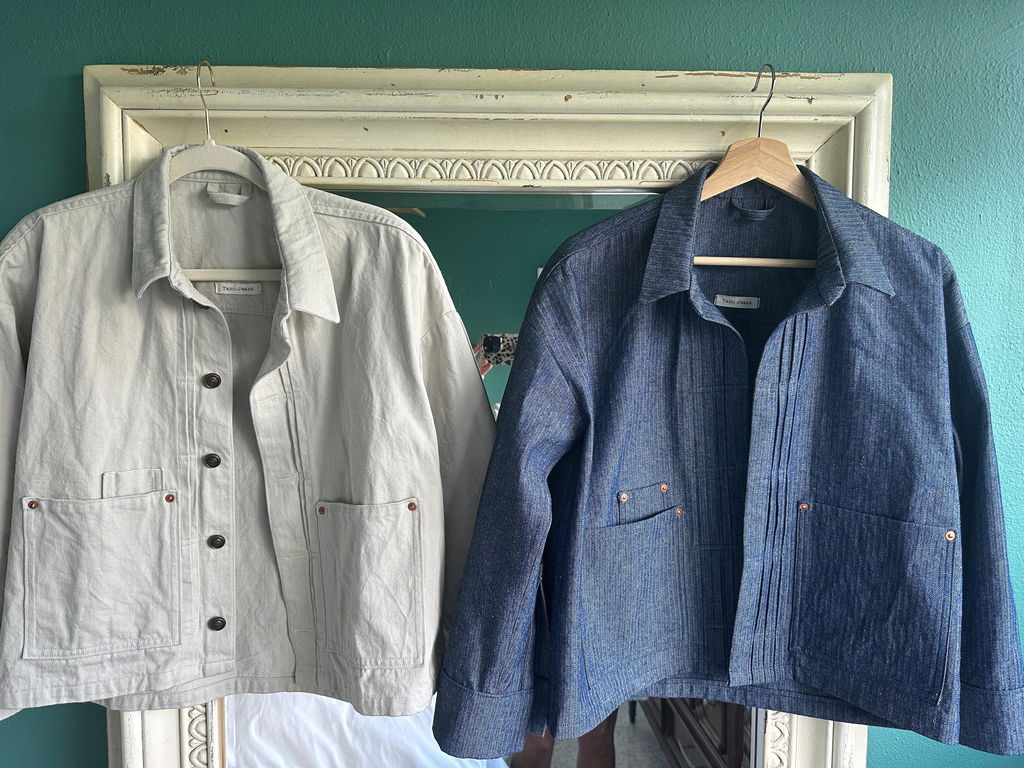
@gabby_sews
Classic Shirt

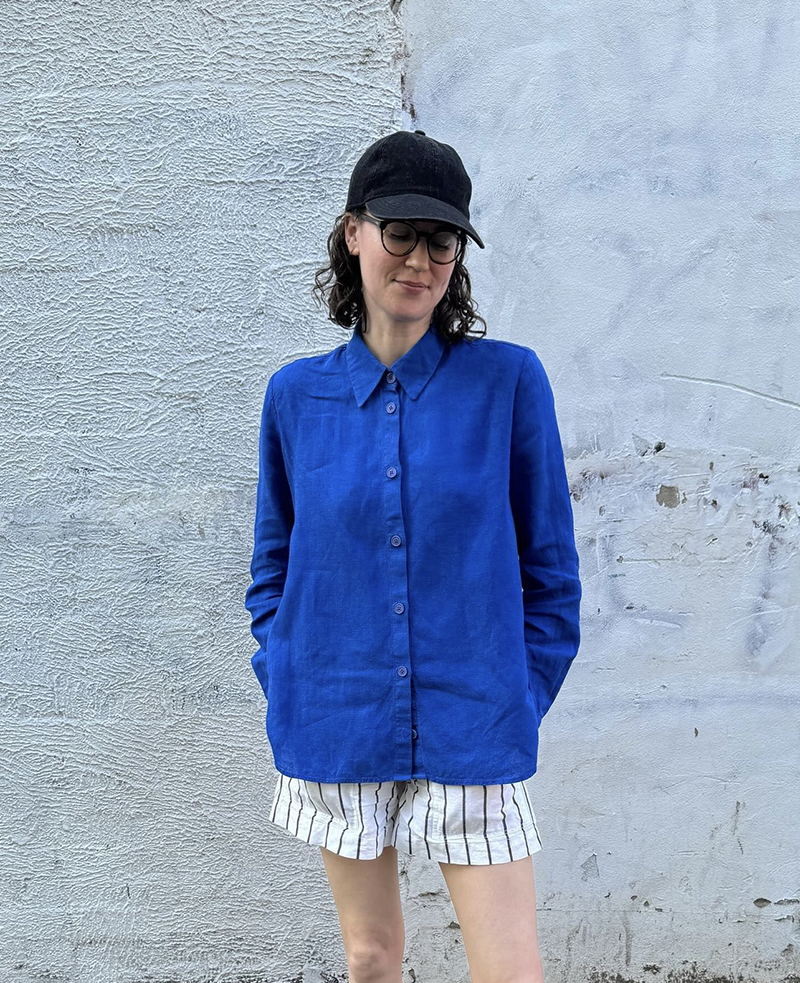
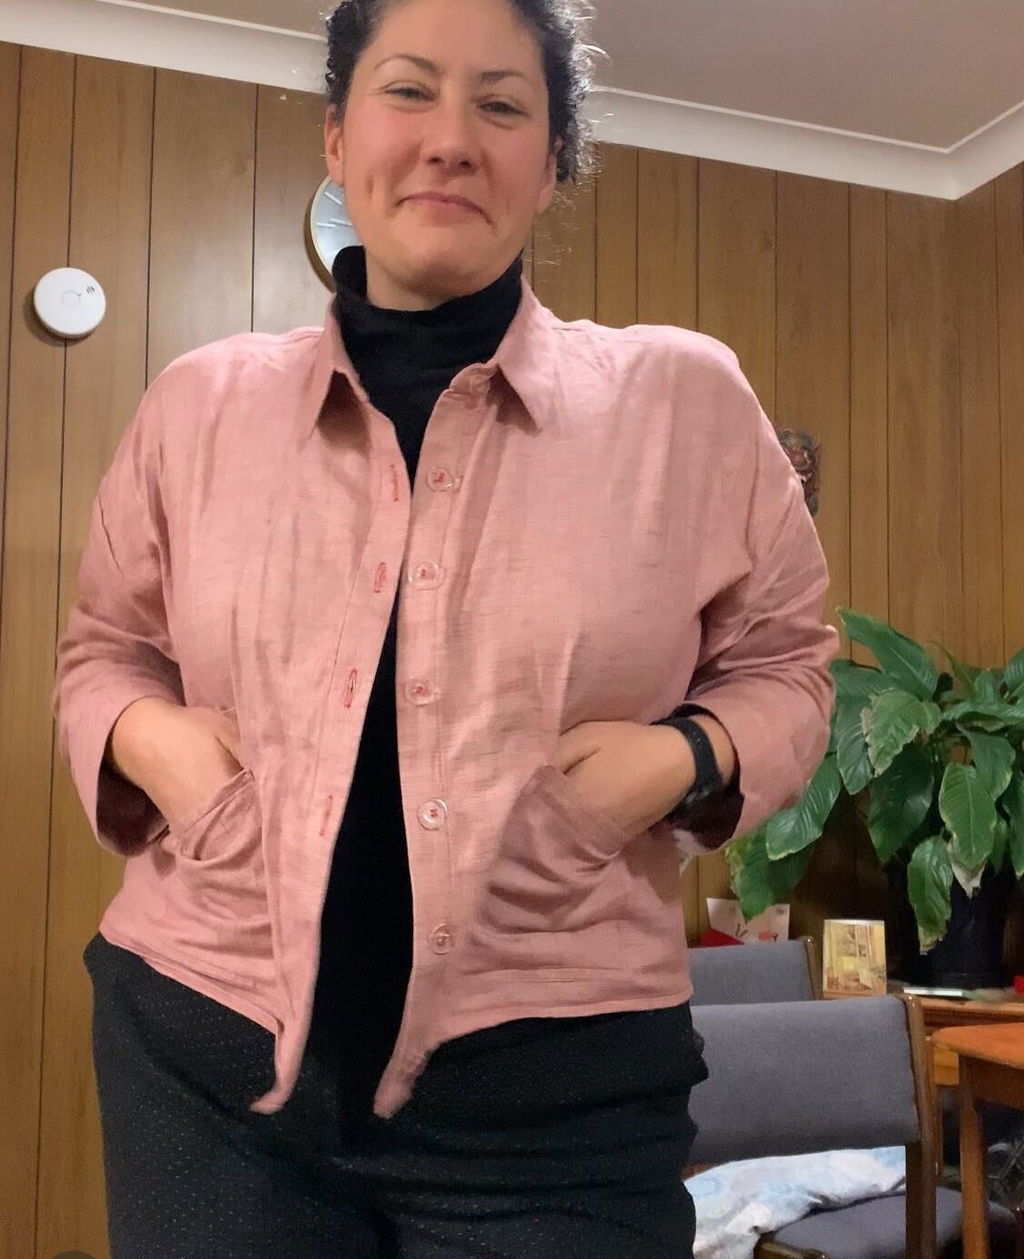
@suzie_barrett
Unisex Shirt
@rachelsalenius
Classic Shirt
@knitxxor
Classic Shirt
@laura.wolfgang
Classic Shirt

@lindagosew_
Classic Shirt

@morningsewist
Over Shirt

Meet Your Teacher
Hetty is the founder of the Modern Sewing Co., a professional designer and pattern cutter with 15 years experience in garment making. Having trained at London College of Fashion and the Tailoring Academy she is passionate about great design, detailed construction techniques and helping people make beautiful clothes.