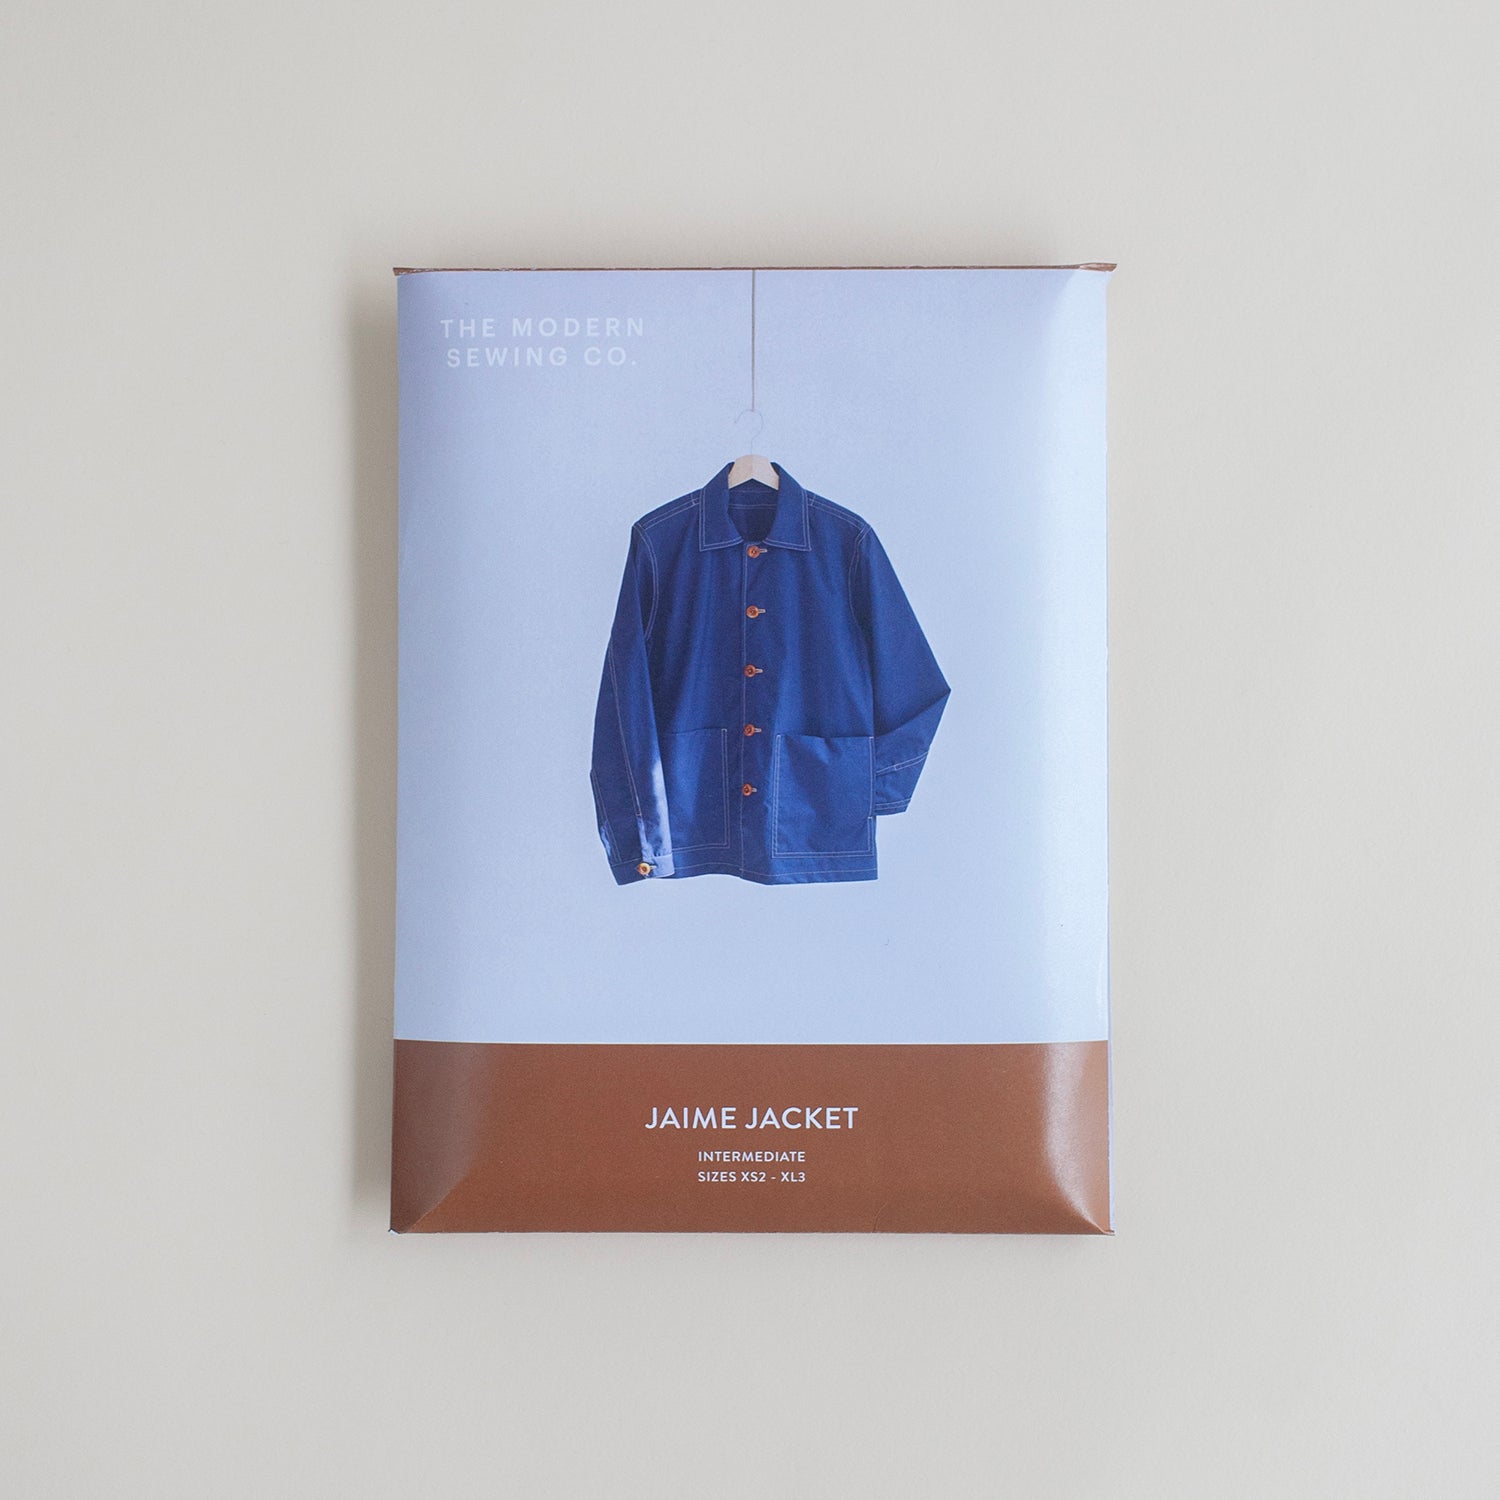

Planning
Fabric
My original plan for this Over Shirt was to use a soft canvas in sage. However, the plans changed pretty swiftly when I found out the minimum order was 5 metres at a price of £50pm. That totals £250 for an Over Shirt and although I would have used the remaining fabric for something else it felt too extravagant and defeating the point of making a sustainable capsule wardrobe.
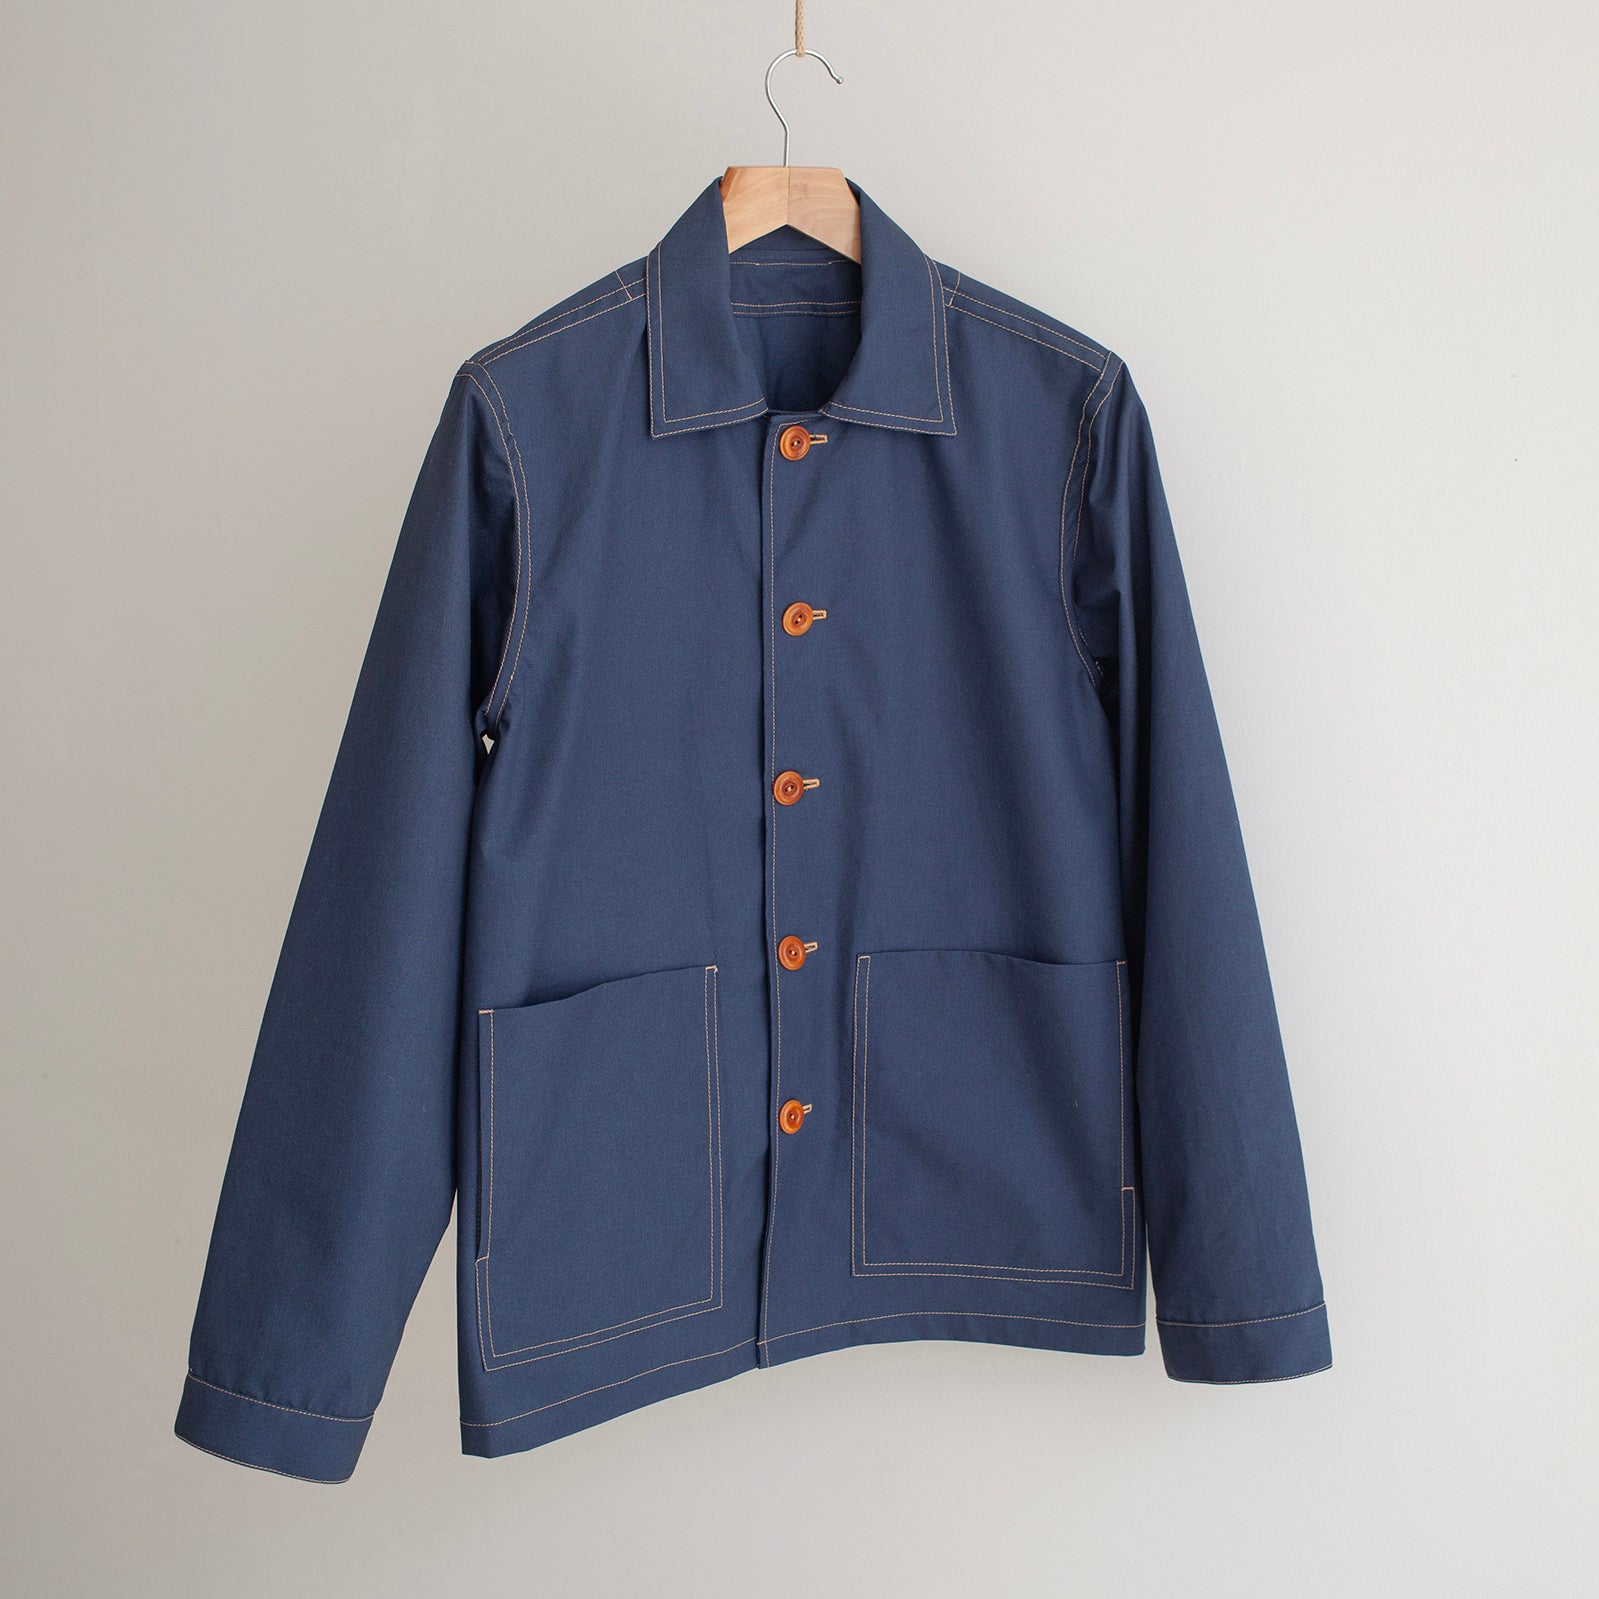
This prompted a major re-think of my entire fabric range. I’m still shuffling swatches around so I’ll share the whole update when I feel like I’ve settled on my choices. One thing I have settled on however was the 12oz Mallet Stripe Denim bought from the Cloth House. This is a beautiful fabric shop in London which I used to shop in years ago and I've recently re-discovered it. I feel like I'm late to the party with this one so if like me you haven't looked it up, chances are you'll love it!
This denim stripe caught my eye as it feels punchy and classic in equal amounts. I paired it with a wooden button to tie it in with my Frida Shirt and when worn together there’s a really nice continuation on a theme (which is was we’re aiming for)!

Sizing
In terms of sizing, I opted for a size 12. I’d usually be a size 10 in this piece but I wanted more of a jacket feel and I like having a bit of extra volume in almost everything I wear. You might also spot that my version is much longer than the actual pattern - more on that below.
I asked about your sizing queries on the forum and so I thought I'd mention the areas I would pay attention to on this piece. Due to the design and intended fit of this garment the sizing issues should be relatively minimal.
This is an over-sized, square cut with a dropped sleeve and a boxy fit. It's meant to hang off the body with plenty of extra volume. The casual, workwear feel doesn't need specific tailoring but there are a few areas you might like to consider:
> Sleeve length - you'll be sewing a full placket and cuff on this piece so it's a nice idea to double check the length before doing all of that sewing.
> Body length - you might like to add some length to this piece so I recommend adding slightly more than you think you need and trim off what you want at the end.
> A few of you mentioned that the Frida Shirt shoulder seam sat a few cm off your shoulders. This is certainly be the case for this cut but if you found you have narrow shoulders (in comparison to the Frida Shirt) you might like to grade down a size or two at the shoulders and armhole.
> I haven't seen a FBA done to an Over Shirt but if you're keen I'd love to see how you get on! It's the sort of garment that is mostly worn open so it's really not necessary to get lots of wear out of it.
My measurements: 5ft 10, Bust - 88cm, Waist - 80cm, Hip - 91cm, Shoulder to shoulder - 44cm

Making Process
I love making shirts. I find the process of origami like construction incredibly satisfying and I love the grid like nature of the pattern which works so well with a stripey fabric. It gives you a creative opportunity to play with the design through the grain choice and the stripes give you an in-built ruler to sew and fold against.
Modifications I made to this pattern include:
> adding 14cm to the body length
> flat binding around the hem
> jet pockets instead of patch pockets

Adding Length
I’ve started to enjoy a bit more length on my garments - perhaps it’s because I’m tall or maybe it’s a subconscious trend thing. I knew I’d feel more comfortable with it a bit longer so I added a total of 14cm to the bottom of the pattern. I did this by pinning the pattern on to the fabric and extending the side seams by 14cm.

Flat Binding Hem
When the garment was finished I tried it on and loved the length where it was sitting. I didn’t want to loose 2cm off the bottom to roll up for a hem. So I decided to sew a flat binding using the same fabric as the inside pocket bags. It’s resulted in a really lovely finishing detail and one I’d encourage you to play with either on this project or future Over Shirts.

Jet Pockets
I hadn’t originally planned to sew jet pockets on this Over Shirt but when the fabric choice changed it was screaming out for a detail that accentuated the stripe. The thin jets in a horizontal stripe breaks up the front as a whole and gives a more crisp look to a standard patch pocket. It was also a good opportunity to add a new sewing lesson to the course.


Working with Thick Fabrics
One thing I did a lot of throughout the making process was snip out excess bulk from the seam allowances. Lots of you will be using denims and slightly heavier fabrics so I do recommend trimming some seam allowances, especially on areas such the yoke and armhole seam and front button stand.
The picture below shows where I trimmed the placket seam allowance before pressing the area into place. This really did help to slimline the whole area so I do recommend this for bulky fabrics.

Gallery


----
Tutorials + Freebies
Extra guidance & tips
1. How to: Sew a Jet Pocket (Video Tutorial)
2. How to: Design Your Own Pocket (Blog)
3. Pattern: Gusset Pocket (Free Download)
4. Pattern: Jaime Jacket Pocket (Free Download)

---
1. How to Sew a Jet Pocket
If you’re keen to sew a jet pocket - either on this garment or something else - follow the video for guidance and click here to download the free pattern.

---
2. How to: Design Your Own Pocket
The Over Shirt is the perfect piece to get creative with pockets. If you fancy playing around with your own design check our the guide on how to create your own pattern piece.

---
3. Gusset Pocket
If you plan to add length to your Over Shirt the Gusset Pocket could be a good addition to consider. Download the free pattern & instructions below.

---
4. Jaime Jacket Pocket
If you like the idea of a two-way pocket the Jaime Jacket pocket is a great option. This works particularly well on shorter jackets as you can use the side pockets to keep your hands warm.

---

