Creating your own patch pocket design is very straightforward and it’s a great way to add your own character to your garments. If you’re interested in the idea it’s worth spending some time sketching up ideas and perhaps mocking up a draft or two in some scrap fabric.
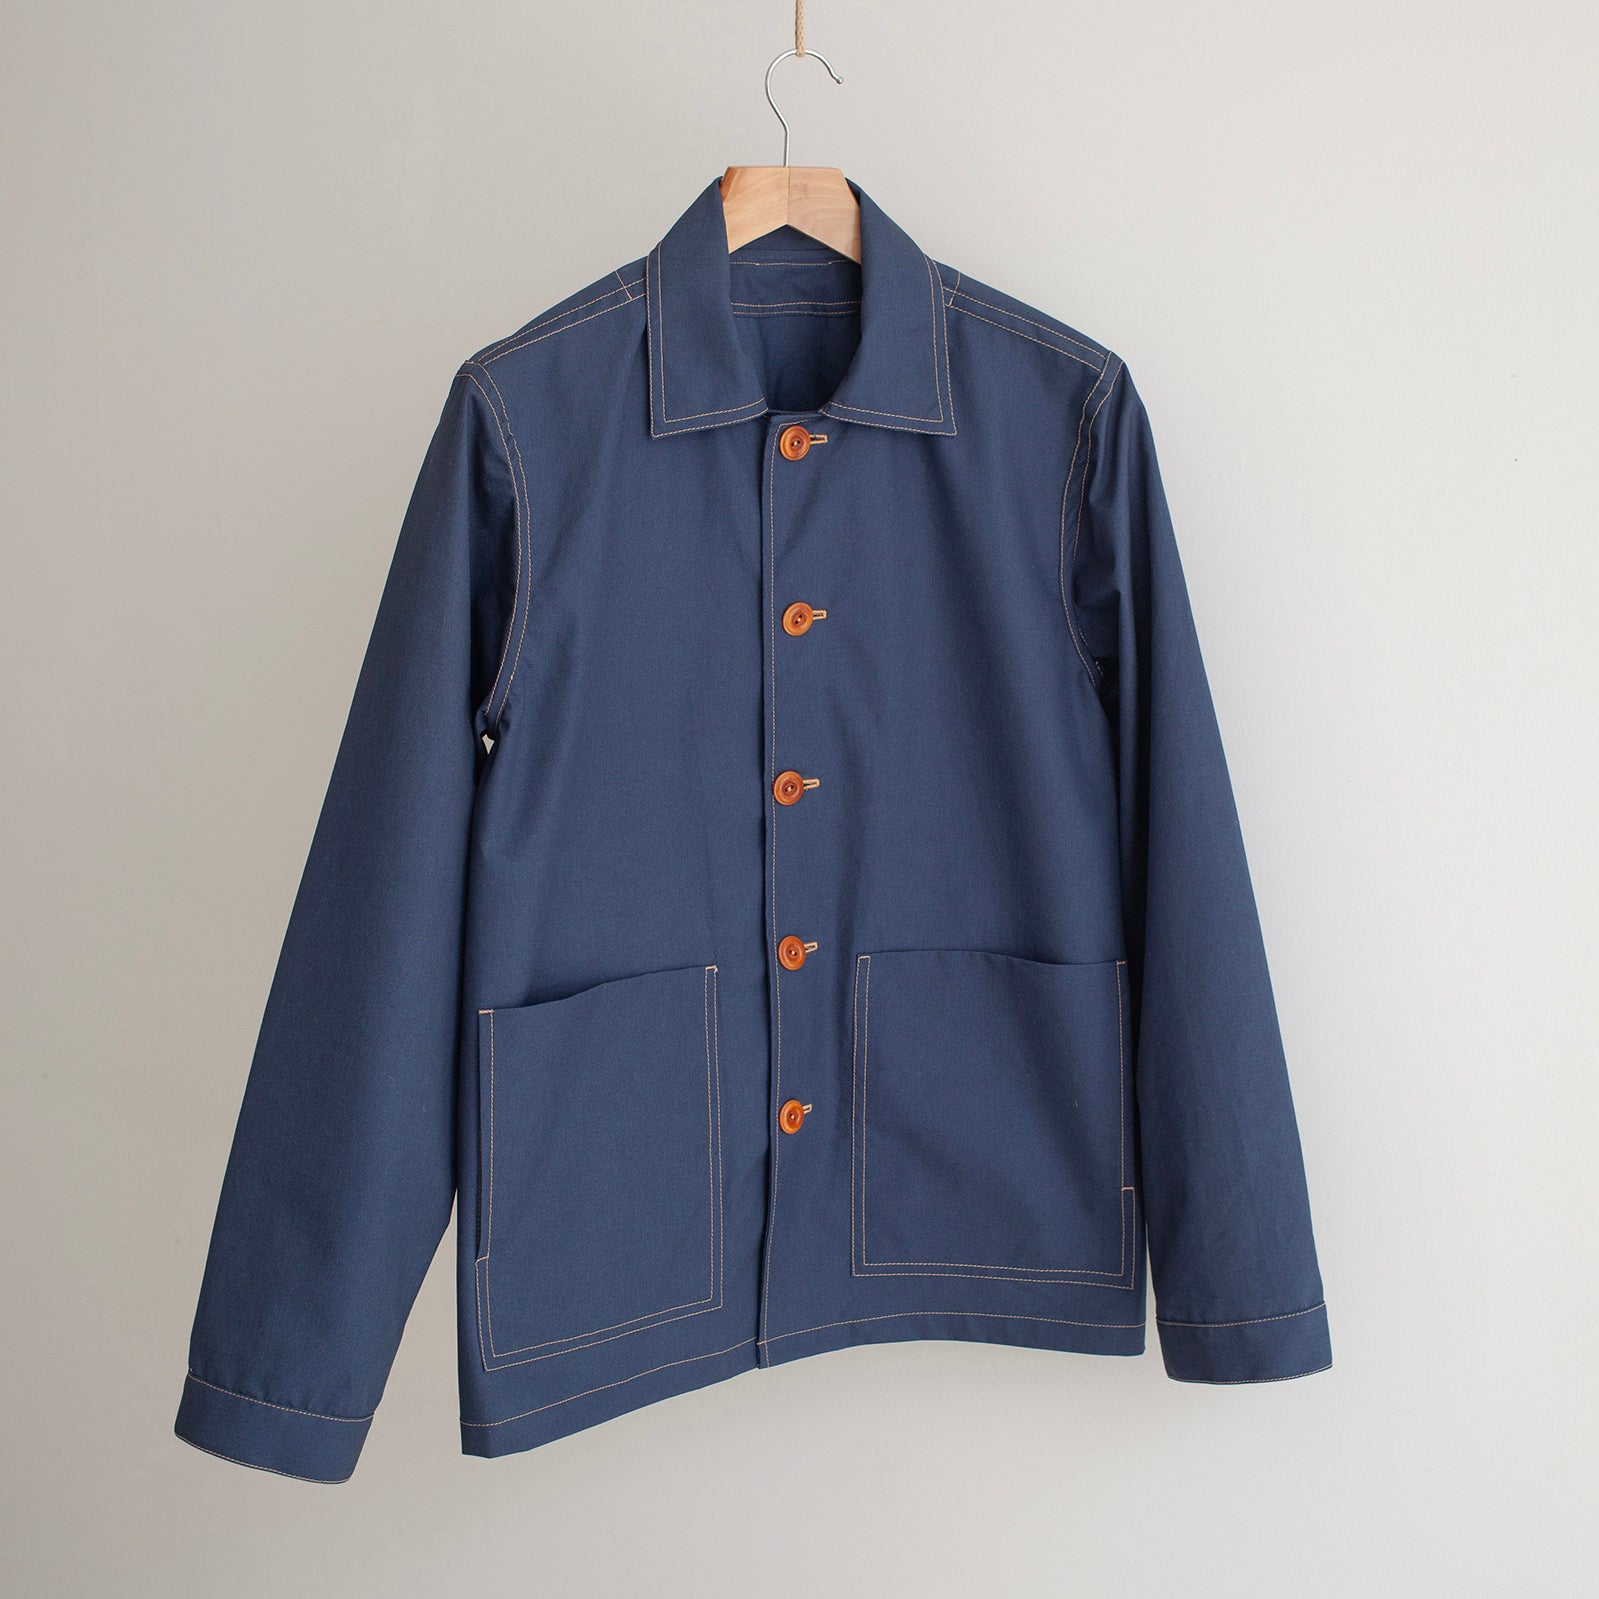
Firstly I recommend thinking about your fabric and the kind of pocket design that would suit it. I probably wouldn’t put a bellow pocket on a linen piece but a small jet pocket or curved patch pocket would work beautifully. Equally a waxed cotton piece would be a headache with a jet pocket but a bellow pocket would suit it perfectly. The character of the garment and stability of the fabric will help you to narrow down the pocket size and design.
Secondly I recommend think about what you’d like to use the pocket for - is it your phone, keys, dog lead or to keep your hands warm? Each one will suit a different shape and size and function is so important to make long lasting, well loved pieces. So consider its use carefully. You might even develop a shape of patch pocket that becomes your signature and you can use it across multiple garments.
Below is a guide for how to create your own patch pocket design, whether it’s asymmetrical or symmetrical.

Asymmetrical Pocket

1 - Draw your chosen shape on to a piece of paper. The shape will be the outside line of the pocket when it’s finished.
2 - Then draw a 1cm line around the outside of the pocket, excluding the entrance to the pocket
3 - Now draw 2 lines from the entrance of the pocket, the first 2cm from the edge and the second 4cm from the edge. This will give you a 2cm double turn on the entrance to the pocket
4 - Cut along the outer line of the pocket entrance

5 - Now fold the pocket entrance as you would to sew it. Fold at the 2cm line and then fold at the pocket line. You should have a double fold.
6 - Keeping the double fold in place, cut around the pocket ensuring the 1cm seam allowance remains.
7 - This is your pocket shape finished - cut in fabric!
8 - Press your fabric into place as shown, starting with the entrance to the fold and then the 1cm seam allowance.
Symmetrical pocket

1 - Fold the paper in half lengthways - this will be your grain line. To mark the pocket entrance draw 3 lines at the top of the page, 2cm apart from each other. Then draw half of your pocket shape - you can use dotted lines to help get a smooth curve.
2 - Fold the pocket entrance as you would to sew it. Fold at the 2cm line and then fold at the pocket line. You should have a double fold. Then fold the paper in half down the previously folded line. Draw a dotted line 1cm away from the previous line to add your seam allowance. Don’t worry too much about precision, you can even it out in the next step.
3 - Cut around the outside edge of the seam allowance and then open up the shape. If you want to alter the shape a bit, re-fold in half and carefully cut to smooth out. This is now your pocket pattern.
4 - Cut the pocket out in your fabric and press as shown, starting with the entrance to the fold and then the 1cm seam allowance.
-

Finished pockets after pressing + ready to be attached