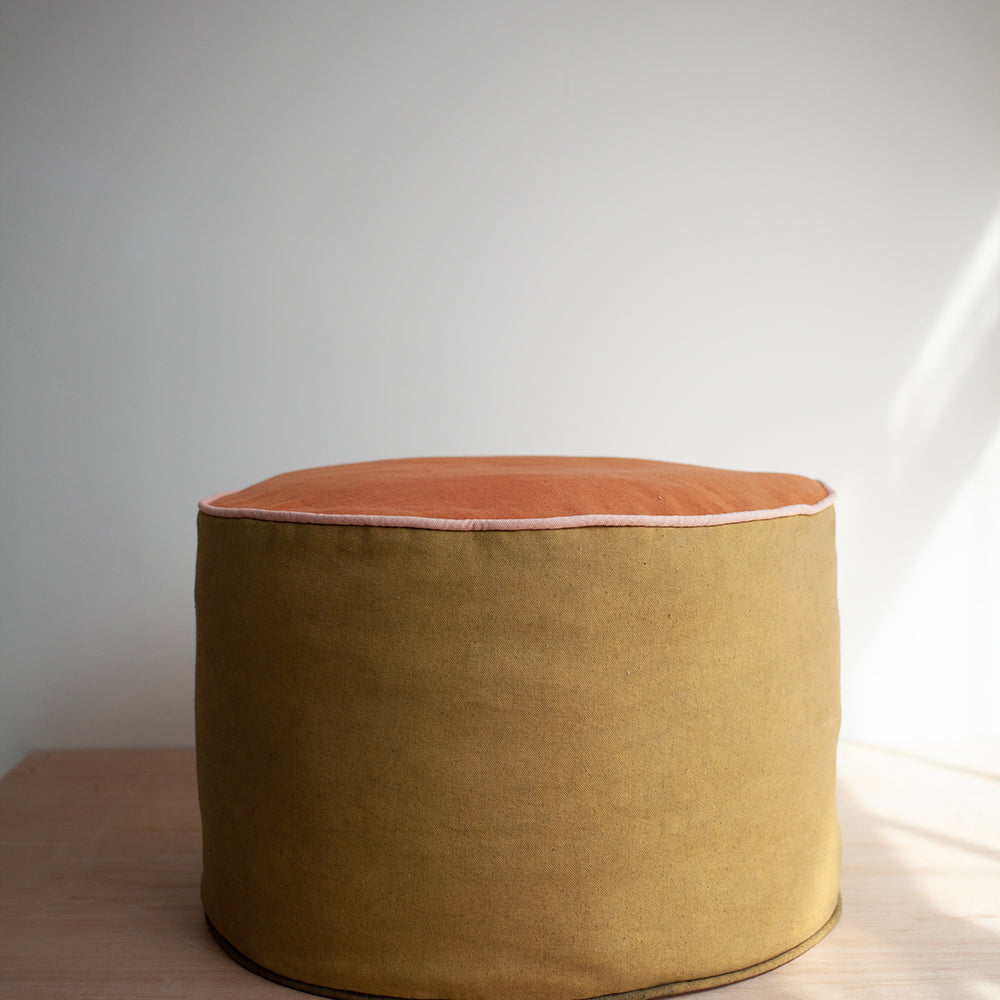
Introducing: The Zero Waste Pouffe
I’m really excited to be launching our latest pattern... the Zero Waste Pouffe!
I firmly believe that sewing your own clothes is an environmentally positive alternative to shopping on the high street. Through sewing a garment yourself you can cut out the entire fashion industry from the process which is quite a feat. A few years ago I wrote in detail on this topic so if you’re interested to read more you can catch up here: Thoughts On Sustainable Sewing.
However… home sewing comes with it’s own problems. Fabric consumption is much less efficient when you’re only cutting one garment not to mention the toiles and the practise projects as you slowly build up your skills. It can really create a lot of fabric waste and there’s nothing worse than that nauseating feeling of putting a bag of fabric off-cuts in the bin. I found myself saving bags and bags of scrap fabric hoping to re-purpose them one day. And finally the answer came to me as I rested my feet on a precarious coffee table. A pouffe! A small piece of furniture to stuff full of fabric waste while also looking beautiful in your home (and to rest those tired feet on).

The instagram response to this pattern has been incredible. With 390,000 views at the time of writing I think it’s fair to say the teaser video went viral which is SO amazing. Sustainability is clearly something everyone is concerned about and it’s so nice that this pattern has caught people’s imaginations. I know there are also many people who have already been doing this for years and I salut you! We’re merely catching up with you!
If you’re relatively new on your sewing journey this is a great project for you. It’s a nice easy piece to make and it will store all of your toiles and practise projects that didn’t quite go right. Mistakes are part of the learning process so it’s great that those mistakes don’t need to go to landfill!
I've done a gallery below to share more details about this piece so enjoy a scroll. I can't wait to see some of these in your homes!
Hetty
x
___
Gallery

The pieces cut, ready for sewing. You can choose different colours for the top and base to give the pouffe a different look each time you turn it over.

Stitching the piping

Piecing the panels together

Attaching the side to the base

Wadding is used as a lining inside the shell to give it a good structure and a smooth outer finish. We use 8OZ wadding which is about 2cm thick and it helps to conceal any lumps and bumps from the fabric waste inside.

The wadding is basted into place to keep it secure while you slowly fill the pouffe with scraps over time.

You can insert any fabric waste through the zip - here I'm even adding eco-friendly insulator used for food deliveries.

The pouffe acts as your bin while you slowly fill it up.

When it's full simply zip it up...

...remove the basting stitches...

And voila!

Flip it over for a new colour way and to keep it looking plump. To note, we originally put the zip on the base but found it was really useful to be able to turn it over to 'fluff it up'.

You can choose colours that best suit your home - here we have a loud option and a neutral option.

P.S. vertical stripes are lovely on the piping!

