The weekend long read.
If you caught my last email on ‘tackling perfectionism’ you might be aware that I’ve been sitting on this make for a couple of weeks. I started sewing this jacket in the middle of March and when I finished it I felt like it just wasn’t quite right (if you missed last weeks newsletter you can catch up on the blog).
As mentioned in that newsletter, I often dislike a garment right after I finish it. I will usually leave it in the studio for a couple of days and once I've had some space away from it I'll stop seeing the flaws and start to like it.
There was a certain amount of this routine in the making the Denim Darcy Coat but aside from the underlying self doubt I knew there was something not quite right with the finished version. After wearing it for a week or so I set about making the amendments and they turned out to be much smaller than I had anticipated. So here we are, I now feel ready to share the make and I'm entirely confident that this is a pattern hack worth doing.

I'll start this story in 2017 when I found the perfect denim jacket in a vintage shop. It was dark denim, nicely oversized and it just slotted on over absolutely everything I wore. One day I was on an overcrowded train and in the hot panic of getting off at the right stop I left it on the luggage rack.
I never replaced it as I rarely buy clothes these days and so the time came to finally make my own version. I wanted something I could wear for the majority of the year; it would need to be roomy enough to layer over thick jumpers in the winter and also wear open as a simple jacket in the summer.

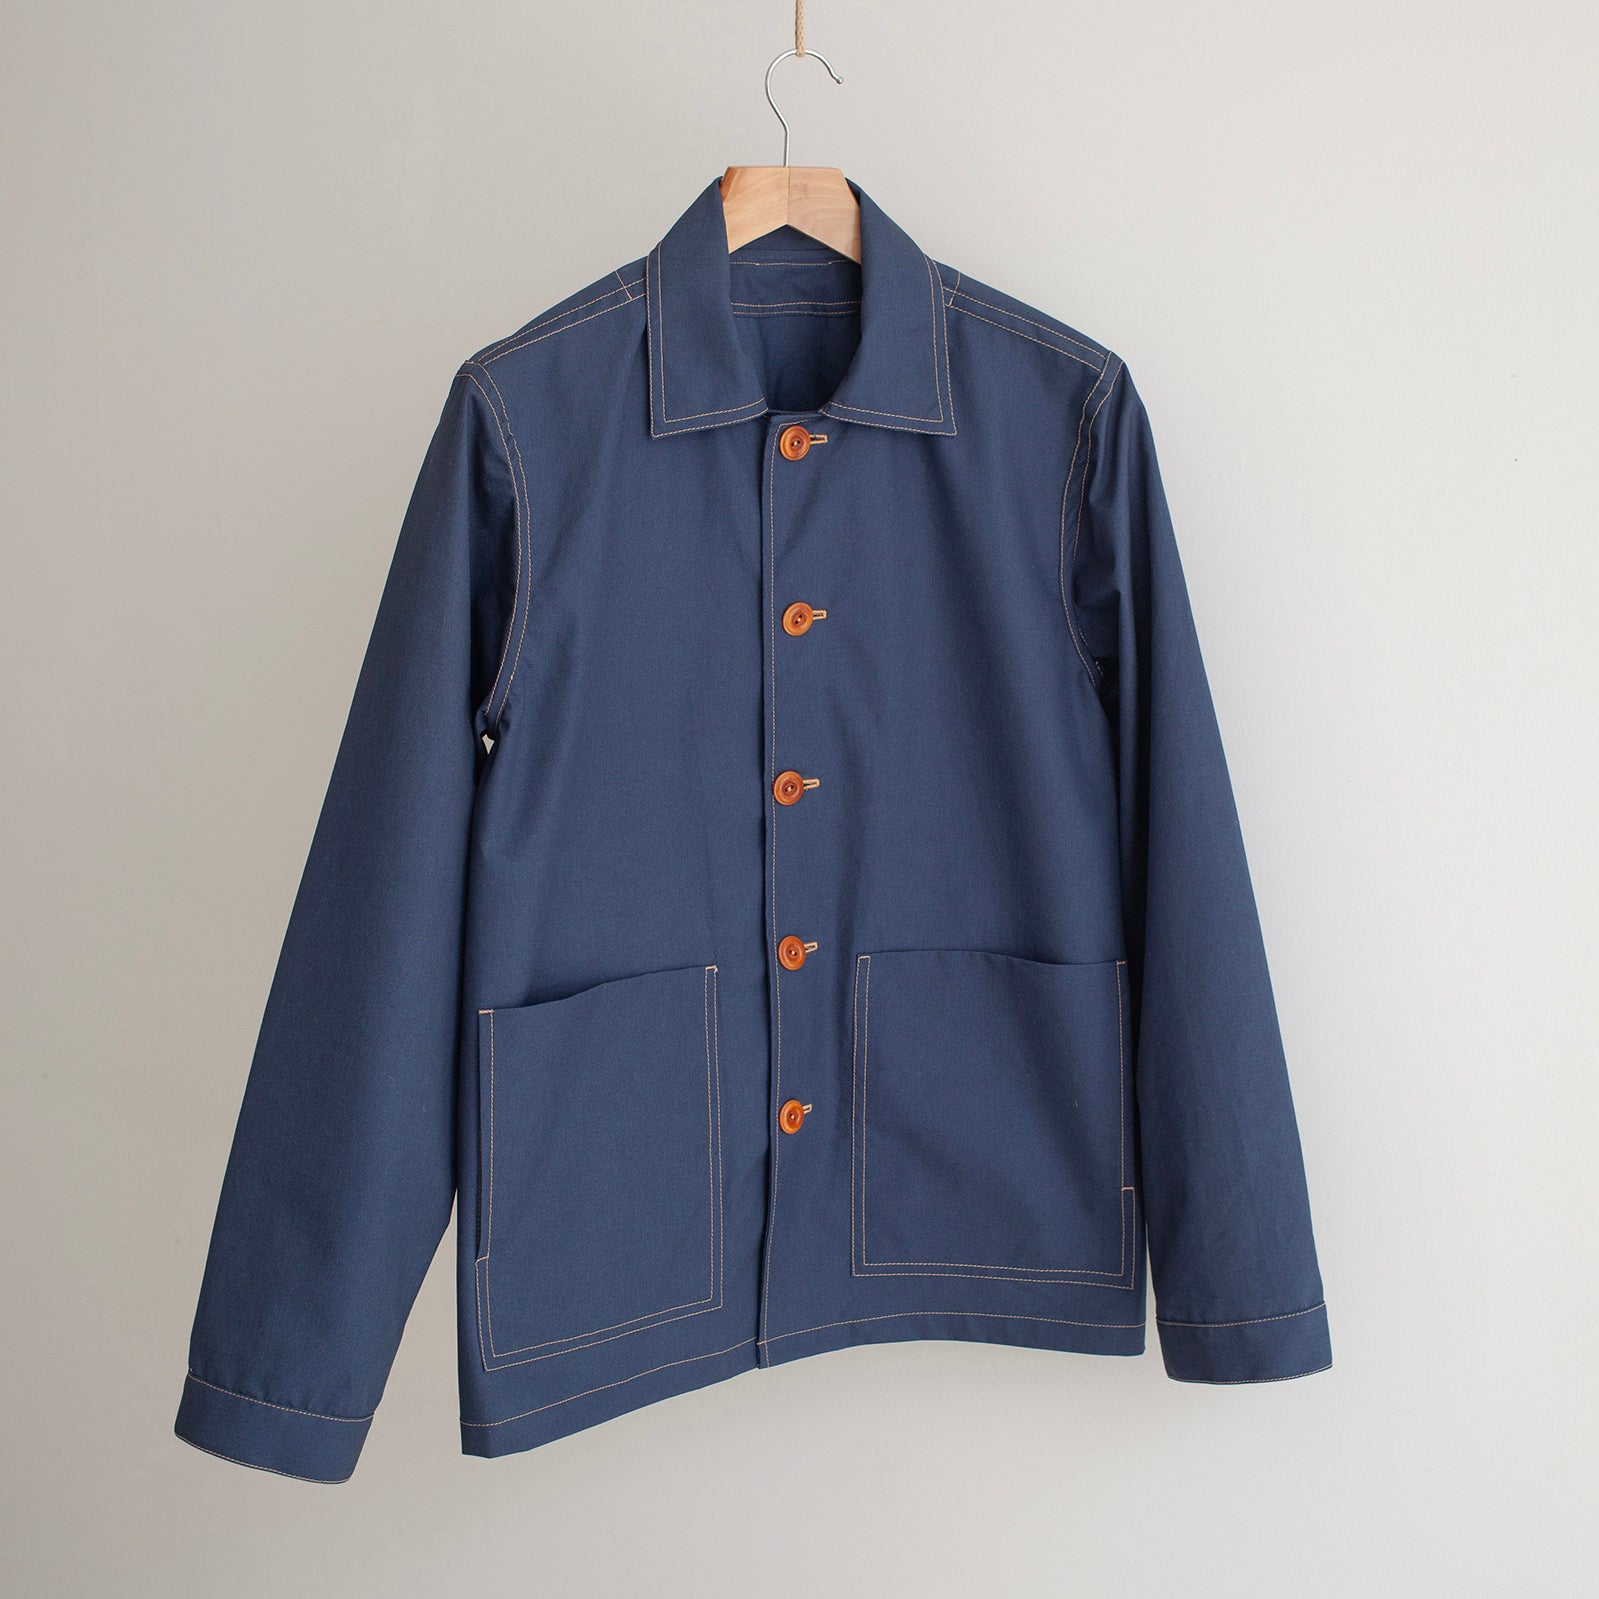
I chose a beautiful denim from Merchant & Mills (11oz Blue Mountain Denim) and I lined it with a navy linen. This makes the whole piece breathable for warmer weather but also gives it a really nice soft and cosy feel. I used a mid/heavy weight woven fusing as I love a crisp finish with denim and I chose a contrast thread for detailed stitching and metal jeans buttons. All of this combines to create a weighty and substantial feeling garment.

Before I move on to the make details I wanted to add a note on technical skills required for this piece. If you're at the start of your sewing journey this might not feel like a project you want to tackle just yet. Rather than being technically very difficult, it's a lengthy and detailed make which takes quite a lot of time and energy to complete. It's not a project you should sprint through, but one to take slowly and with care and consideration.
There are plenty of other makes you can look at for inspiration if you're not ready to take on something like this. If you'd like to combine learning with creative thinking then my recent Chore Shirt make can be made by following the Over Shirt Workshop. I would recommend making yourself a handful of clothes before starting the Darcy Coat as a sewing project. It might up being the ‘cherry’ to round off your handmade capsule wardrobe.
I hope this write up is useful to some of you and as always I love to hear your thoughts! You can hit reply with any questions or comments.
Happy Easter weekend!
Hetty
x
Make Notes:

Pattern: Darcy Coat
I chose the Darcy Coat pattern for my denim jacket as it has a very deep armhole and a wide sleeve which means it’s a very easy piece to throw on over thick wooly jumpers.
Size: 10 (I'm 5'10 and a UK 10)
Adjustments:
- shortened entire garment length to 80cm from side neck to hem
- re-shaped the collar
- blazer style front opening (achieved through pressing)
- fully lined but hem facings removed
- additional welt pocket at the breast


Shortening the Length
I shortened the pattern so that the finished length comes to 80cm (measured from the side neck to the hem). I did this by simply folding the pattern perpendicular to the grain line as shown below. This is not the official way to shorten a garment - what you should really do is fold the length out through the middle of the pattern piece to keep the hem the same shape and width.
I shortened mine this way as I wanted a slimmer garment which had less volume at the hem than the full length version. As the silhouette is slightly A-line the hem needs to be gently curved to avoid sloping towards the back or having a point at the side seam. I trimmed a curve into the hem to smooth it out. I did the same thing with the lining pieces.

Removing the Hem Facings
I originally made the coat with fused hem facing pieces along with the full lining. As I wore the jacket over the first few days I found the hem was too ‘strong’ - it had a life of its own. I felt like the fused facing was fighting with the drape of the jacket and it didn’t look right. I decided to take the hem facings off completely and I did a simple turn up hem on the jacket and lining instead.
To do this I had to go back into the inner garment and overlock the side seams and trim all of the frayed threads that were secretly sealed inside the garment. After a bit of tidying up I gave it a press and the finished result is so much better. The garment hangs naturally and it feels much nicer.
The hemming also brought the length up a bit more which looks much better. I love an oversized look but the length needs to be right for your frame otherwise you can end up looking totally swamped.

Blazer Style
Many of my jackets button up to the top and there was something about this jacket that made me want to press the front button stand back on itself to form a blazer look. The pattern is not constructed in a way that supports this style but it’s very doable to press the front edges back to get this look. I wasn’t sure whether to keep it but after some thinking I decided it was a look that I liked.
If you want to achieve this you’ll need to use plenty of steam and heat along with a bit of weight to make the fold stay. It also helps to repress after a few days (make sure not to burn the fabric with all of this heat!).

Sleeve Tabs
I’m really pleased with the effect of the sleeve tabs with the metal jeans buttons and the additional topstitching. I chose the narrow sleeve tab option for this.

Extra Breast Welt Pocket
I added another Welt Pocket to have two sides matching. I find denim garments work will with lots of pockets so it felt right to balance out the design. The photos below show the garment coming together which is always such a satisfying process to see:
Collar
This collar has a good amount of height at the back neck which is great for keeping cosy in the winter. But when I tried the jacket on it felt much too high on the neck for something made in denim. I decided to trim the outside of the collar by 3.5cm as shown in the picture below.
The finished result is a collar that I don’t notice, it just sits comfortably in place. This is an easy adjustment to make and you can also play with how pointy you want the collar to be and trim it to your liking.

In summary...
I'm now really happy with this piece and I'm glad I took the extra time needed to tweak and make it more wearable. I have a feeling it will become one of my most worn jackets over the next 5-10 years which feels like a good result!


