The weekend 'long read'
This week I wanted to share a handful of ideas and tips for how to sew to a really high standard.
Before I dive in I thought I’d give a bit of background as to how I learnt to sew myself. Starting on the attic landing at home, my teenage years were spent furiously sewing tote bags, make up bags and doing dodgy alterations to perfectly nice garments. You could say I was self taught from the start.
I studied Art at A-Level and then went to London College of Fashion which is where my training really started. I interned with designers in London and New York and in these fast paced environments I had to learn how to work with precision and attention to detail very quickly.
My final collection at university focussed on soft tailoring and featured pieces such a billowing shirts and voluminous trousers. After graduating I went on to freelance for other designers while also building my first business, Henri London. During this time I poured all my time and energy into pattern cutting and learning how to sew to a really high standard. I’d look up methods on youtube and then practice over and over again. When I took my sewn samples to factories in London the quality matched their own. This was always something factory managers were surprised by which gave me a lot of confidence in my skills.
Fast forward a few years and I begun to teach shirt making at Raystitch in Islington, and then from my own studio in Hackney. We used to squeeze 4 of us into my tiny studio for a weekend of intensive sewing. These in person classes were always so enjoyable and helped me to improve on my teaching skills and I was eventually able to pre-empt the questions before they came. When the pandemic hit I filmed these workshops to keep my business afloat and they quickly became a big hit. This is where the Modern Sewing Co. was born, as I decided to create a new company entirely for online workshops and patterns.
At no point in all of my training did I take an intensive course in sewing - this is something that was HUGELY lacking in my university degree and it still baffles me today. While I always enjoyed the learning process it took me a long time to get to the standard that I’ve been sewing to in the last 4/5 years.
If you’re really serious about sewing your own clothes I highly recommend investing in a few sewing workshops in the early days. You’ll save yourself a lot of time and questions and you’ll learn the good habits from the start.
Without further ado, here are a few of my tips which are hopefully applicable whether you’re a beginner or not…

Buttons & Button Holes
Fastenings are the main interaction point with garments and it’s important that they’re strong and sewn well.
1.
If you’d like to see how I sew a button on quickly, click here.
2.
For button holes I recommend going over them twice. Domestic machines can do a perfectly decent button hole but they’re sometimes a bit sparse, especially on thicker fabrics. Going over them twice will strengthen them and help them to look smarter too.
3.
To open your button hole I recommend putting a pin horizontally through the top and then slicing up towards the pin using an unpicker/seam ripper. After this make sure you tease out all the loose threads and trim them throughly.
4.
I also recommend NOT rushing buttons and button holes. They can be the difference between a smart garment and a shabby one. Take you time and if you’re tired, come back to them another time.

Binding
1.
For tips on how to sew binding you can find our free video on binding here (scroll to the bottom of the page).
2.
I love to use a stripe or check for binding to get this lovely criss-cross affect shown above.

Ironing
1.
Your iron is your best friend. Spend twice as long ironing each section and you’ll have a garment that’s twice as crisp. I can easily spot garments that have been sewn with minimal ironing and it really does make a difference.
2.
Be firm when you’re handling your ironing. You have 4 fingers and a thumb on your left hand, use every single one of them while positioning an area of your garment for ironing. Using your hand to guide the fabric and the steam of an iron you can create miracles.

Trimming
Most garments have intersections of at least 4 layers of fabric, but this could even be up to 8 in some places. You MUST trim these bulky areas if you have a thick fabric. For tips on how to do that click here.
This is also applicable with binding around fly - trimming is essential to not add too much bulk.

Stitching
1.
When it comes to stitching always start every section with a forward/backwards stitch. The ONLY time you don’t do this is to create gathers.
2.
Trim every single thread as you go. This keeps the whole garment looking neater all the way through. I believe that working to a high standard all the way through will elevate the piece through the process.
3.
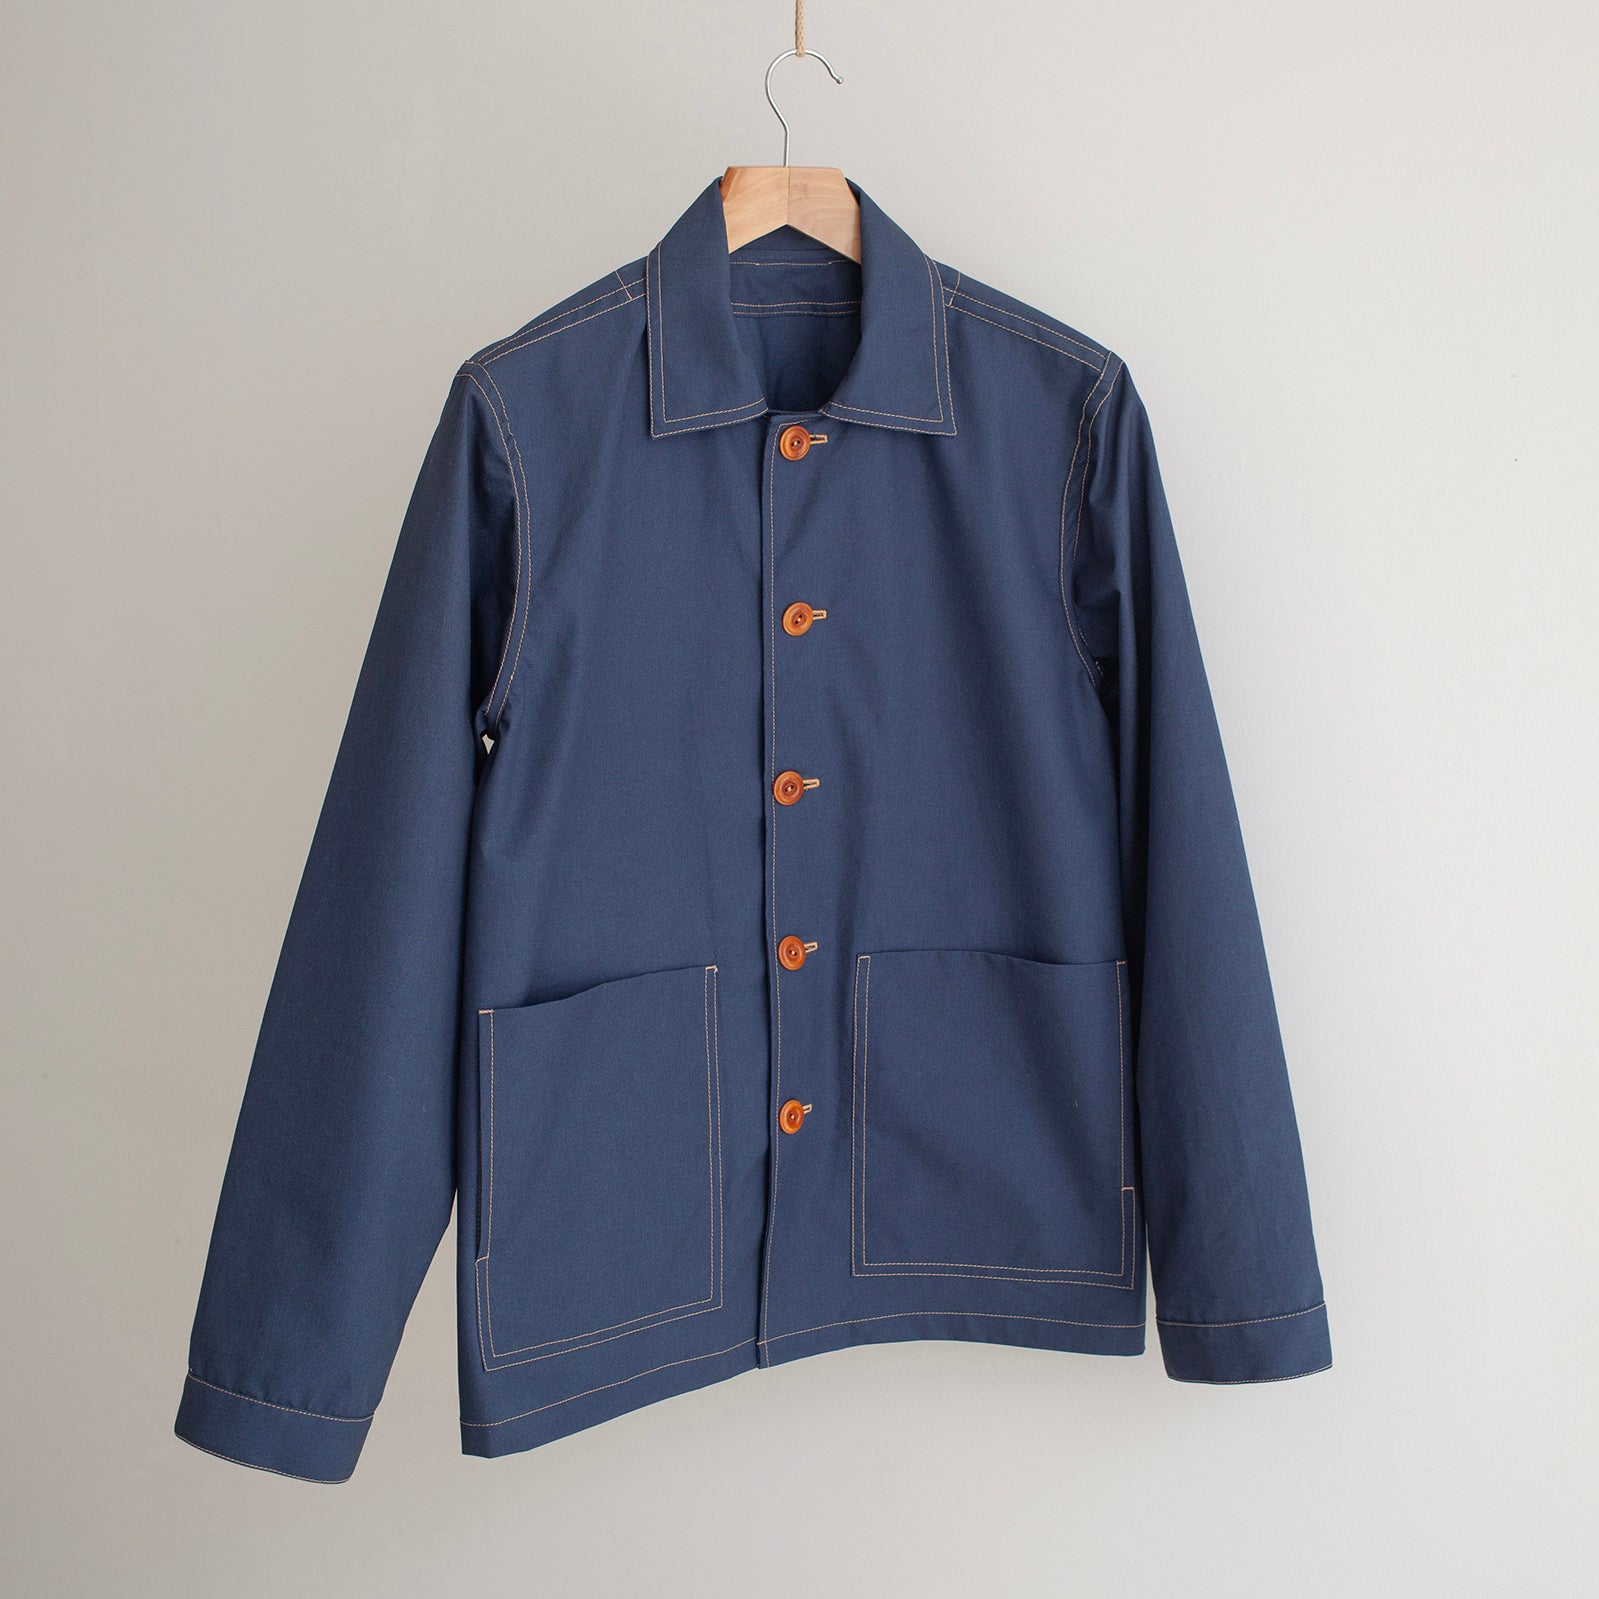
If you’re ready to play with contrast stitching then take it nice and slowly. A contrast stitch will change the entire character of your garment (usually for the better!)

Pre-washing
The final piece of advice want to add is to pre-wash your fabric as soon as it comes through your front door. I saw Tara of Paper Theory post about this and I couldn’t agree more.

Please do let me know if any of this was useful or if you have anything you'd like the answer to. As I mentioned above it took me years to build up my sewing skills to where I am today. There is no quick fix to learning, it's a process which should be enjoyed. However it will certainly make your journey a lot smoother if you invest in learning in the early days.
Take a browse of our workshops - we have options suitable for beginner to intermediate + sewers. If you have any questions feel free to drop me an email.


