


Over Shirt PDF Pattern
Sizes: UK 4-28 / US 2-26 / EU 32-56
Easy to Print (A0 + A4/US Letter)
Metric & Imperial Measurements
Lifetime Access to Updates
The Over Shirt is a classic worker wear jacket and an incredibly useful wardrobe layer. It features our favourite shirt making techniques and the possibilities for adding your own personal twist are endless (we've seen patchwork jackets, short sleeve hacks, long versions and many pocket variations). We think it's one of the most satisfying pieces to make in our range and you'll be using some really nice sewing techniques.
You can search instagram for customer makes with the hashtag #msovershirt
Skill Level
Sizing & Fit
Materials Needed
How to use PDF Patterns
Where to find your patterns & workshops:
After purchasing you'll find your PDF pattern download and any workshops in your account page. Simply log in (or create an account using the same email address used to purchase). The most up to date versions of the patterns will always be available from within your account.
How to print your pattern:
Click here for our guide on 'How to Print Your Pattern'.
This blog post includes guidance on:
- Opening your zip file
- Using Layers in Adobe Acrobat
- How to print A0
- How to print A4/US Letter + tile your pattern together
- Cutting out your pattern pieces


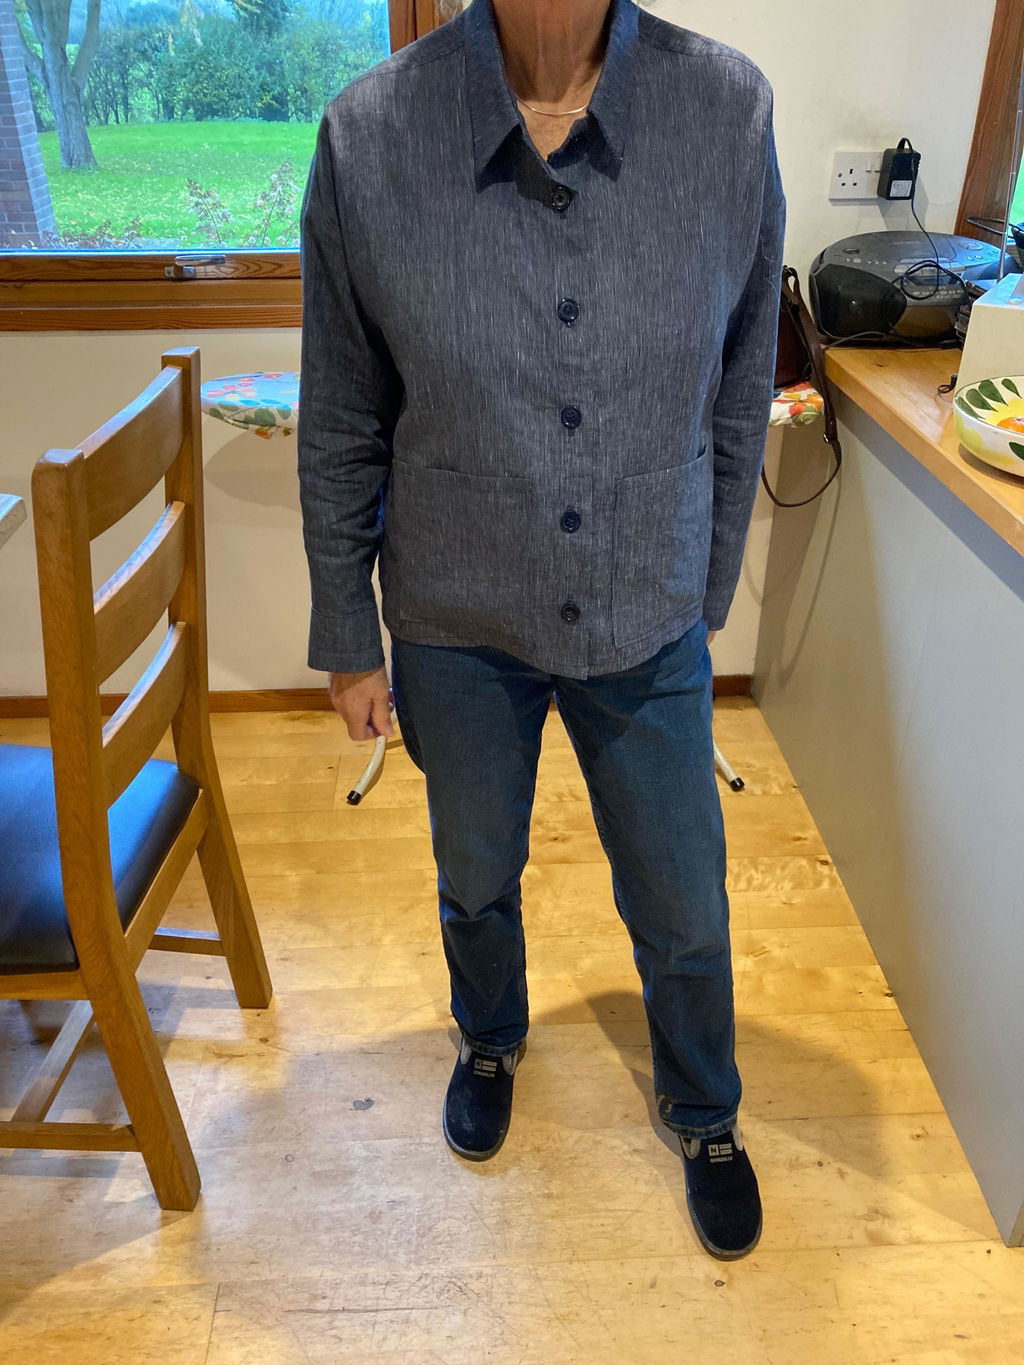
I downloaded the PDF then had that printed onto tracing paper by a printer. To be honest I much prefer a paper pattern.
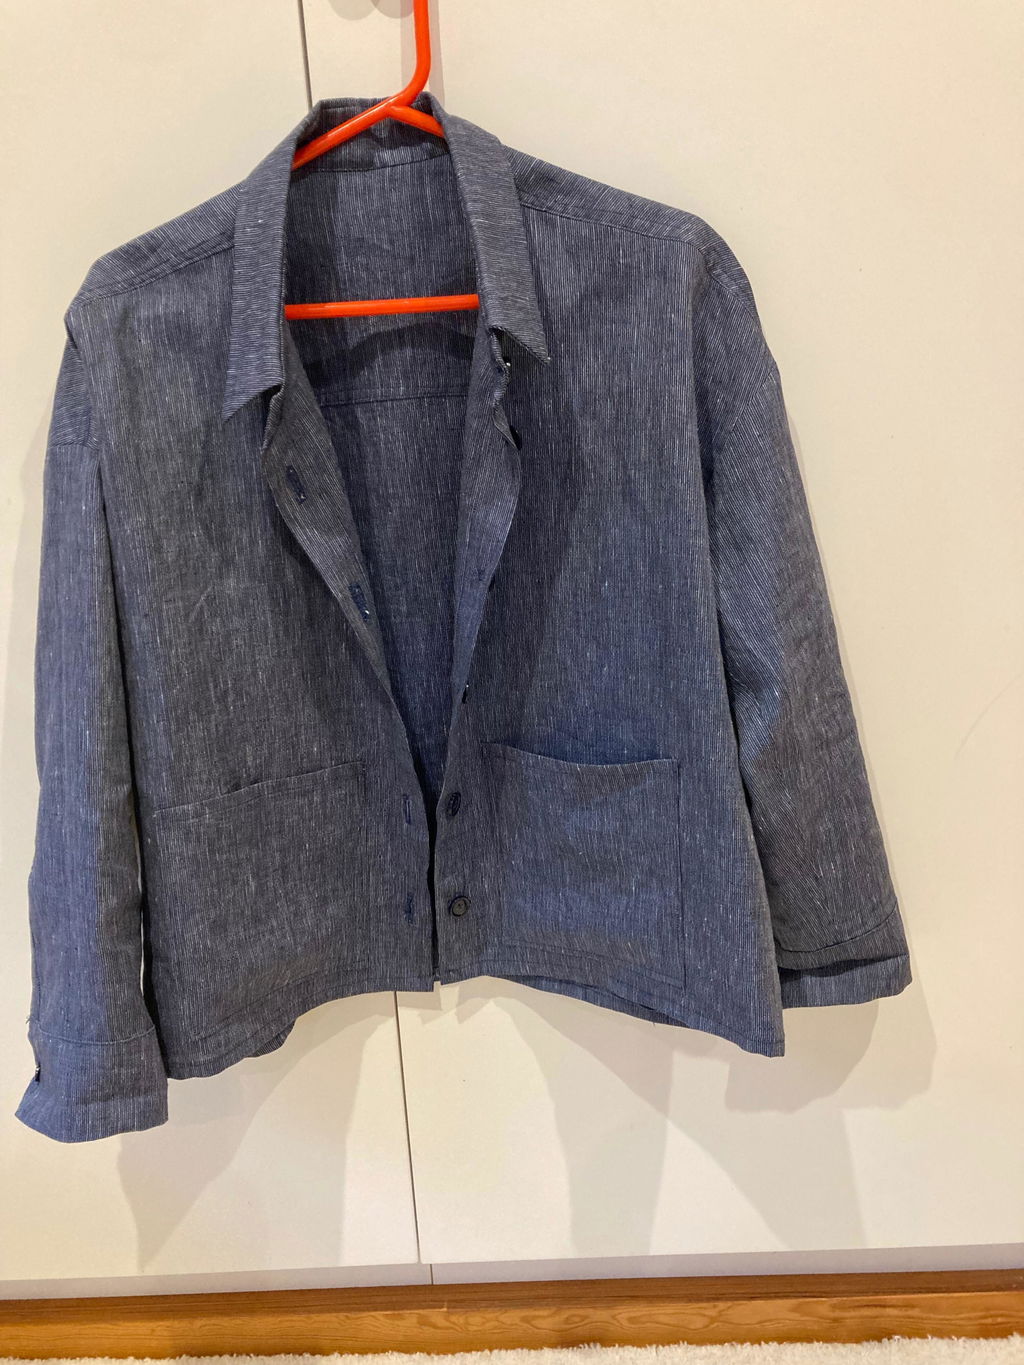
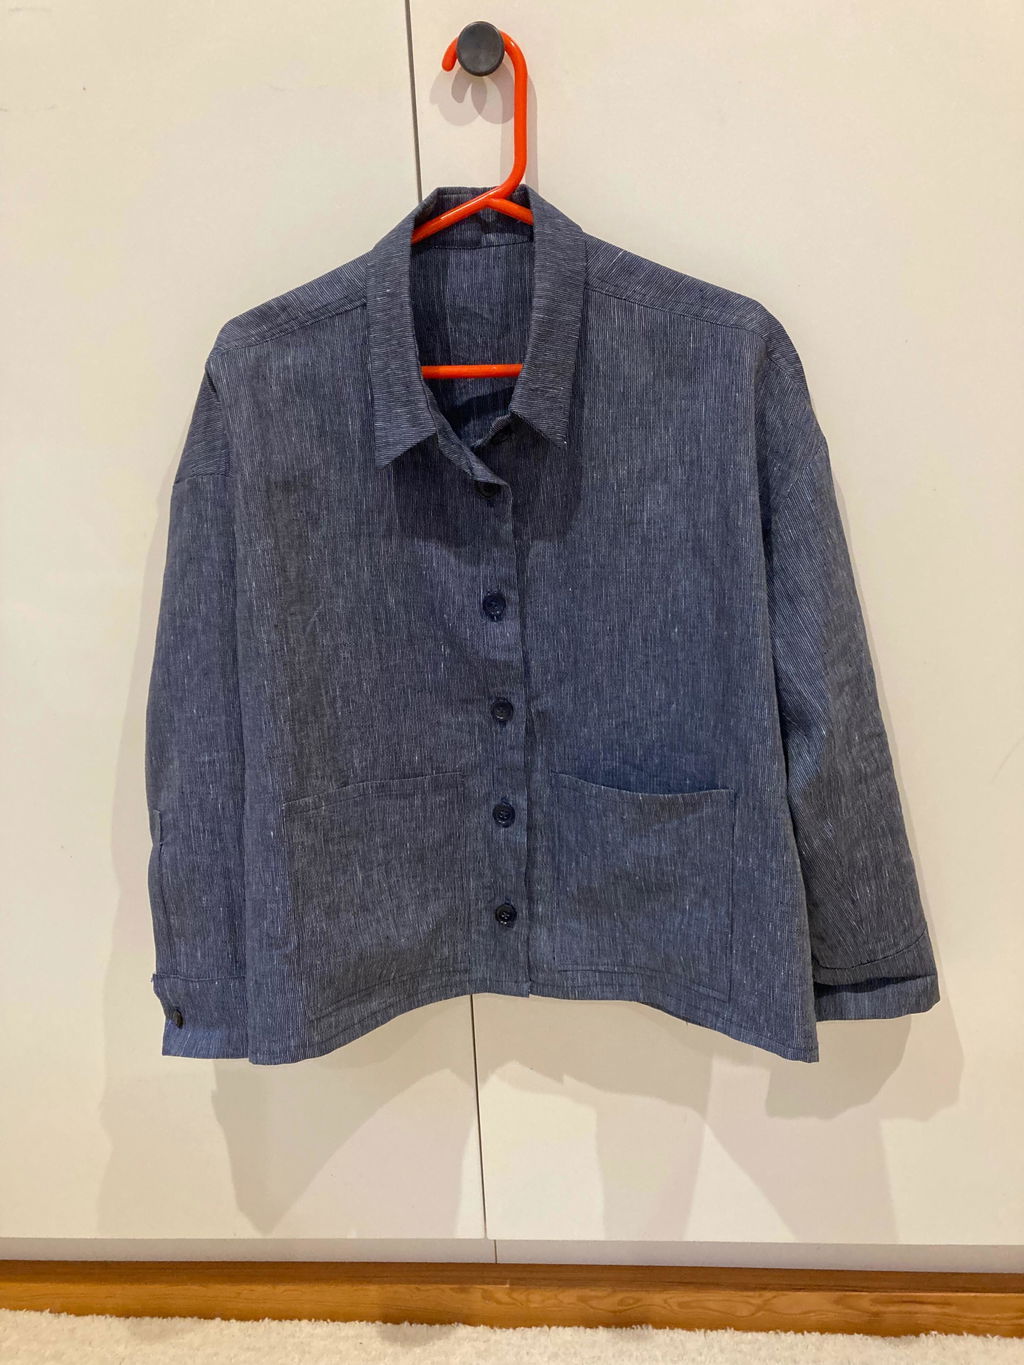
I used size 12 and the finished garment is a very good fit. I used a mid-weight linen fabric.
I was determined to make it well and overall I am pleased with it but I did struggle with the collar stand as I hadn’t been absolutely accurate with cutting out.
The sewing instructions were excellent and I enjoyed learning some new techniques (ie the plackets.
I left off the back neck loop and the small pocket.
Using the Modern Seeing Company has really got me inspired to do more sewing and I’m looking forward to my next project.
Thank you
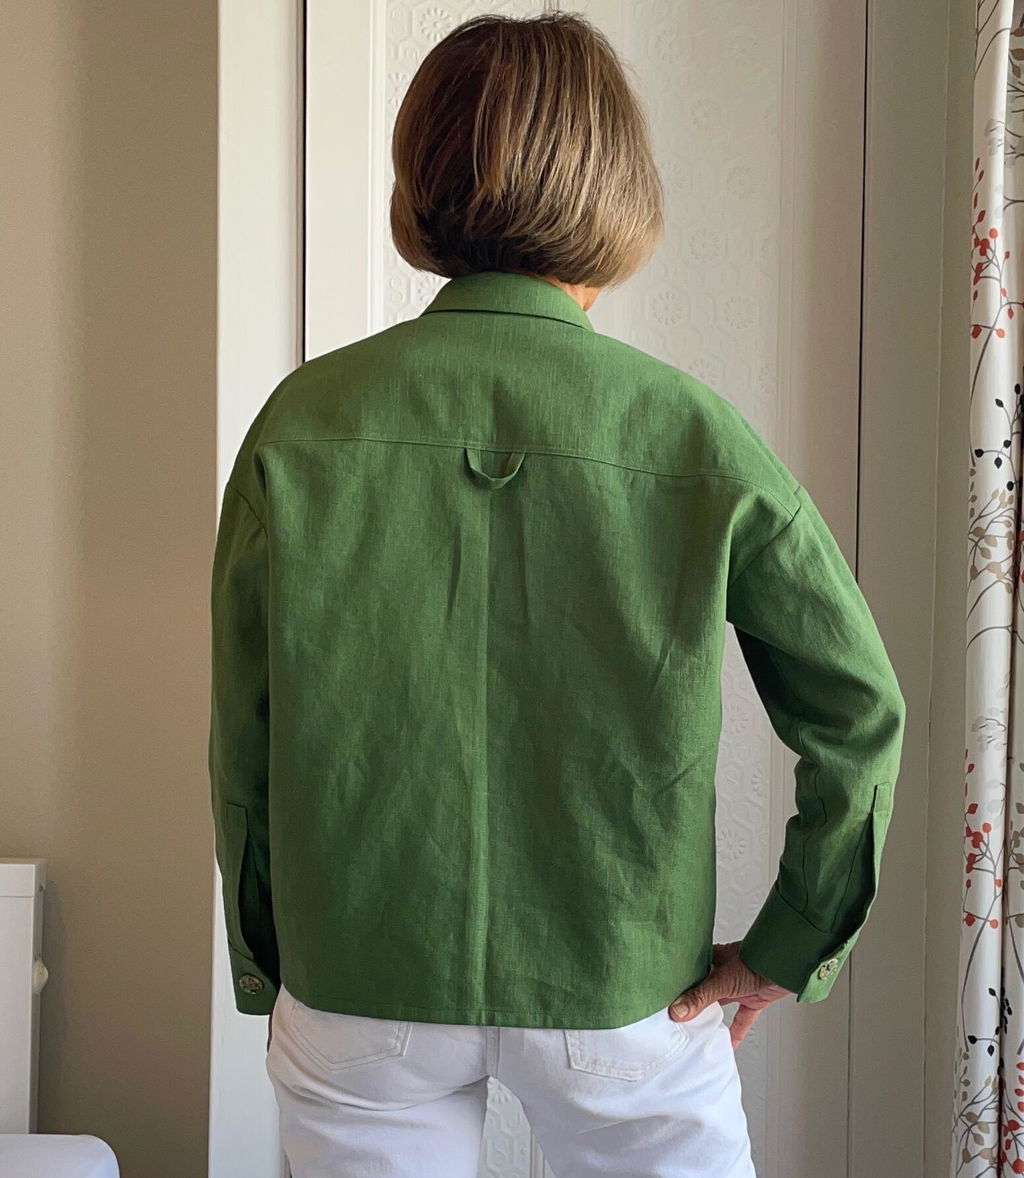
I was waiting for the right fabric to make my overshirt as I find these cropped summer jackets so useful. Mine is a green linen made in size 6 - one down from my measurements and it is perfect. The instructions are clear, the seam finishes beautifully neat and tidy and the drafting is spot on. I’m going to make a black next!
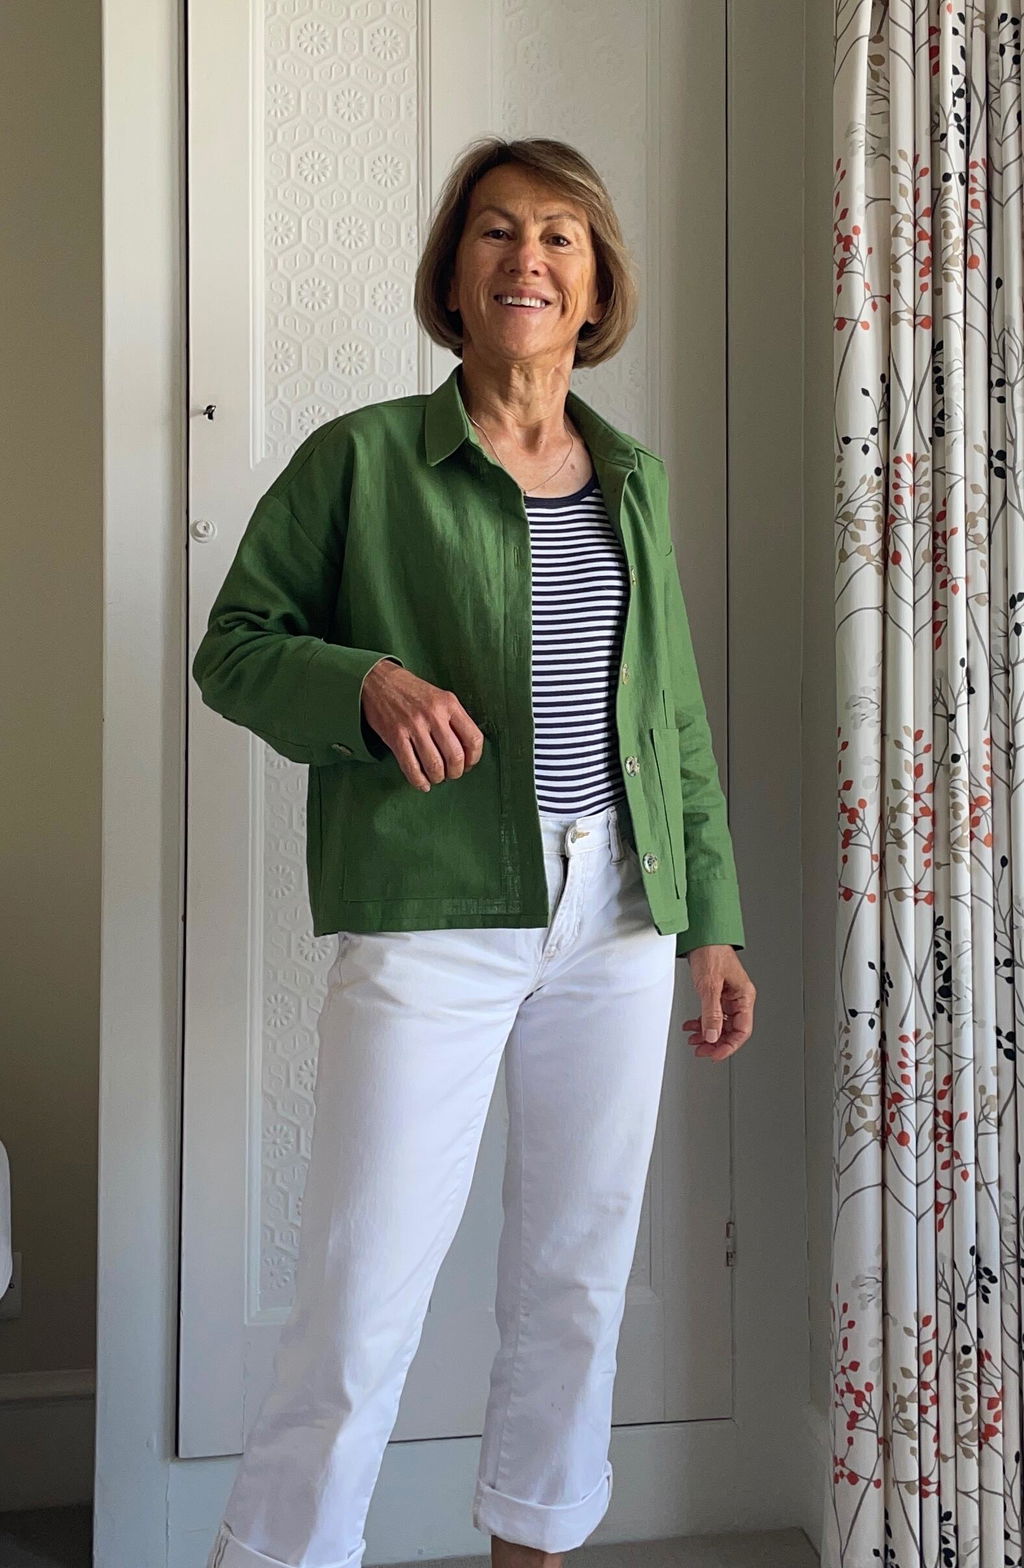
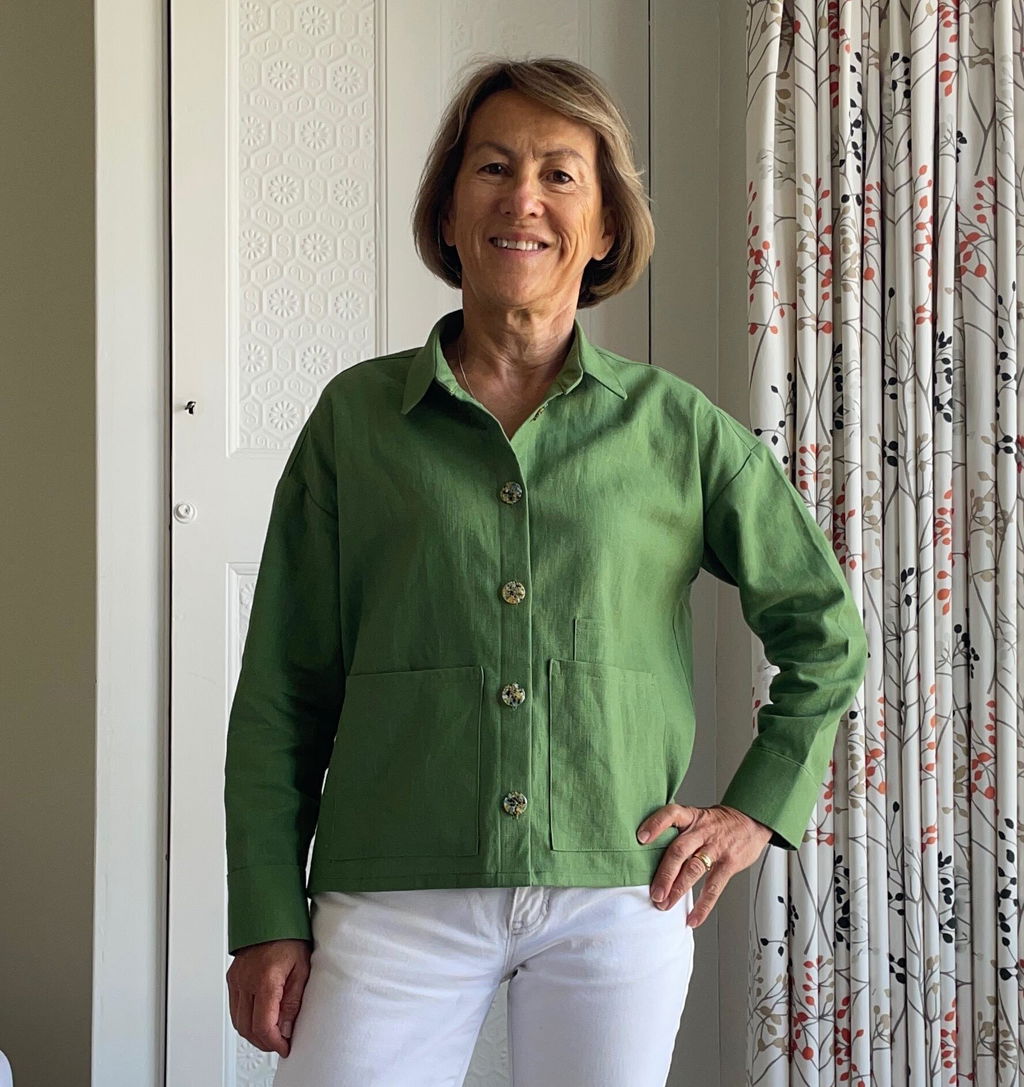
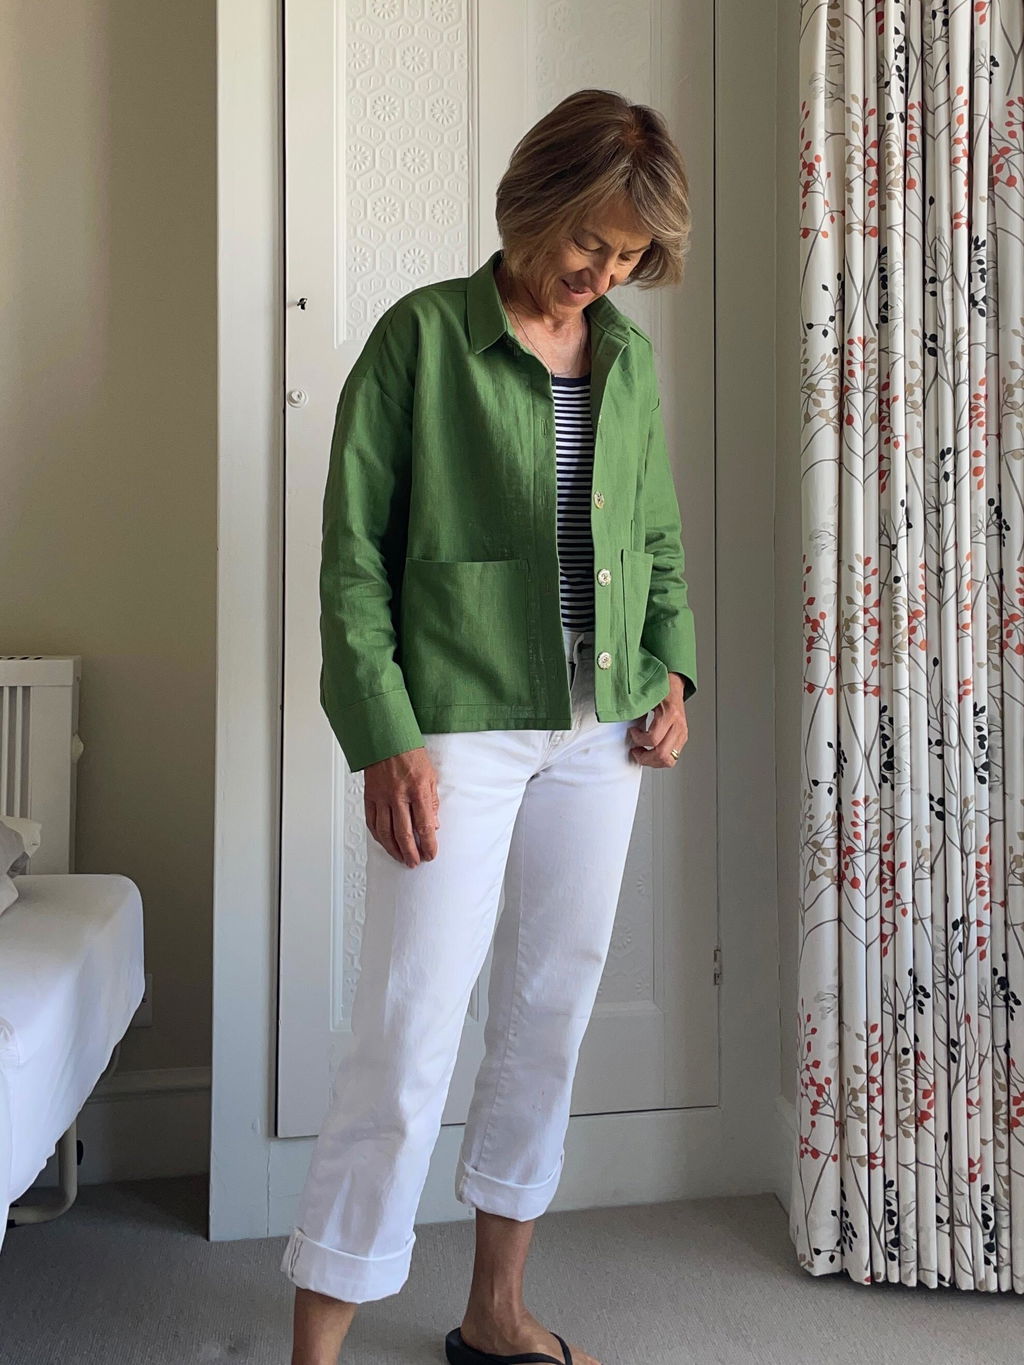
I made a wool version of the Overshirt, true to size 12 per my measurements. Though it is oversized (as advertised) and I love it, I also look forward to trying out a size 10 next time. The fabric I chose has a soft drape and as a result, the pockets tend to sag. I may have done better with a pocket lining or interfacing? Overall, I loved the design and the instructions which give good attention to detail in top stitching, ironing, and sequence (especially regarding the placket). I feel that my experience has elevated my sewing and I know the shirt will last longer in my wardrobe because of it. One note to be noted in the instructions is that top stitching shows up in the illustrations of the collar but not in the written part. Thus I decided it was optional and left off top stitching the collar.
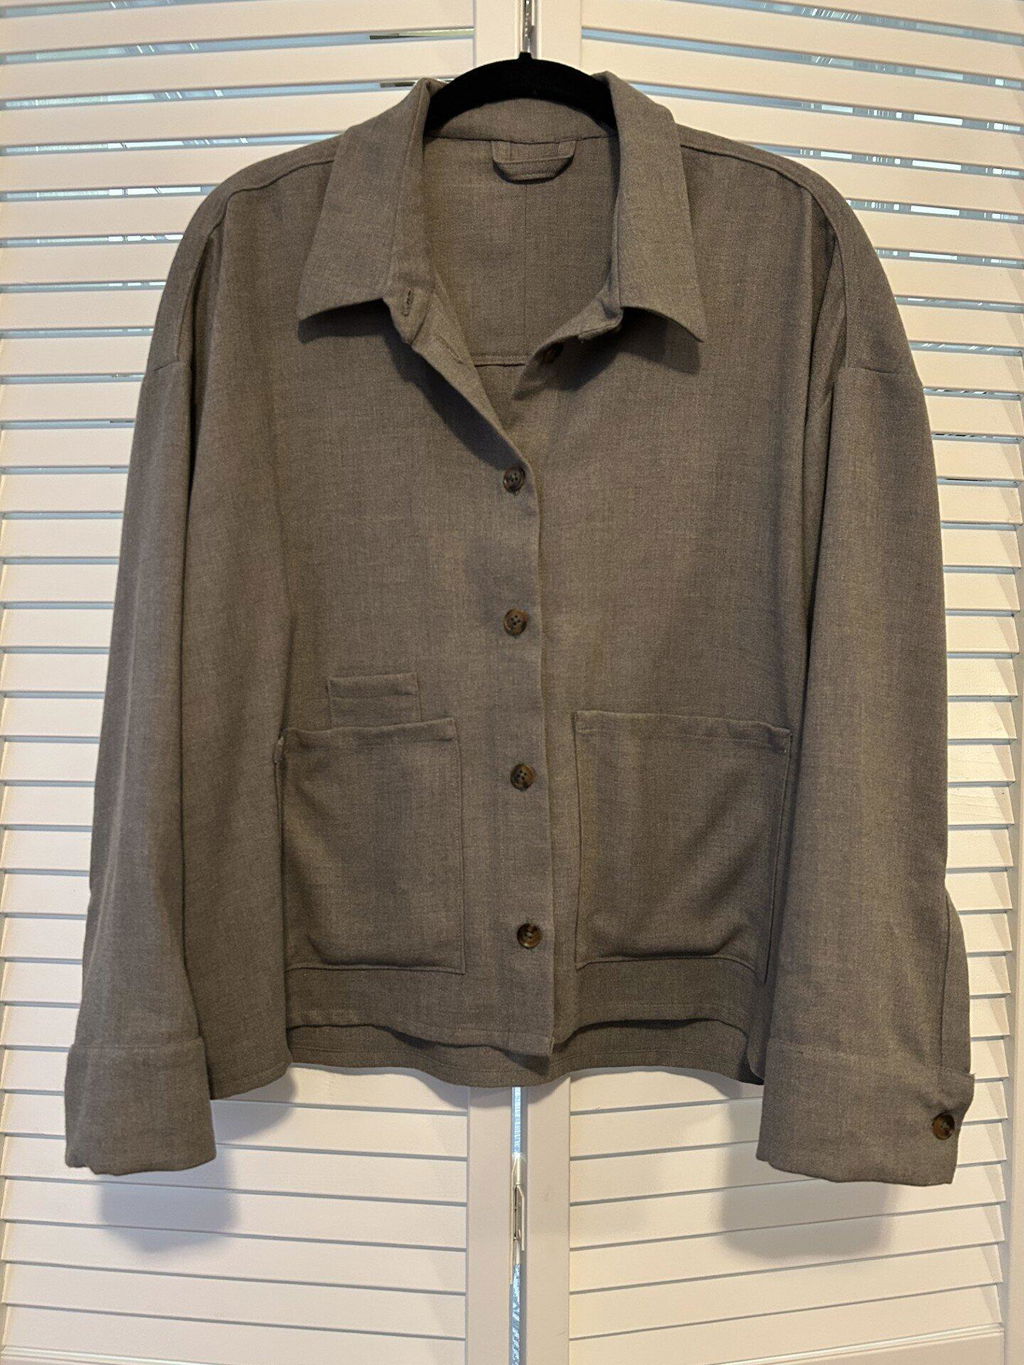
I enjoyed this project. I found instructions easy to follow and I was happy to use run & fell seams for the first time.
My only difficulty (not the fault of the pattern!) came with the buttonholes, I think because of the bulk of the button stand. I’ve since discovered how helpful tear-away stabiliser can be in buttonhole sewing. But the buttonholes gave me lots of grief.
I am anyway reasonably happy with the final result, which is planned as a gift for a friend.
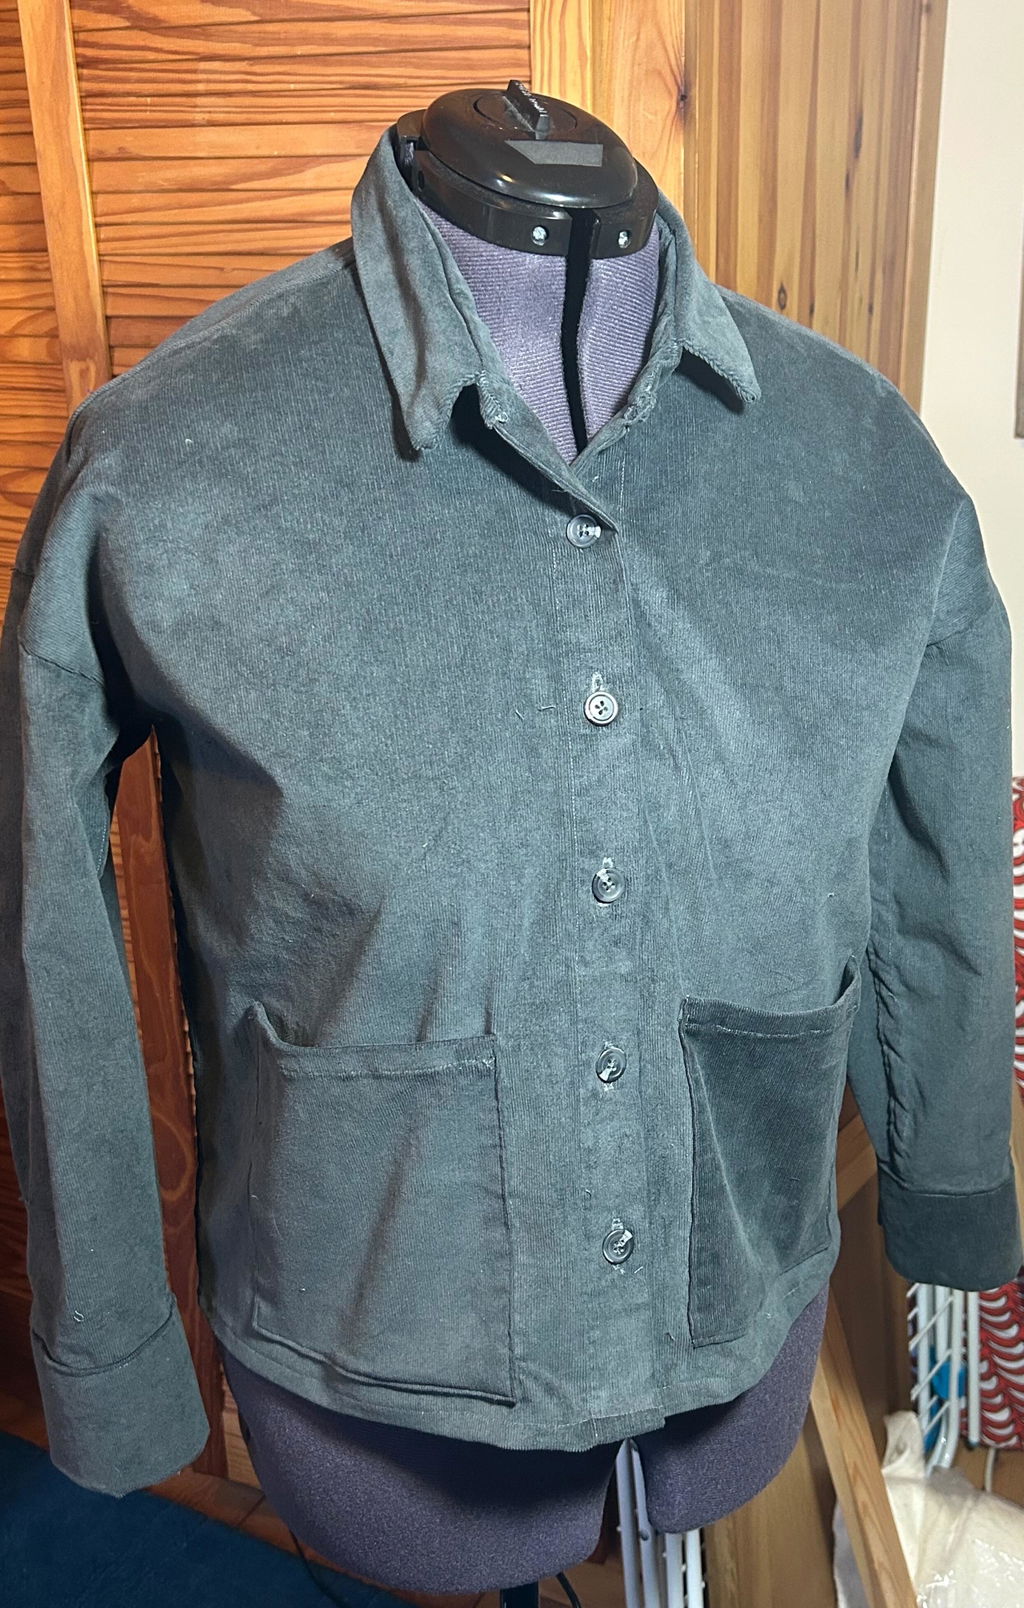
I just can’t stop making this shirt. I’ve never got tired of it. Two shirts I made in the original pattern length, which I love. The others I lengthened by about 12/15 cms and are just the perfect length on me. The pattern is well written and easy to follow. I’ve used various fabrics, but I love it made in corduroy and will definitely be making some more, perhaps a denim one will be next.
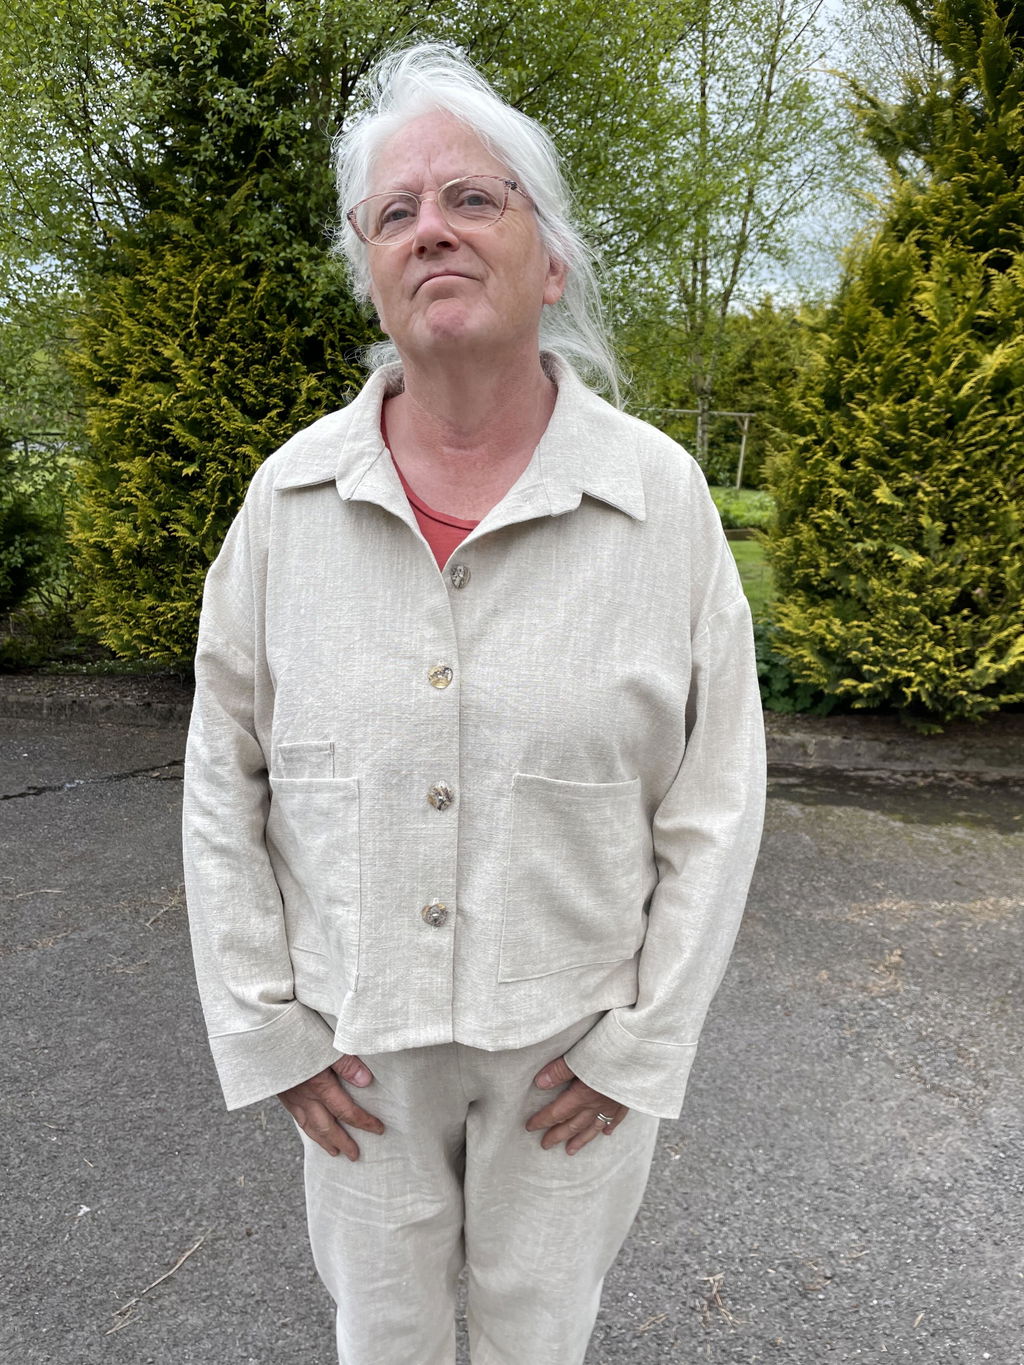
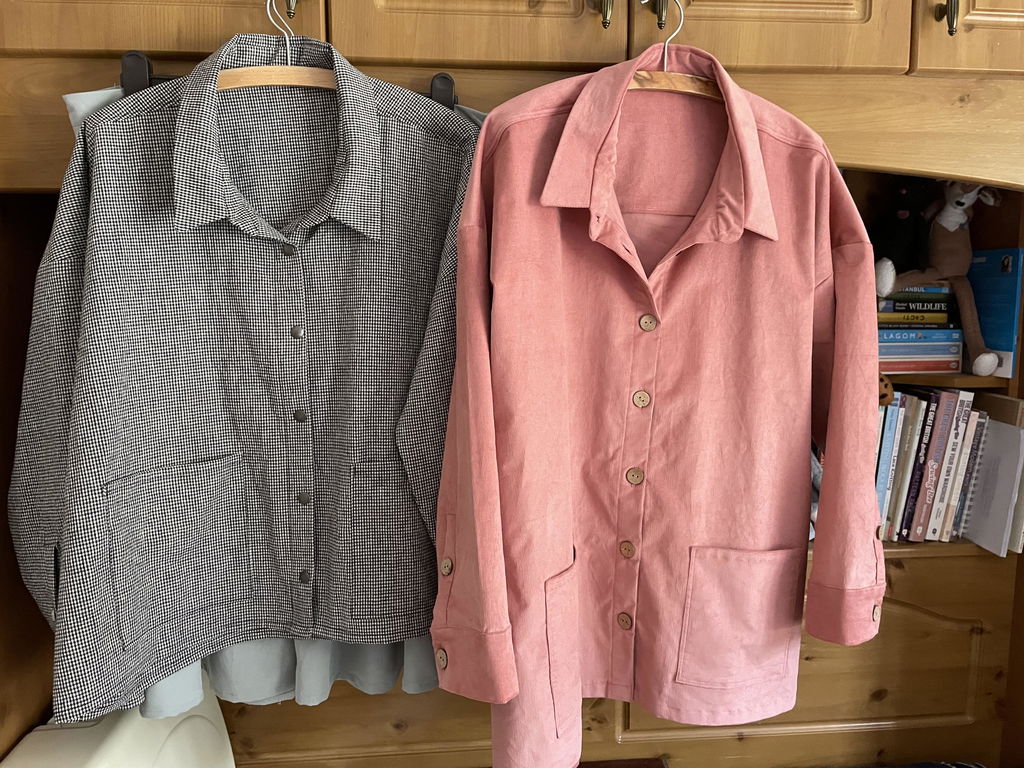
This pattern really needs a side bust dart for anyone over a 34 bust. Maybe an extra page for the front pattern with a bust included. Much better fit.
I love the design of the overshirt. It has unique details that set it apart from other "shacket" patterns. However, the instructions are vague at best. I am an experienced sewist and once worked for one of the big pattern companies in the U.S. I could complete the pattern but I was relying on my years of sewing not the instructions. I also bought the video which did not add any value to the pattern instructions. There were very little instructions and illustrations for the sewing and placement of the buttonholes. I had to look at photos to determine if there were buttons on the sleeve and collar placket (there are). I am on the fence if I will make another pattern from this company even though I have already purchased a few.
Hi Nancy,
Thank you for your feedback and I'm sorry to hear you didn't enjoy making your Over Shirt. If you ever have any questions during the making process you can always reach out to us at hello@modernsewingco.com.
I hope you enjoy wearing your Over Shirt,
Hetty
My first Over Shirt is now complete. I have learned so much from Hetty's calm, slow paced teaching style. Printed instructions were also very clear and easy to follow. I chose linen/viscose - not the best choice. It has drape and weight and, as a result the finished shirt has a slouchy look. My second version will be in cotton. Hetty's advice to make a second one is great - will reinforce the skills that have been learned. The best sewing instruction and learning experience ever!
I loved making this as part of the Art of shirt making workshop. Fab instructions and the video was so helpful. I would absolutely recommend this to anybody wanting to up their shirt making skills . A fab pattern.
I love learning how to make the Overshirt with the tutorial from Hettie. What a beautiful way to increase my skills. The shirt pattern itself is super cute and I especially love the details and the way that they are sewn. For the most part it looks great. I did experience the fitting issues that are similar to the white one pictured here. The smaller models do not seem to have the same issues. The issues - the sleeve dropped too low on my arm and the sleeve was way too large nearly the same amount that the sleeve was too long. I would recommend if you are using a larger size pattern - that you check arm length. I wonder if this is an issue with any of the other shirts? This is the first project I finished.
I love this pattern! I tend to work in capsule mode, so am always looking for versatile pieces that can work into many combinations including layers and with a broad variety of fabrics- the Overshirt pattern has filled that gap for me.
I'm still finishing my first Overshirt and am so excited about how it looks and fits into my style that I'm already jumping into my stash for the next one!
I've made the overshirt pattern twice and will make more. My house is chilly this time of year and I always need an extra layer. The overshirt fits nicely over whatever dress or top I've chosen for the day. As a bonus, the patch pockets are big enough to keep pin cushion, snips, and other attractive items handy while the grandchildren play nearby.
I truly love my finished jacket, I’ve already made two! Some parts of the illustrations could be a bit more precise.
I made this in a lightweight hickory denim and it turned out really well. The pattern was easy to follow and had some interesting details, the side and sleeve seams were run and fell, which I haven’t done before but is a nice finish. If you have made a button up shirt before most of the techniques would be familiar, but it is ambitious for a new sewer.
The recommended fabrics for this are 100-300 gsm, so it can be made as a shirt with a lighter fabric or with a heavier fabric as a jacket, but as there are shirt cuffs with a tower placket and a two piece collar, I think it would be difficult to make with a heavier fabric.
This versatile pattern combines the trends of oversize shirts and worker style jackets and I can see many more versions in my future!
I sewed this shirt pattern as a jacket out of boiled wool. A more structured fabric would probably have been easier to sew, but it did work out. I sized down a bit, as I didn’t want the look to be too oversized. Due to the extensive finished size chart, this was risk free and turned out as expected. Next time I’d probably just lengthen it a bit. The instructions were not too detailed, but the tricky bits (placket!) were explained well and worked out on the first go. I especially appreciated the use of a 1 cm-seam-allowance and an accurate information on fabric requirements, so I had pretty little waste. A good, versatile project I‘m going to get a lot of wear out in autumn.
I am a fairly new sewist and also a basically sloppy person, but I really wanted to make this, and the detailed video coupled with the instructions made this doable. My overshirt came out great and I will refer to the video whenever I'm making plackets, yokes, buttholes, collars, etc.
I own the classic shirt and the overshirt pattern and have made several of each. I have been sewing for OMG 60 odd years with pauses here and there and until now I was never truly satisfied with the results of my projects. When I discovered The Modern Sewing Company and read Hetty's thoughts on sewing one's wardrobe I knew I had found a kindred spirit. I purchased the Overshirt workshop with the intention of perfecting my tailoring skills. I could not be more satisfied. Hetty is an excellent instructor explaining each step in detail. Her instruction is clearly understood as she takes you through the steps. I look forward to learning and perfecting my skills with Hetty.
This is a great design, the perfect workwear jacket I had been looking for for quite some time. I toiled a 10 because I feared a 12 could be too roomy. However, I sized back up to a 12 (which is exactly where the size instructions had me according to my measurements). I wanted a cropped look so I did not lengthen the bodice (I‘m 179 cm), but lengthened the sleeves by 3 cm. I was pleasantly surprised that the shoulders fitted perfectly as drafted (I have very square shoulders and a broad back albeit being on the skinny side). I hand tacked the cuffs and collar in place before closing the last seam for each for a neat result (I used a different collar construction technique so I cannot comment on the instructions regarding this point). I used a midweight raw denim (probably around 250 g/m2) and I don’t think I will use a much heavier fabric in the future - this turned out very nicely and the bulky bits are still fine (the instructions advise grading seam allowances which I did). I had to puzzle over some of the instructions/markings but worked it out in the end. Will definitely make another Over Shirt. For the time being, I practically live in the first version.
Up until the over shirt, I had been sewing only Merchant and Mills patterns. I was a bit hesitant to leave the MM fold, but I was pleasantly surprised at the ease of this pattern. It was also just, visually, a really beautifully laid out set of instructions and print.
I made the over shirt with remnant fabrics - a cream canvas and a herringbone wool, and it turned out very nicely. I'm planning to make it with more fabrics, likely a lighter one for summer.
I've now made the Overshirt four times--in bull denim and in lighter cottons - and am about to embark on a fifth version. It was the first shirt pattern I tried, and it was tricky for me at first, even with the help of the workshop. With time, it has become my best loved pattern. I love the silhouette and the comfort of the oversized shoulders. I've lengthened it, left off the cuffs, and played around with pockets. I've since tried other shirt patterns, but the Overshirt remains my favorite. It's stylish, classic, and forgiving. Give it a try!
I made the overshirt in a fairly thick cream denim from Merchant & Mills which I had intended to use for Worker Trousers but thought it was too thick. The thickness made it quite difficult to sew both the placket and run and fell seams successfully. I decided not to use run & fell seams on the sleeves because of the thickness and the fabric frayed a lot as well. I found the instructions for the placket difficult to follow but that might have been because my fabric was so thick. However I loved the design as a jacket and look forward to make the pattern again in a thinner fabric.
I’ve been admiring Hetty’s patterns for a while and enjoying her weekly emails. I’m a sucker for a jacket pattern so when I read one of her emails dedicated to the Over Shirt, I decided to give it a go. I made a wearable toile out of red and white gingham that I had in my stash. I cut the sleeves short because I’ve been obsessing on RTW boxy camp shirts for a while and the shape of the Over Shirt seemed perfect for what I had in mind. The pattern was a quick and fun sew. The instructions were well written and I especially love the details like the two loops and tiny pocket. We’ve had a cold spring so I still haven’t had a chance to wear the shirt much but I love the way it turned out. I’m looking forward to making a long sleeve version this fall.
I sewed this as a part of my wardrobe workshop, so it's the third garment I'm making from Modern Sewing. And this was such a delight to sew! Good and clear instructions as always.
I used a sturdy cotton from Marimekko, and I can honestly say I have never received so many compliments on a garment ever before. People at work had a hard time believing I actually sewed the shirt myself.
I'll be making many, many more over shirts in the next years, I'm sure.