Welt Pocket Guide
1
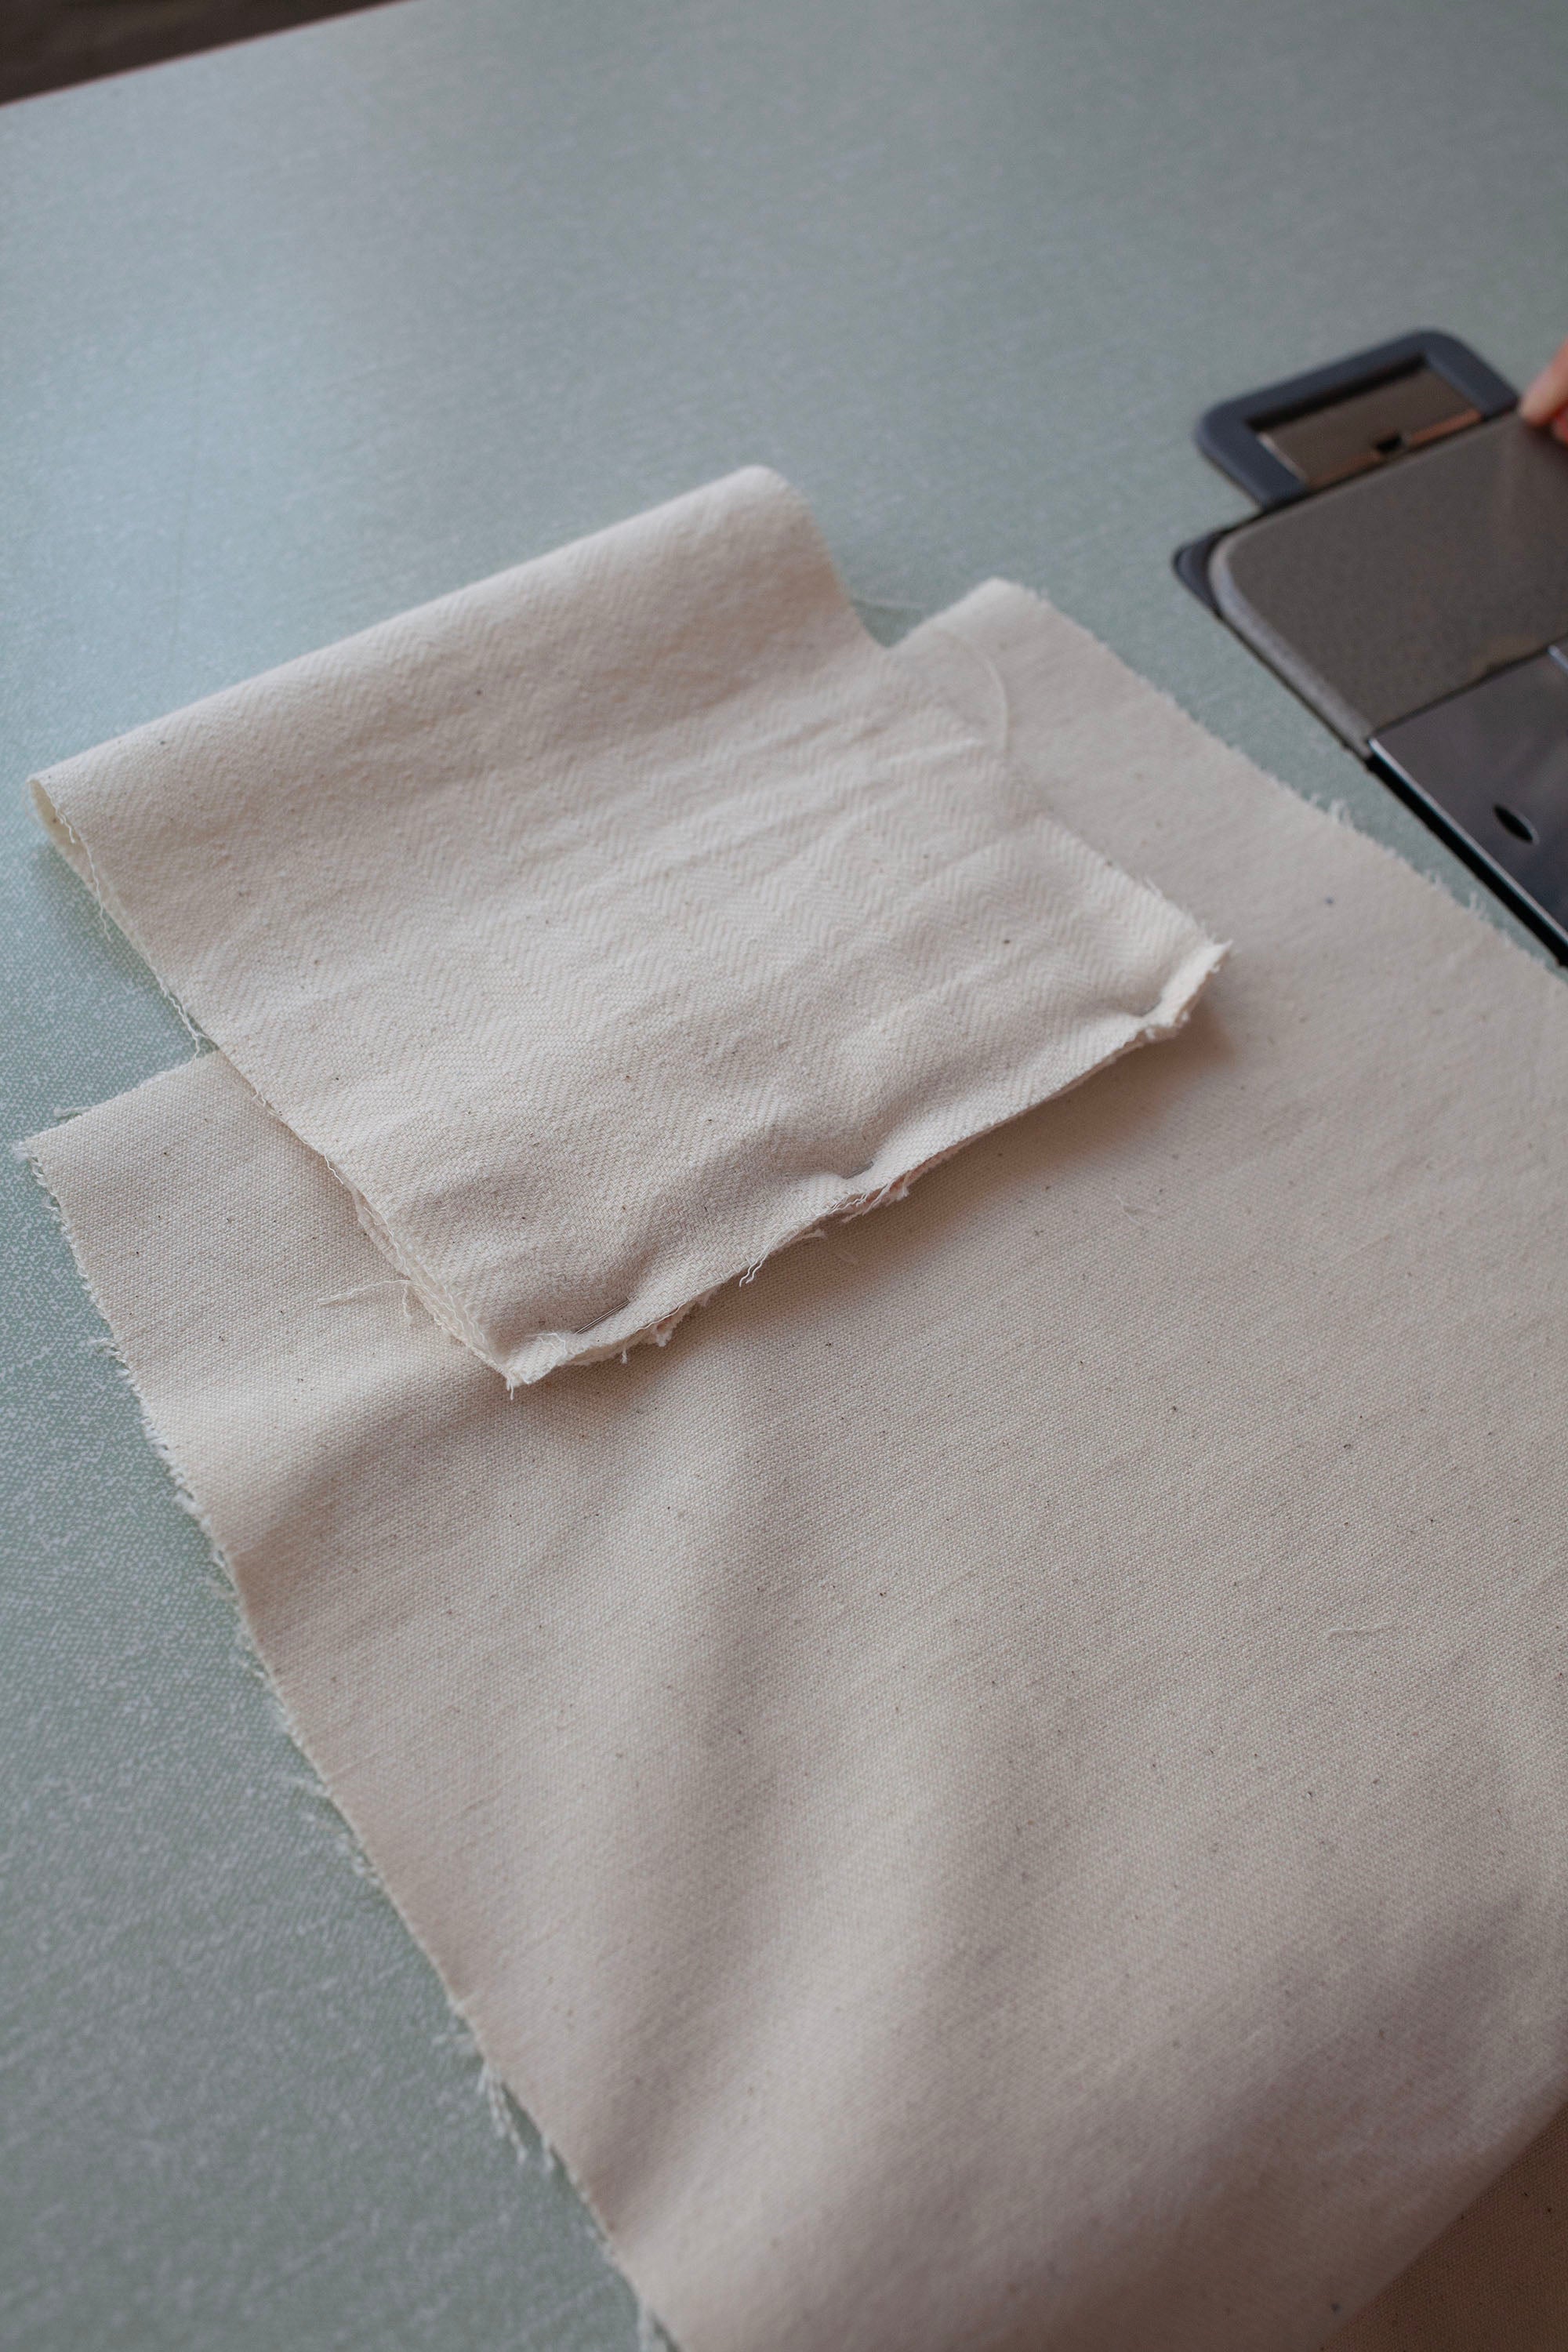
Lay the facing on top of the pocket bag in line with the notches and topstitch around the edge to secure it.
2
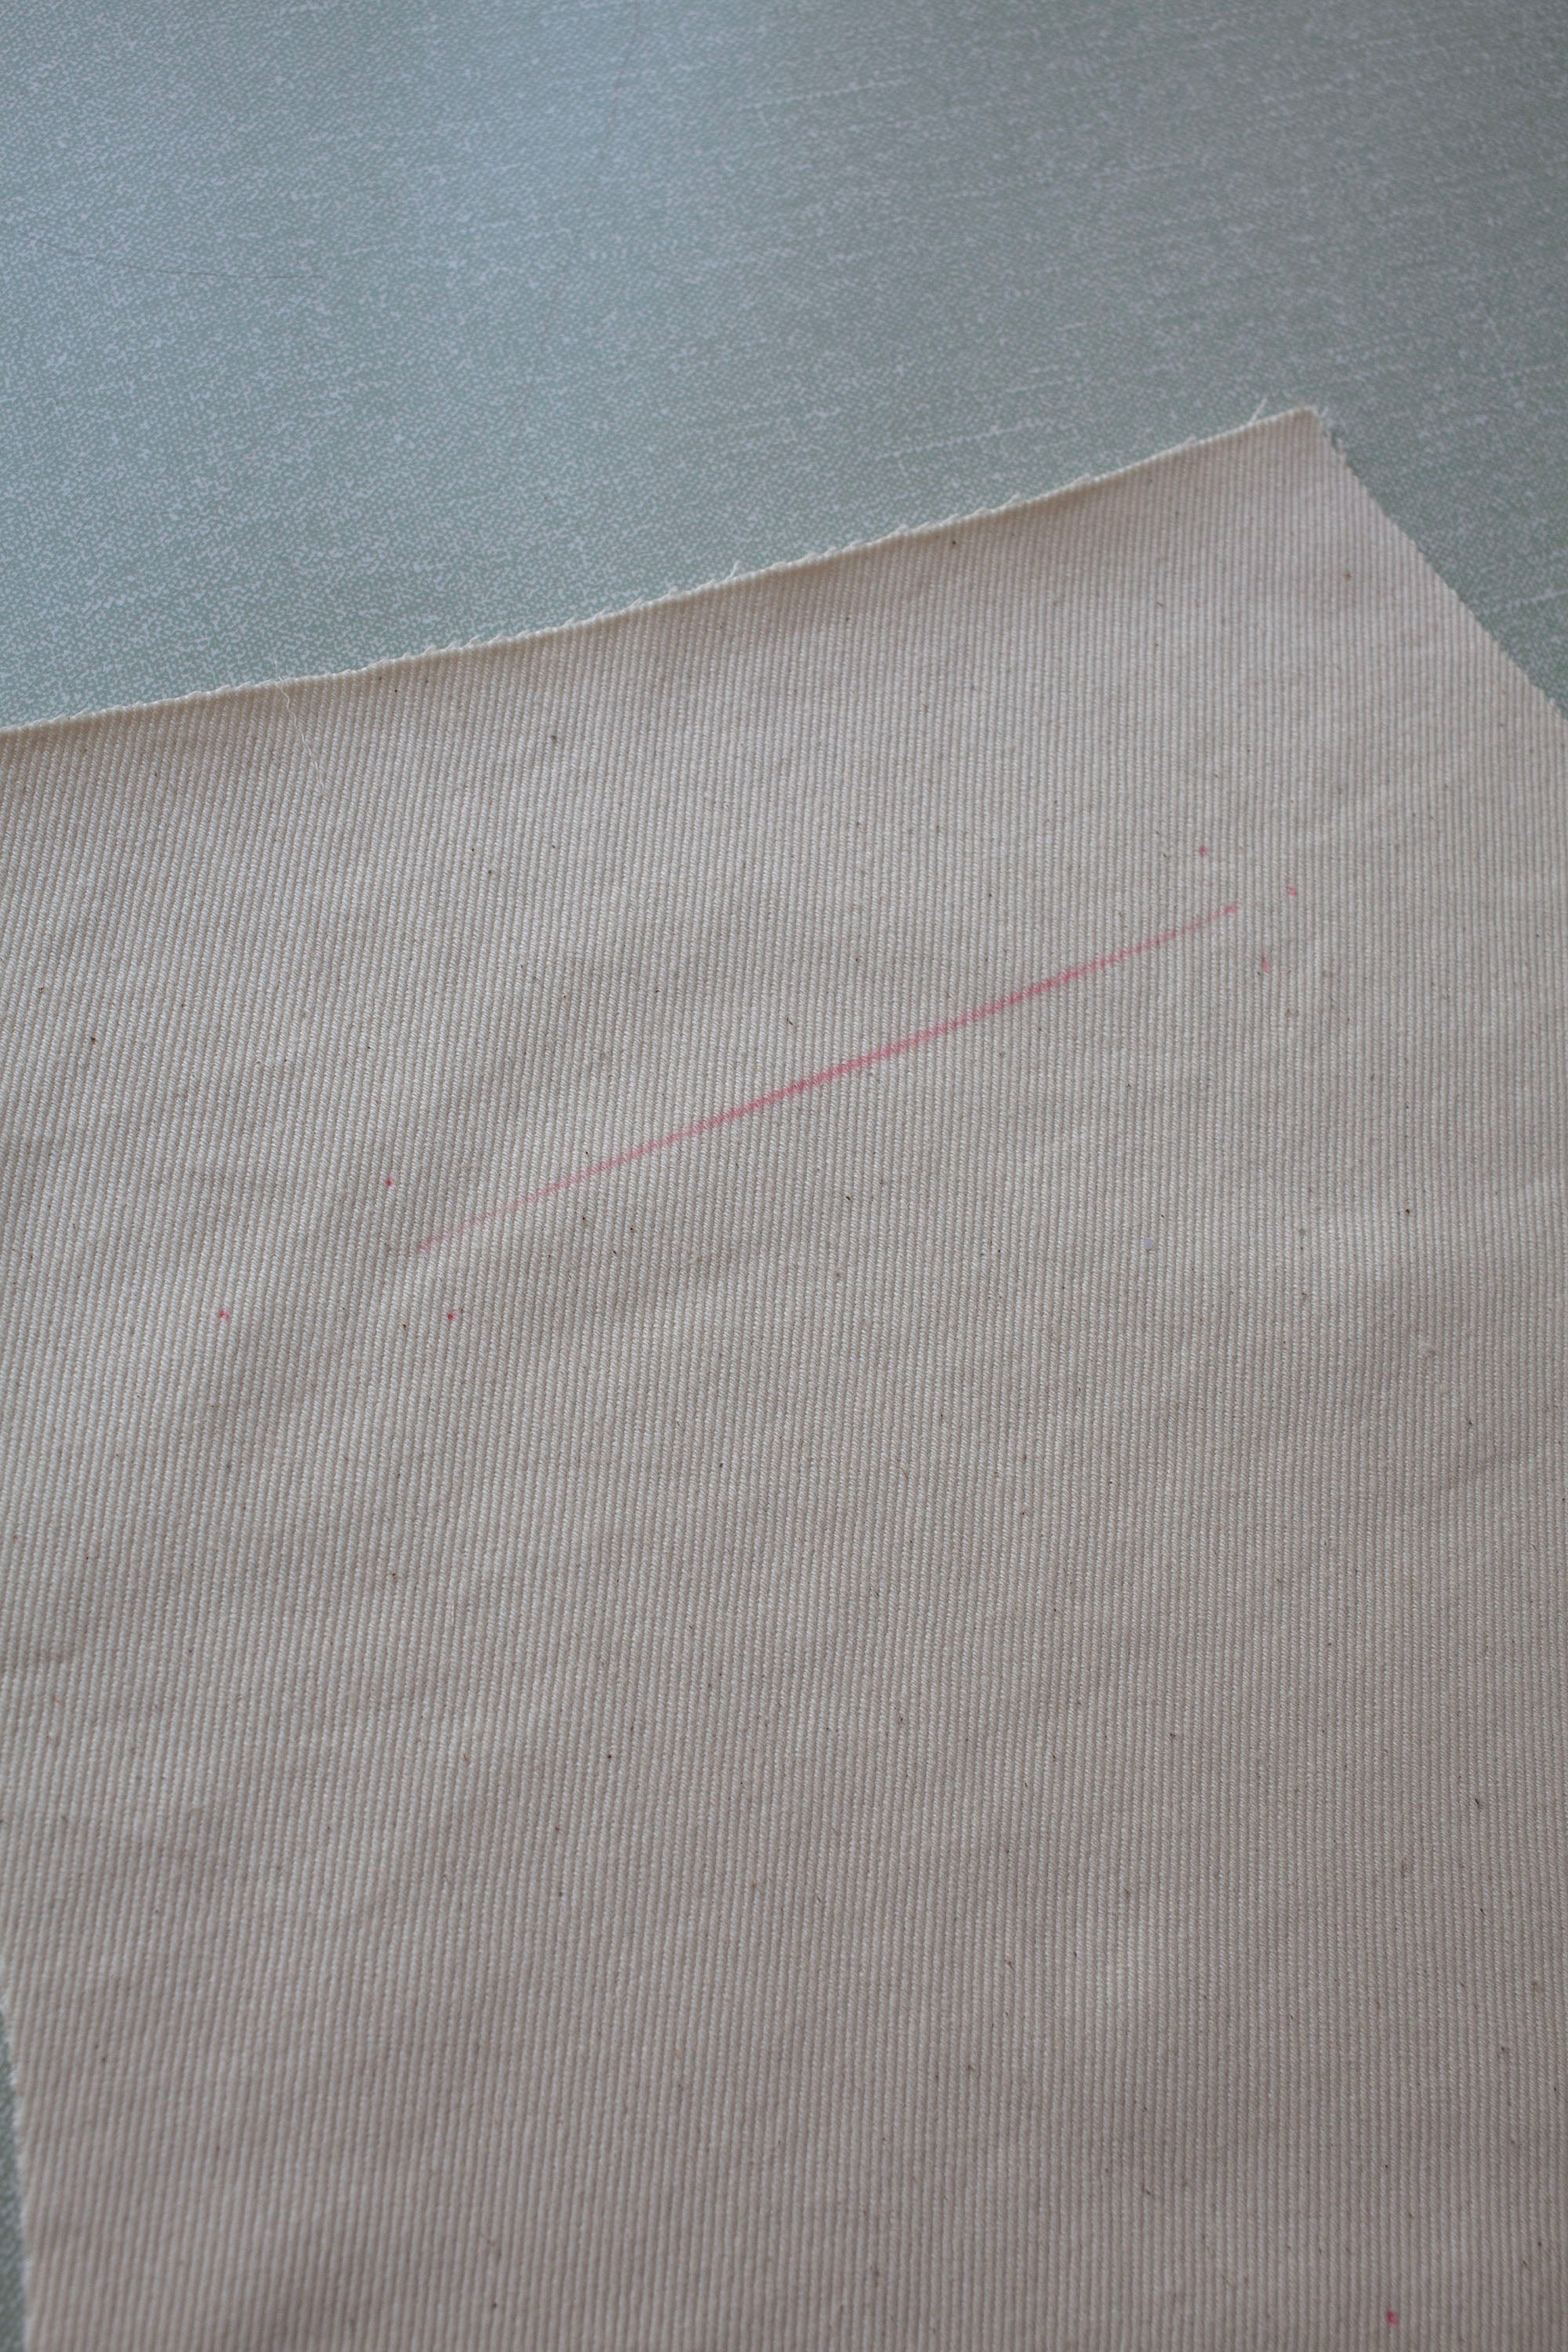
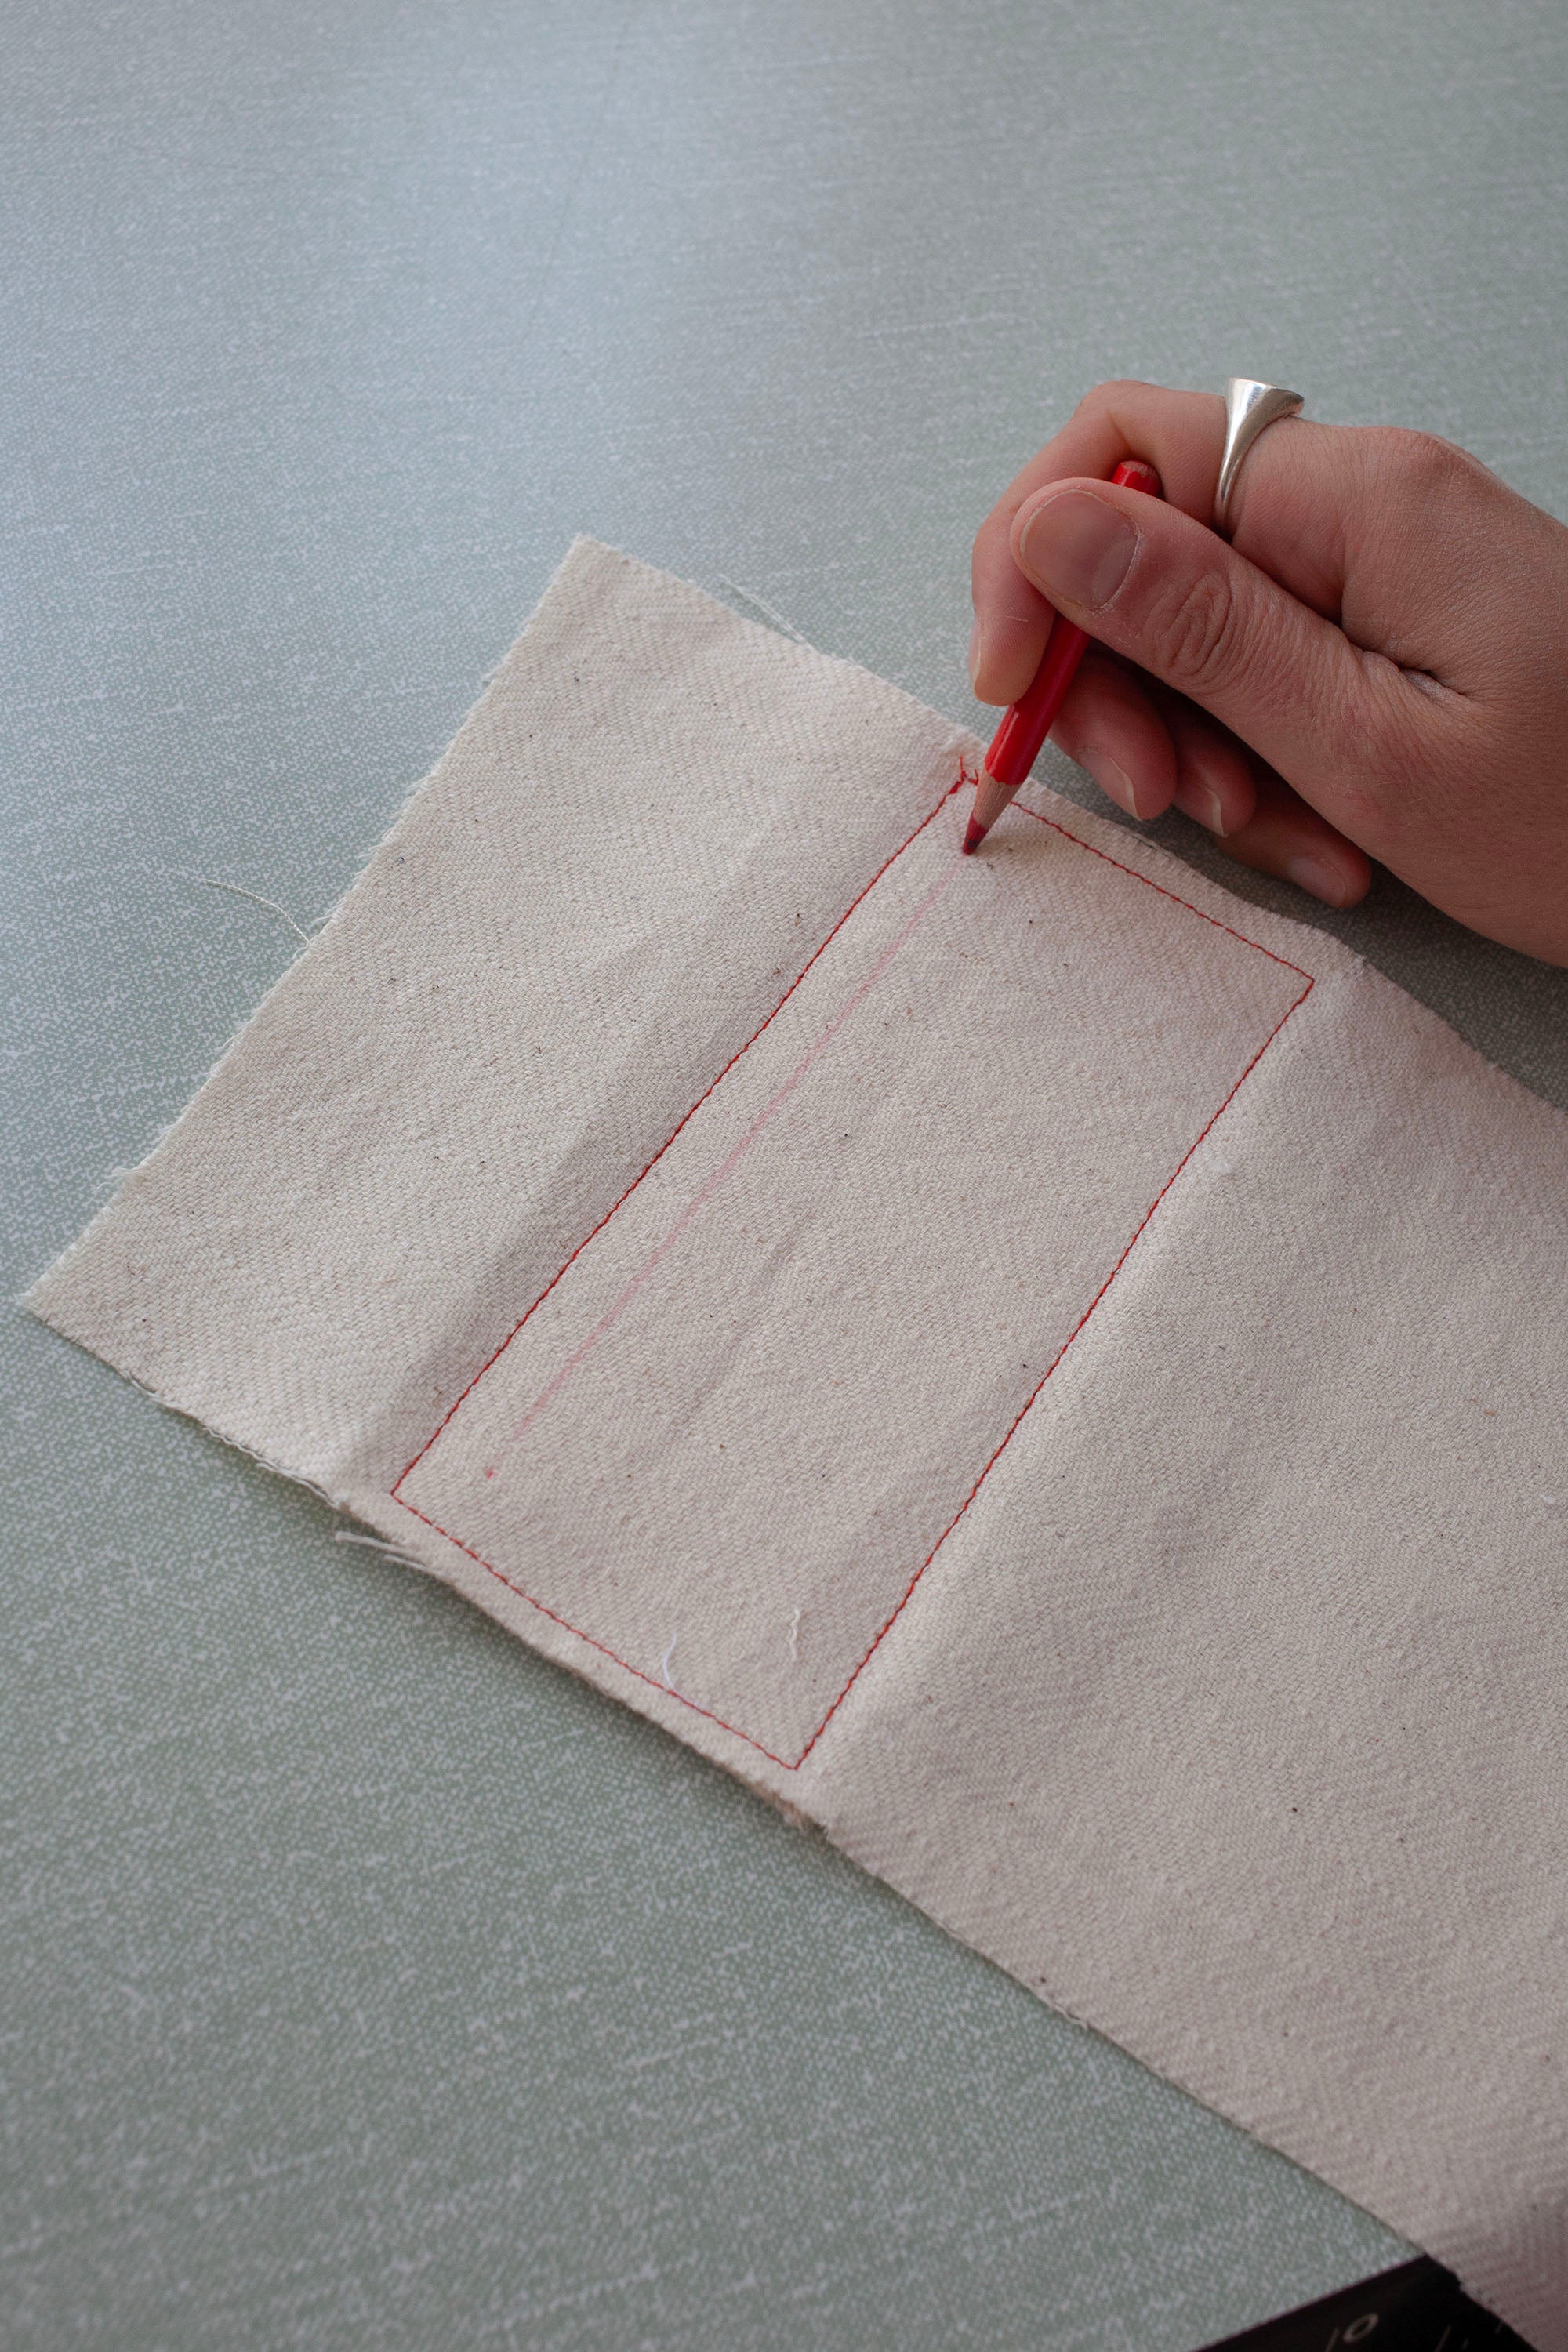
Using the pocket bag, chalk your pocket position on to the trouser leg with a straight line down the middle and dots in the 4 corners. The pocket bag should be lined up against the top of the trouser and equal distance from the edges as you mark the pocket.
3
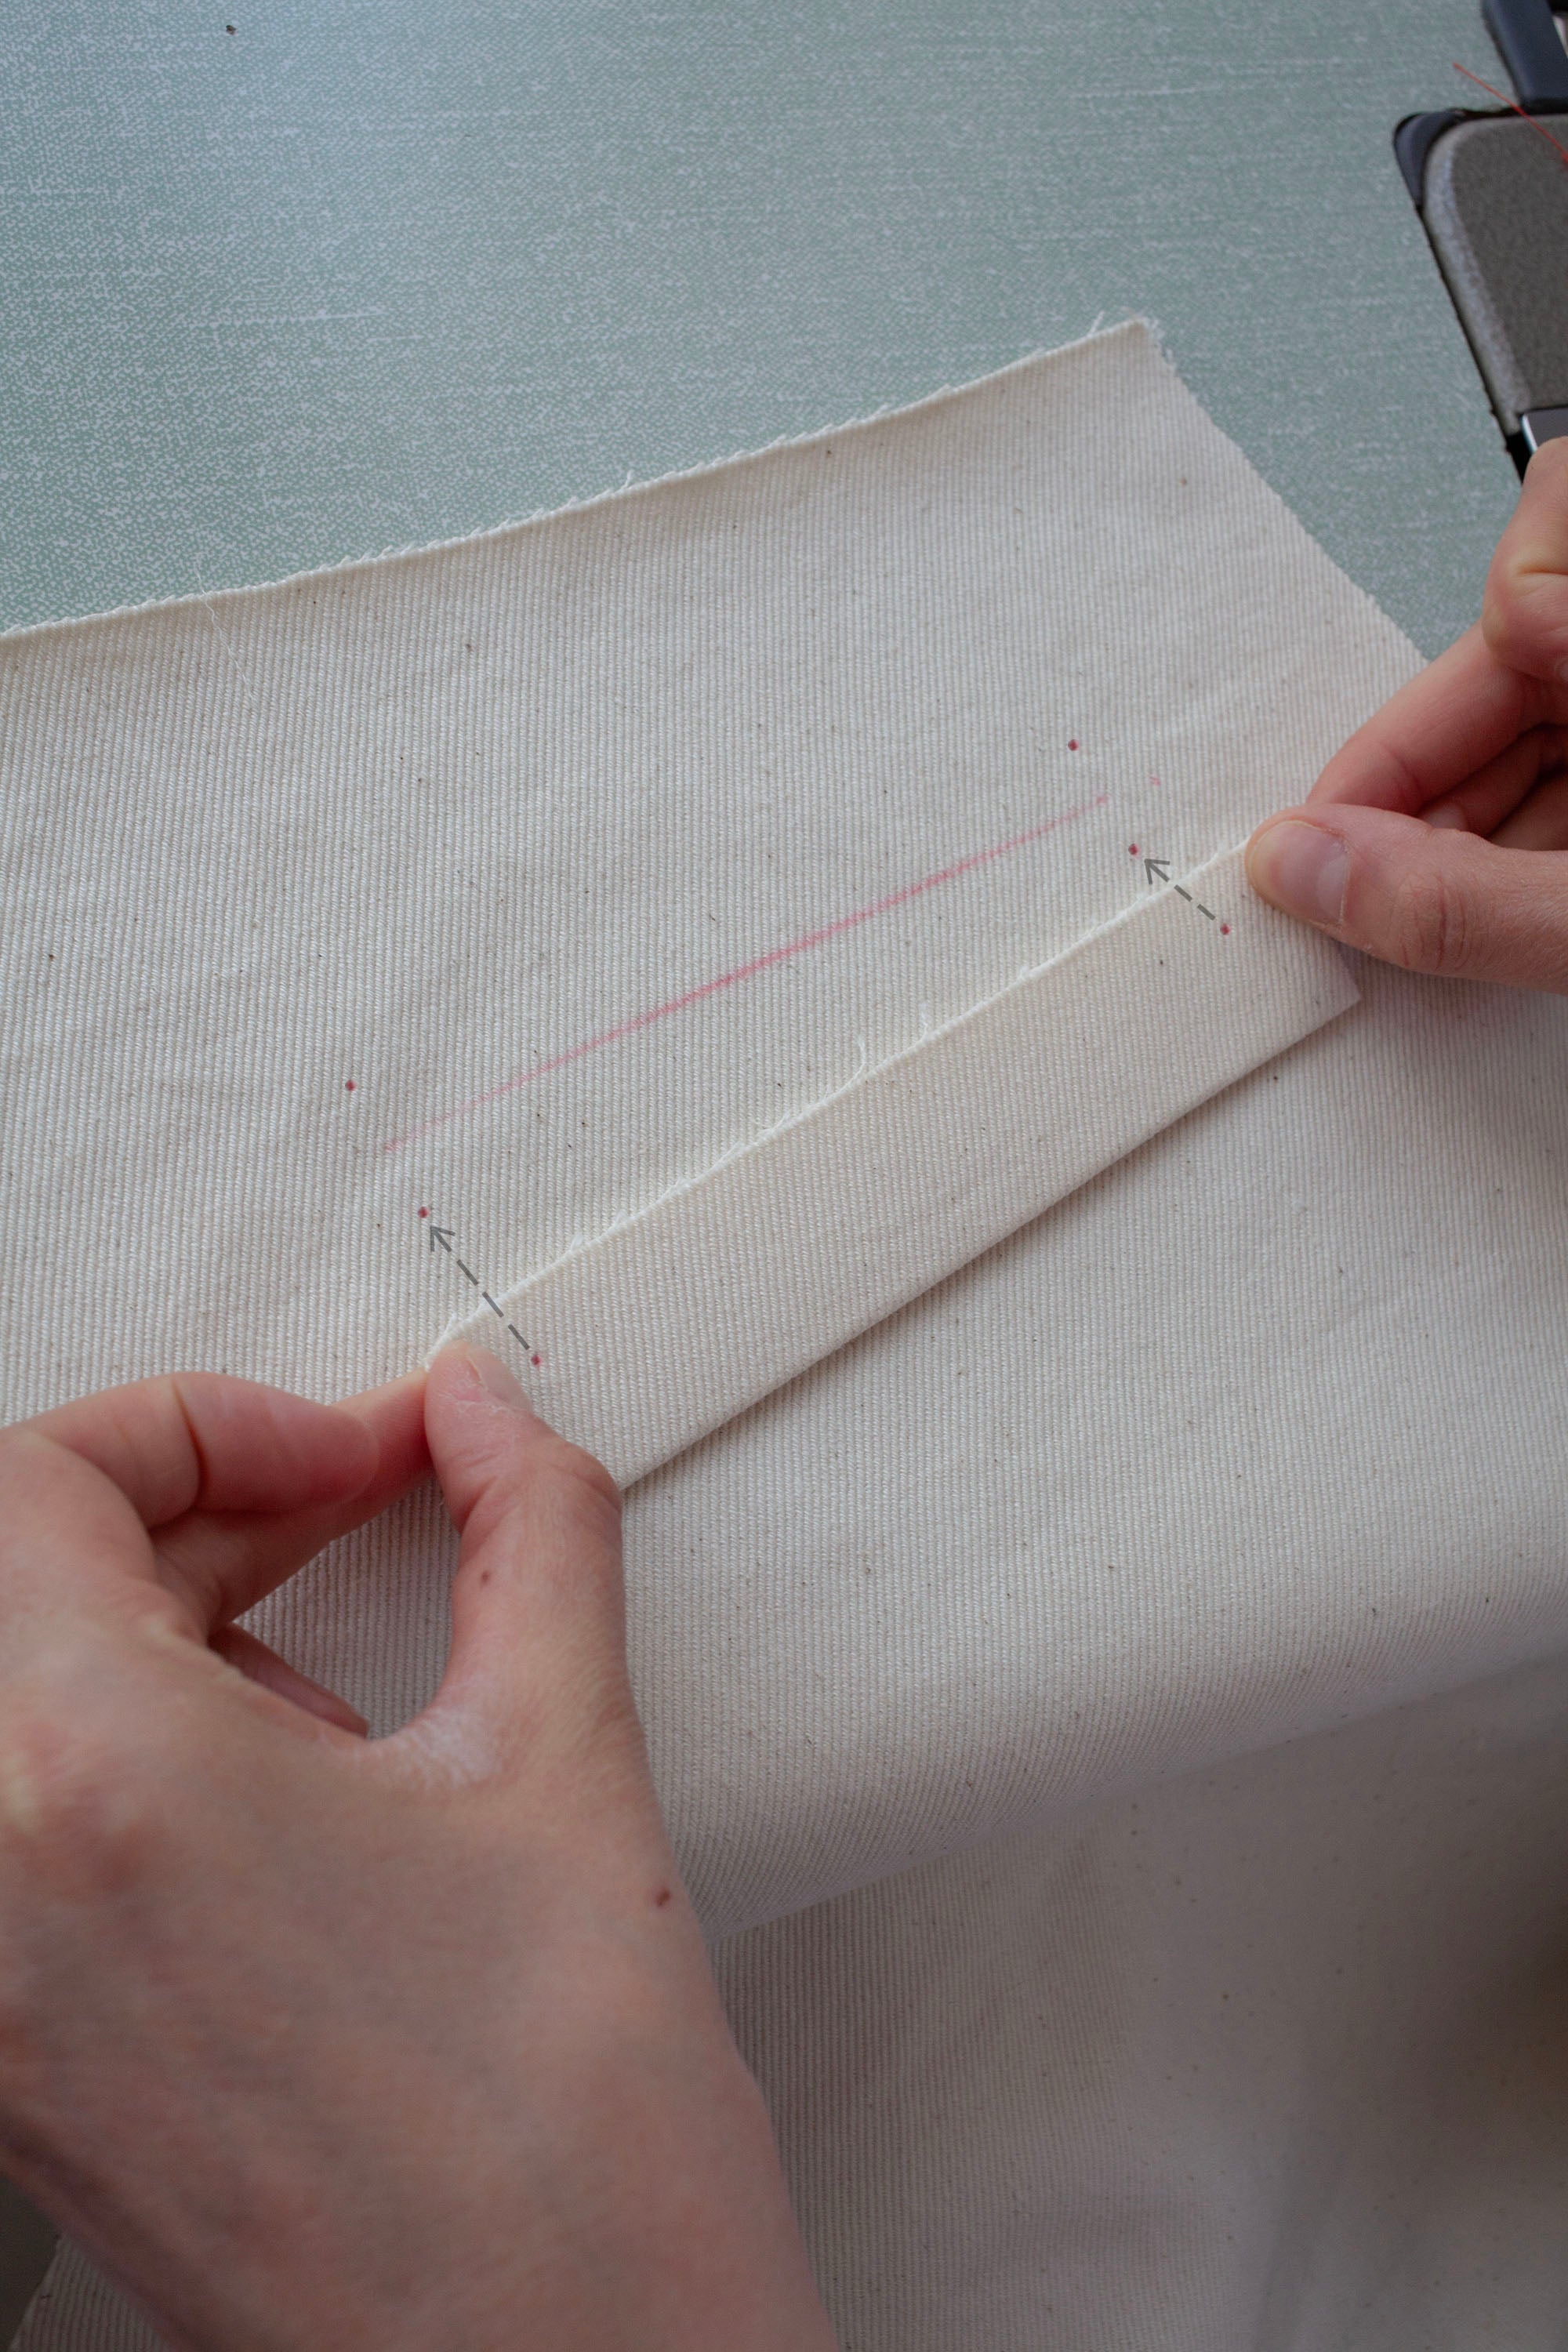
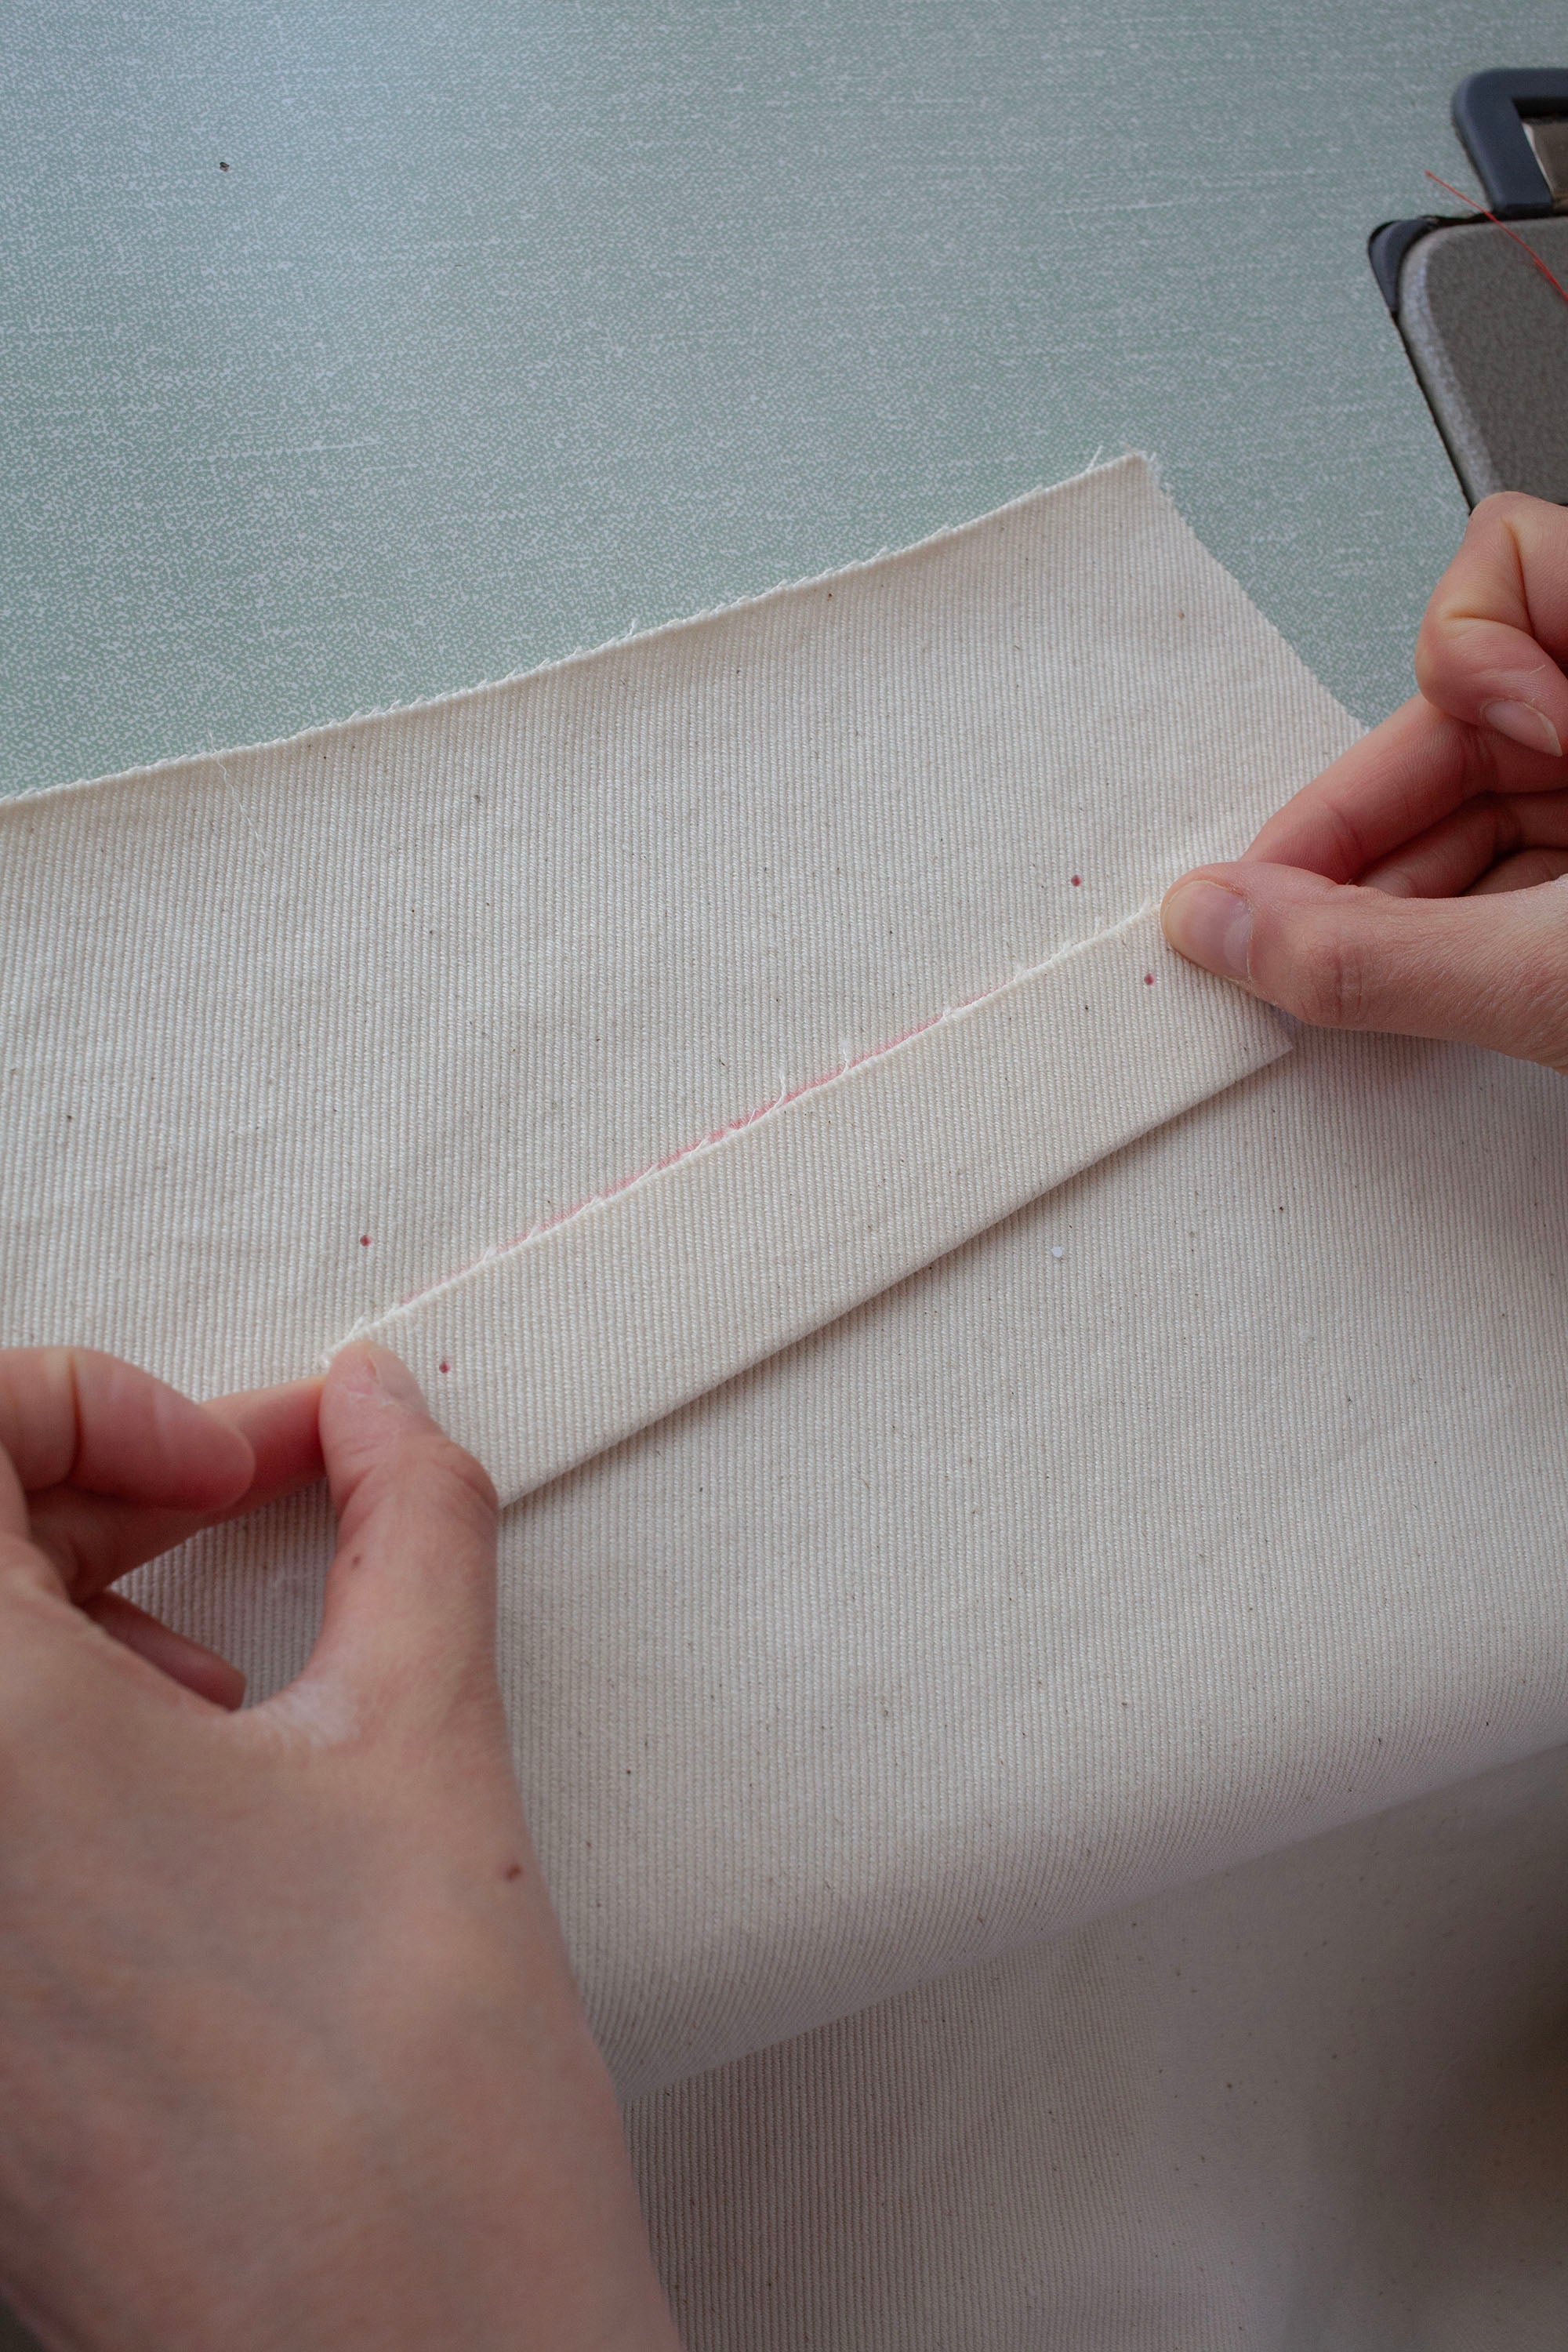
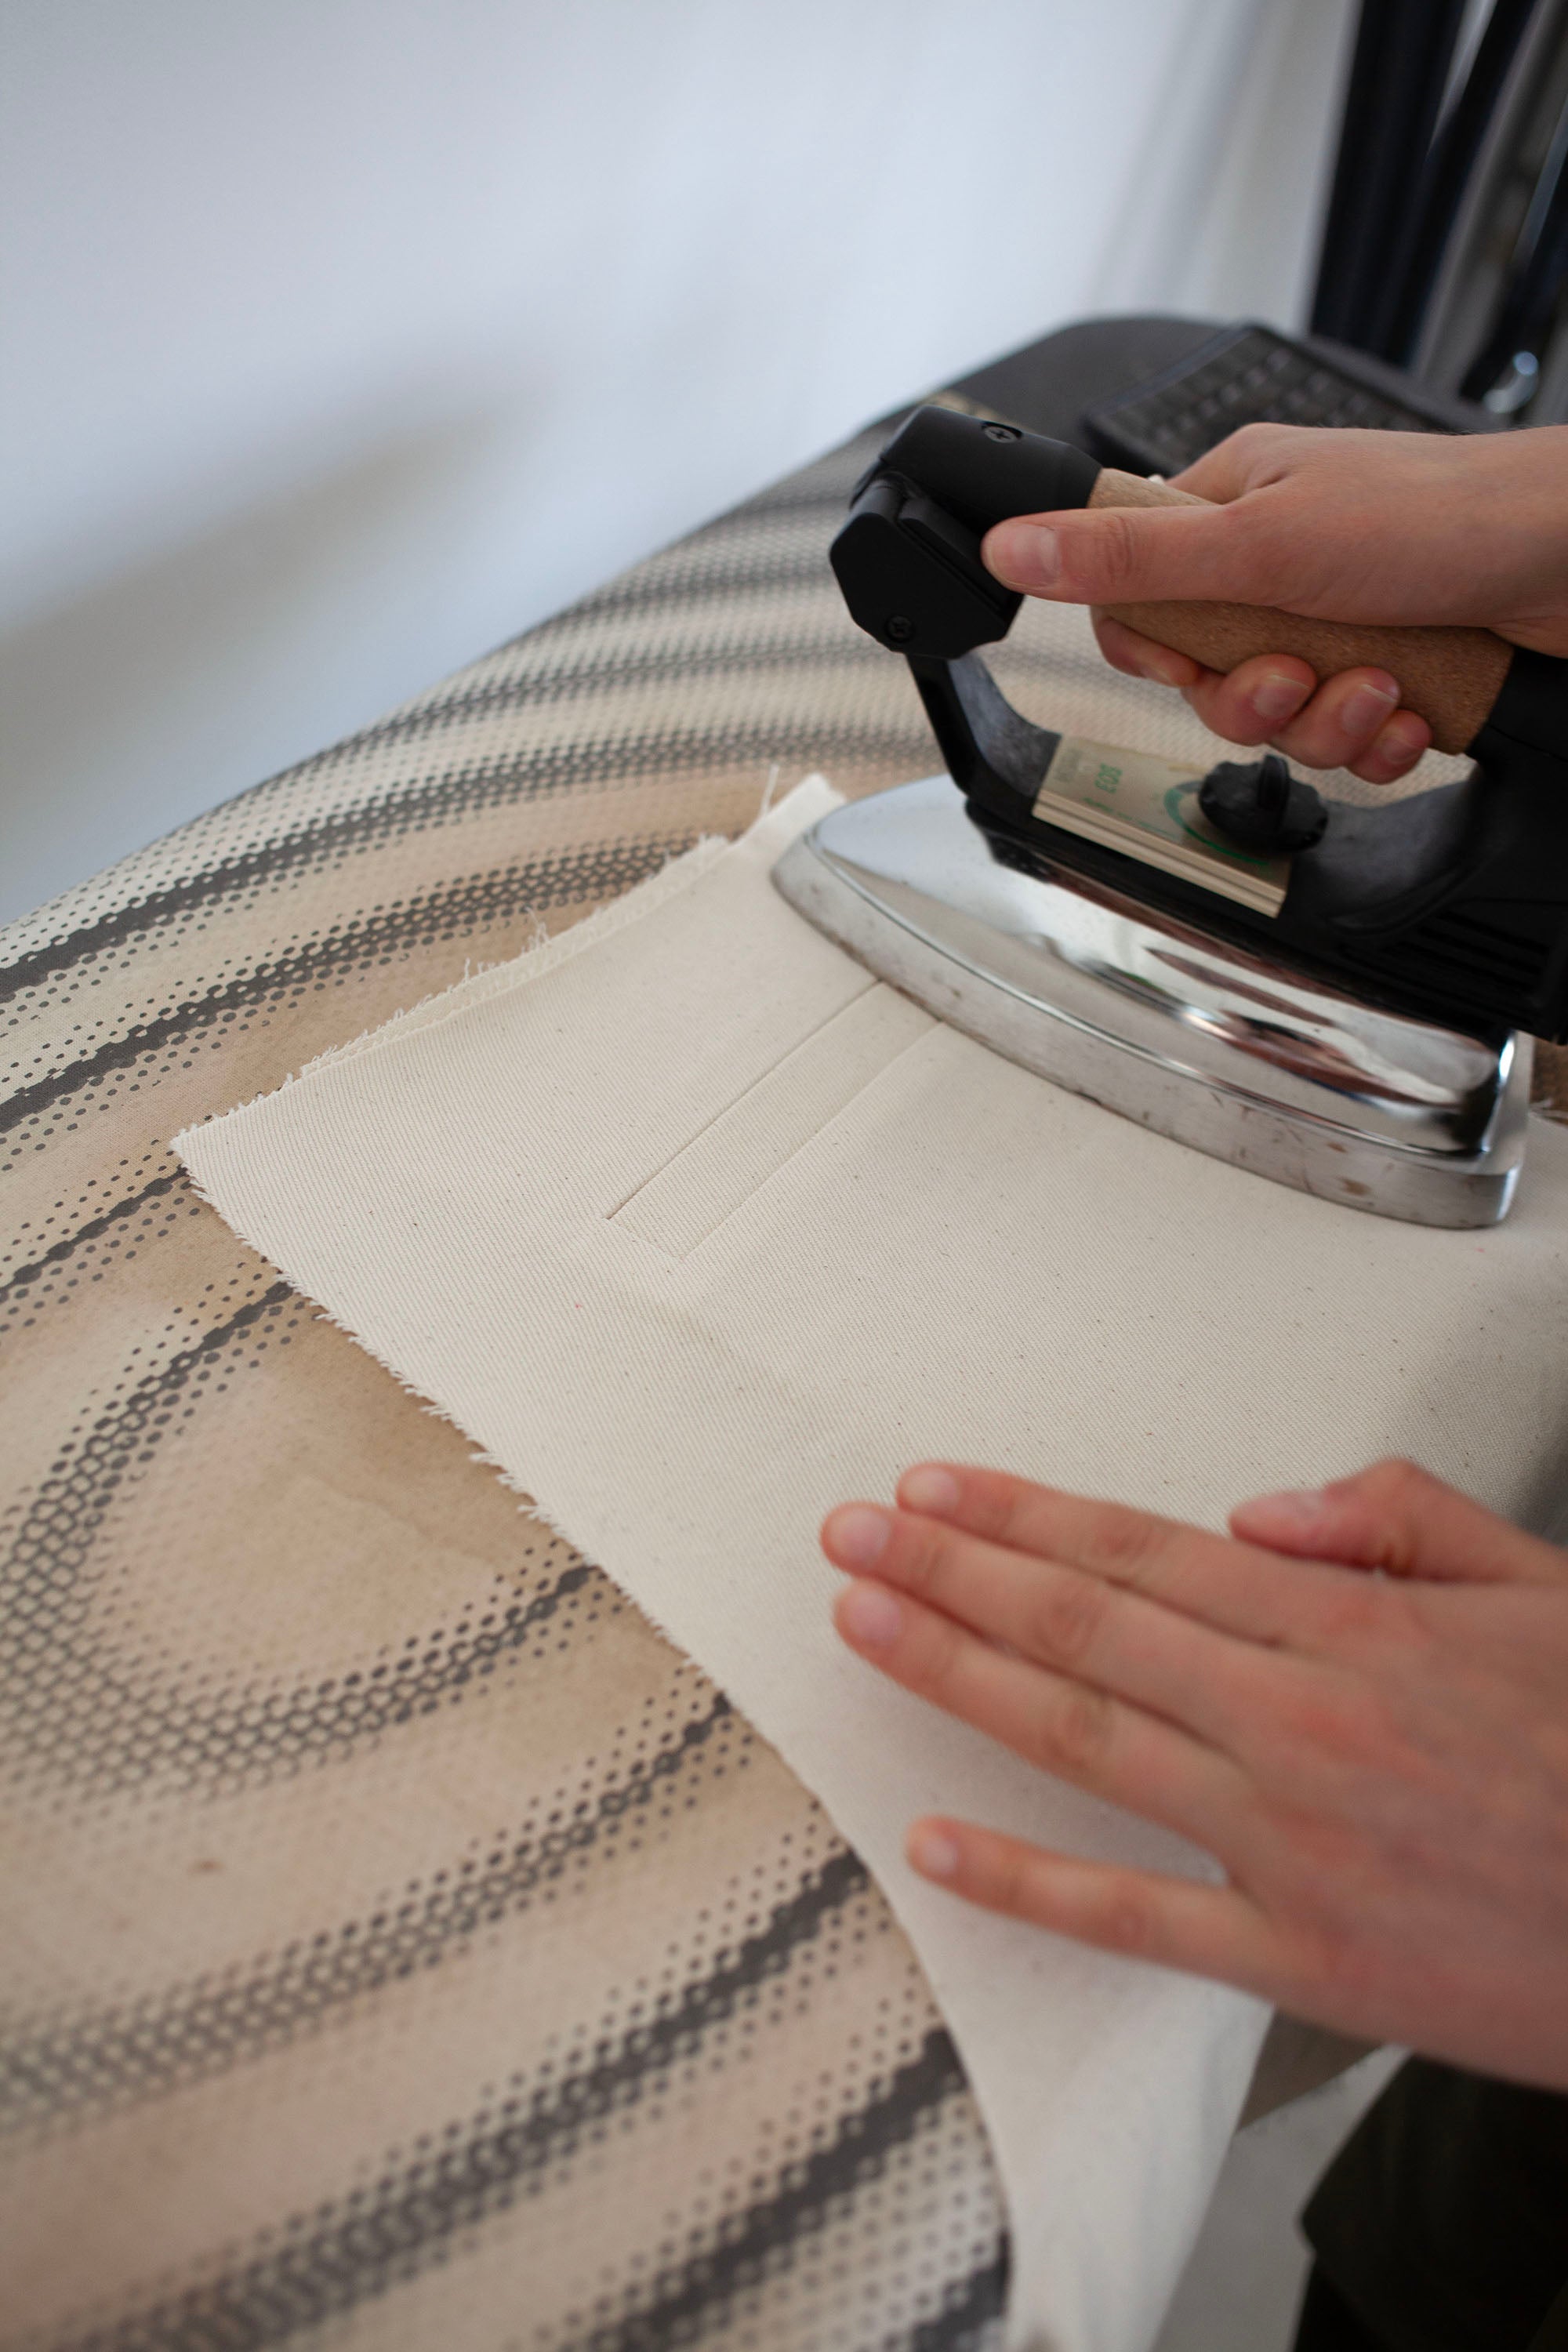
Fuse your welt piece and press in half lengthways. Then place a chalked dot as marked on the pattern. Place the raw edges of the welt against the chalked line with the fold facing down. The chalked dots should be lined up underneath one another.
4
The dots should be in the same place with or without the welt on top. Accurate positioning is key!
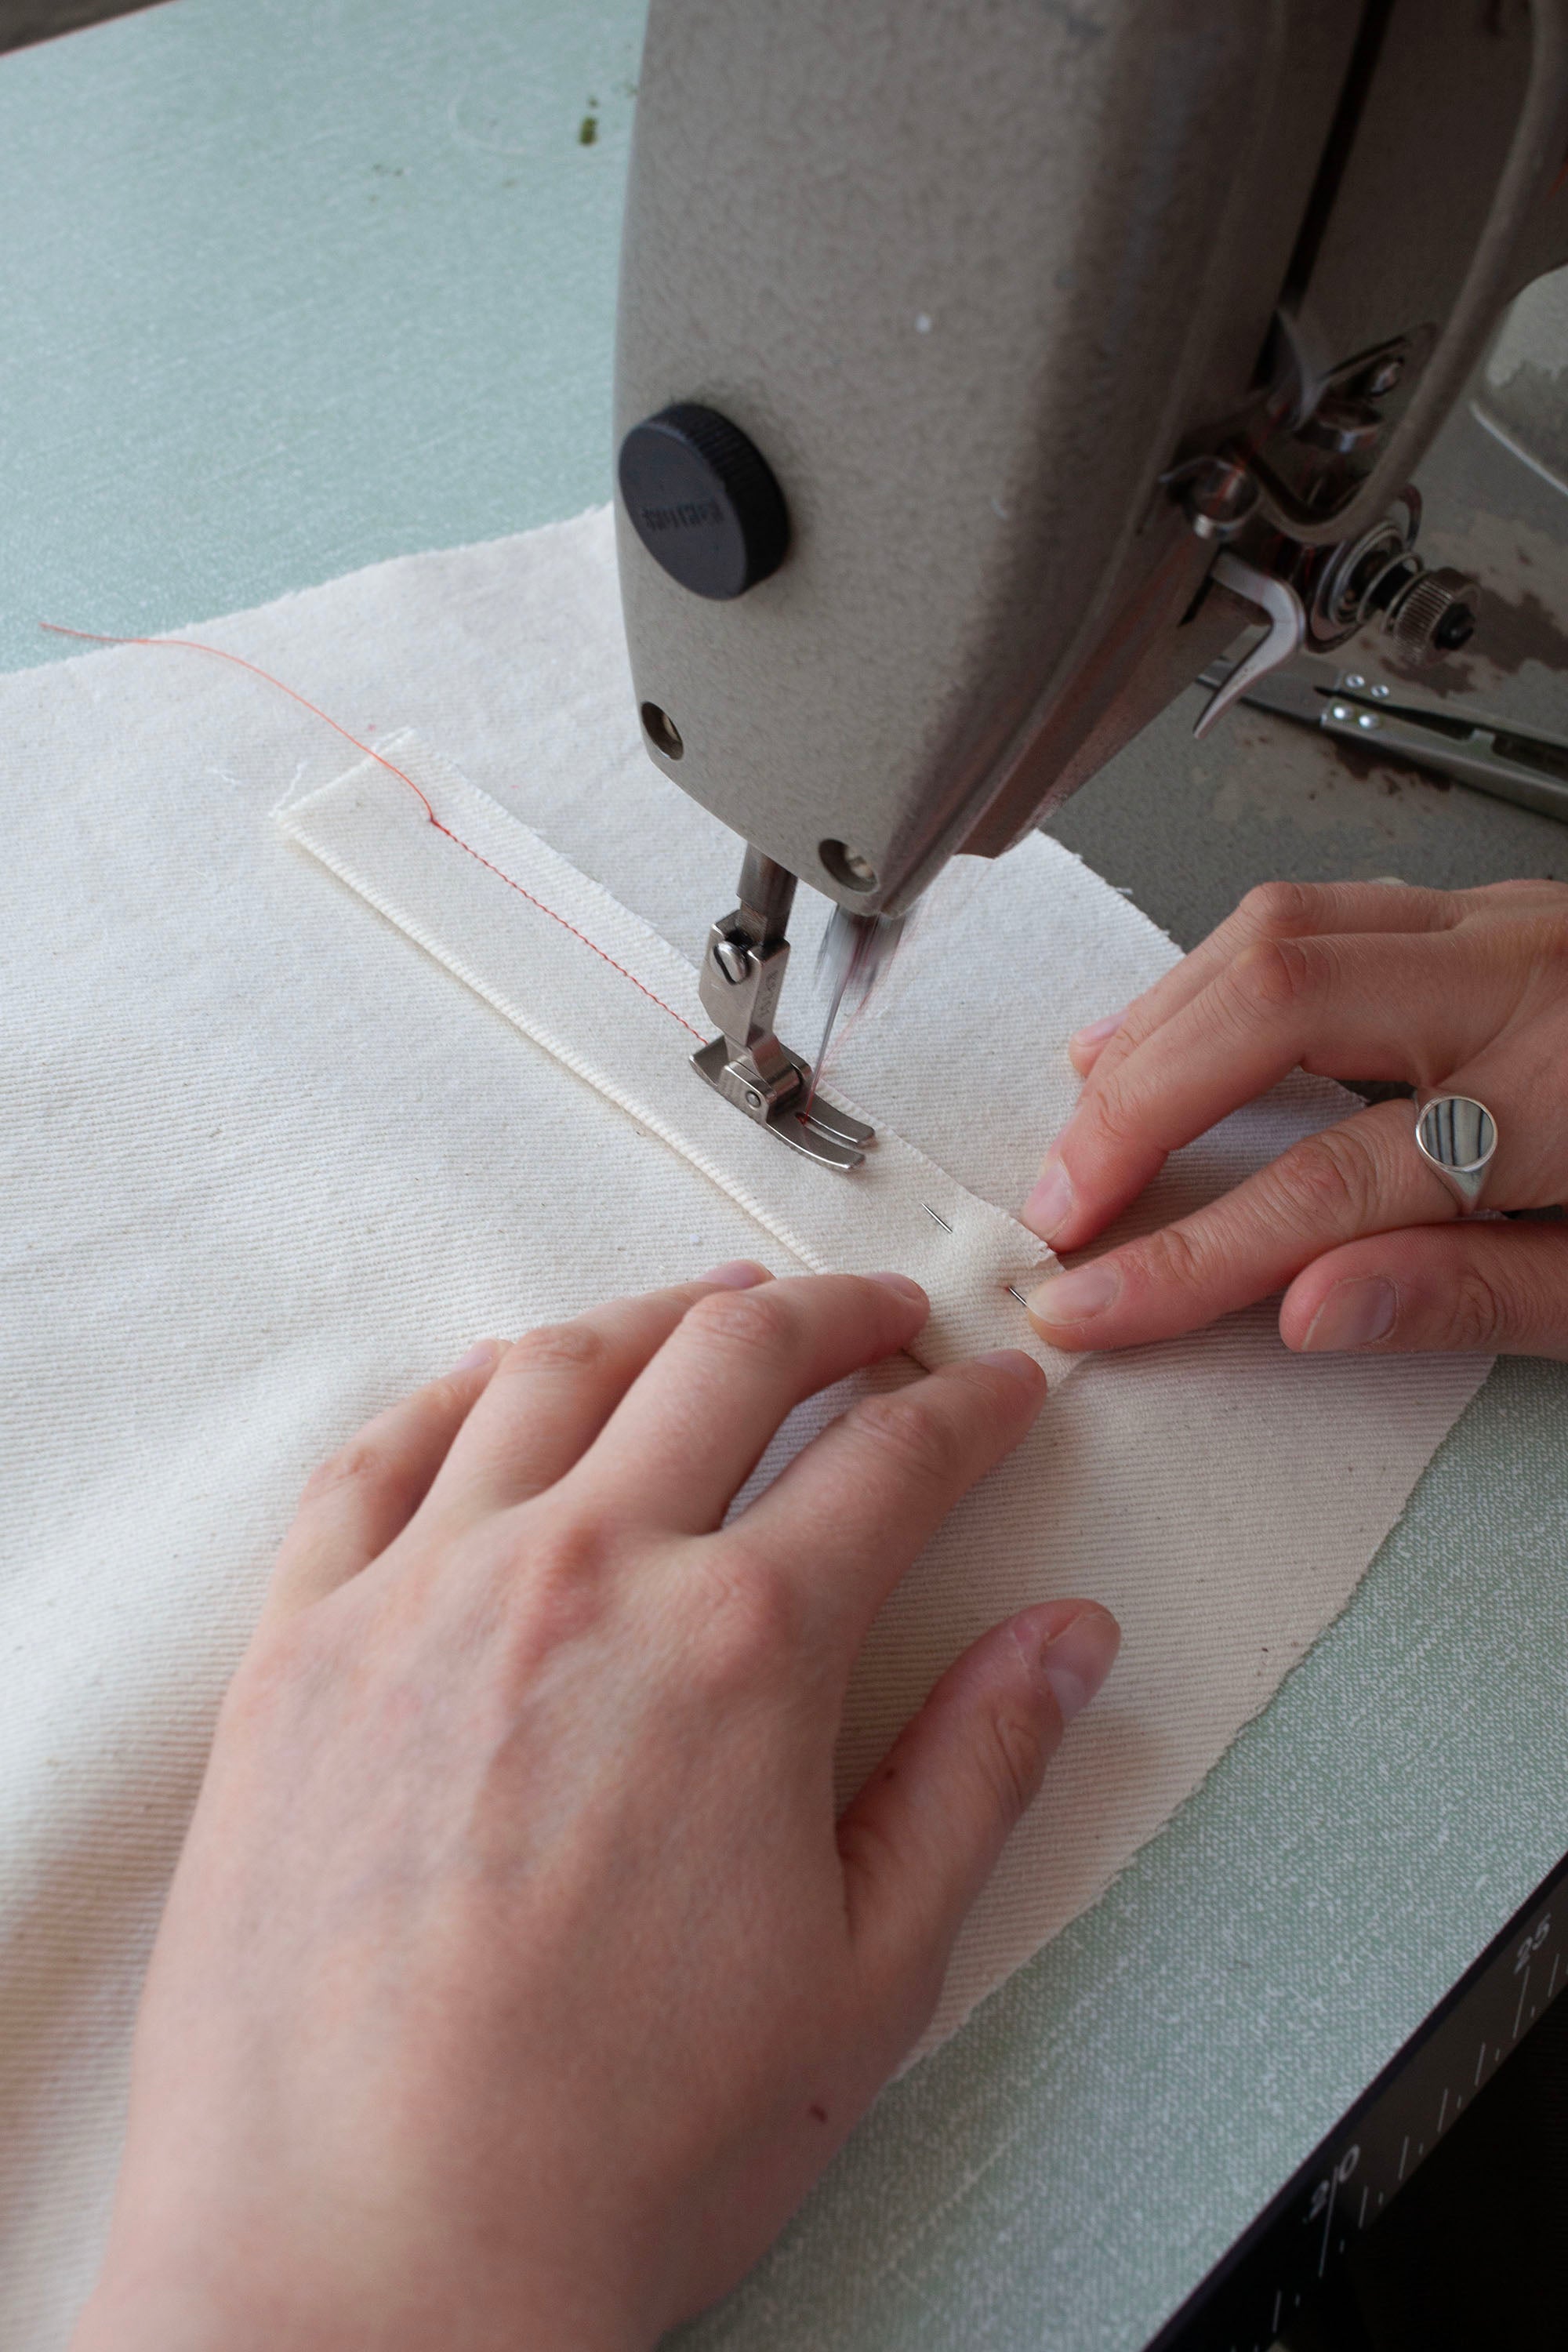
5
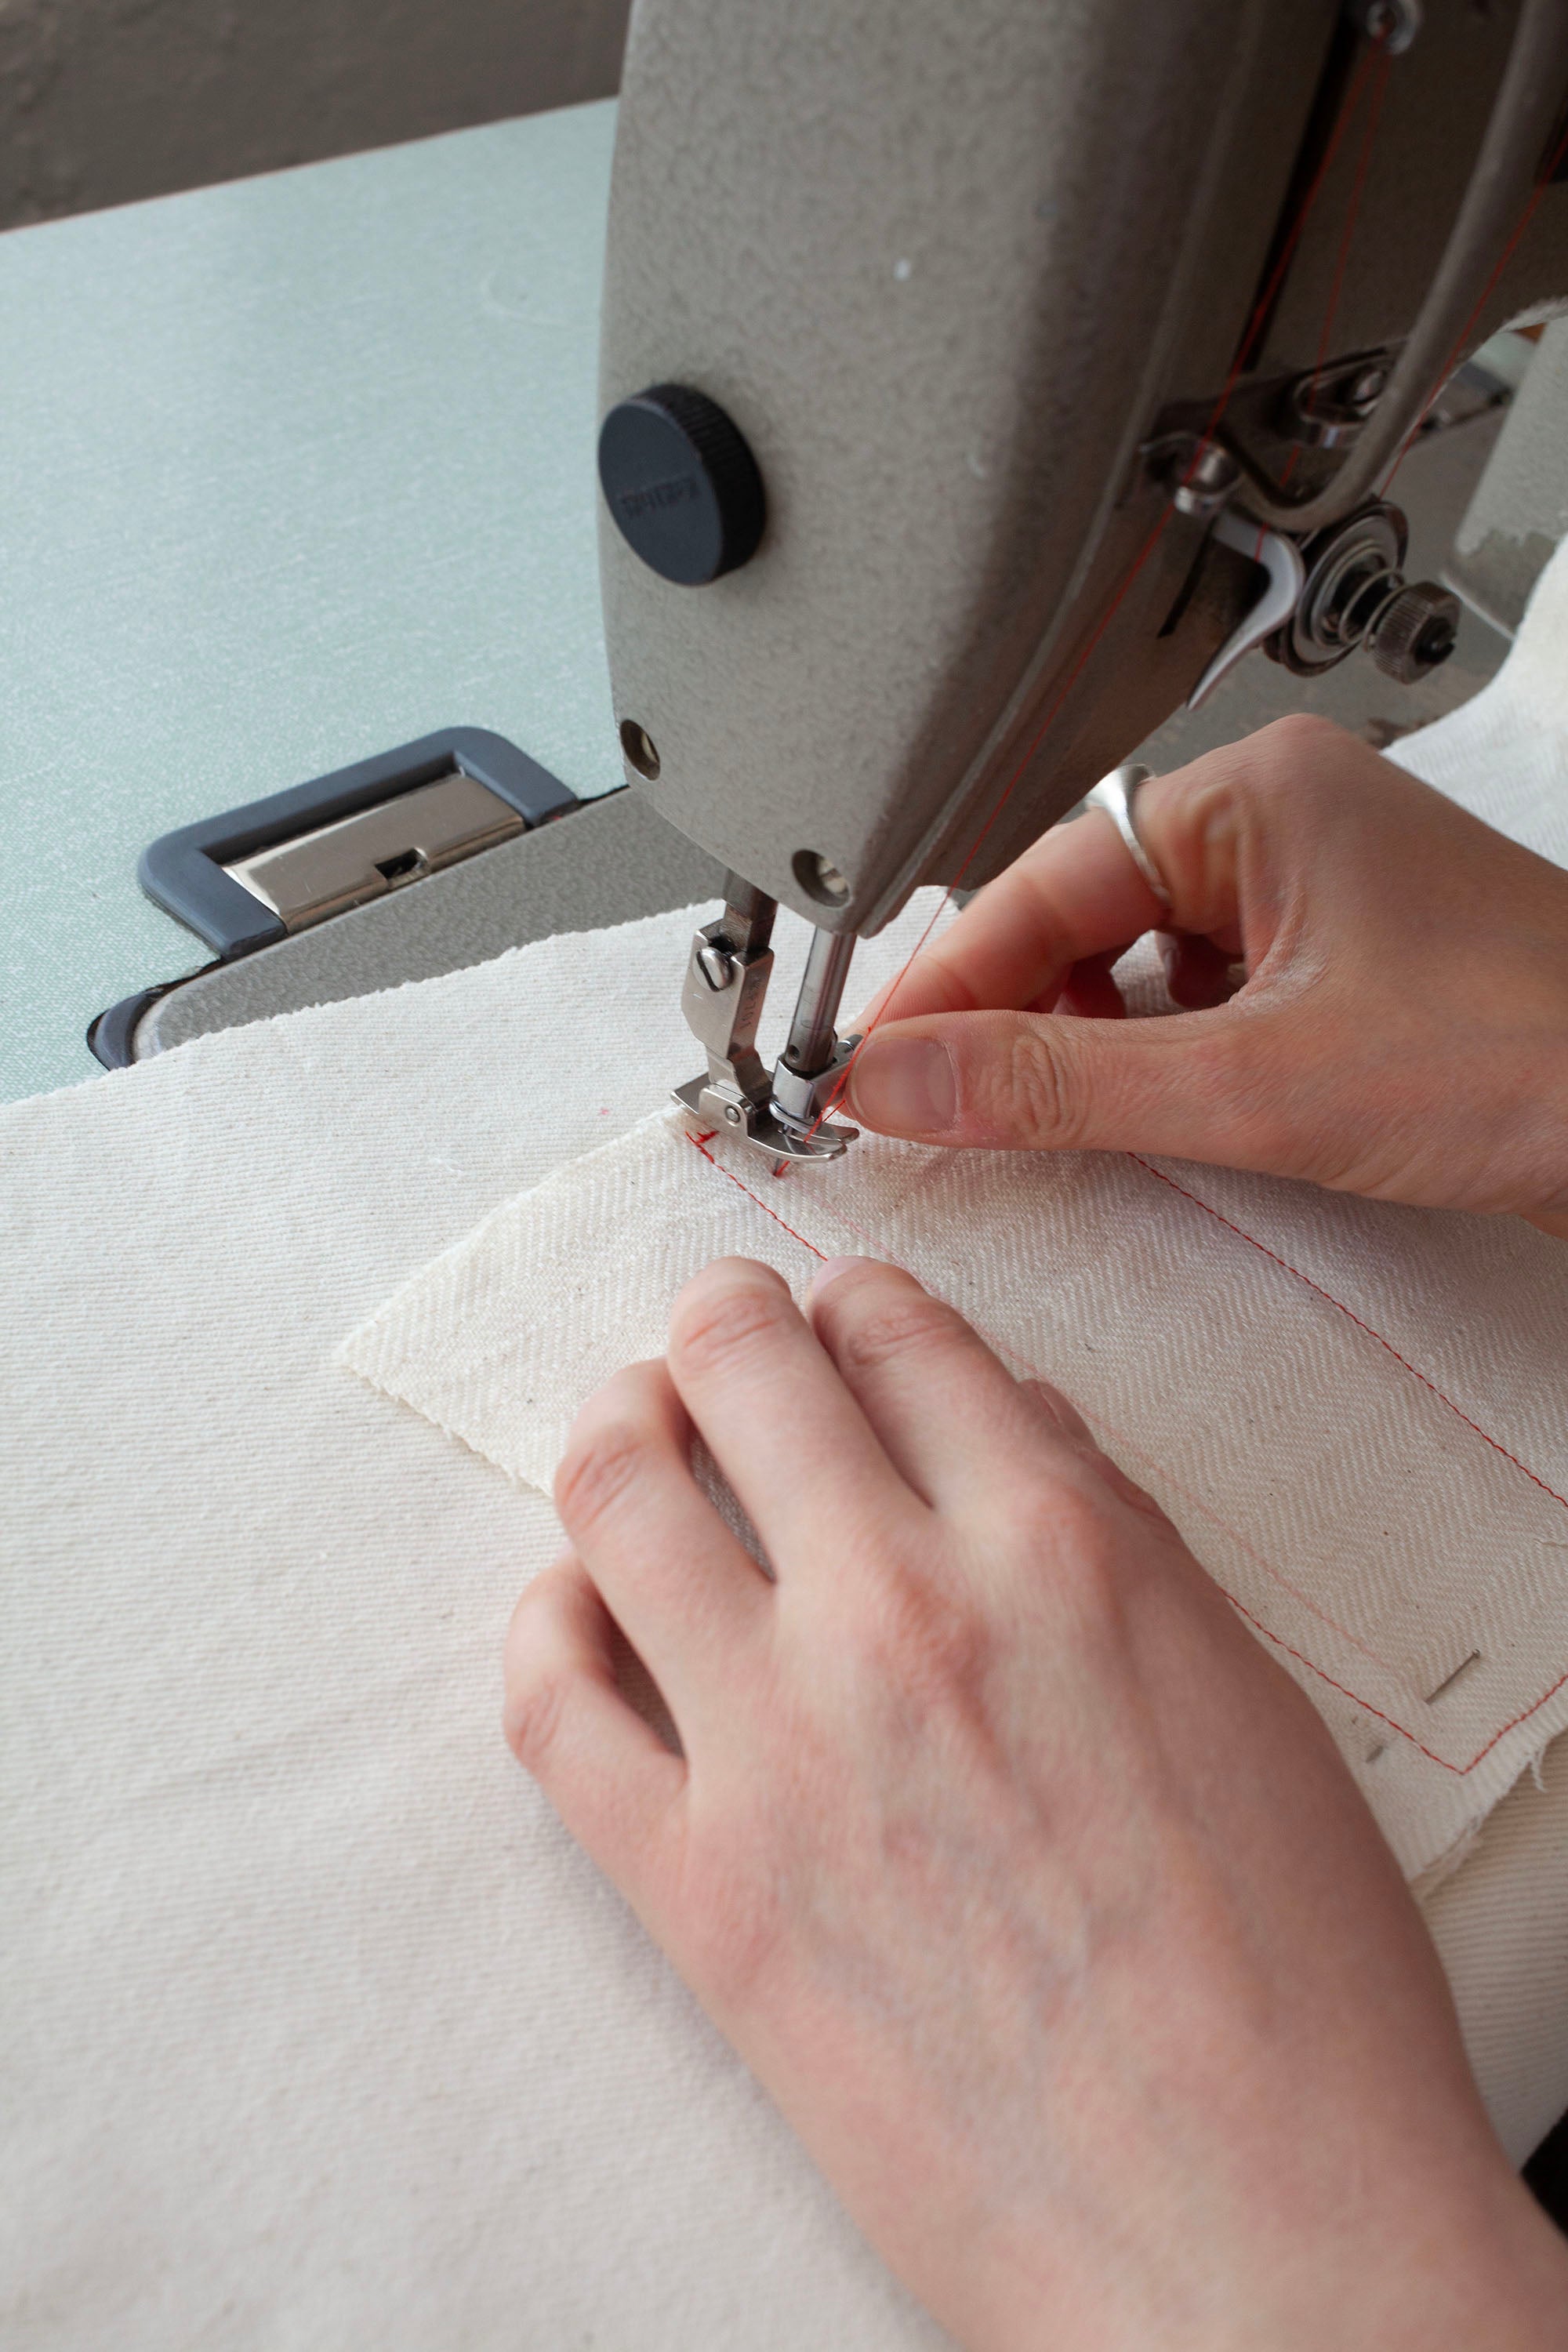
Pin into place and stitch between the dots at 1cm, doing a backwards stitch at each end. Make sure the stitching is completely straight and starting and finishing directly on the chalked dots.
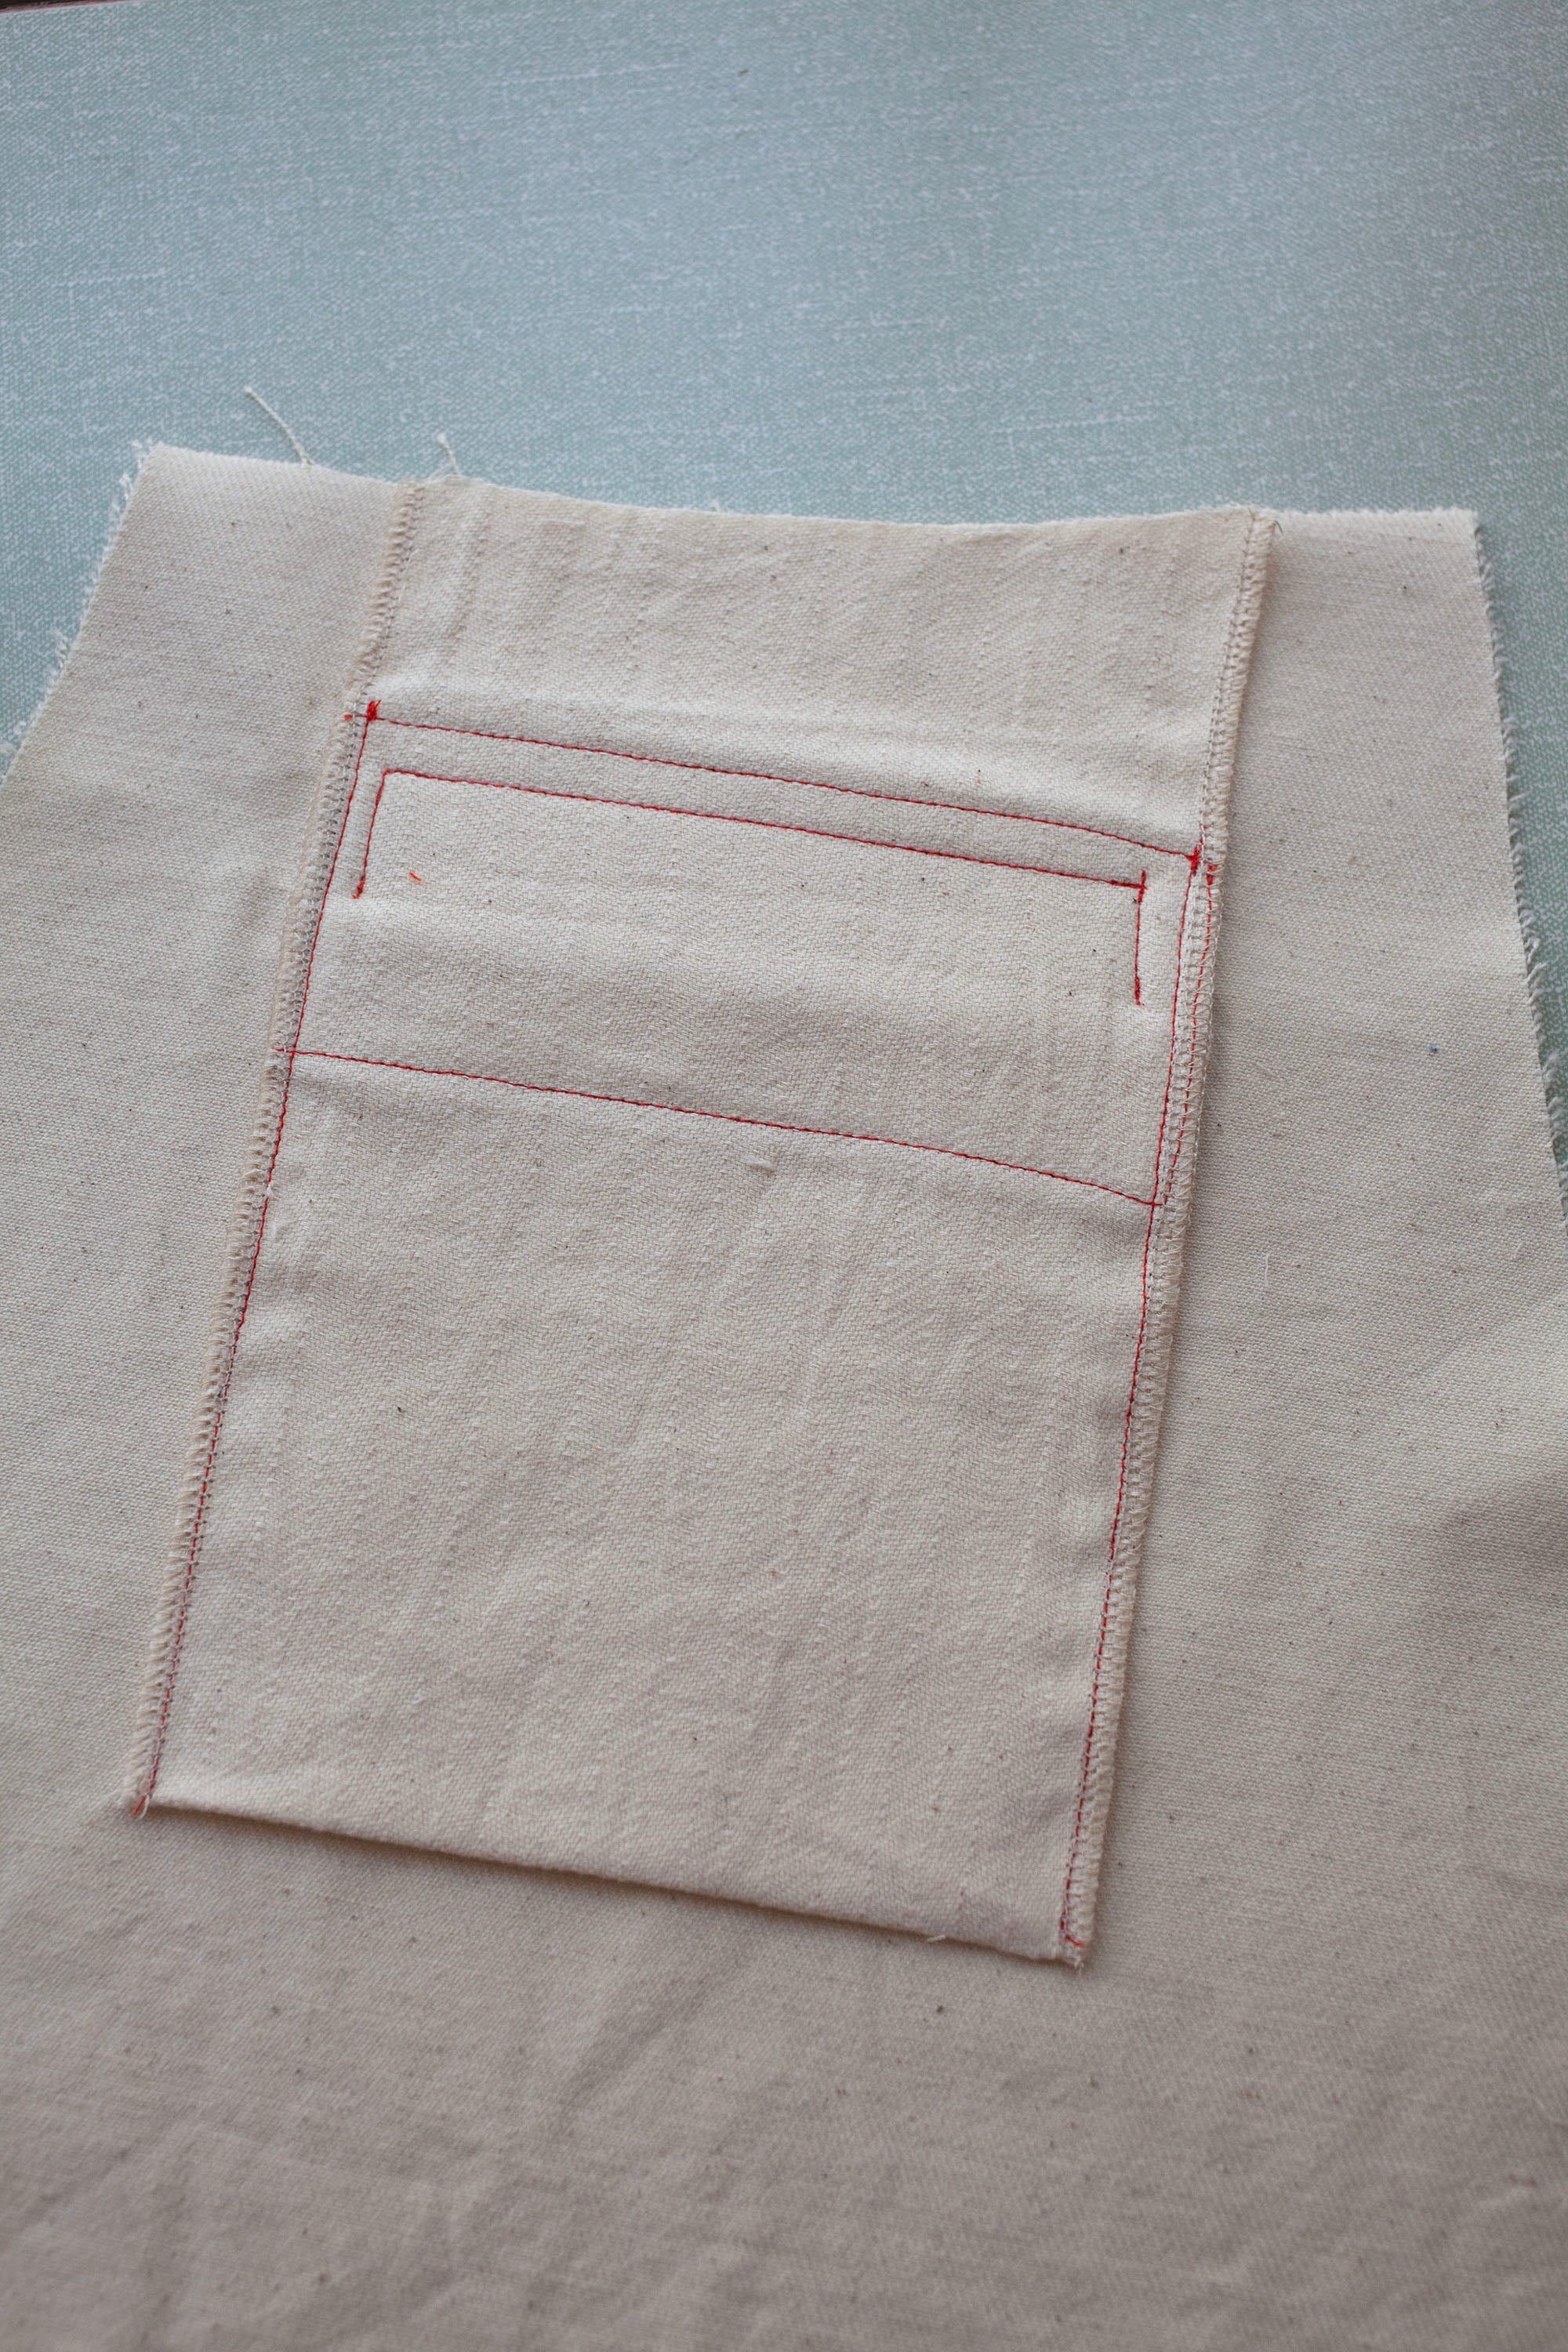
6
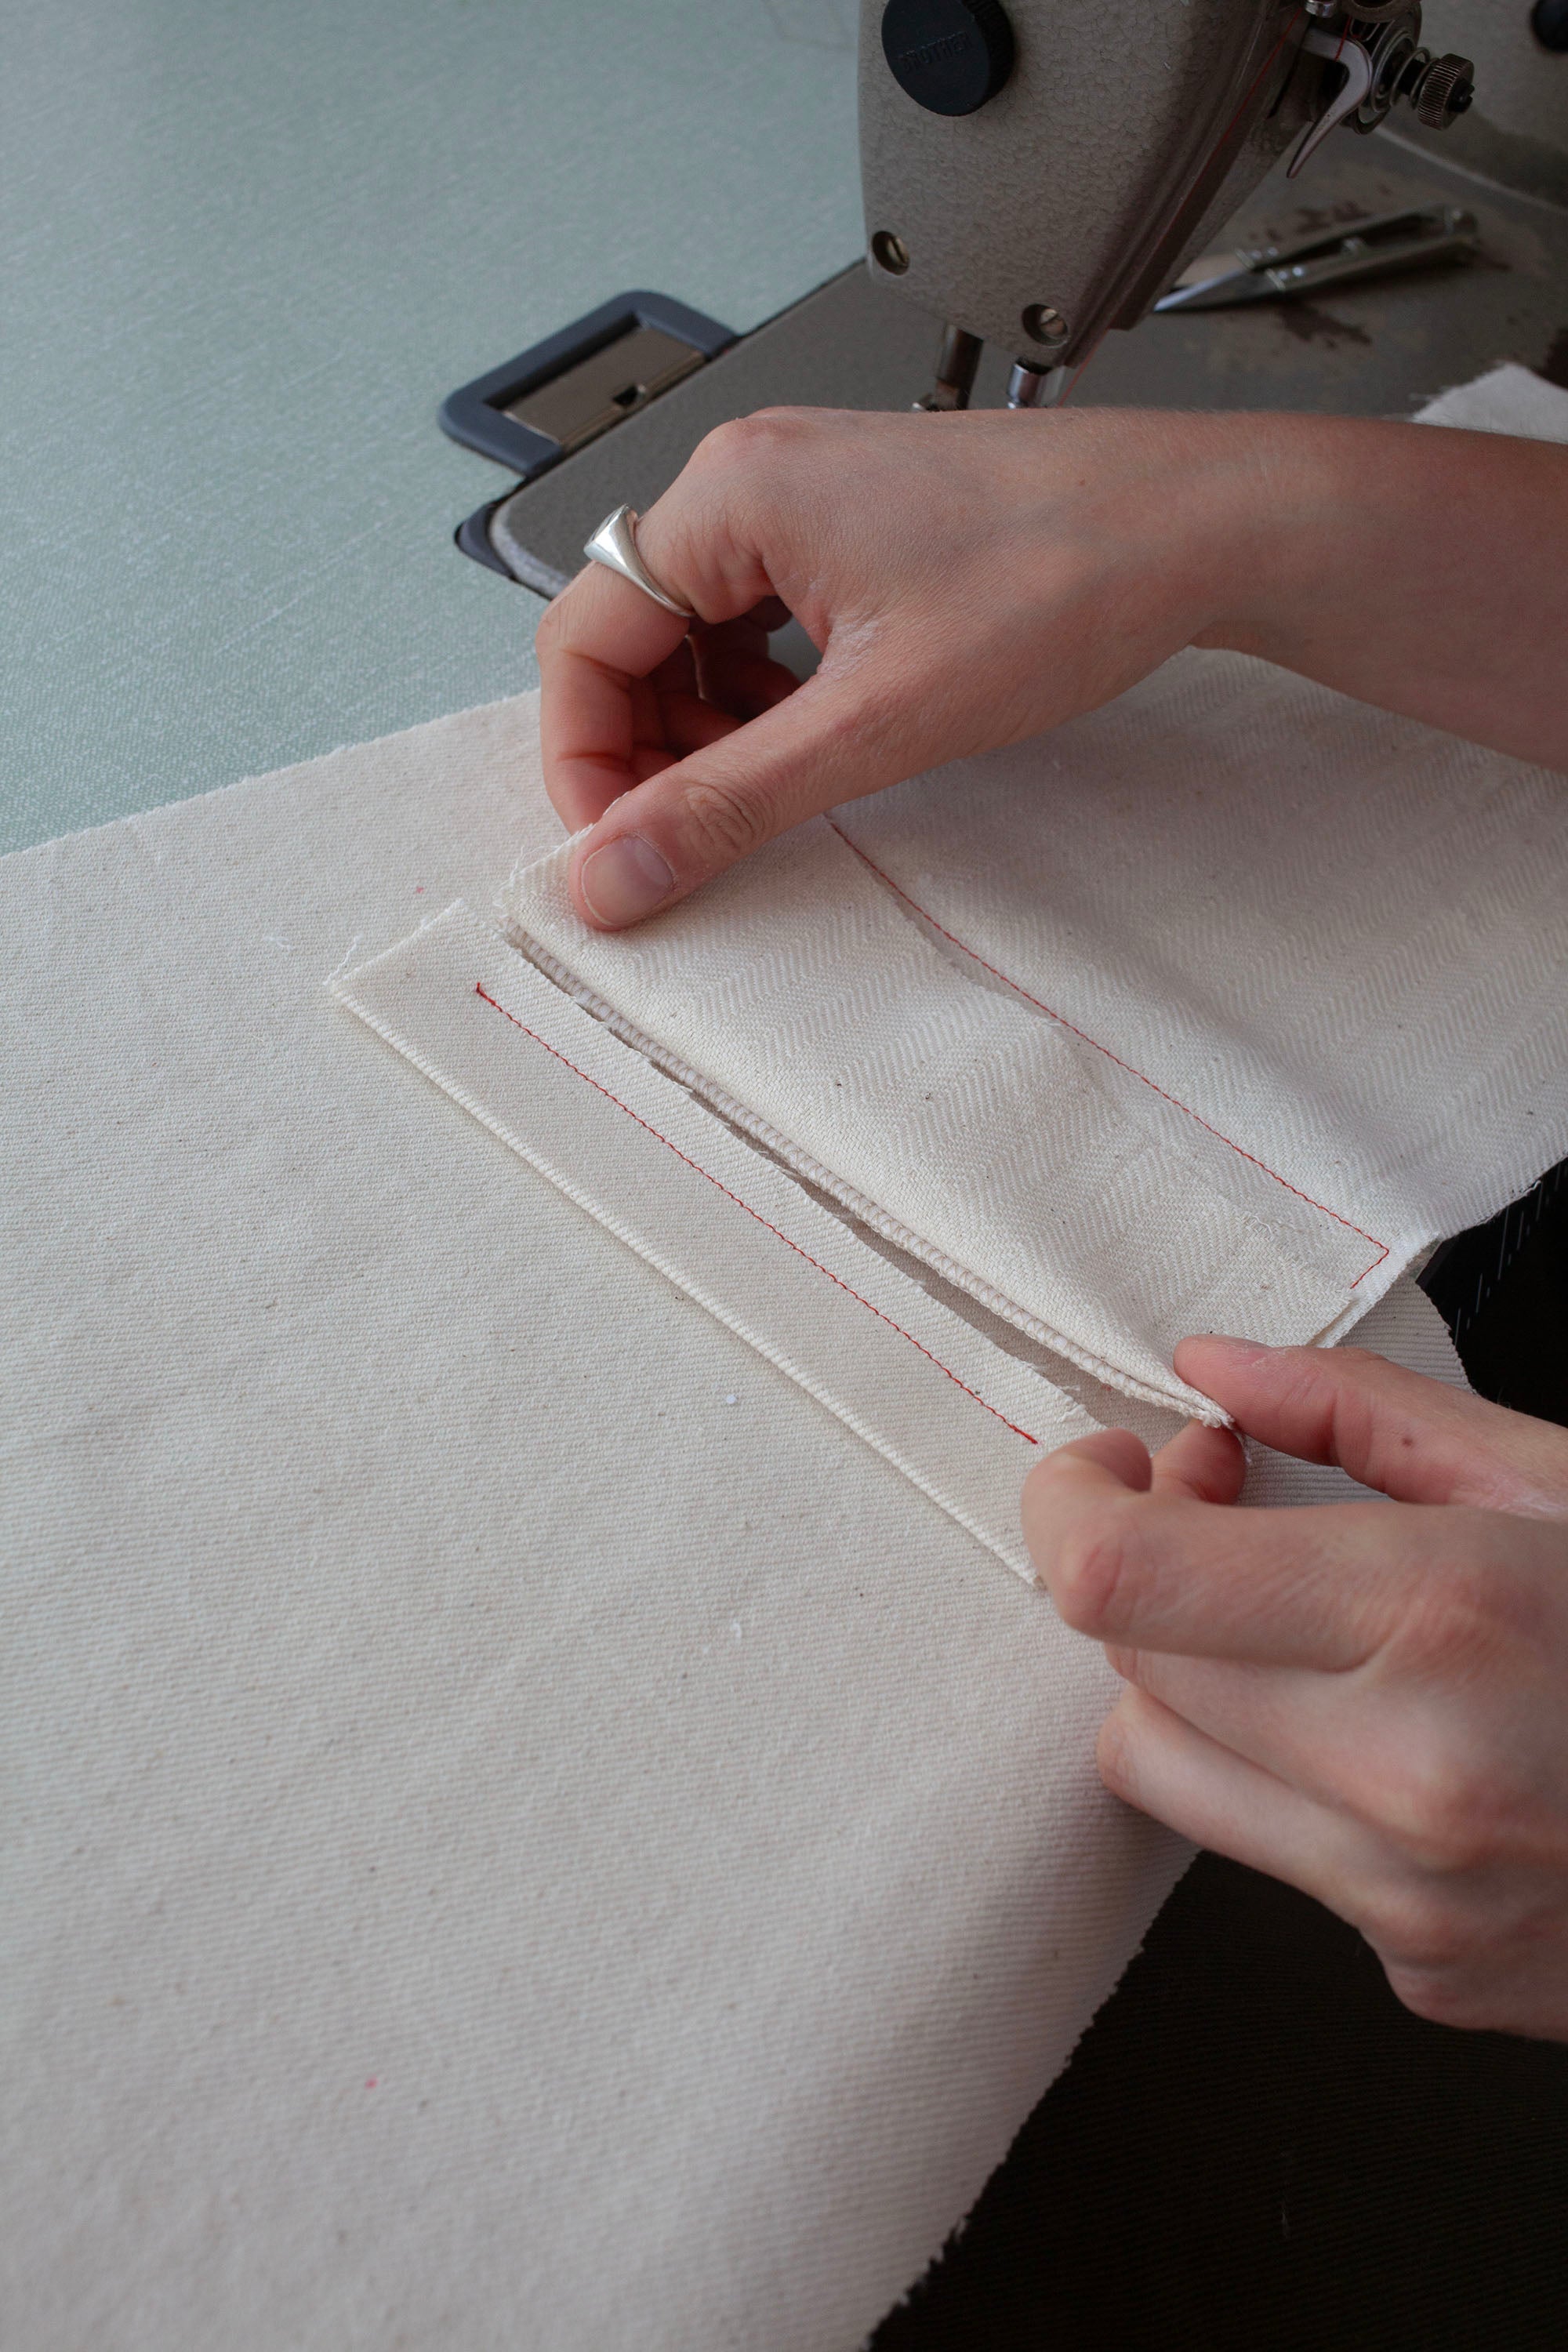
Next use the pocket marker to mark your welt stitch line on the WRONG SIDE of your pocket bag piece.
7
Place the pocket bag on the leg RIGHT SIDE DOWN, matching the raw edge of the facing with the raw edge of the sewn welt. The long side of the pocket bag will be facing towards the top of the trouser leg.
8
Pin the facing into place and stitch a straight line between the two dots.
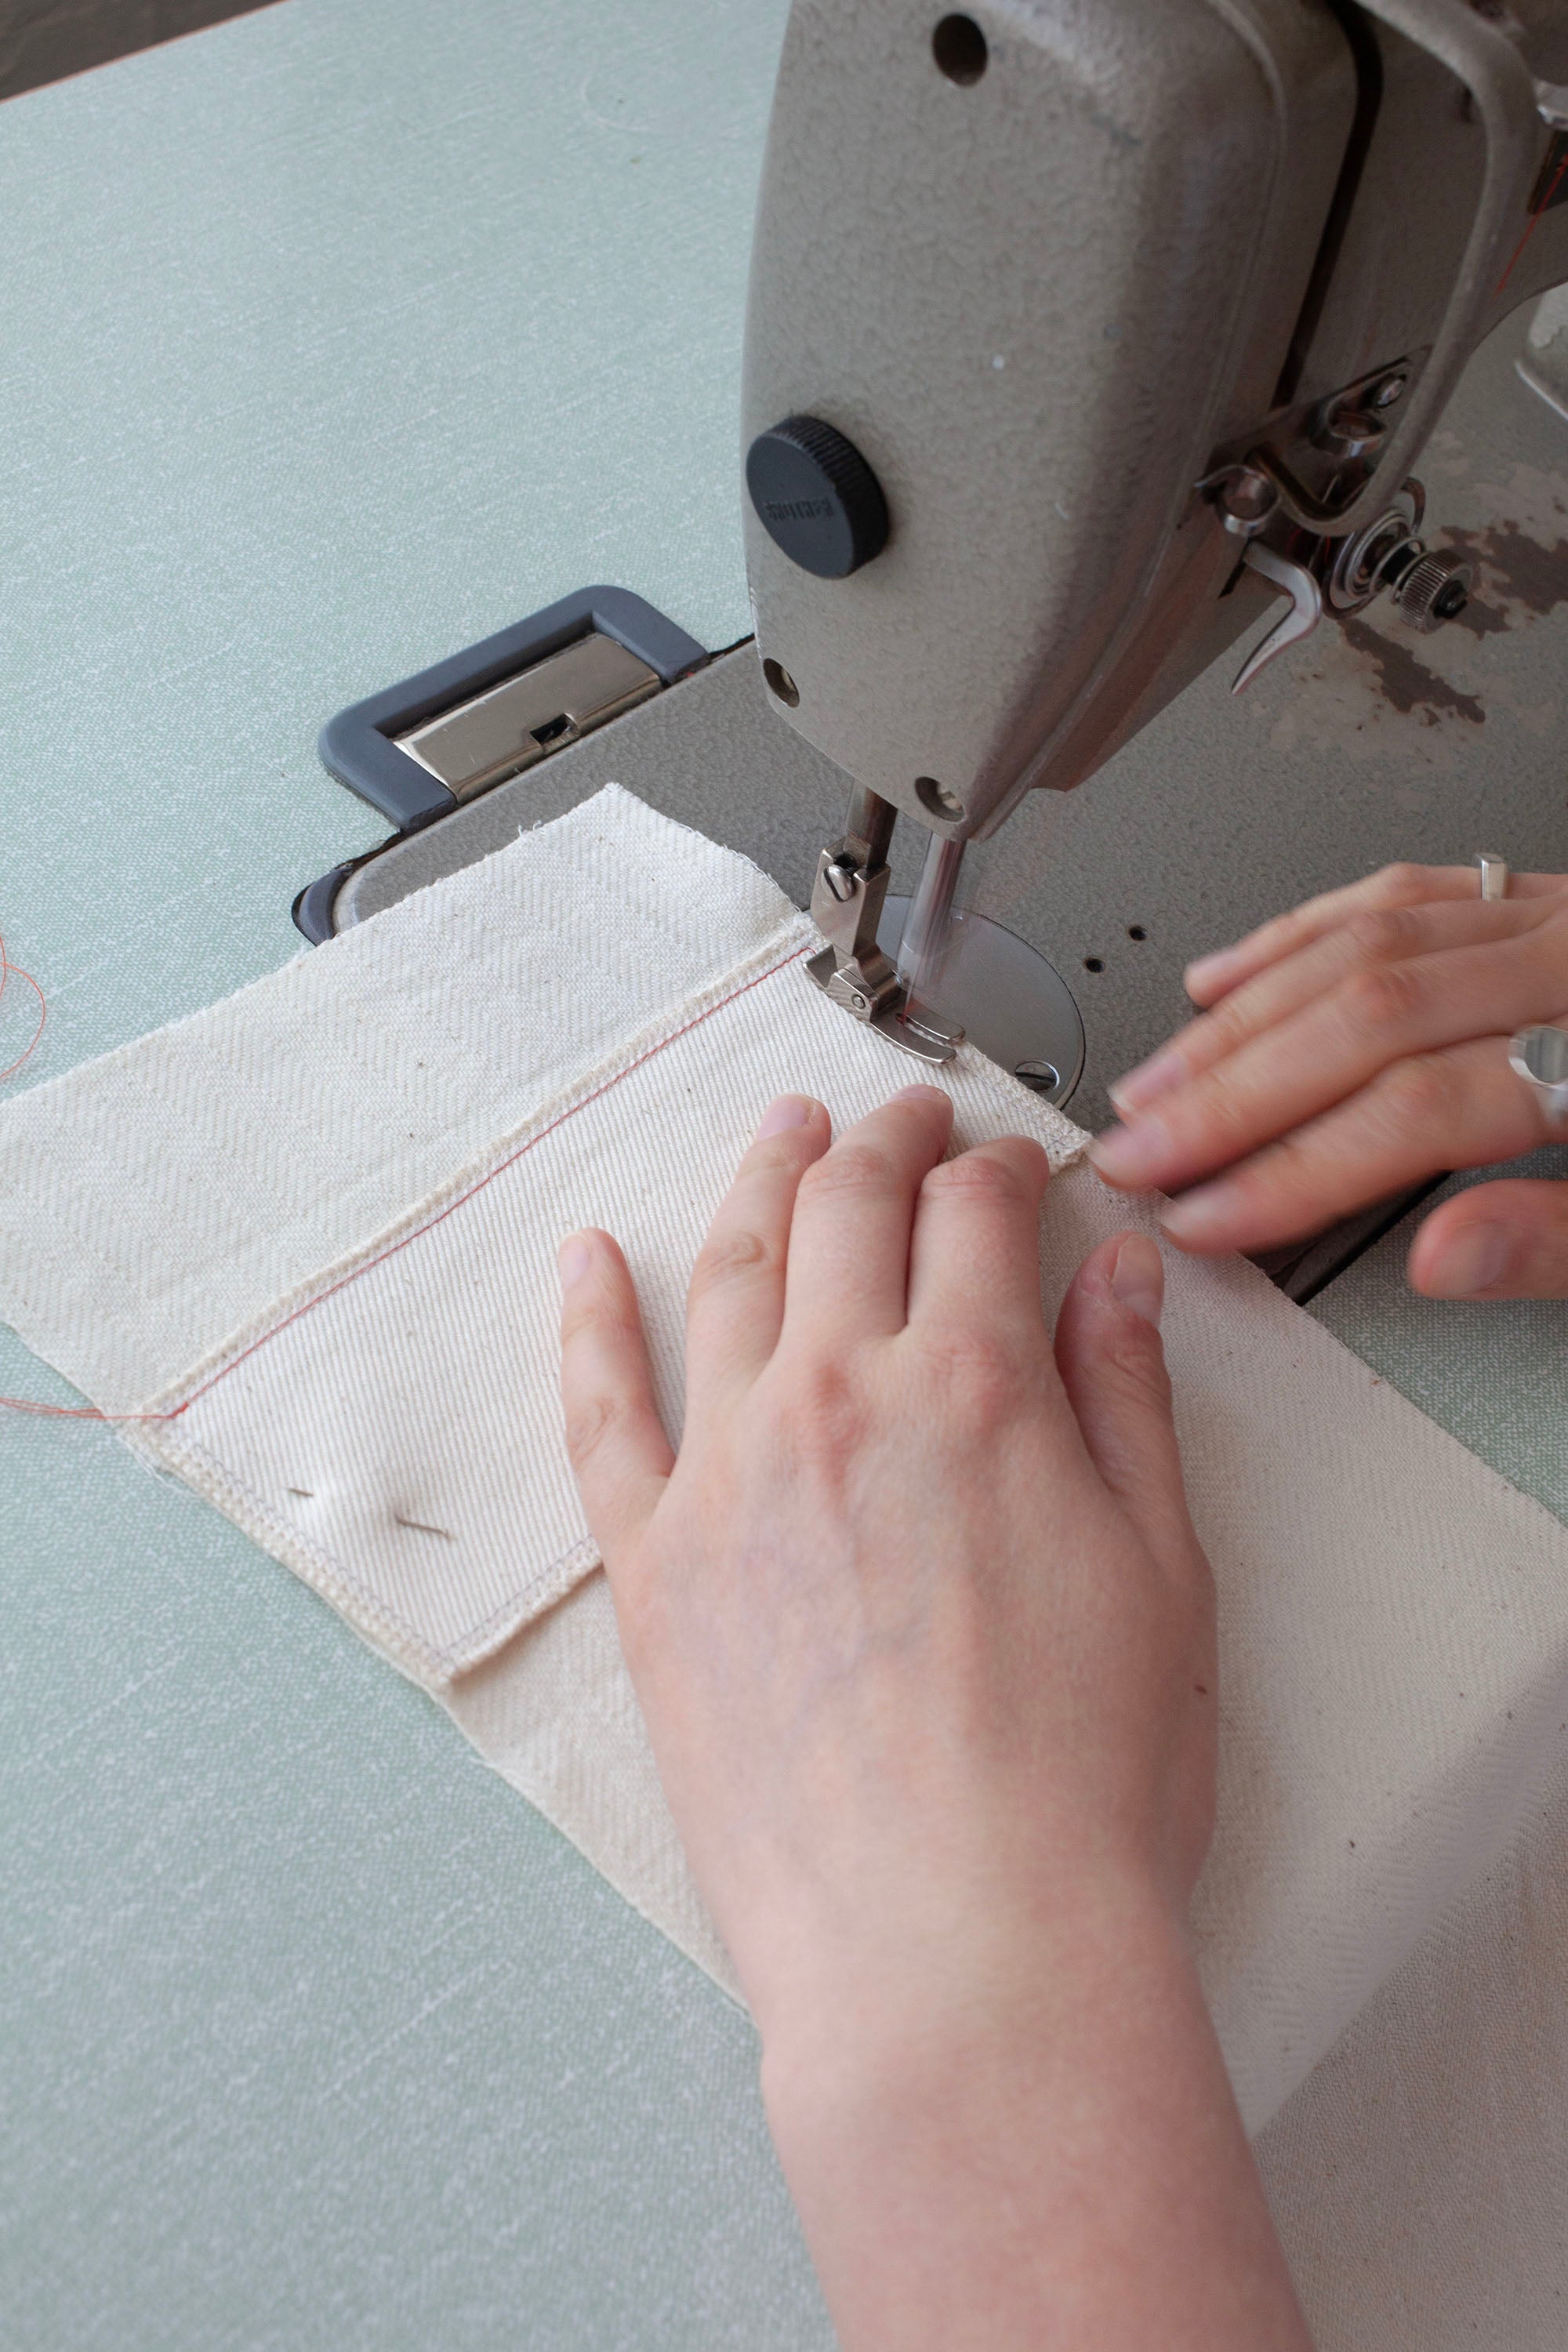
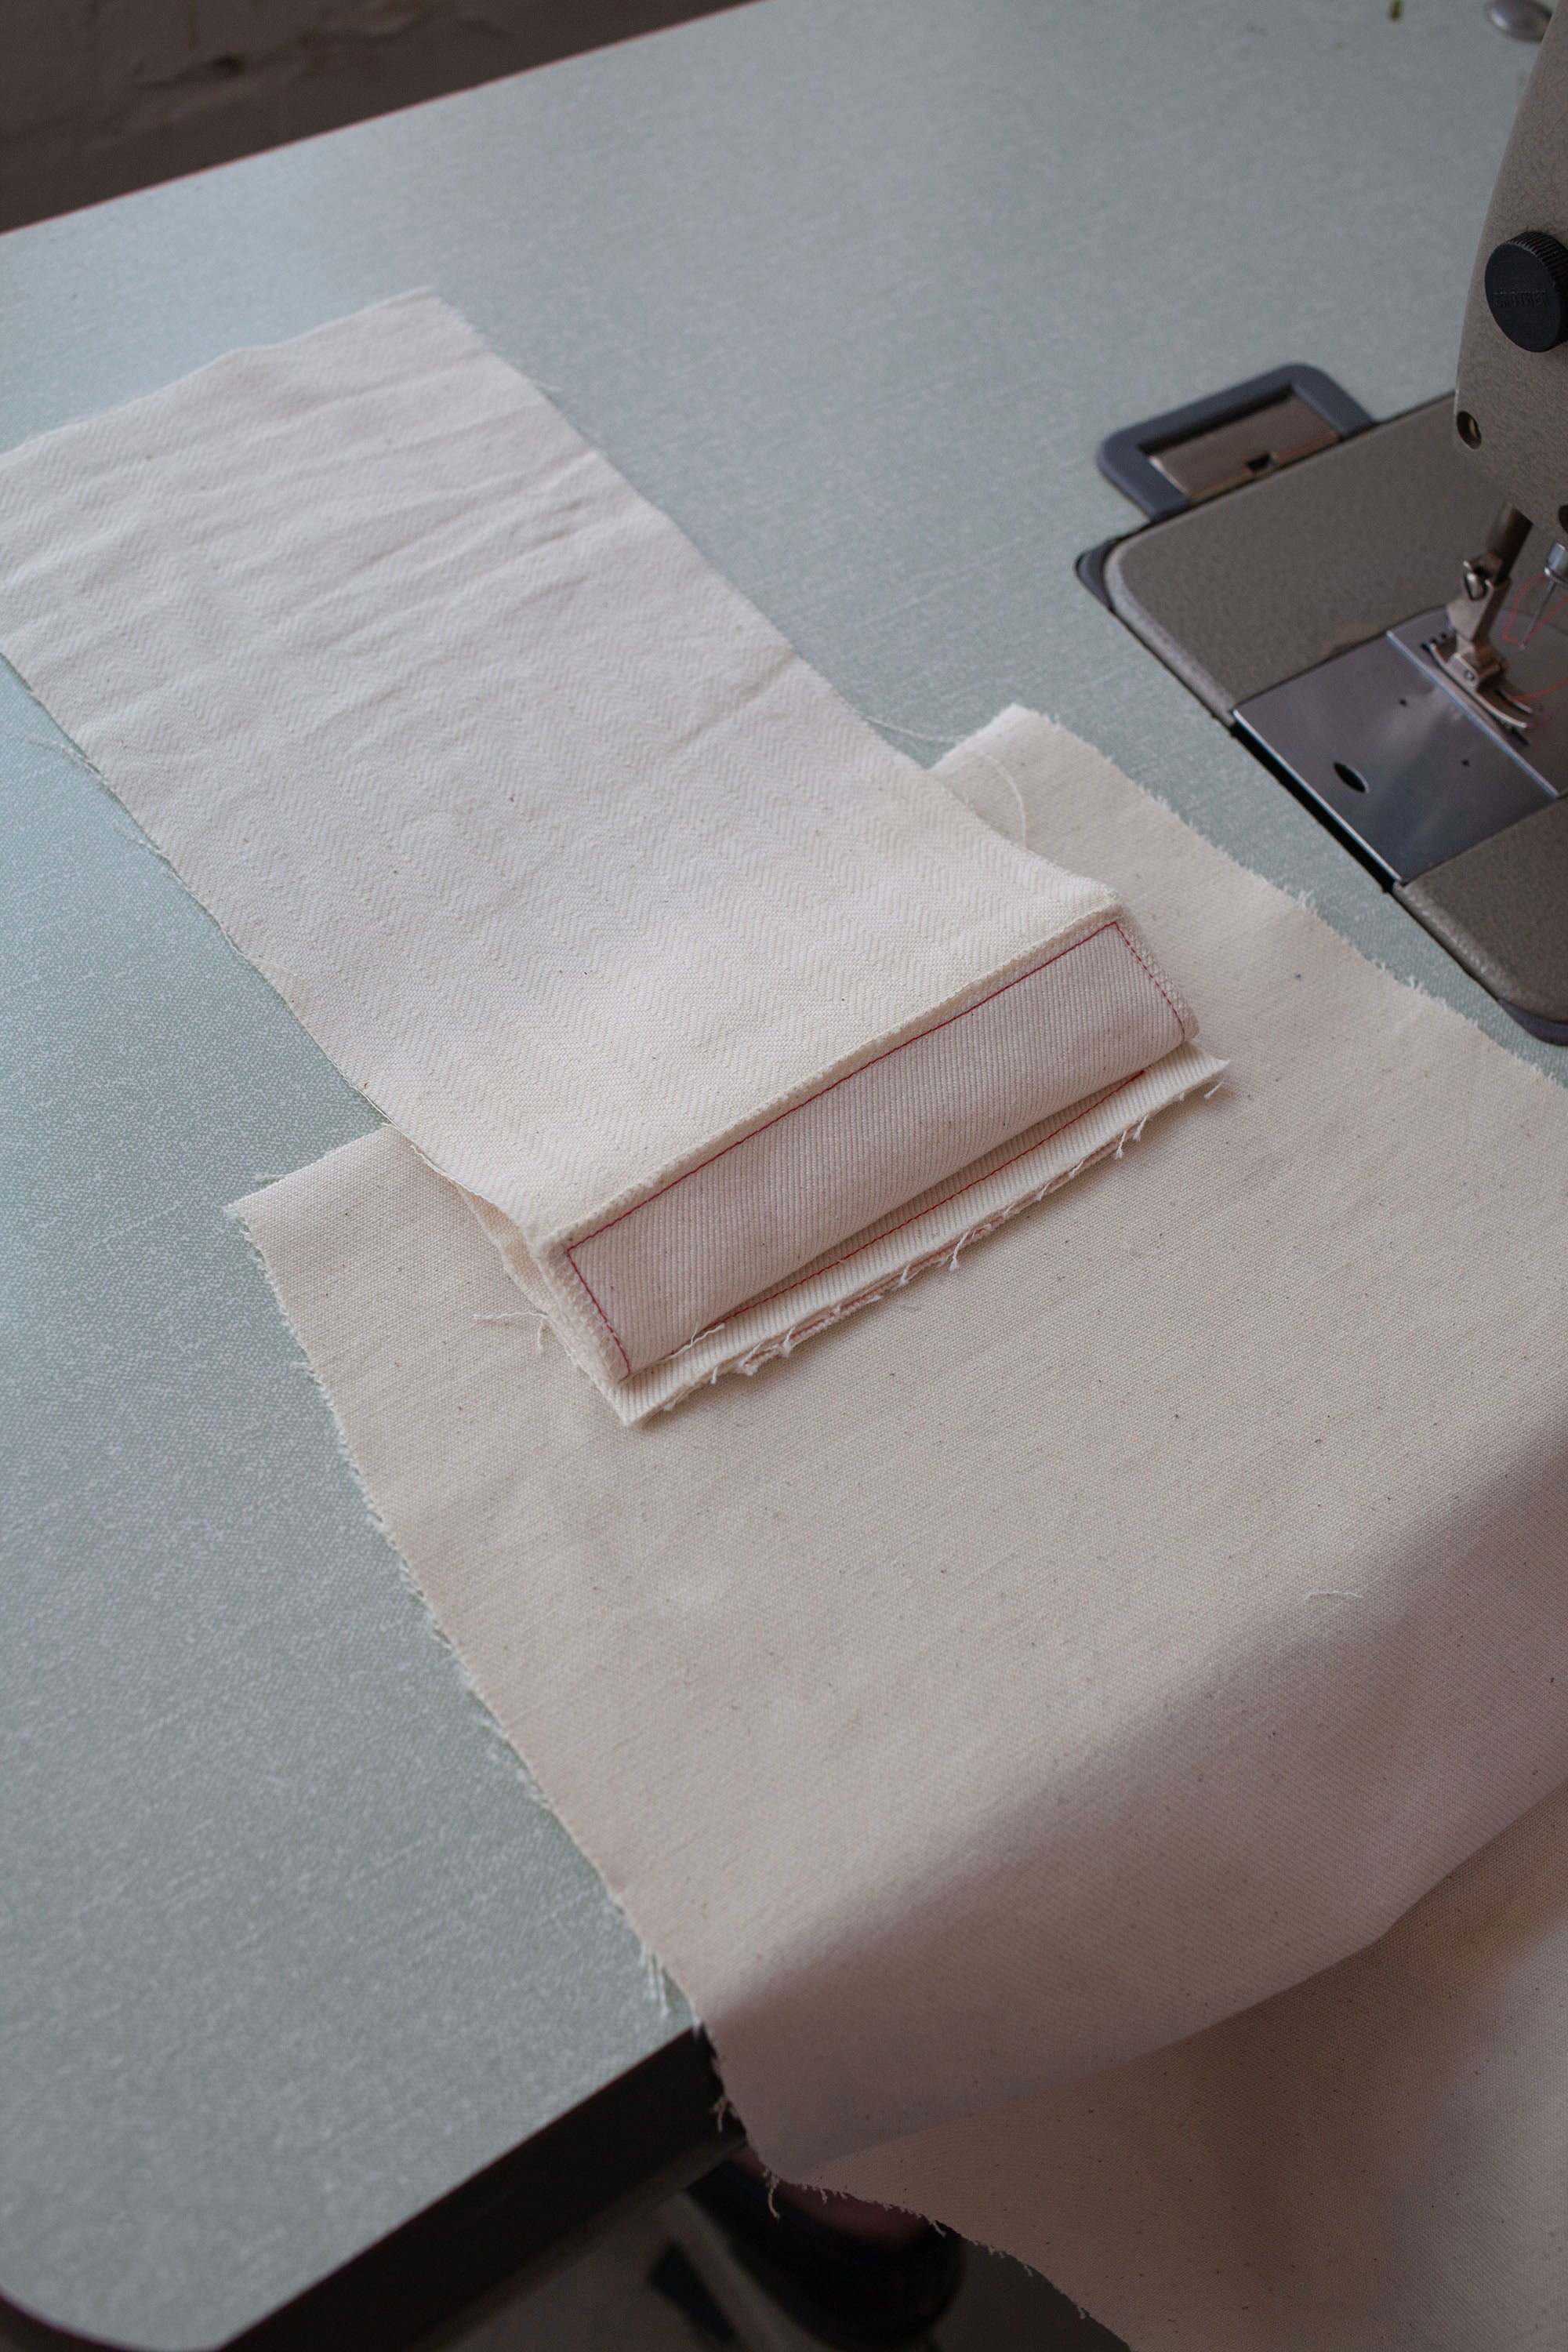
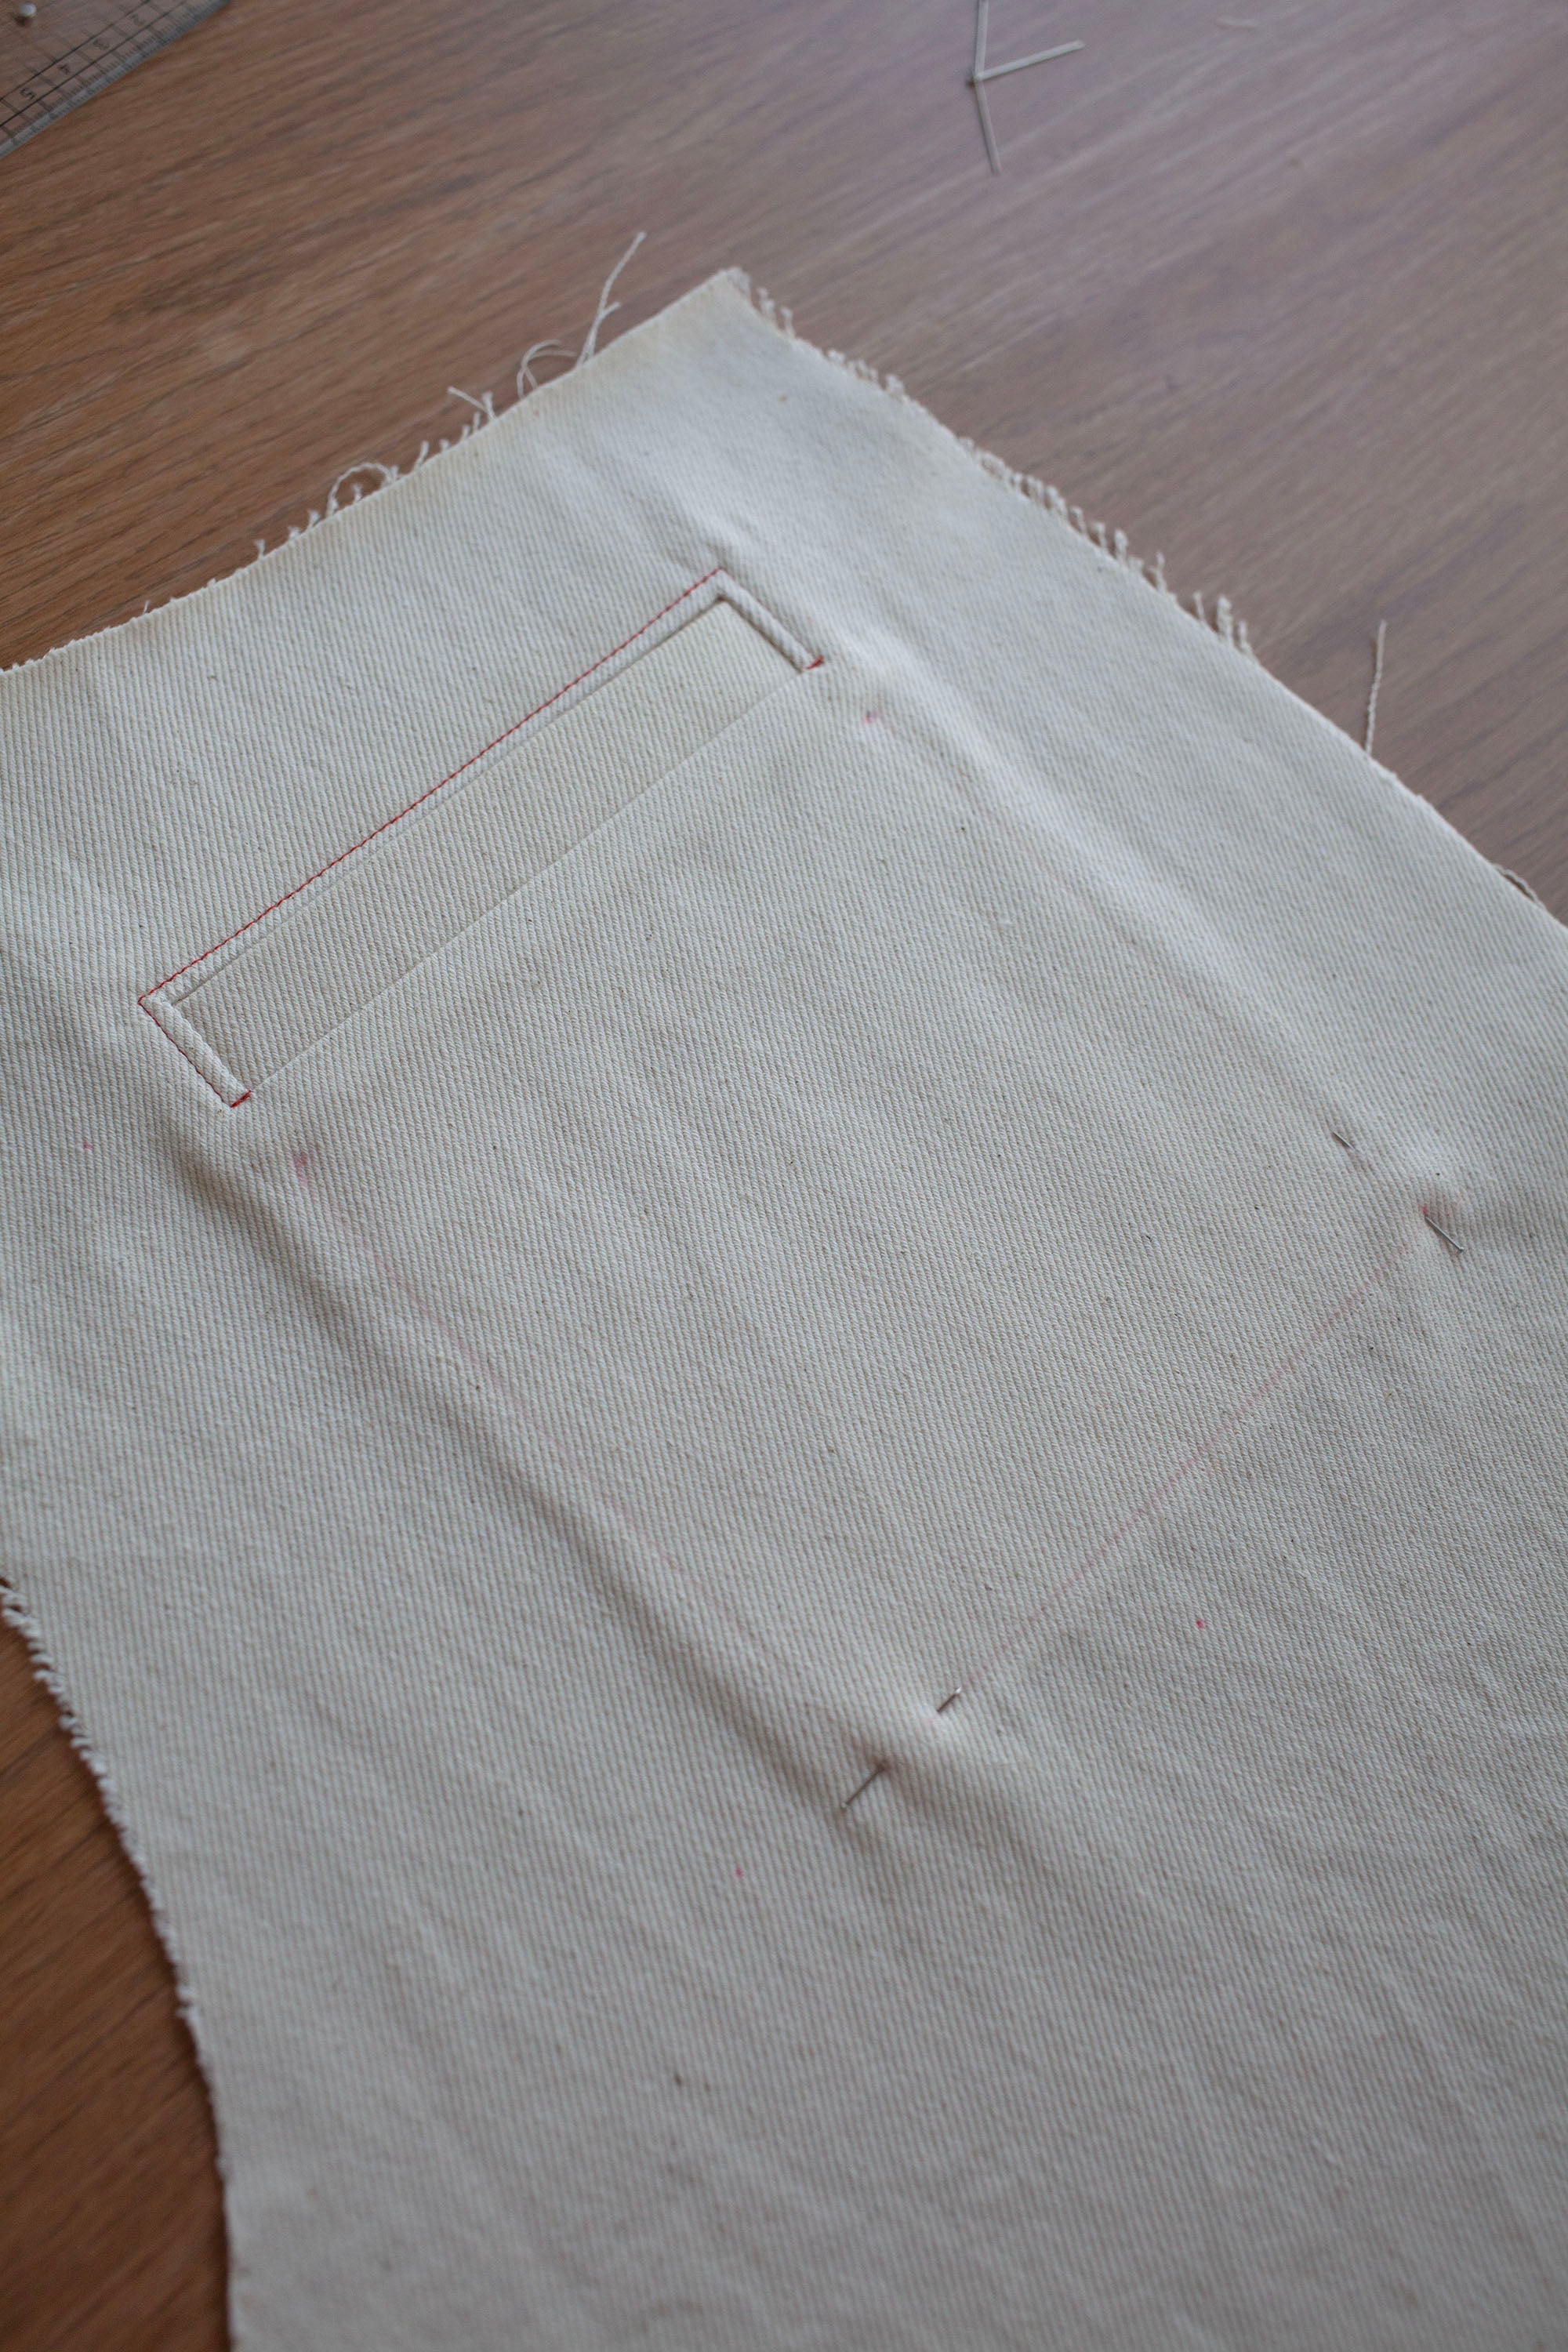
9
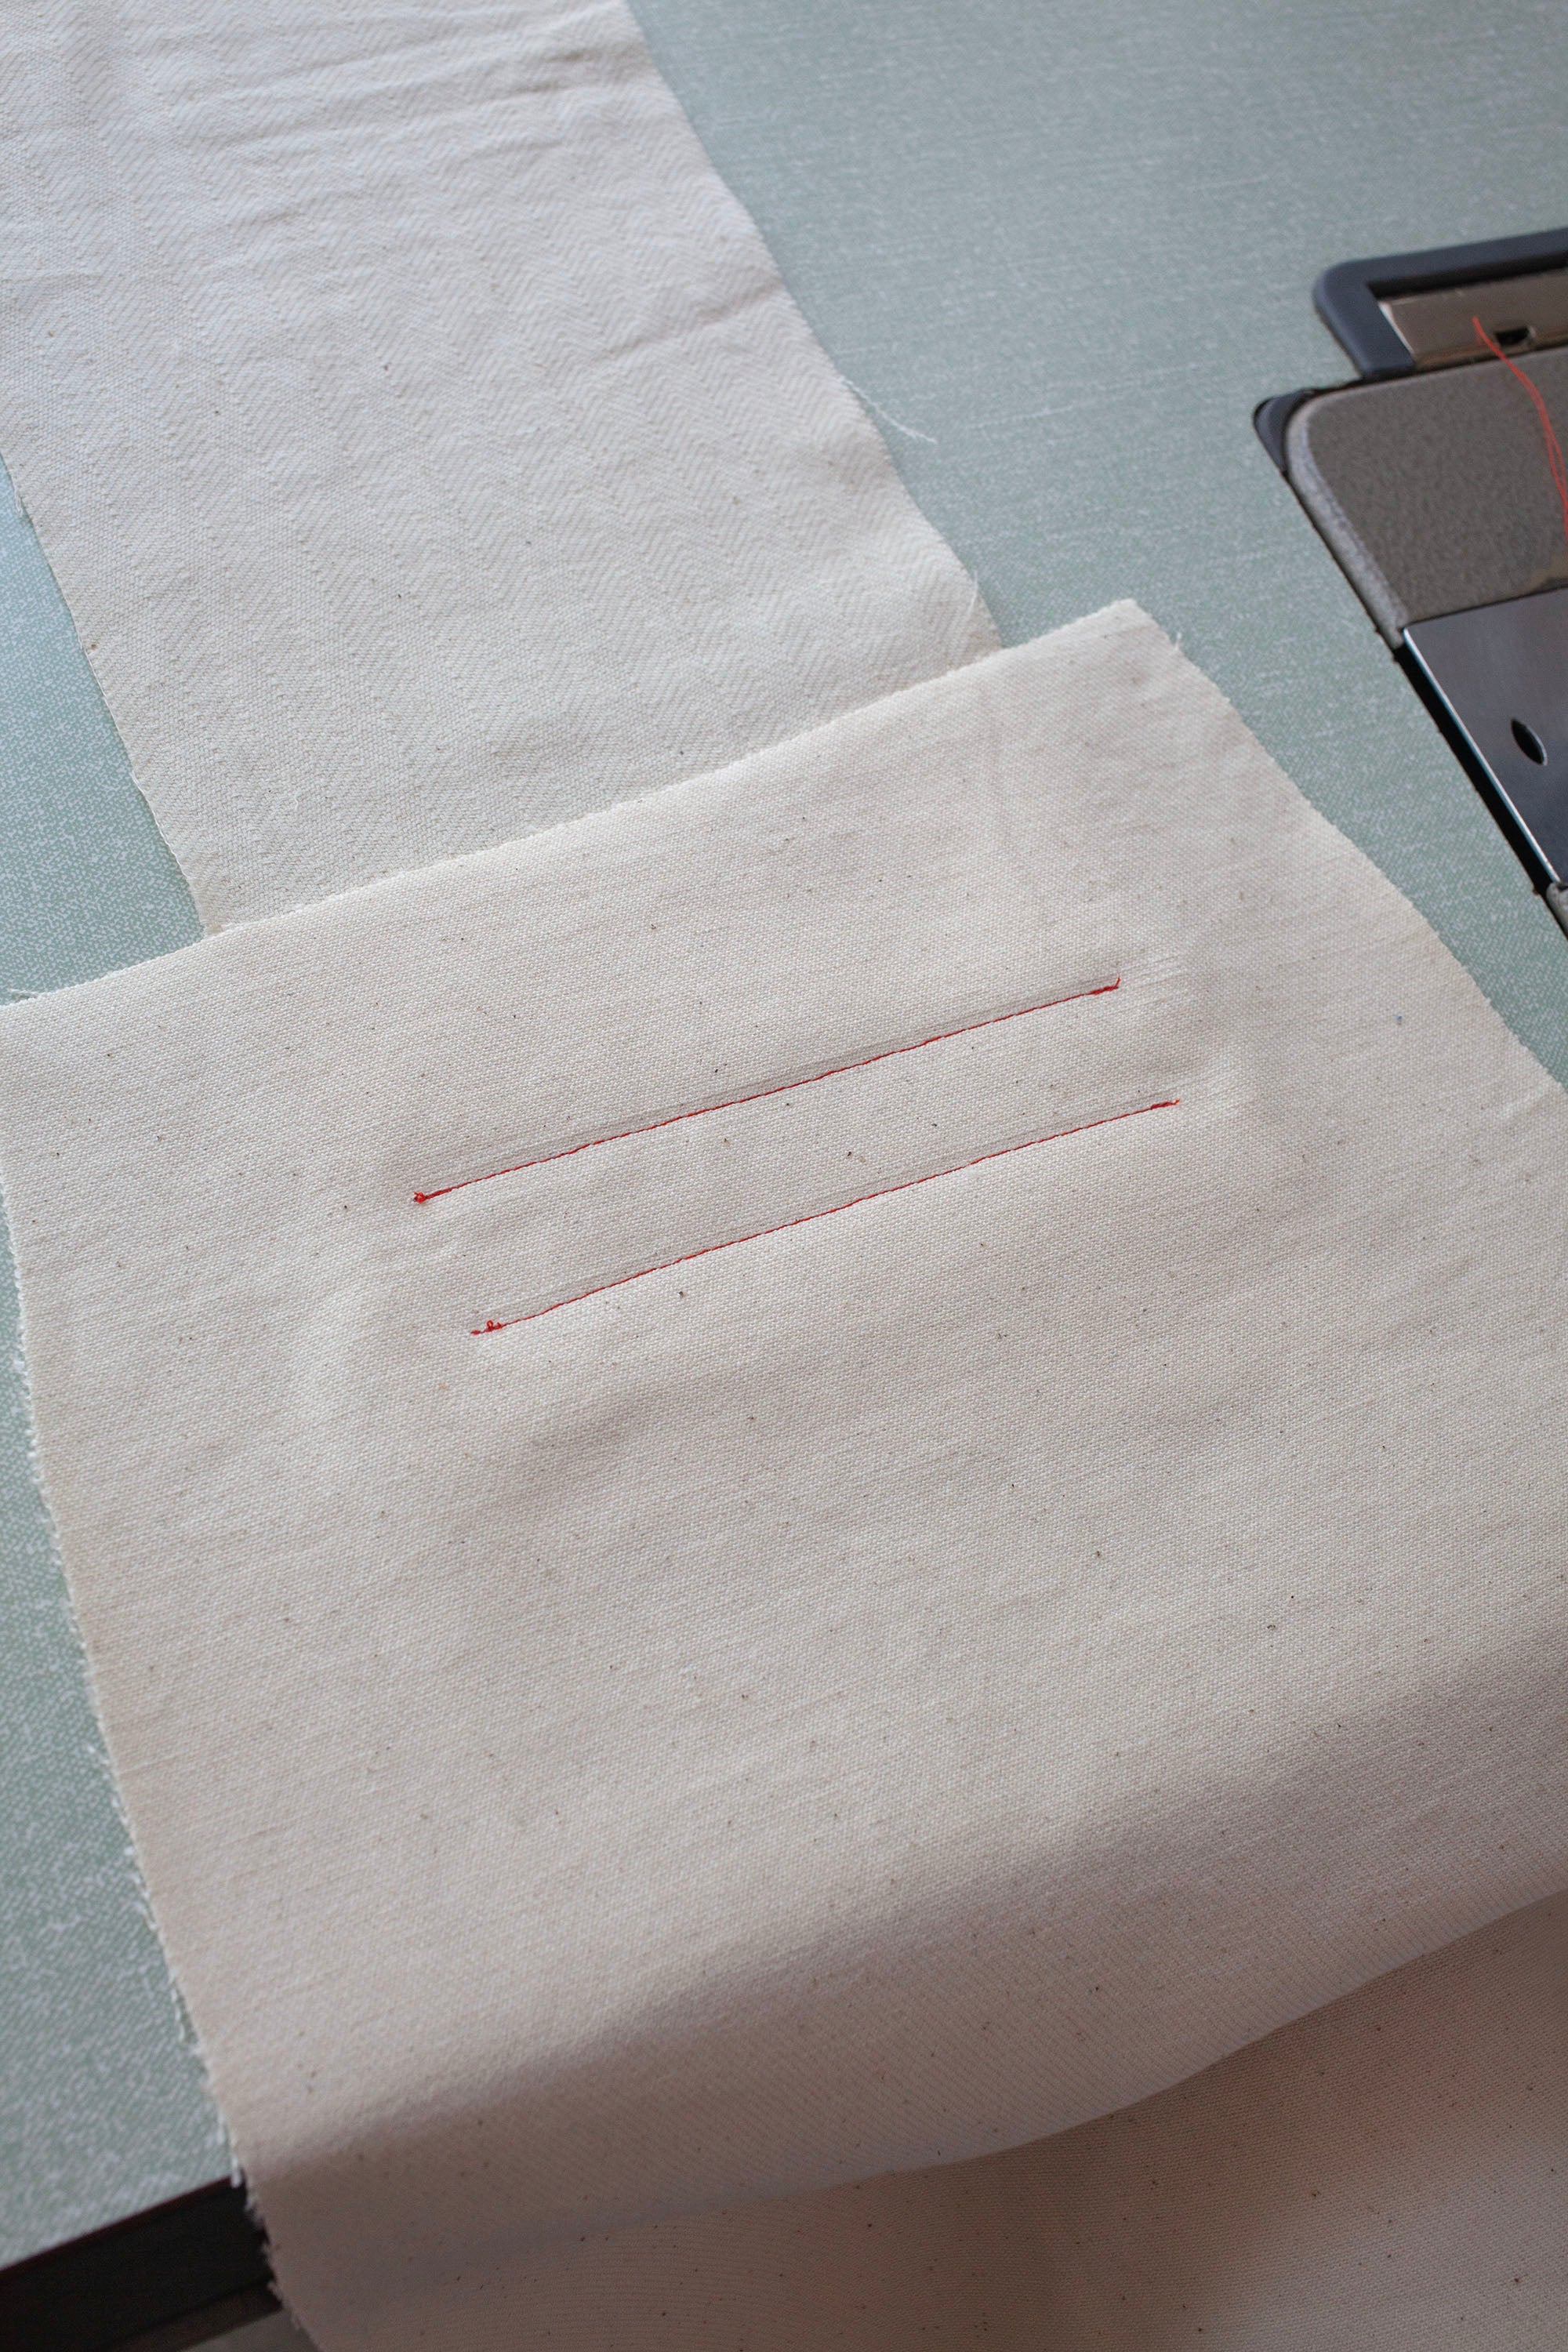
The two stitched lines should be parallel to each other to make two sides of a neat rectangle. If your lines are uneven it’s a good idea to amend them before the next step.
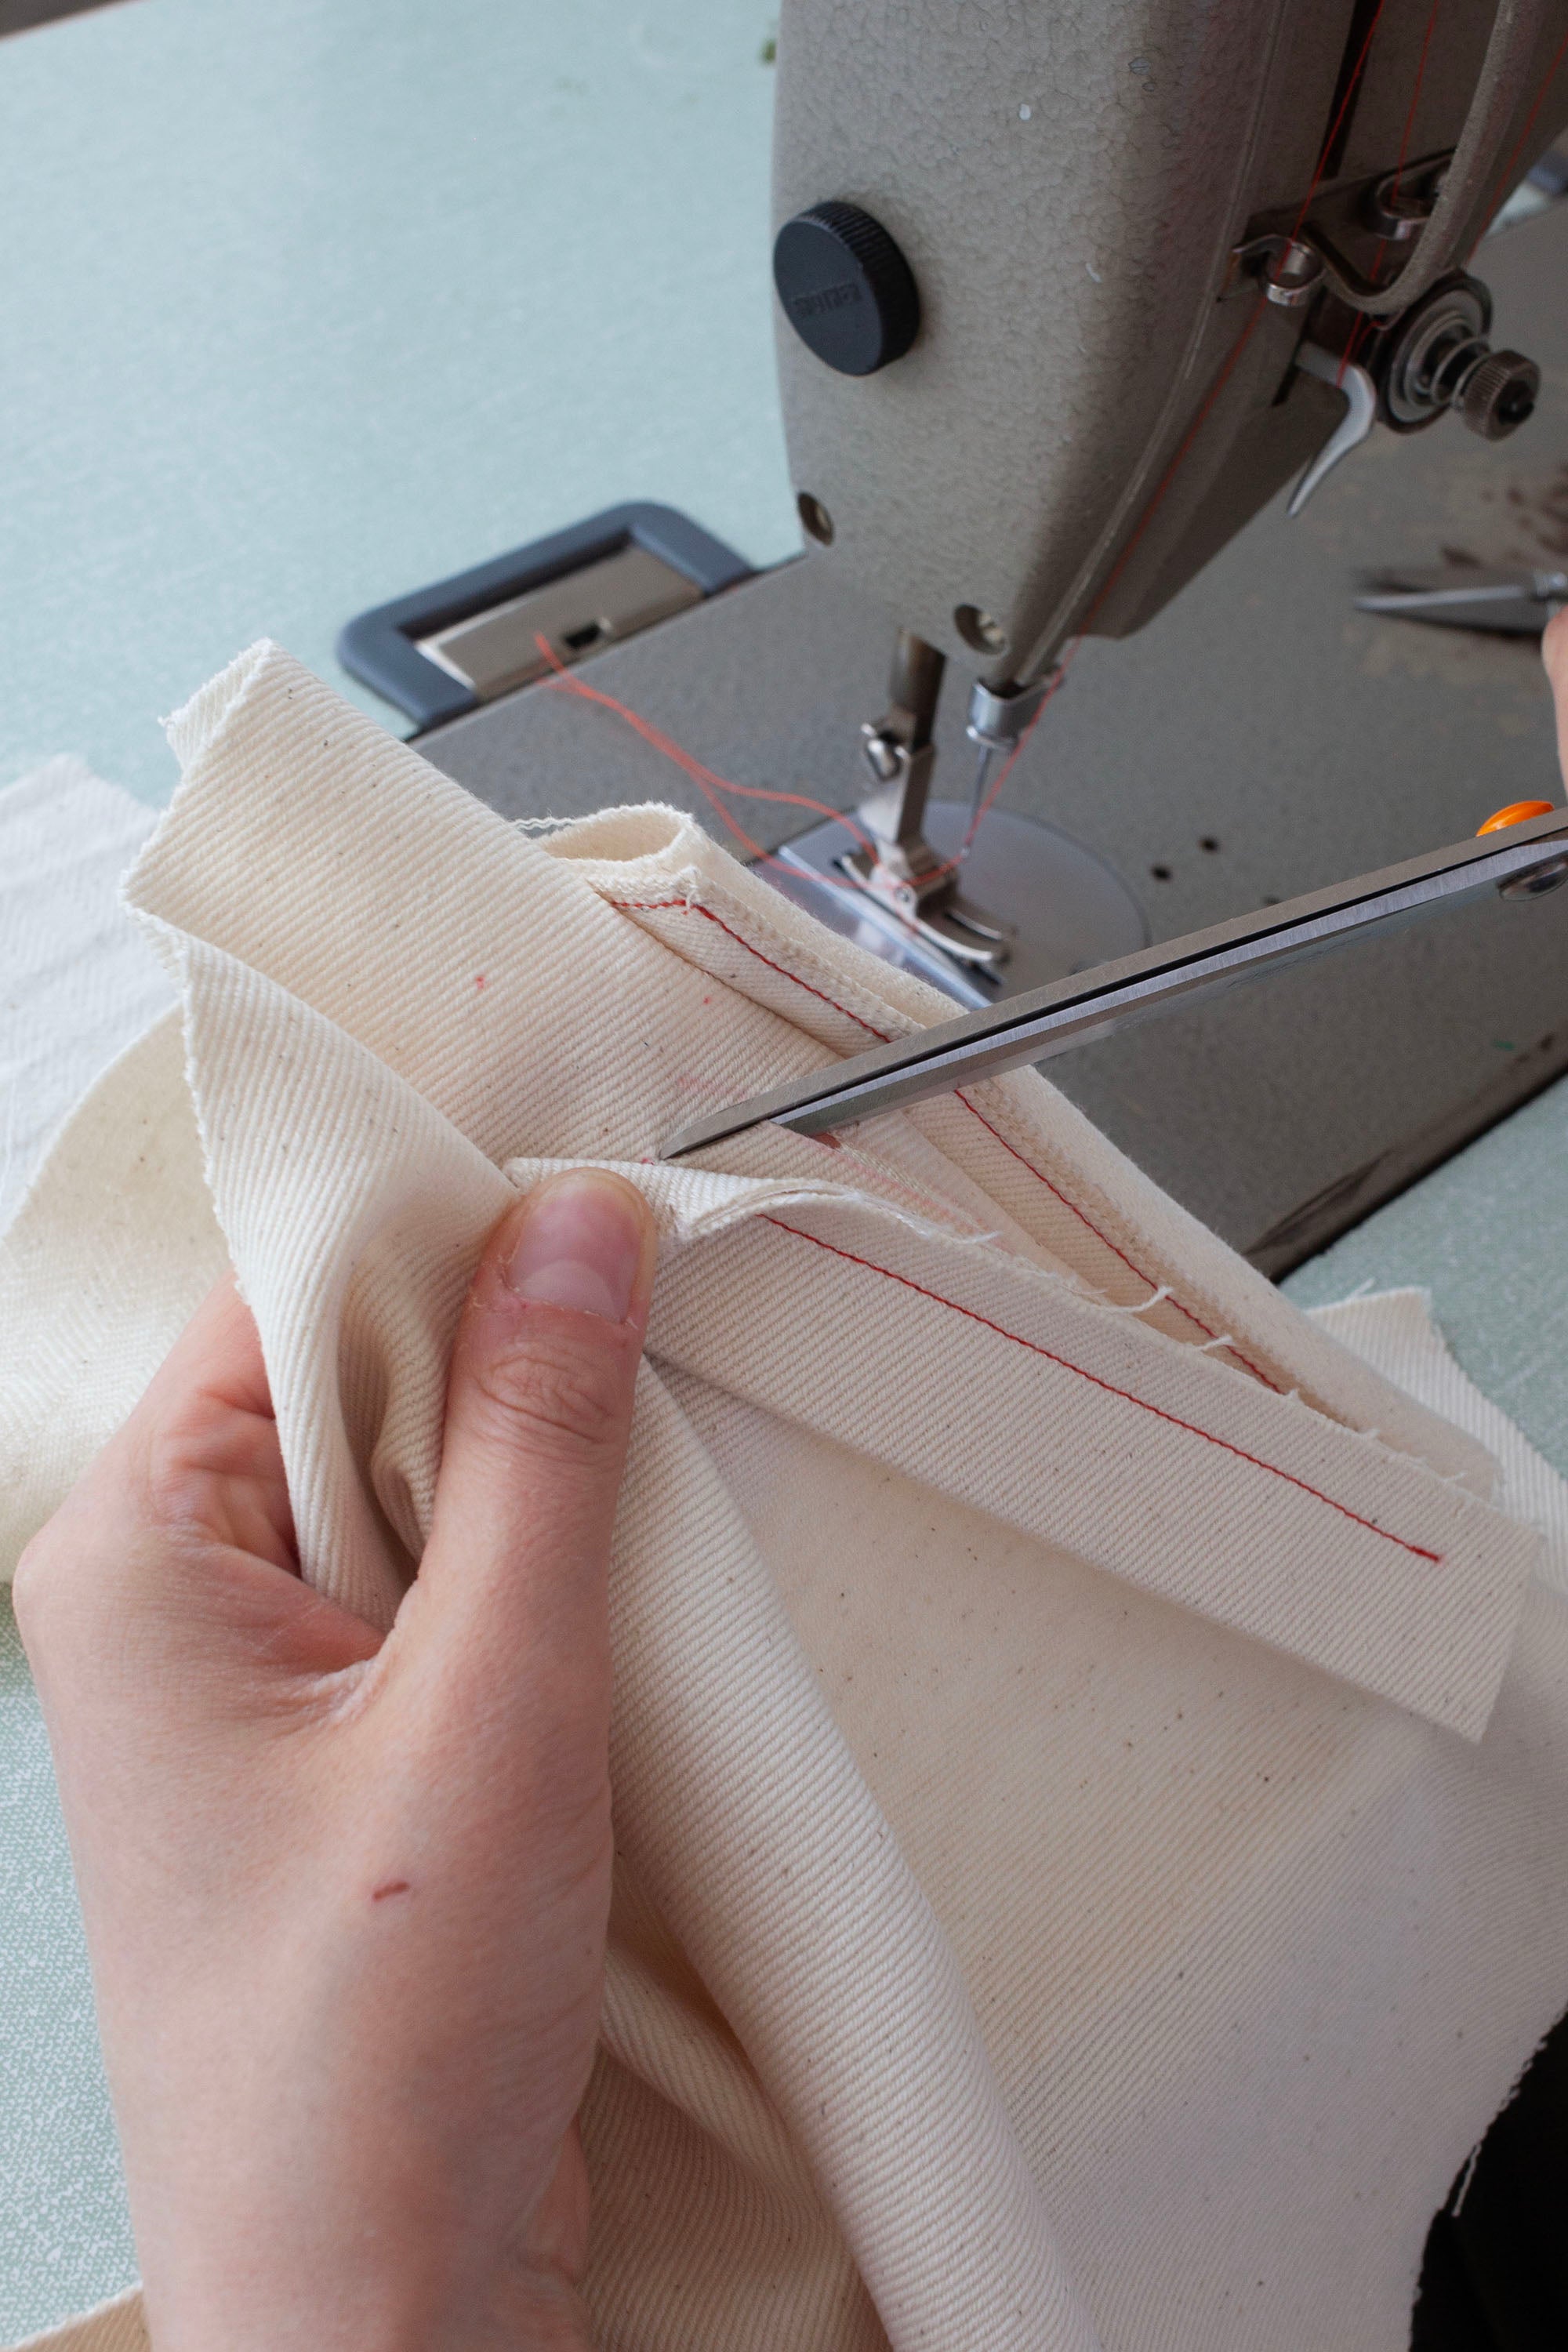
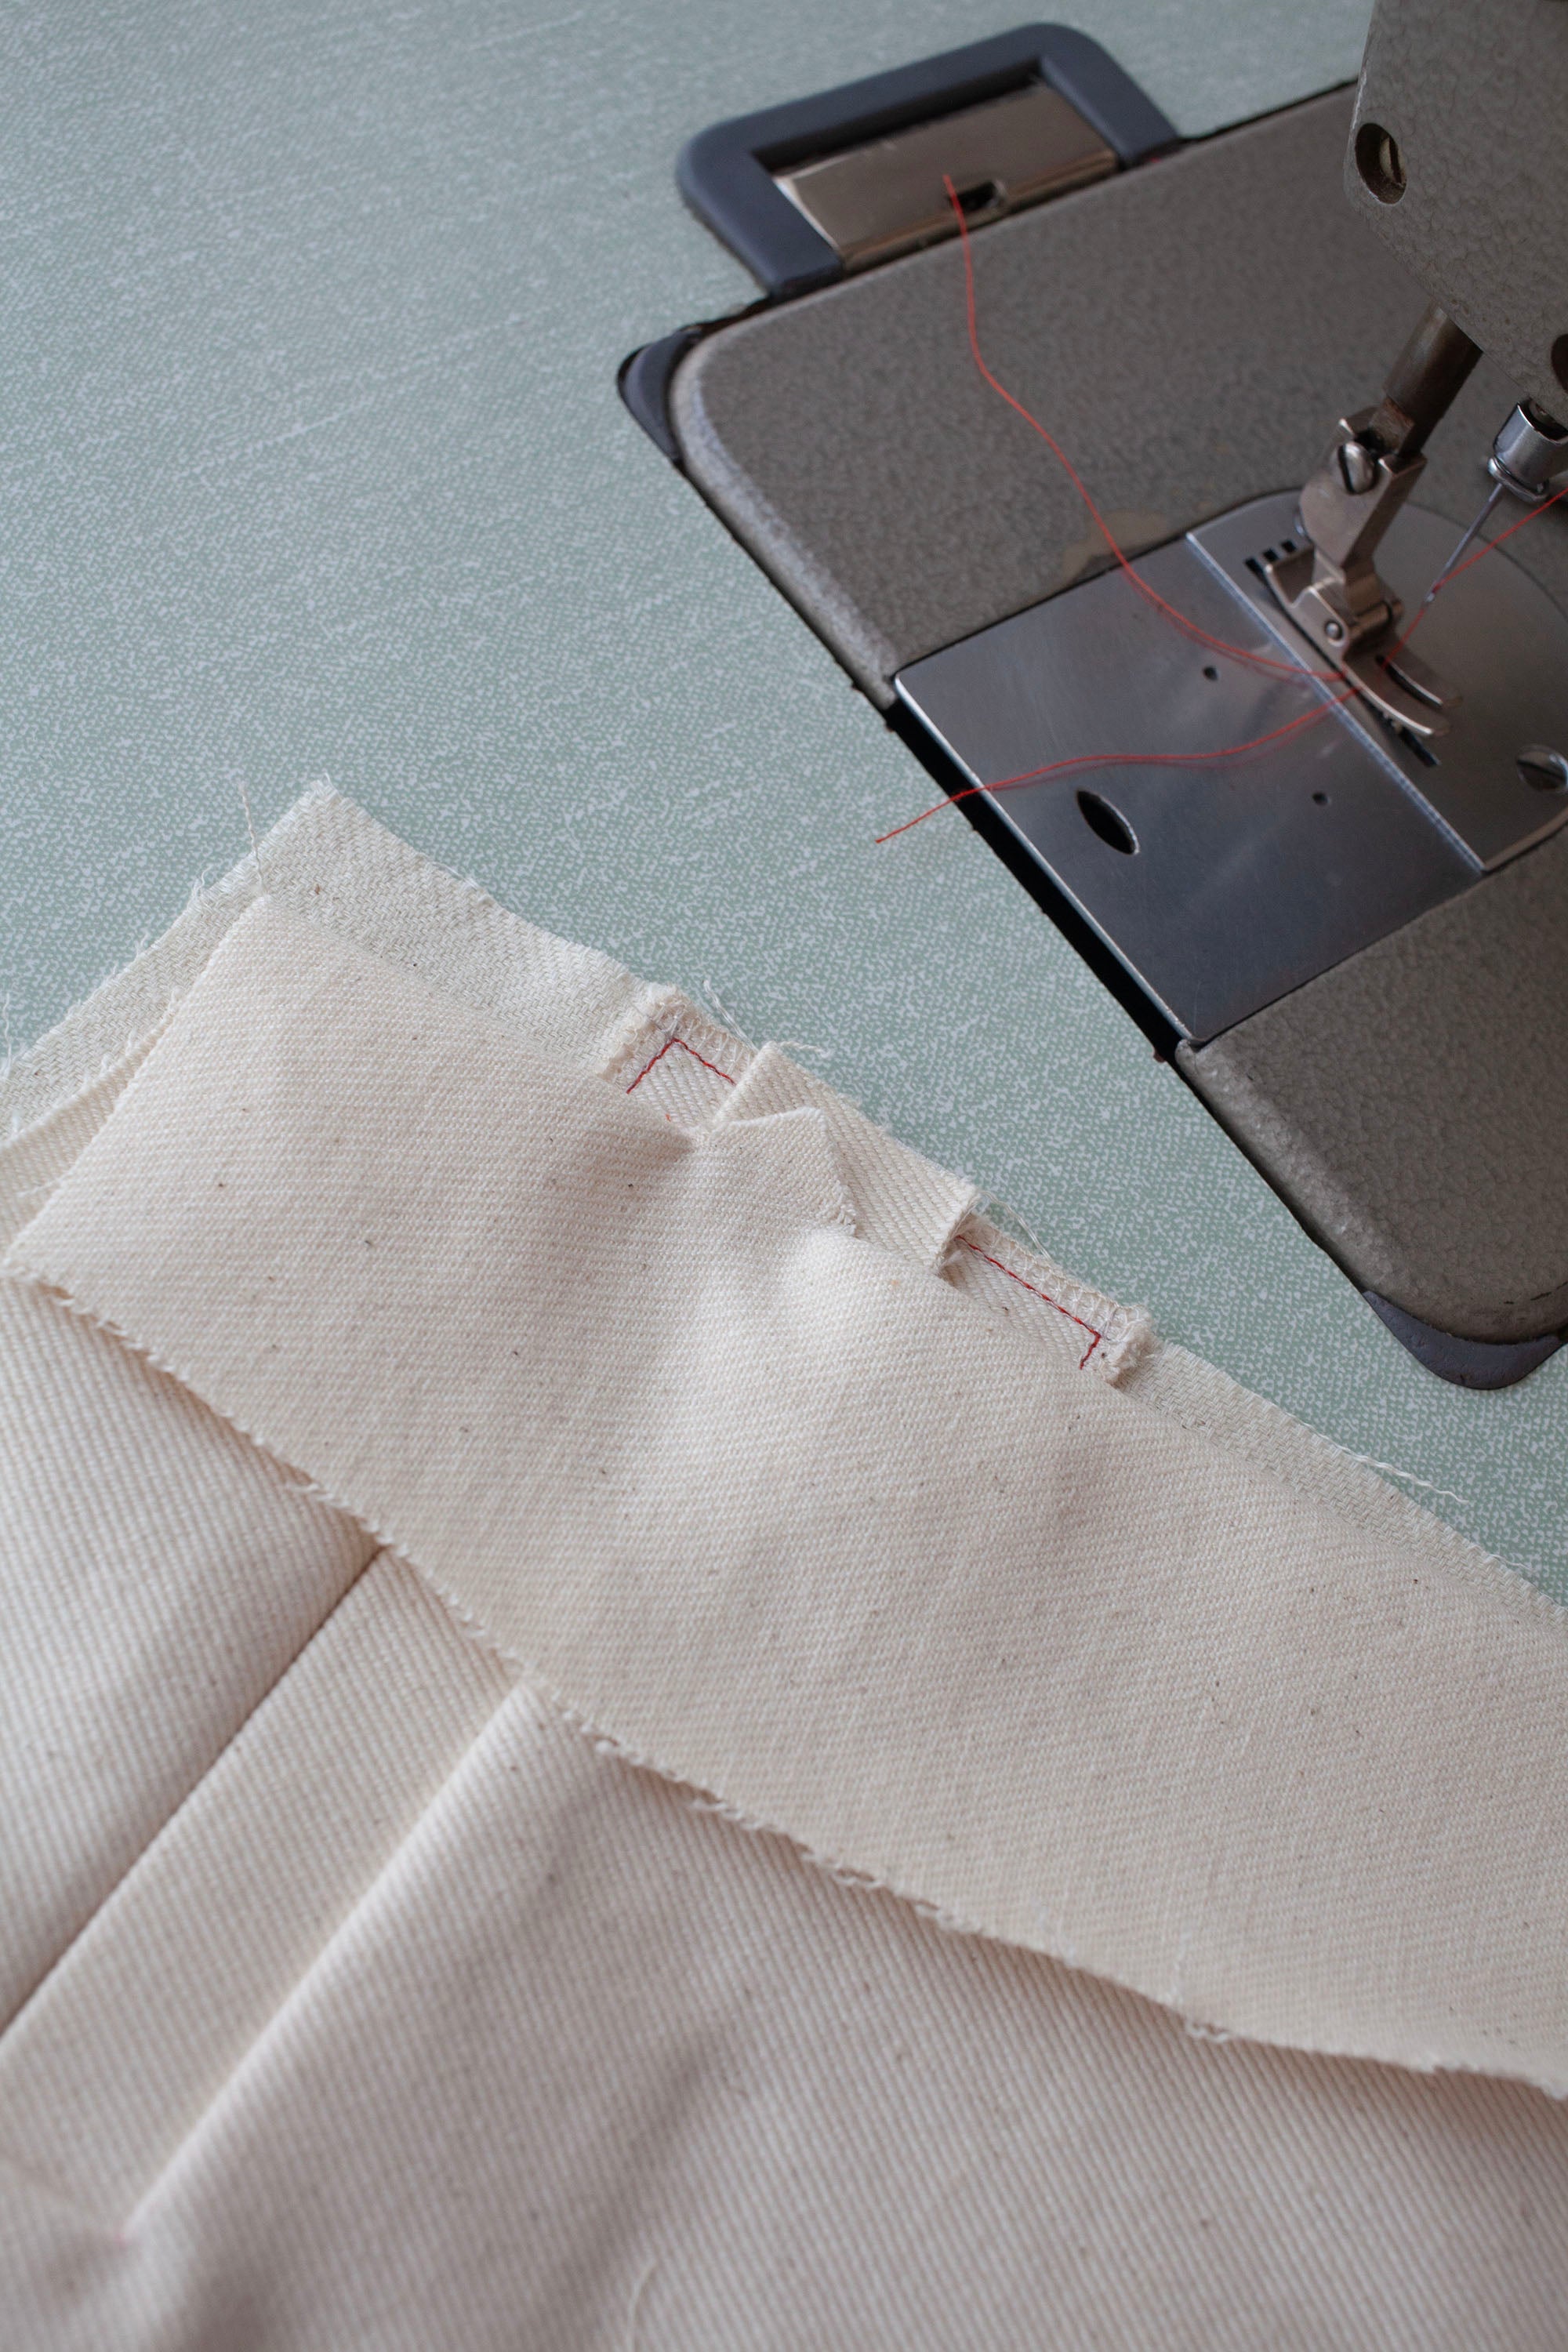
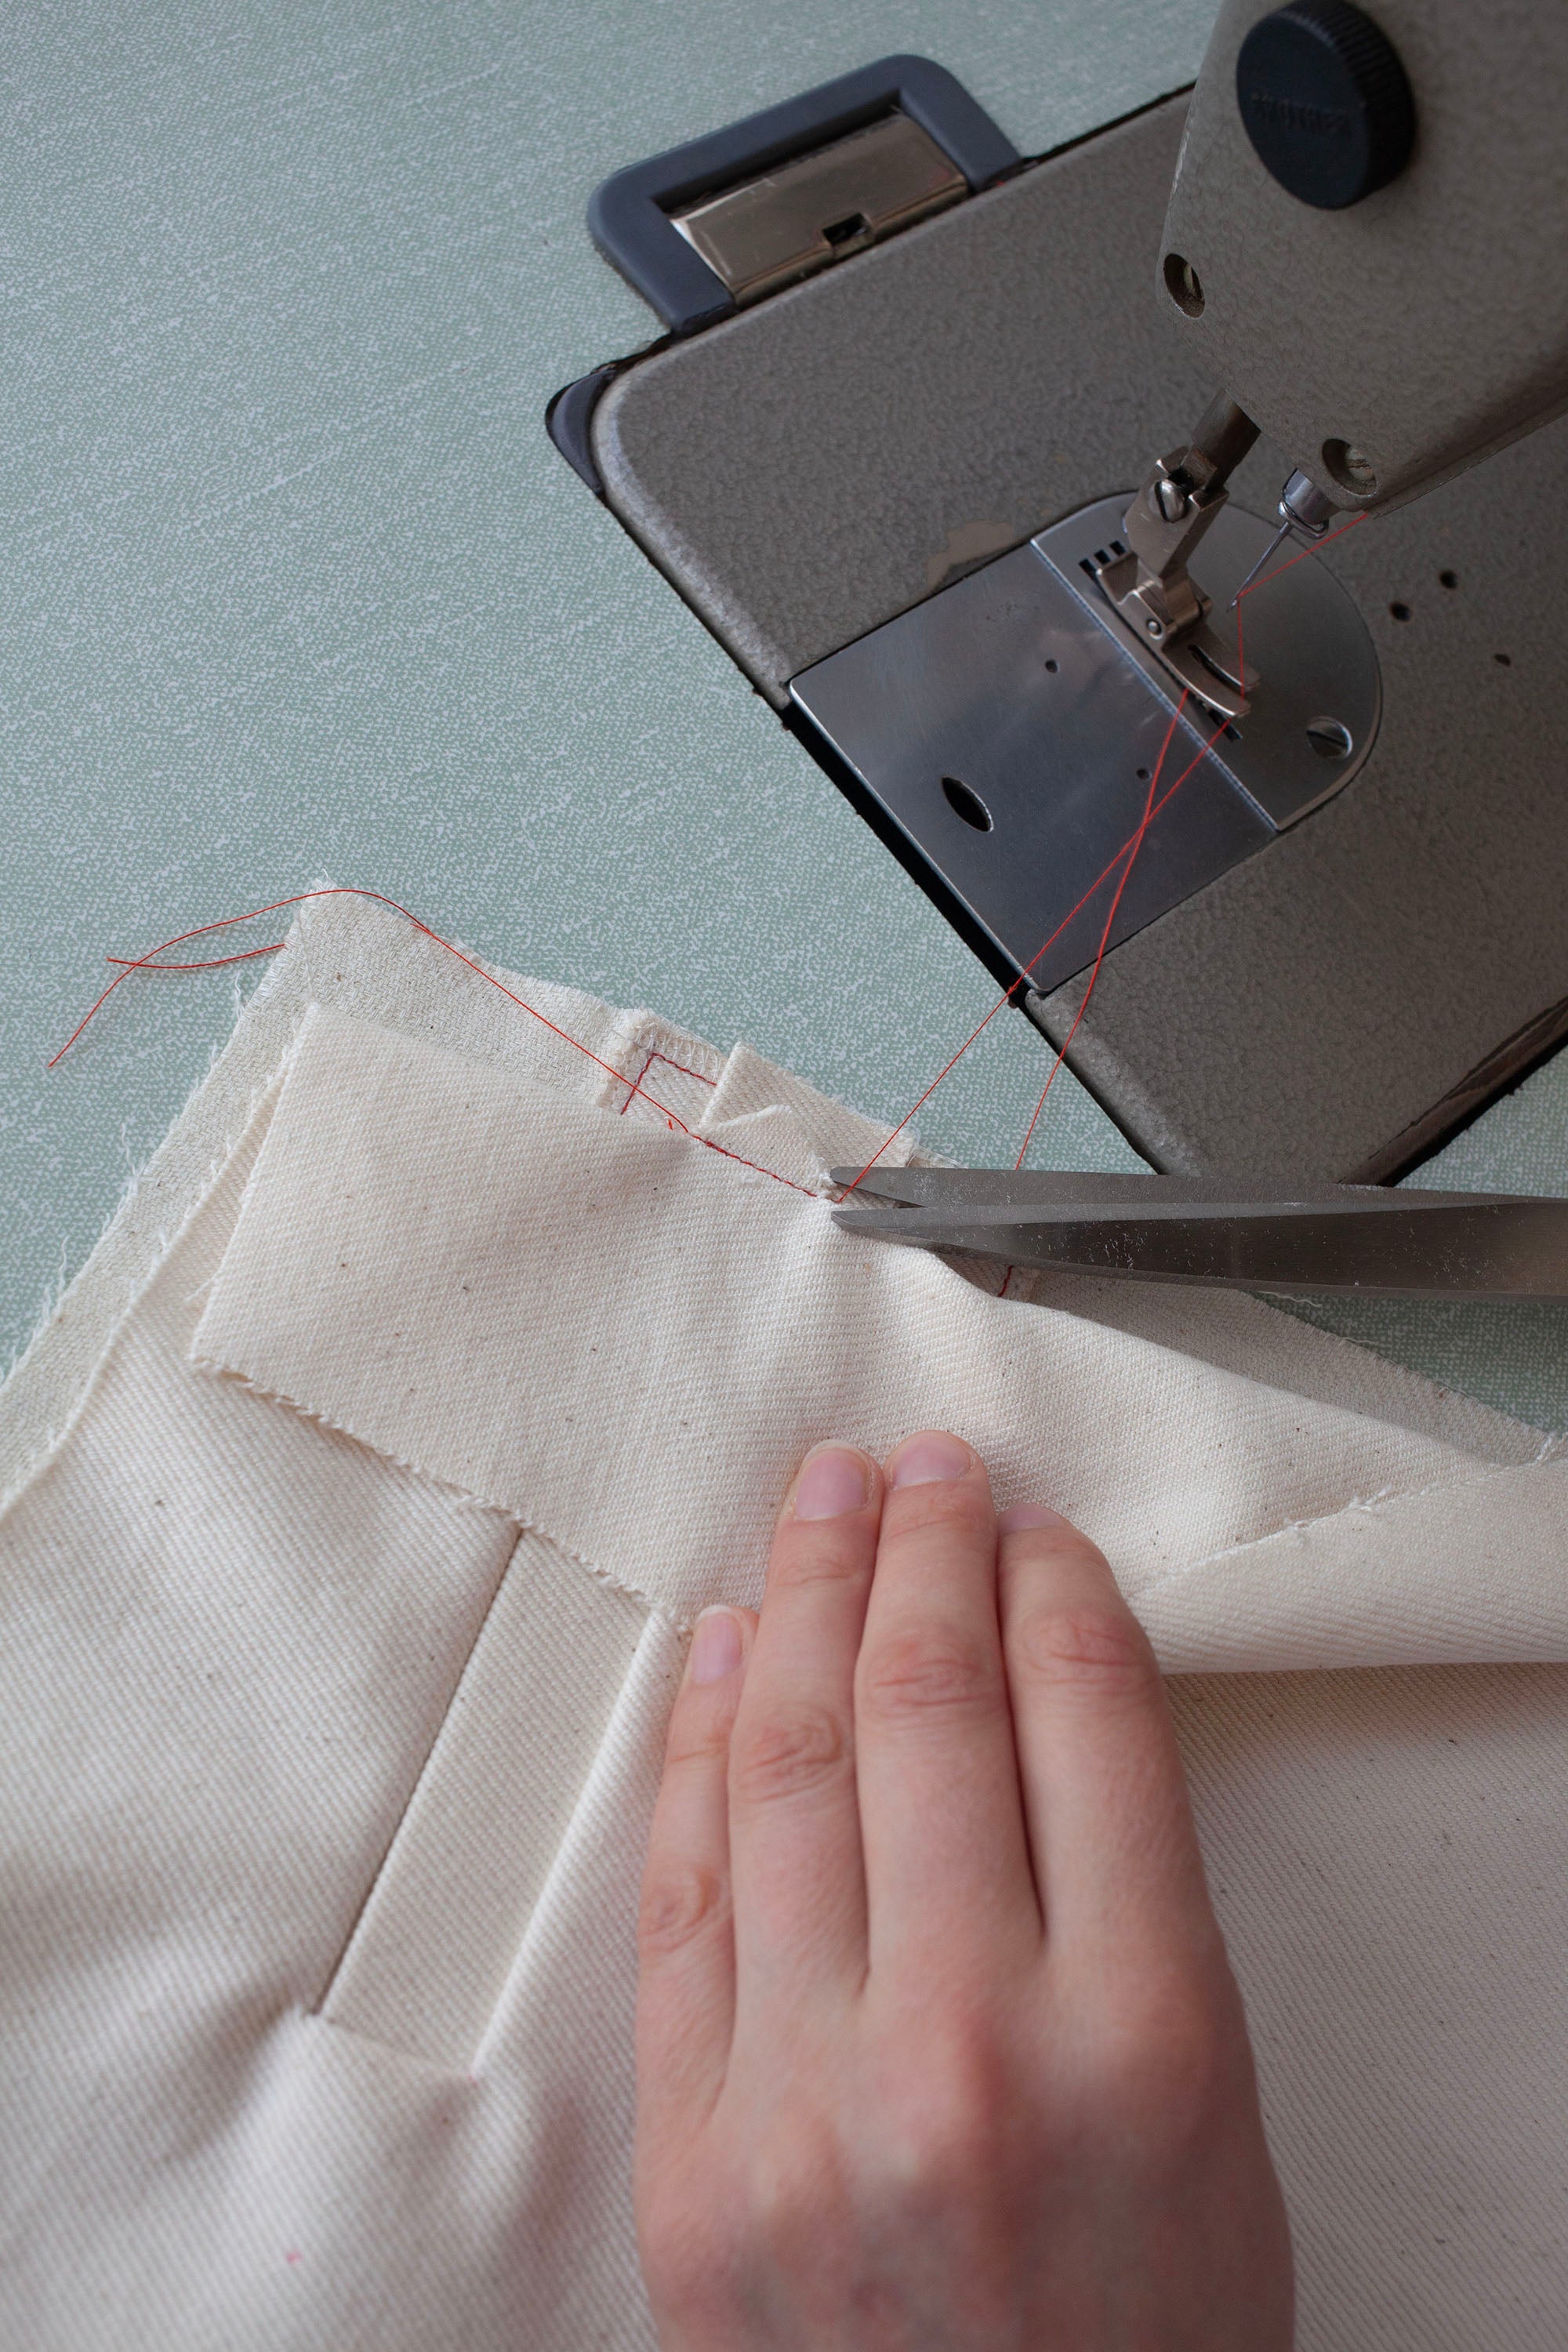
10
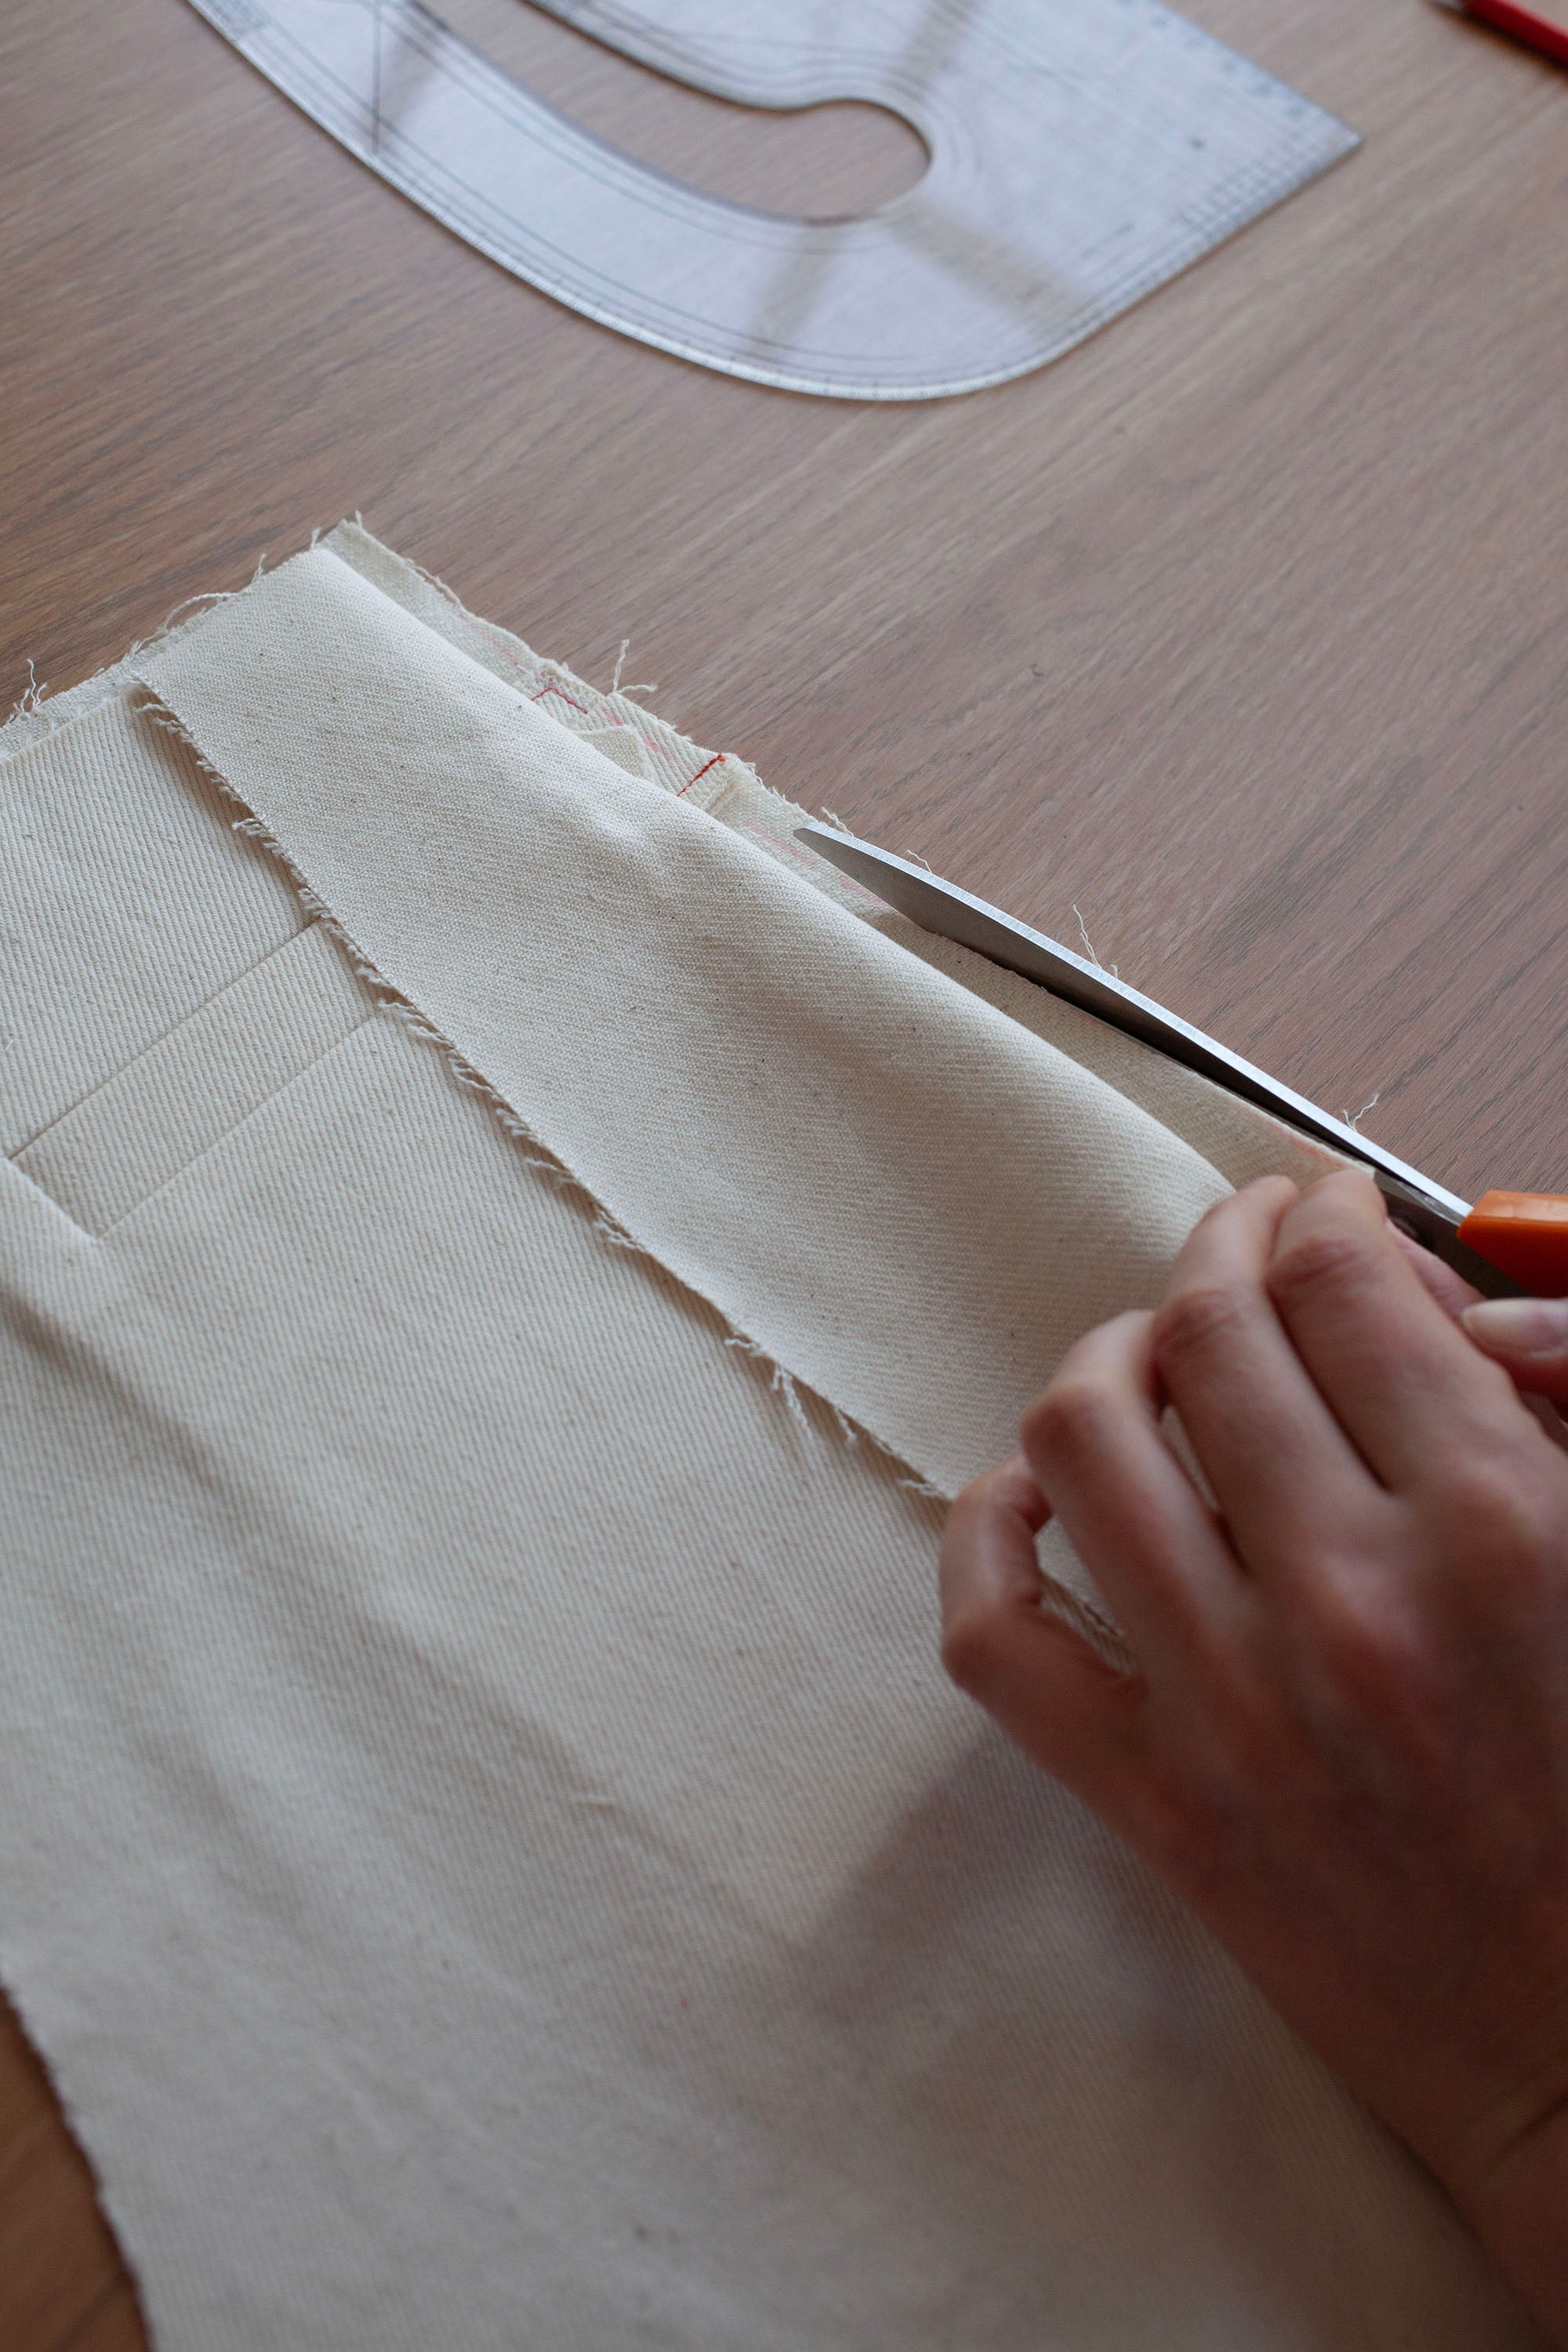
Next cut down the middle of the pocket opening, stopping 1cm before each end and then snipping diagonally into the corners. Accurate cutting here is essential. You want to cut right up to the stitching but no further.
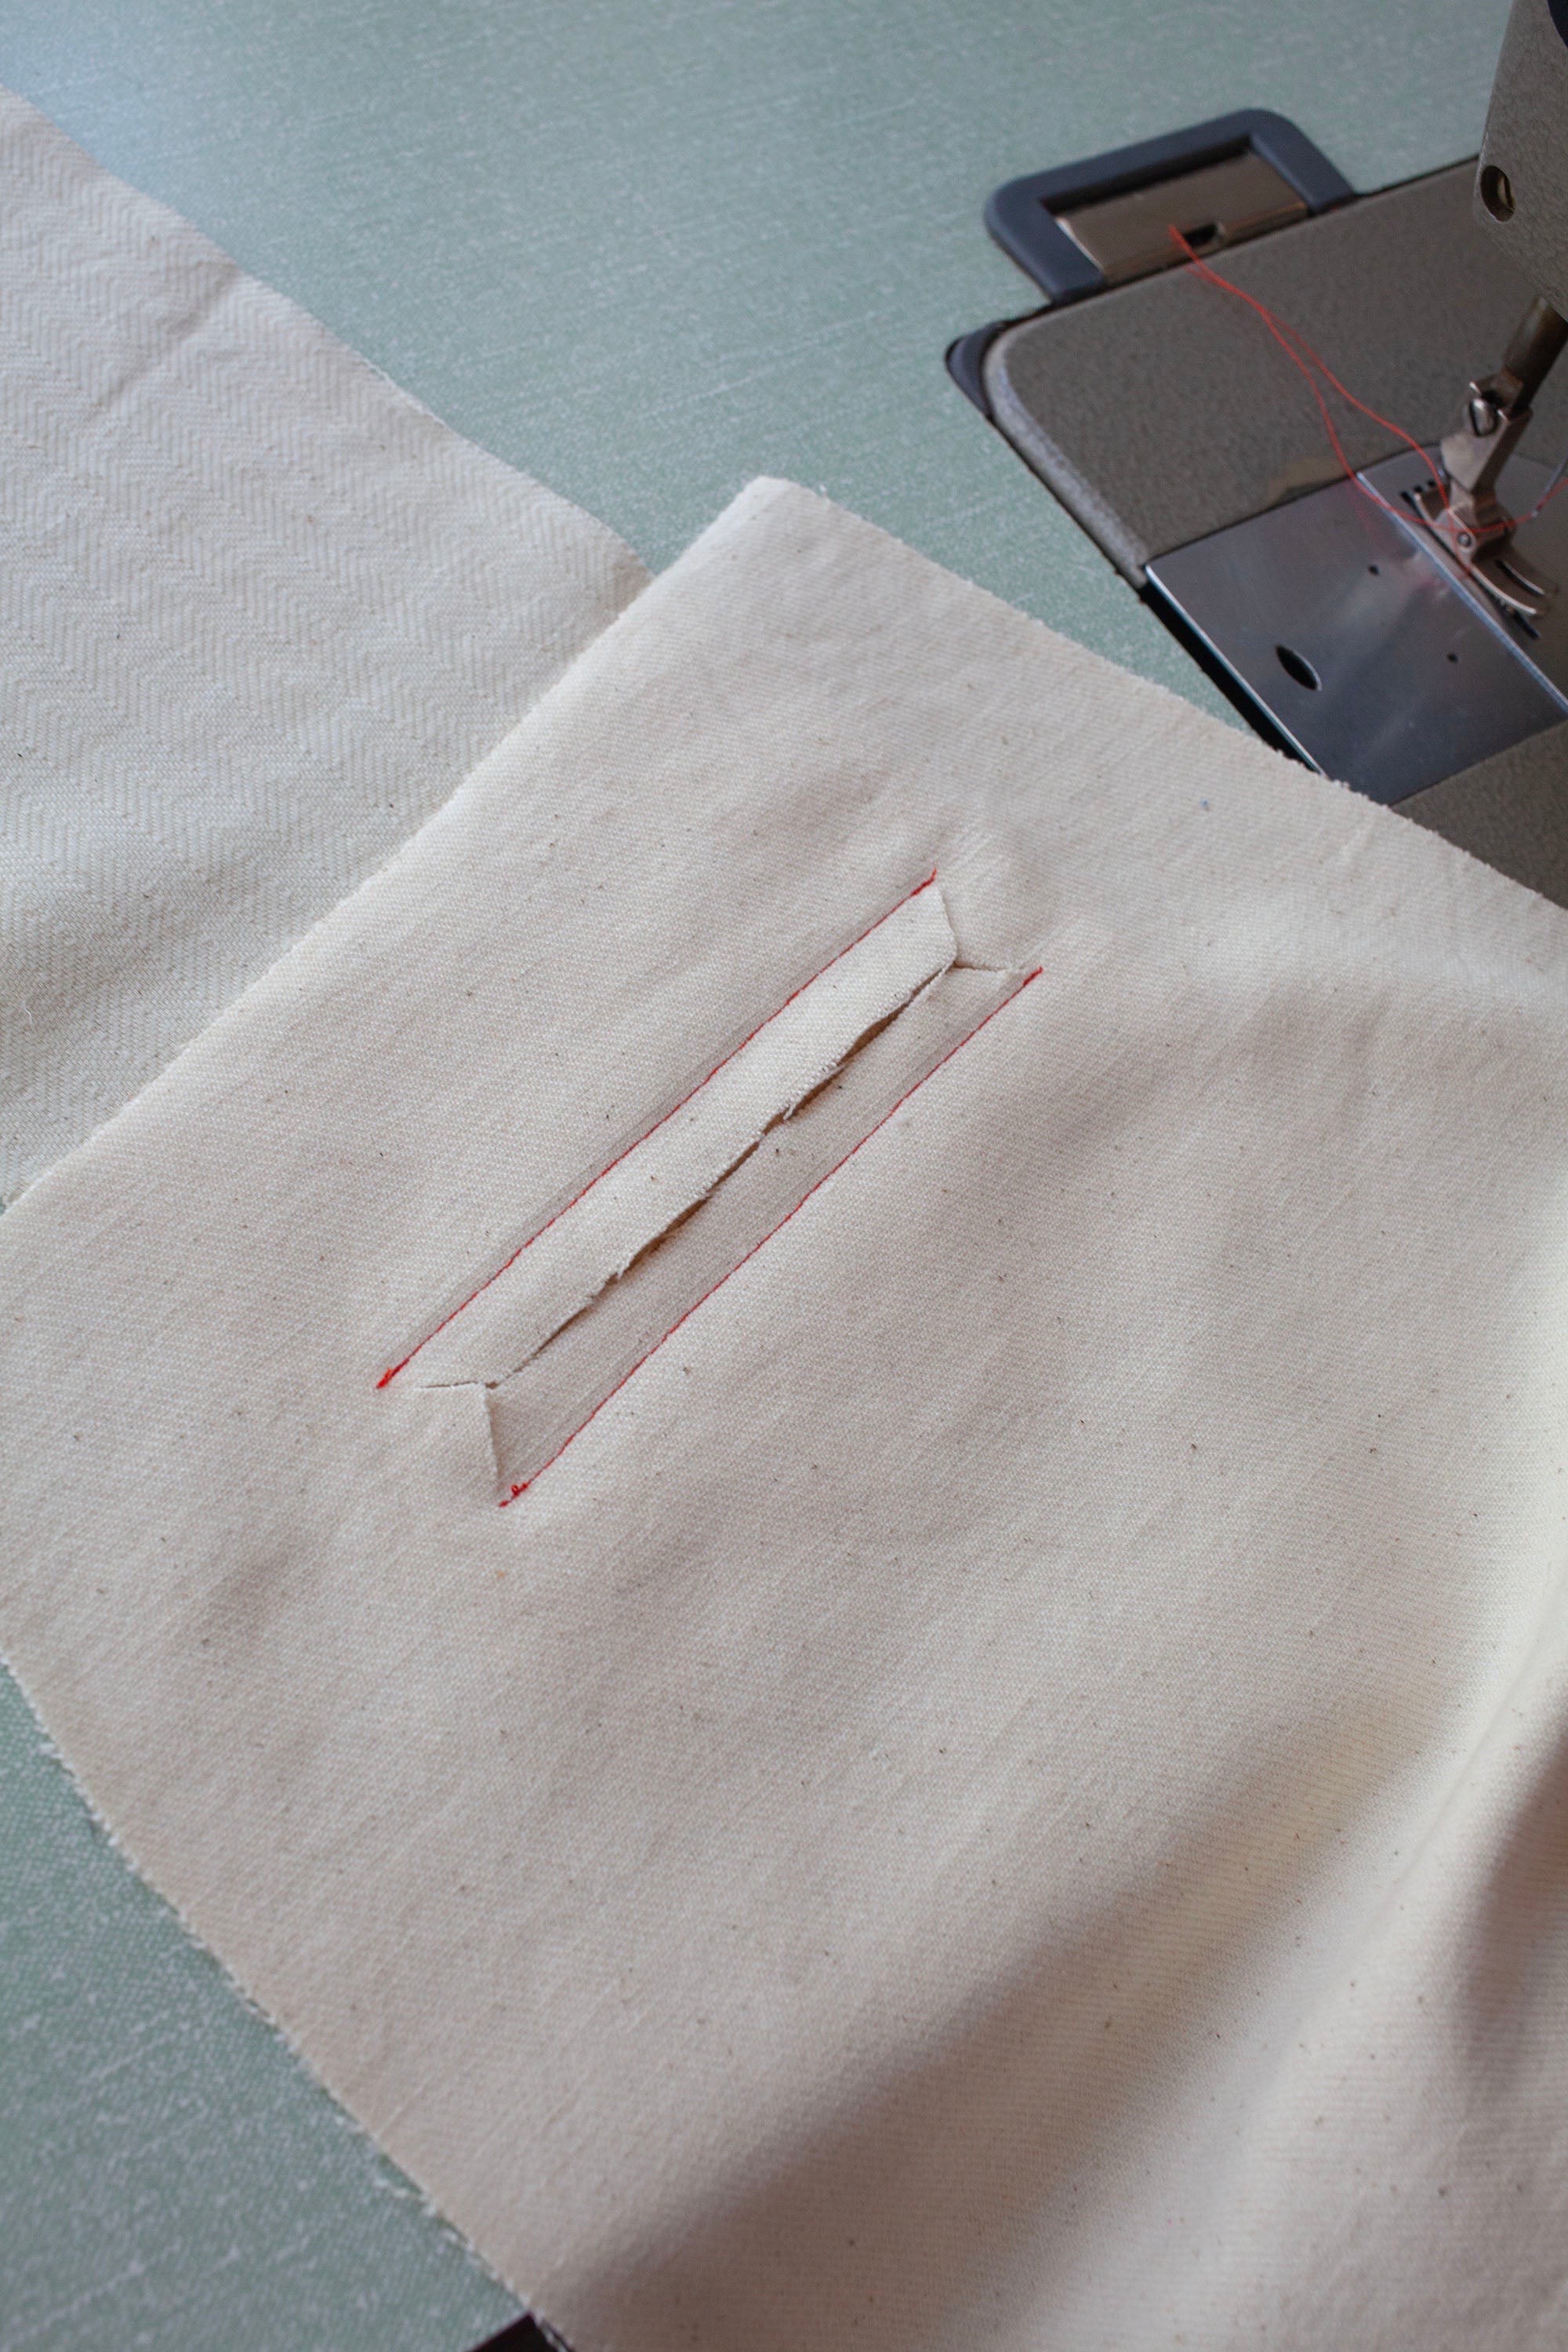
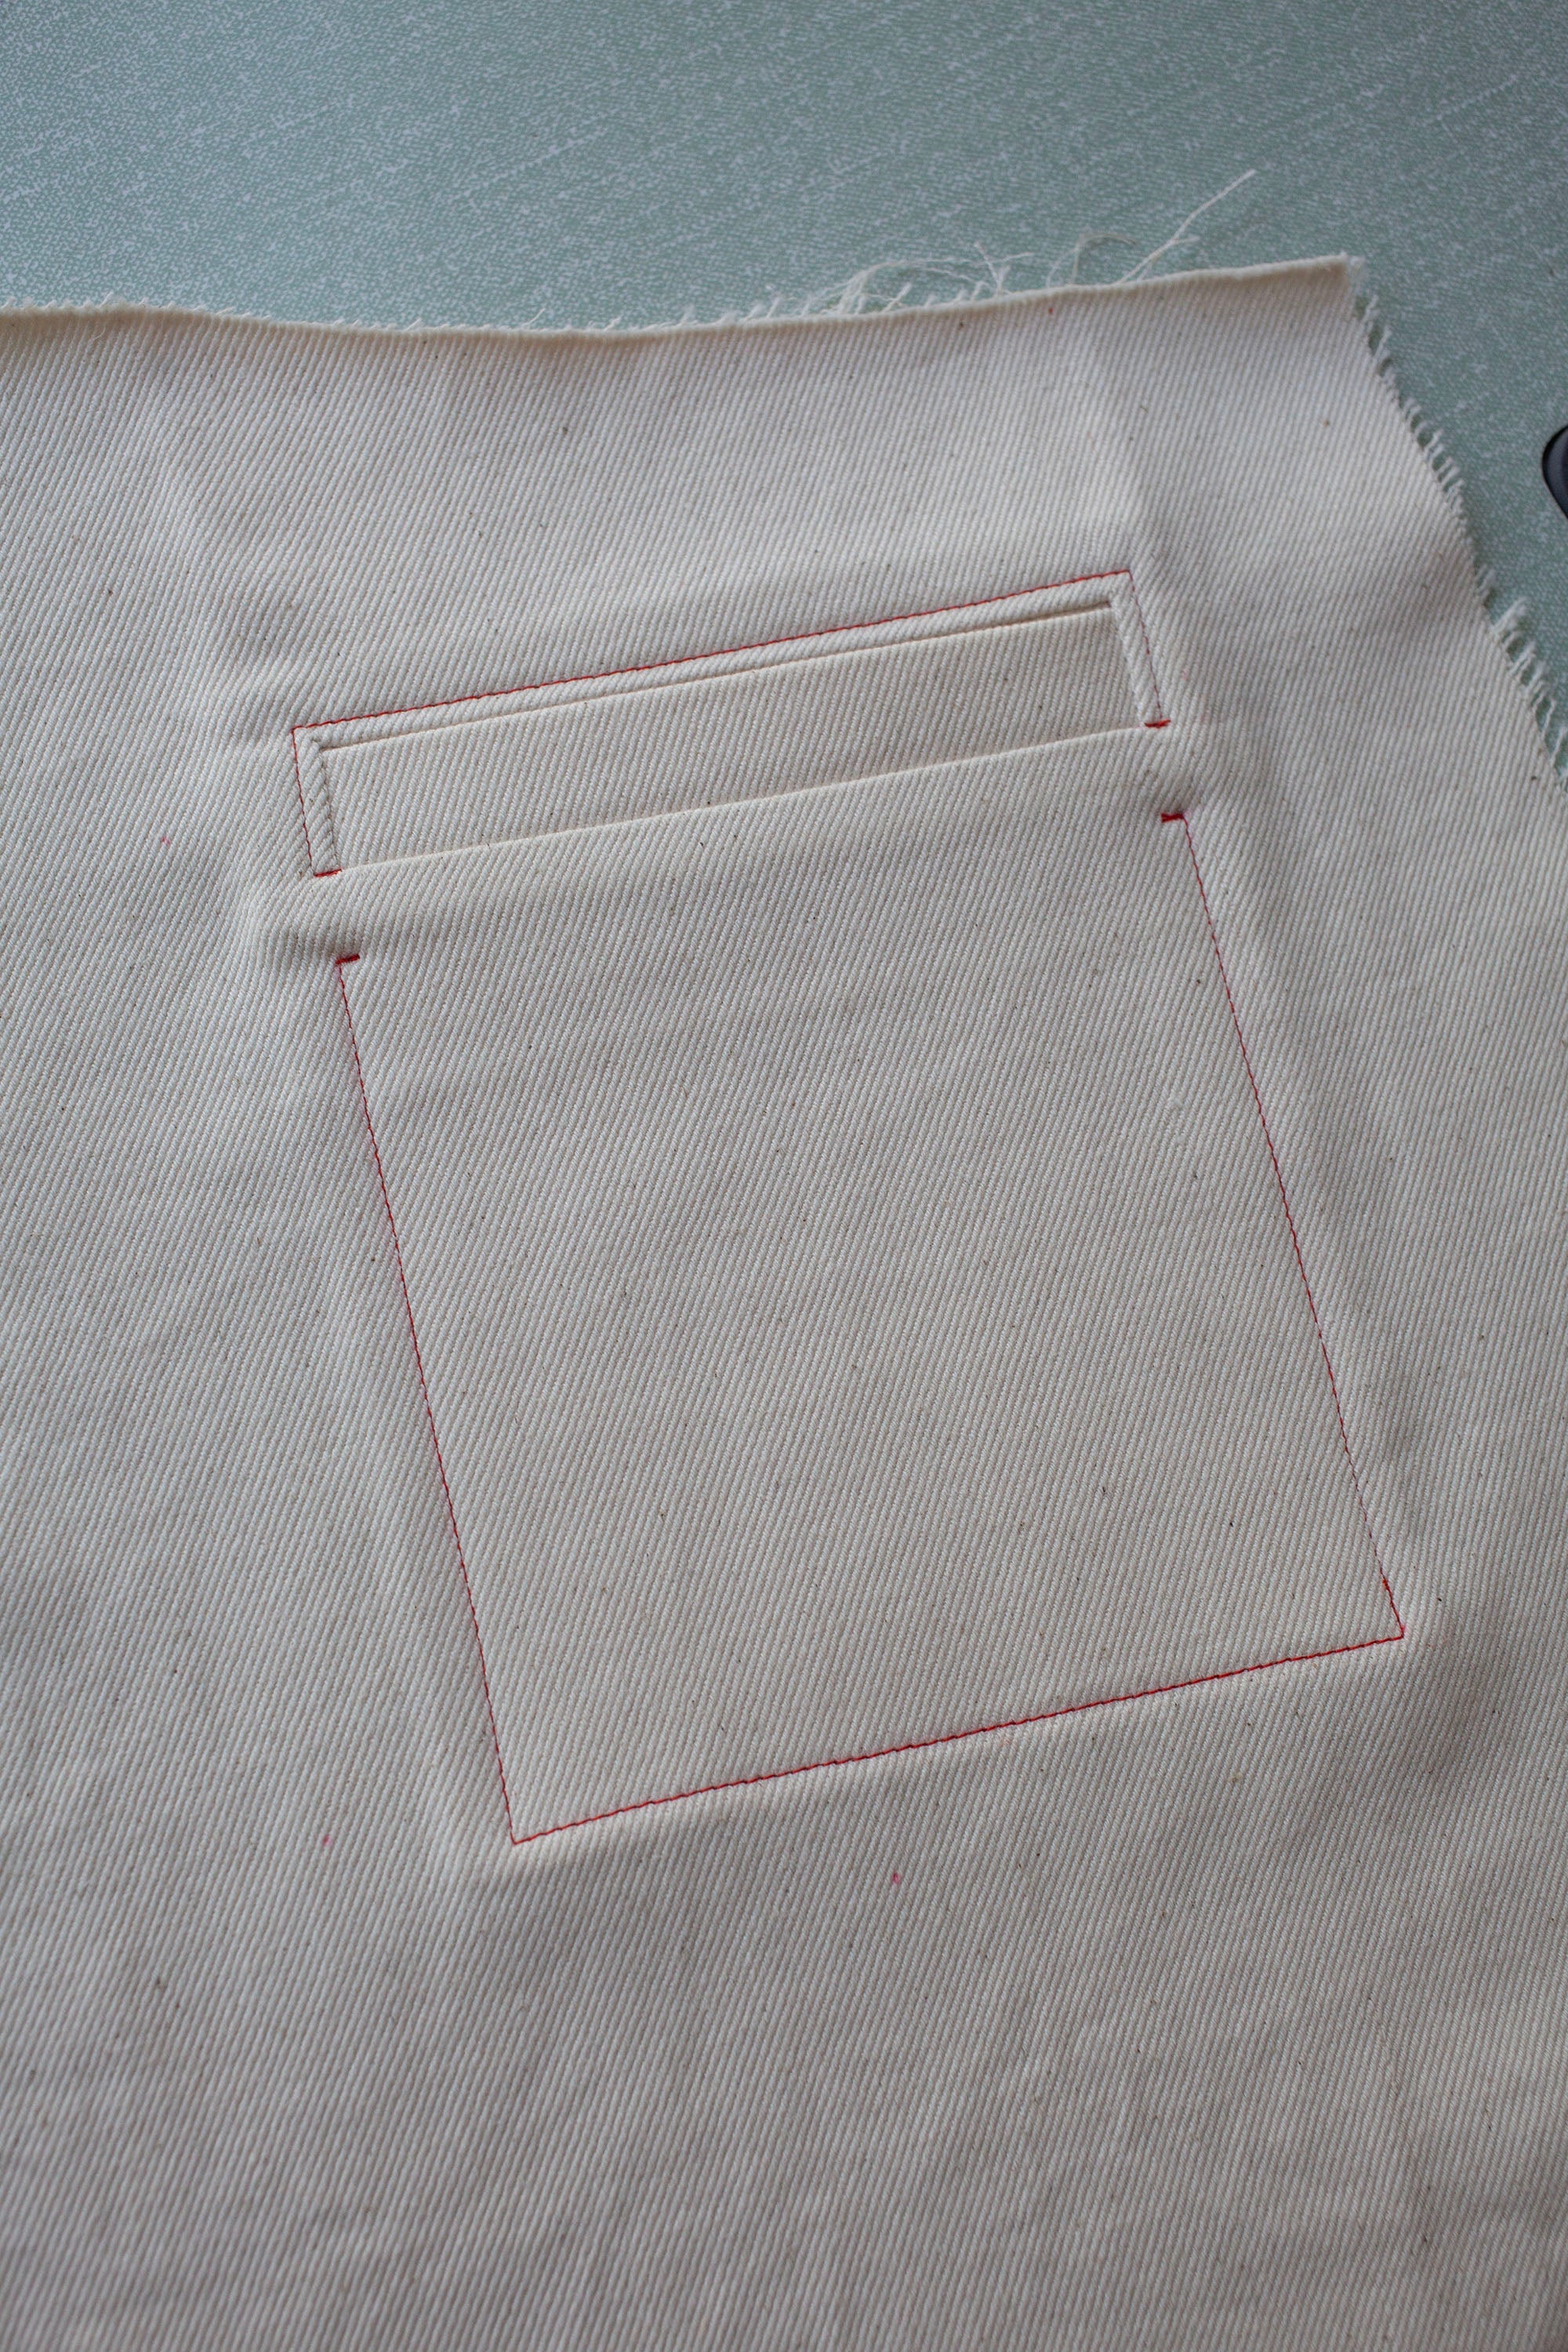
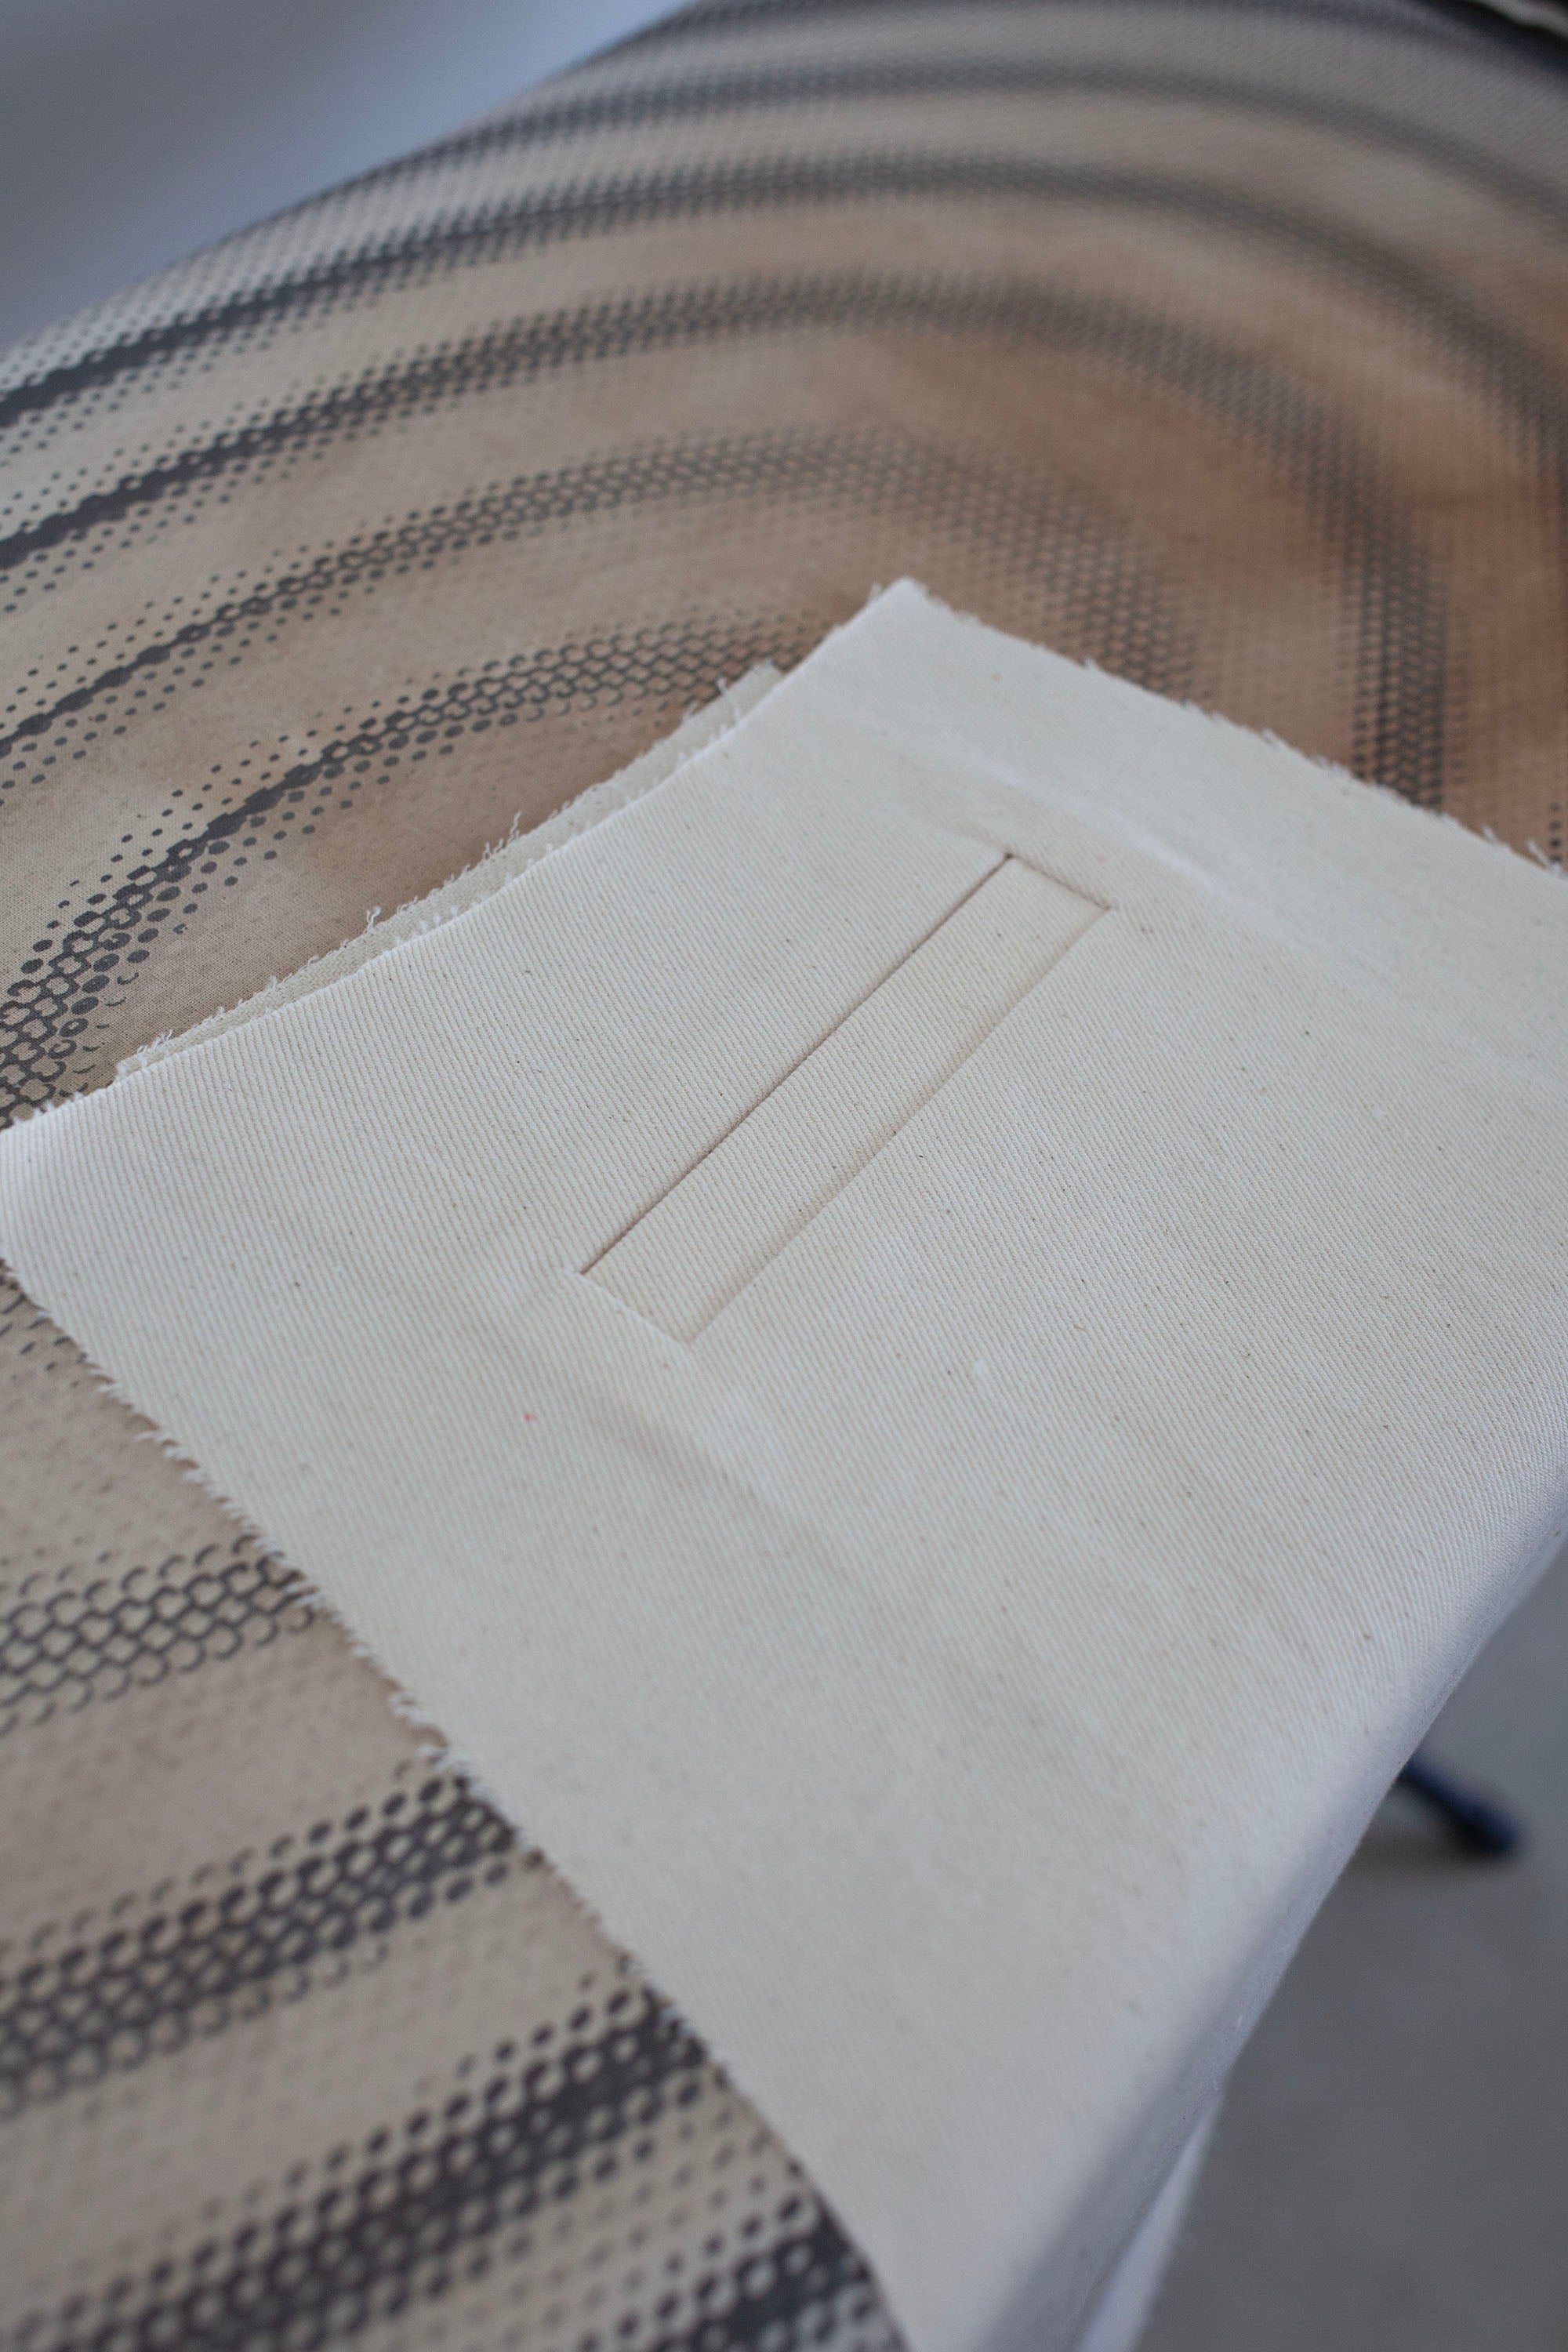
11
It will look like this from the wrong side.
12
Push the pocket bag and welt through to the wrong side of the pocket opening.
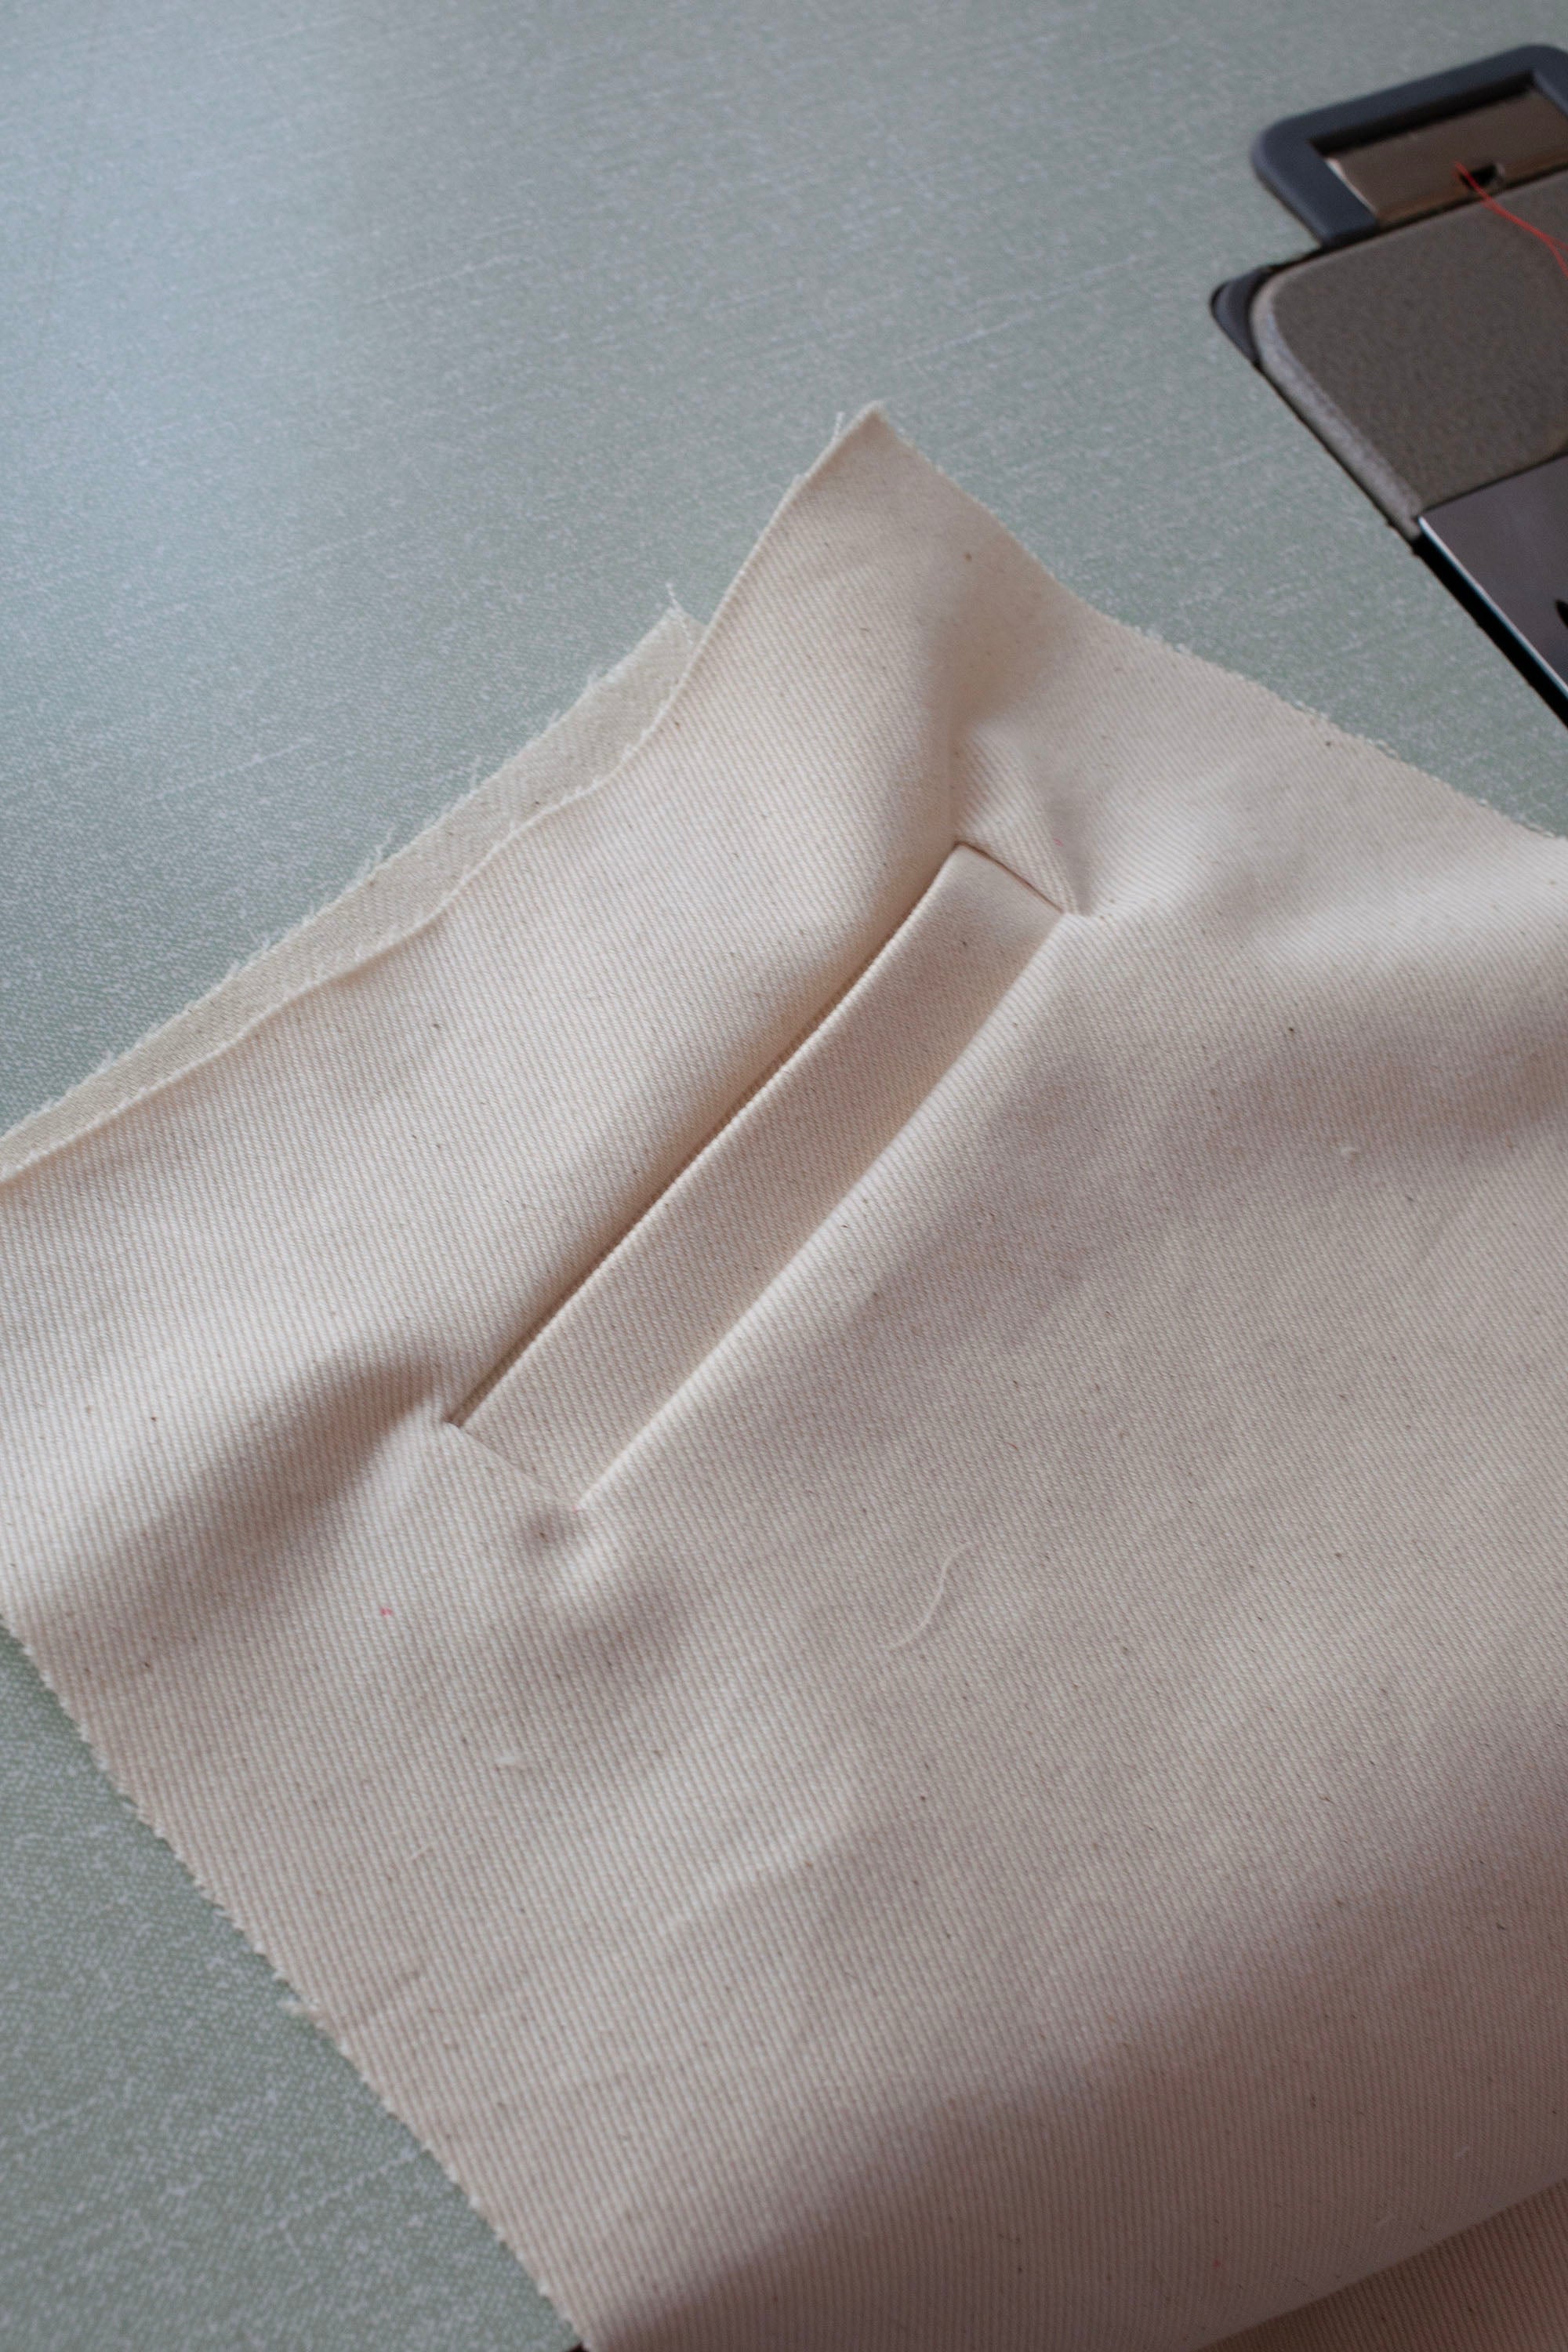
13
Take your time to make sure the layers are sitting nice and flat, resembling a welt pocket shape.
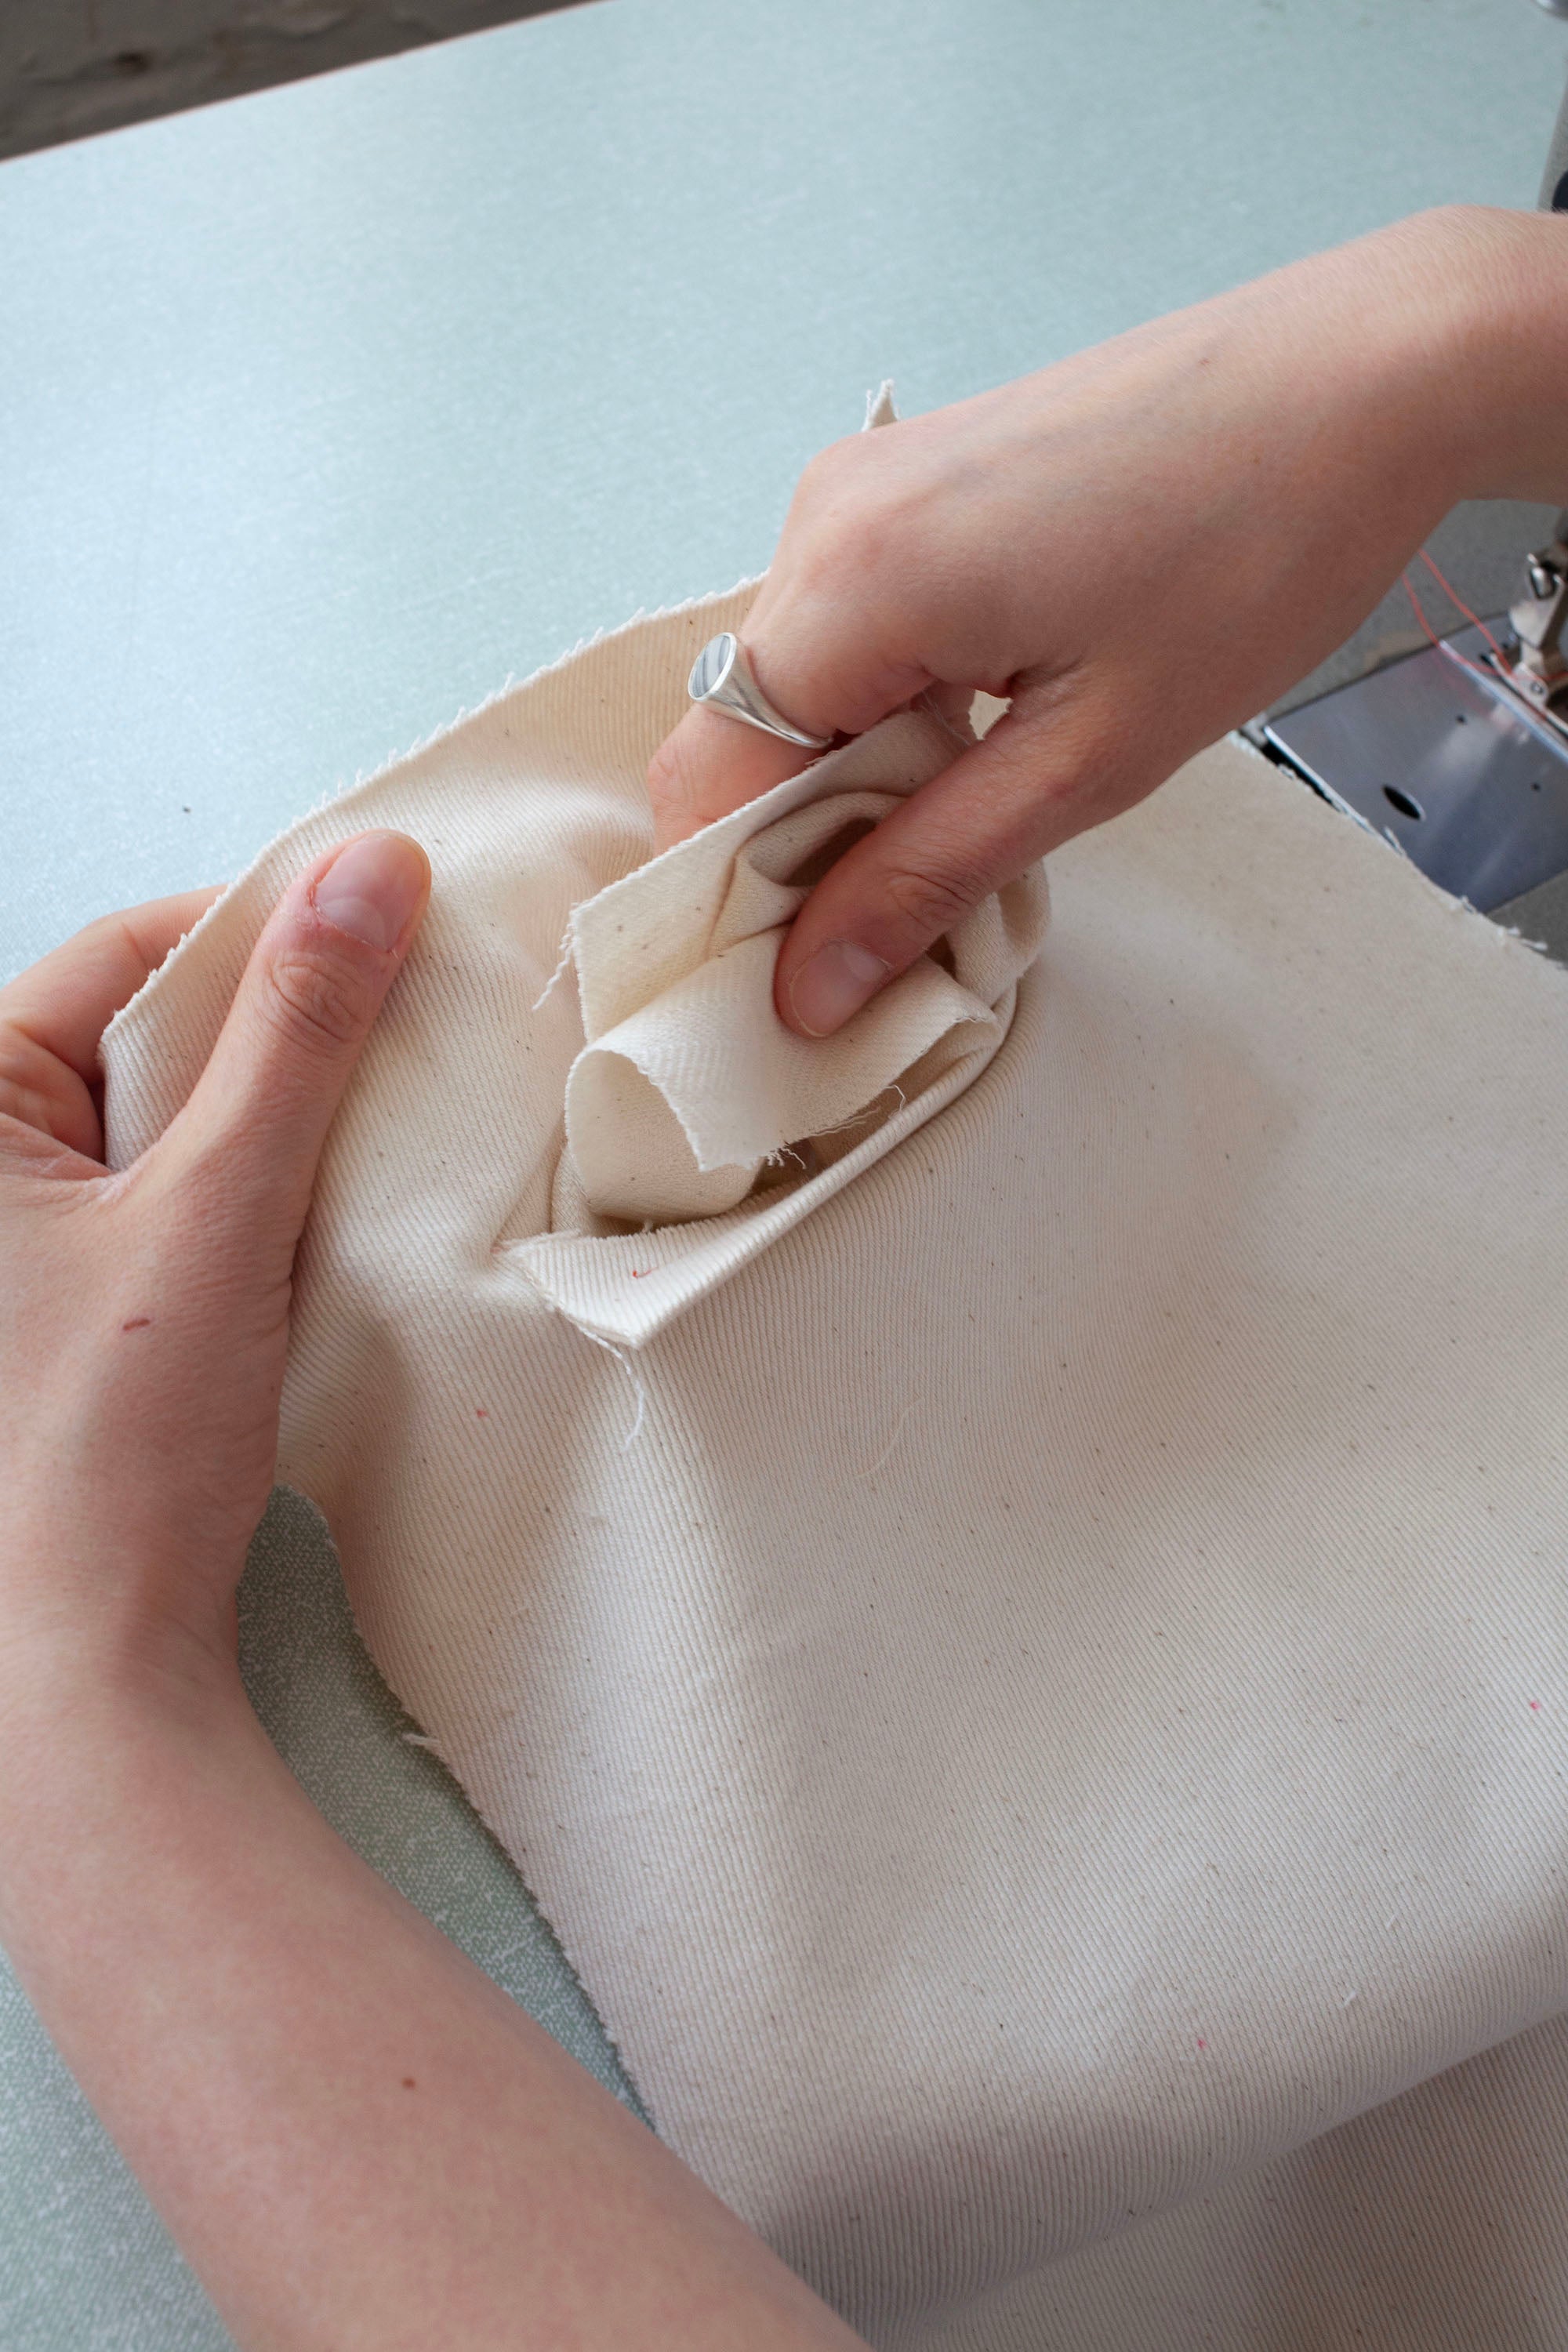
14
Fold back one side of the leg to reveal the end of the welt. The small snipped triangle should be laying flat as shown.
15
Stitch the triangle down, starting and finishing directly on the corner of the raw edge. Repeat the process for the other side.
16
Give the pocket a good press from the right side.
17
Now from the wrong side of the leg fold the pocket back up.
18
Then fold the pocket bag back down, lining the raw edge of the pocket bag with the raw edge of the welt. Pin the raw edges together - the next step is made easier if you pin from the underside.

19
Flip it over and stitch from the underside as close as you can get to the original welt stitching (usually 0.5-7cm works well).
20
Give the pocket another press.
21
To straighten out the pocket bag shape lay the leg right side up and fold the edge of the leg over to show the edges of the pocket. Trim to neaten out any rough edges - here we’ve chalked on a straight line using a ruler first.

22
Stitch down each side of the pocket bag to close it and then overlock the raw edges.
23
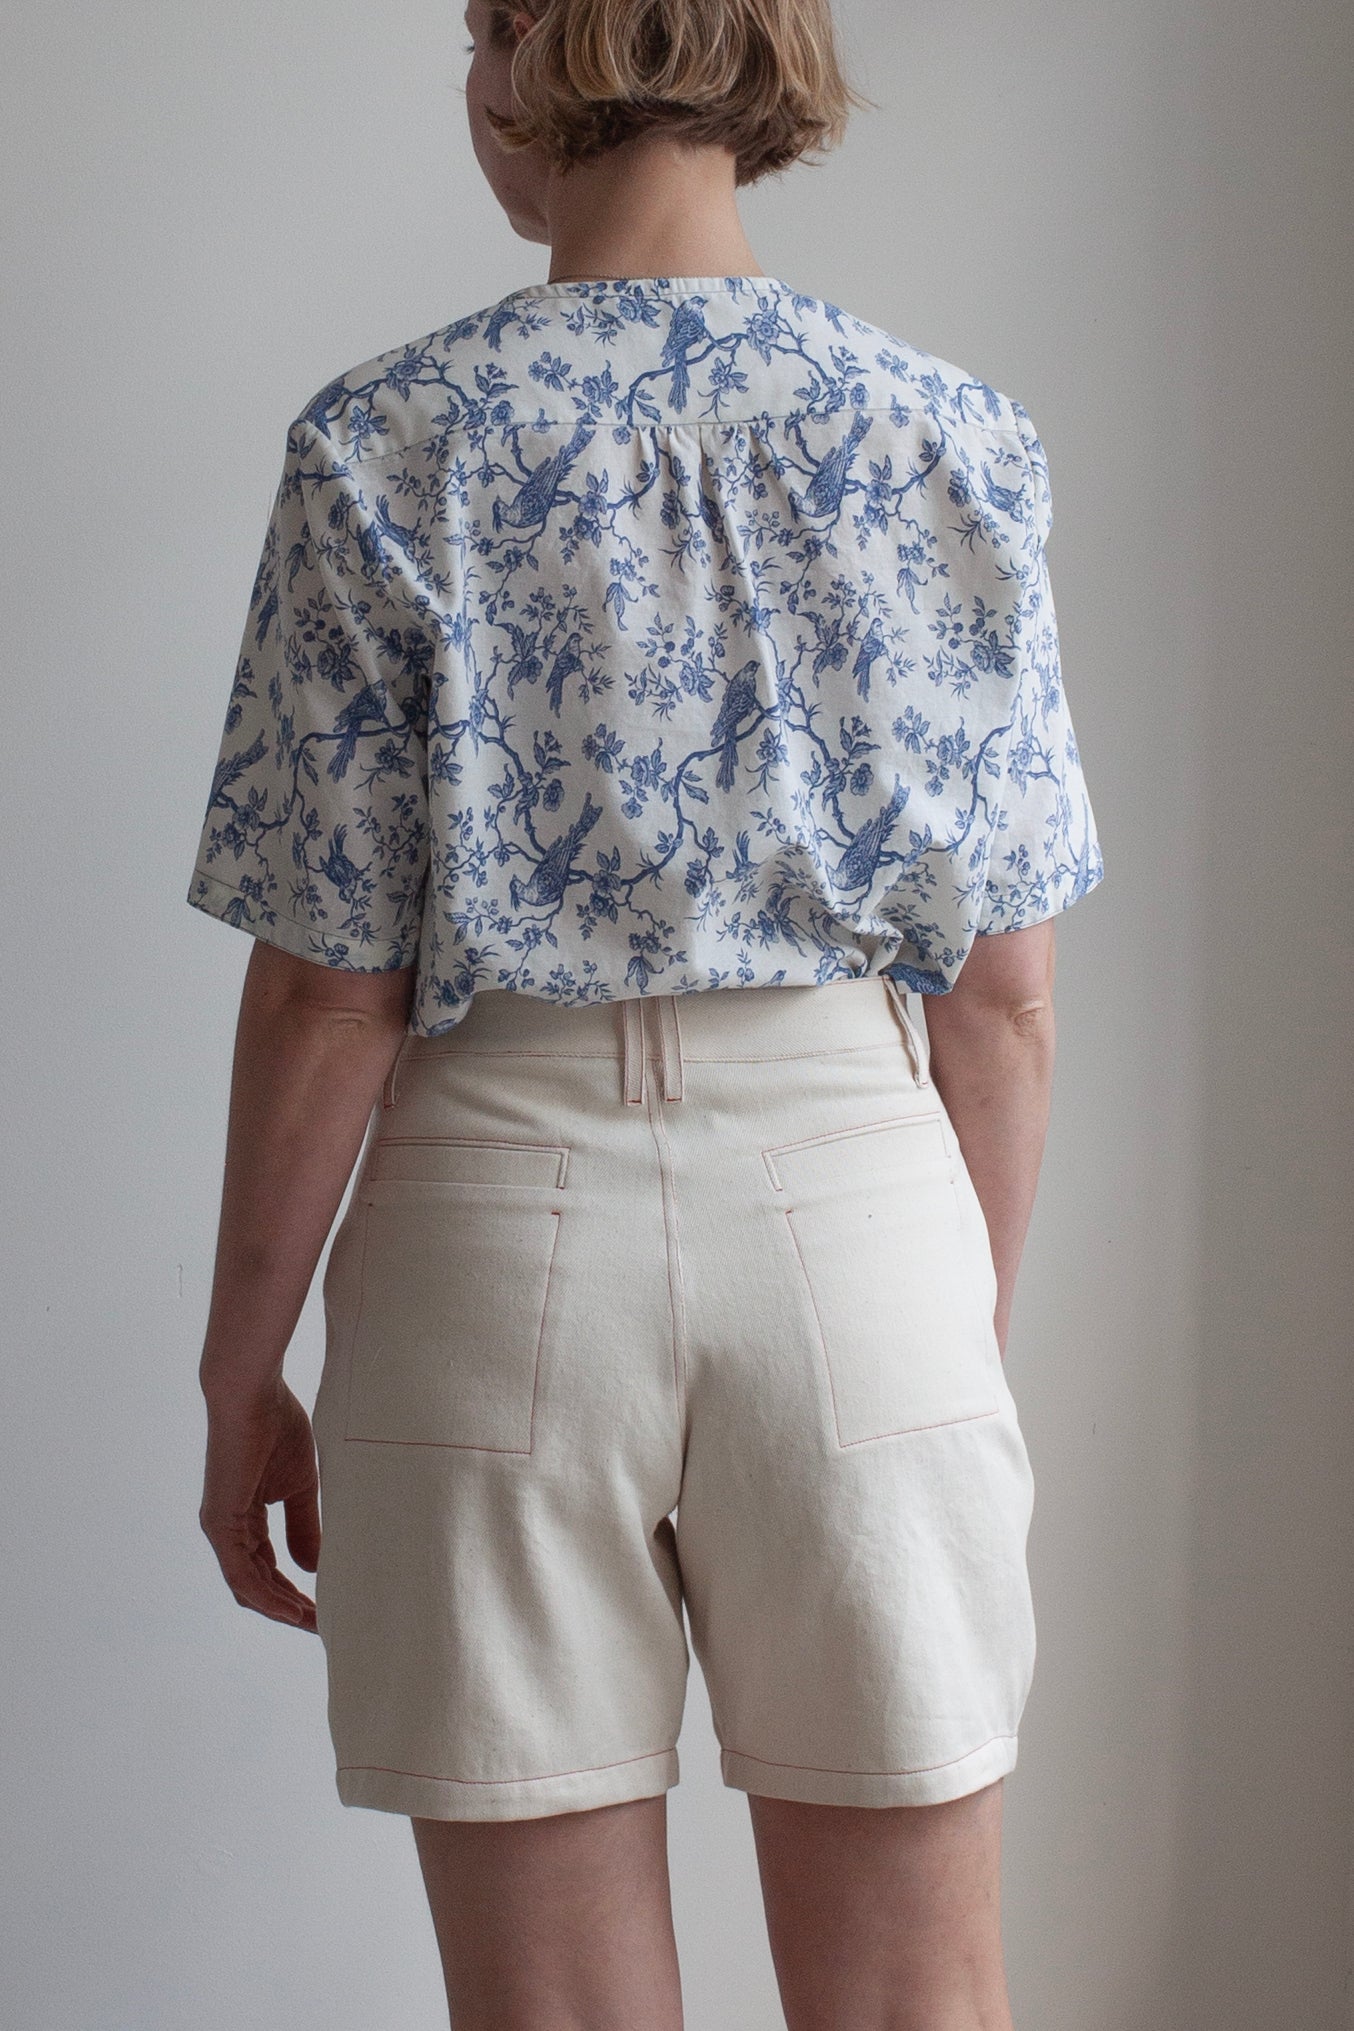
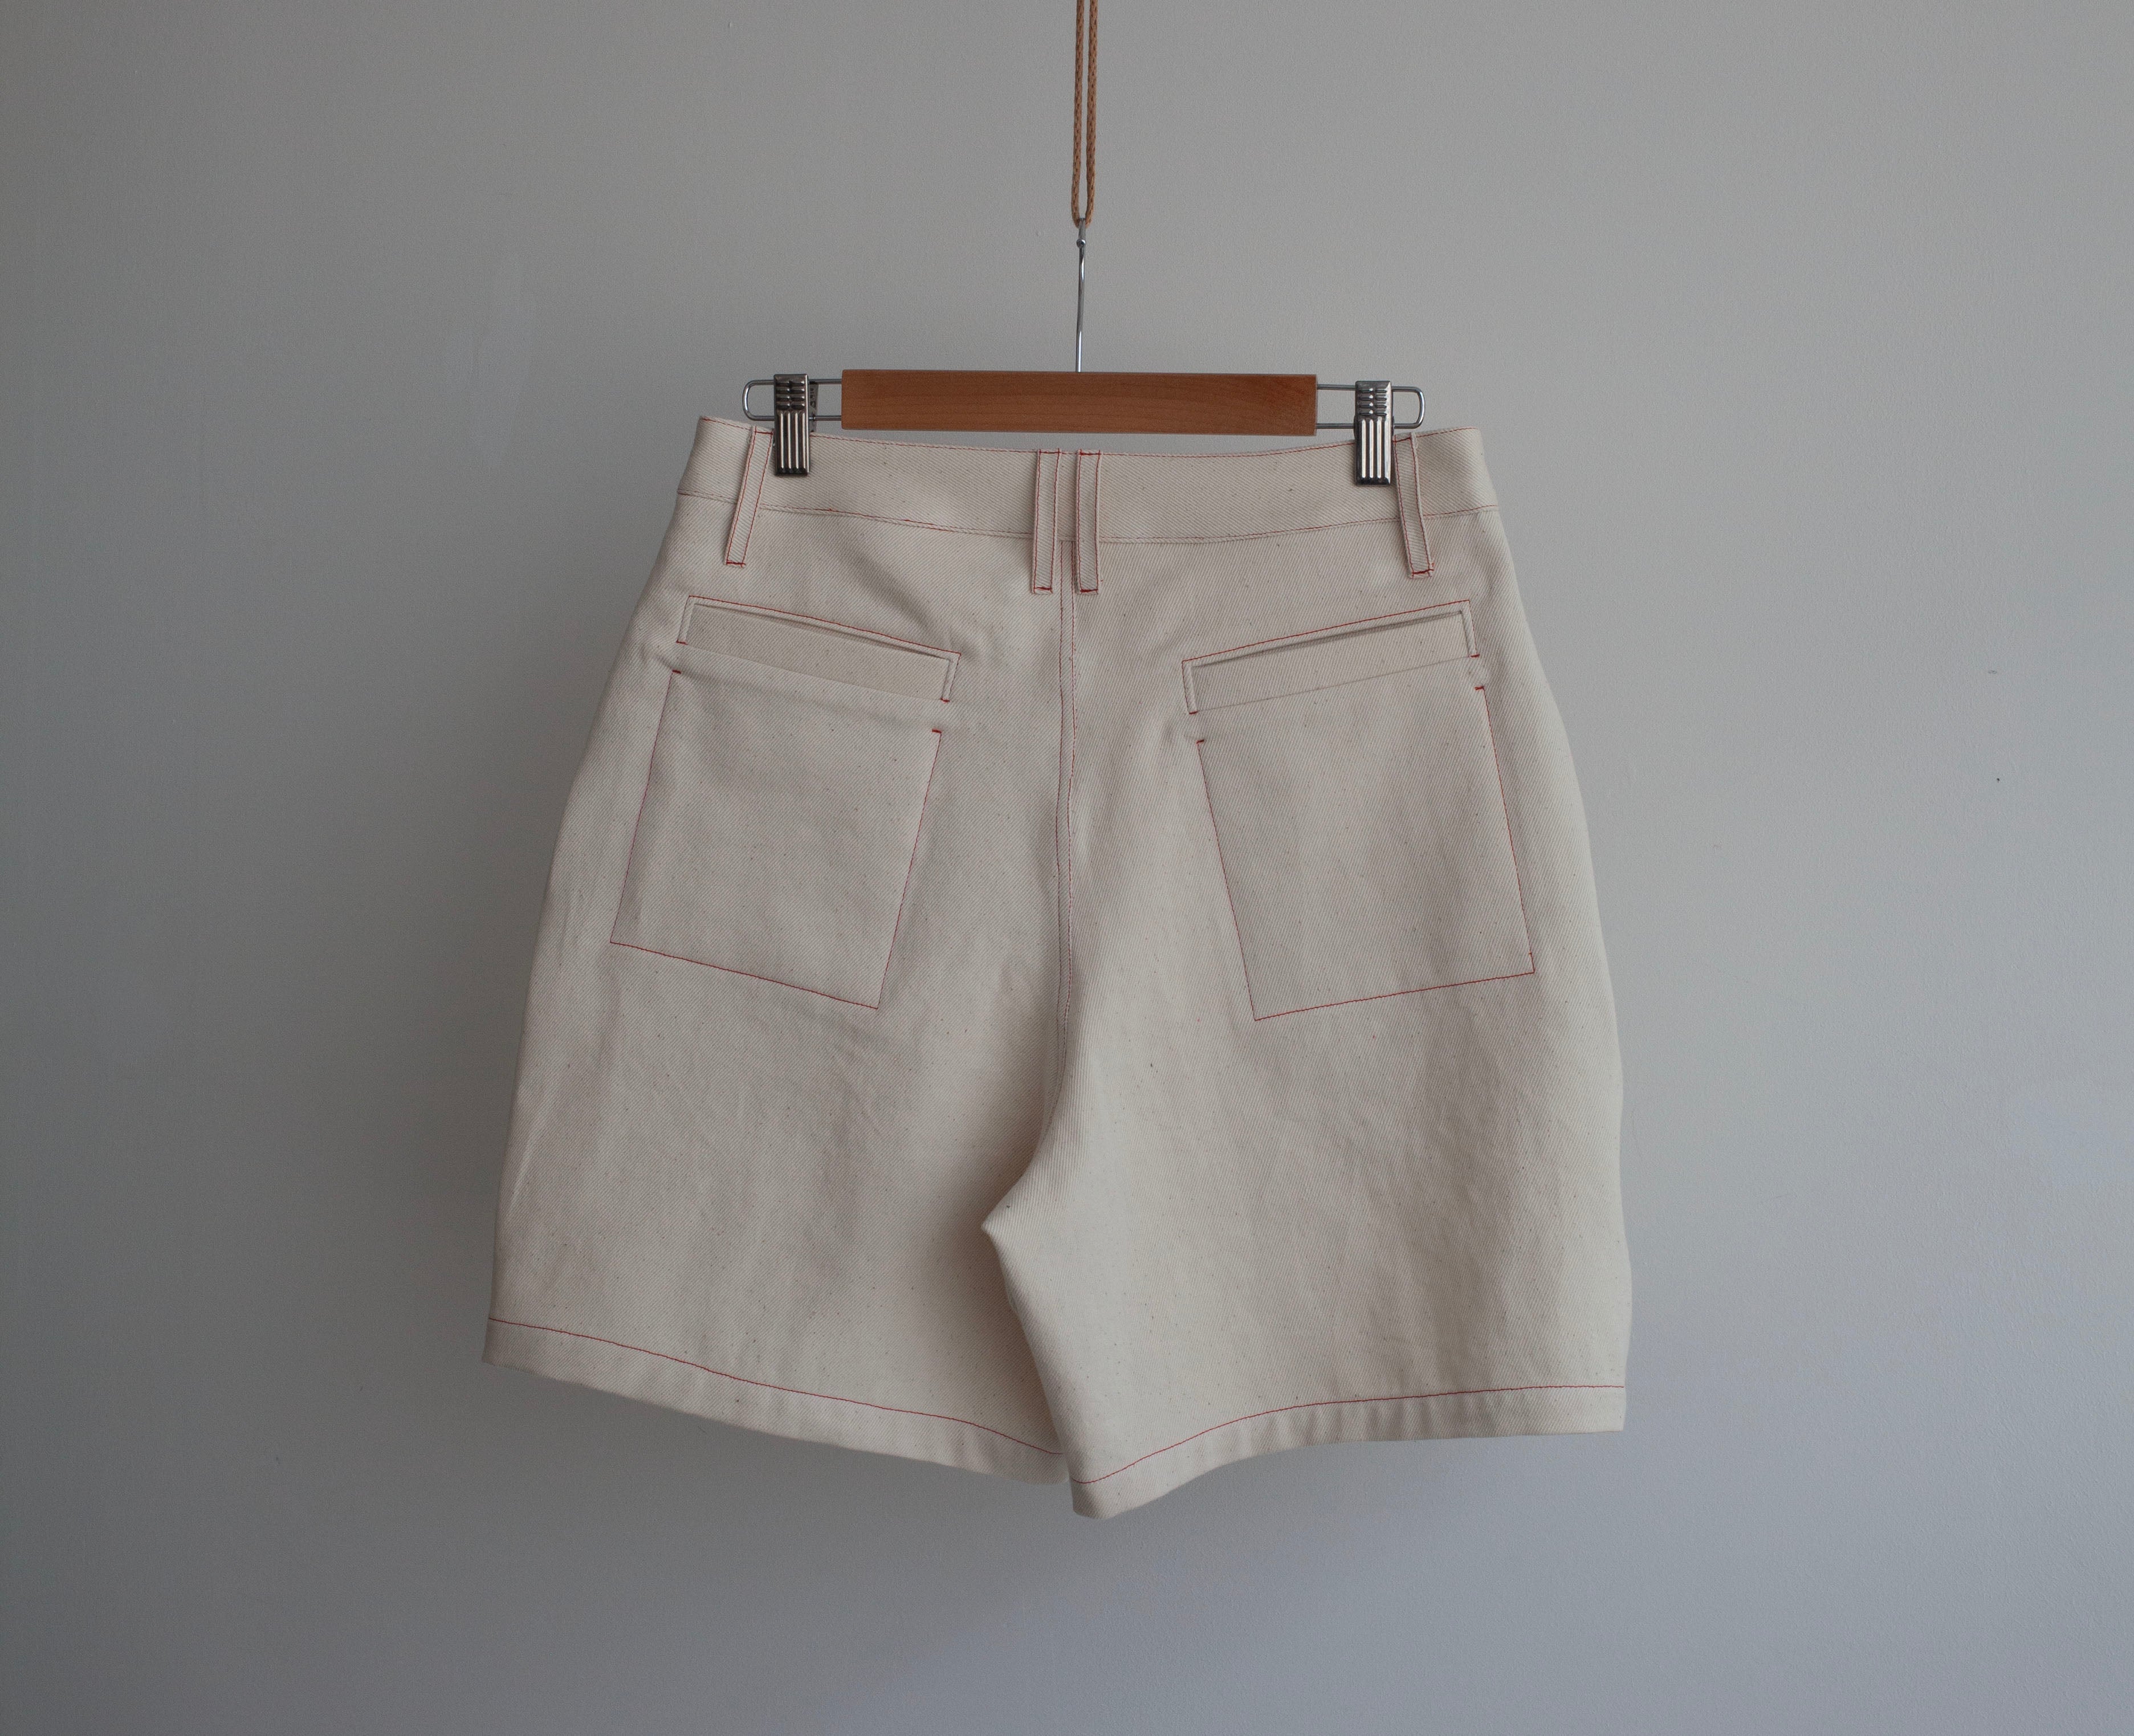
Your pocket is now finished and should look like this!
24
Lastly you can play with adding some decorative topstitching (this is optional). You can chalk on your topstitching lines before sewing to help get an accurate finish.