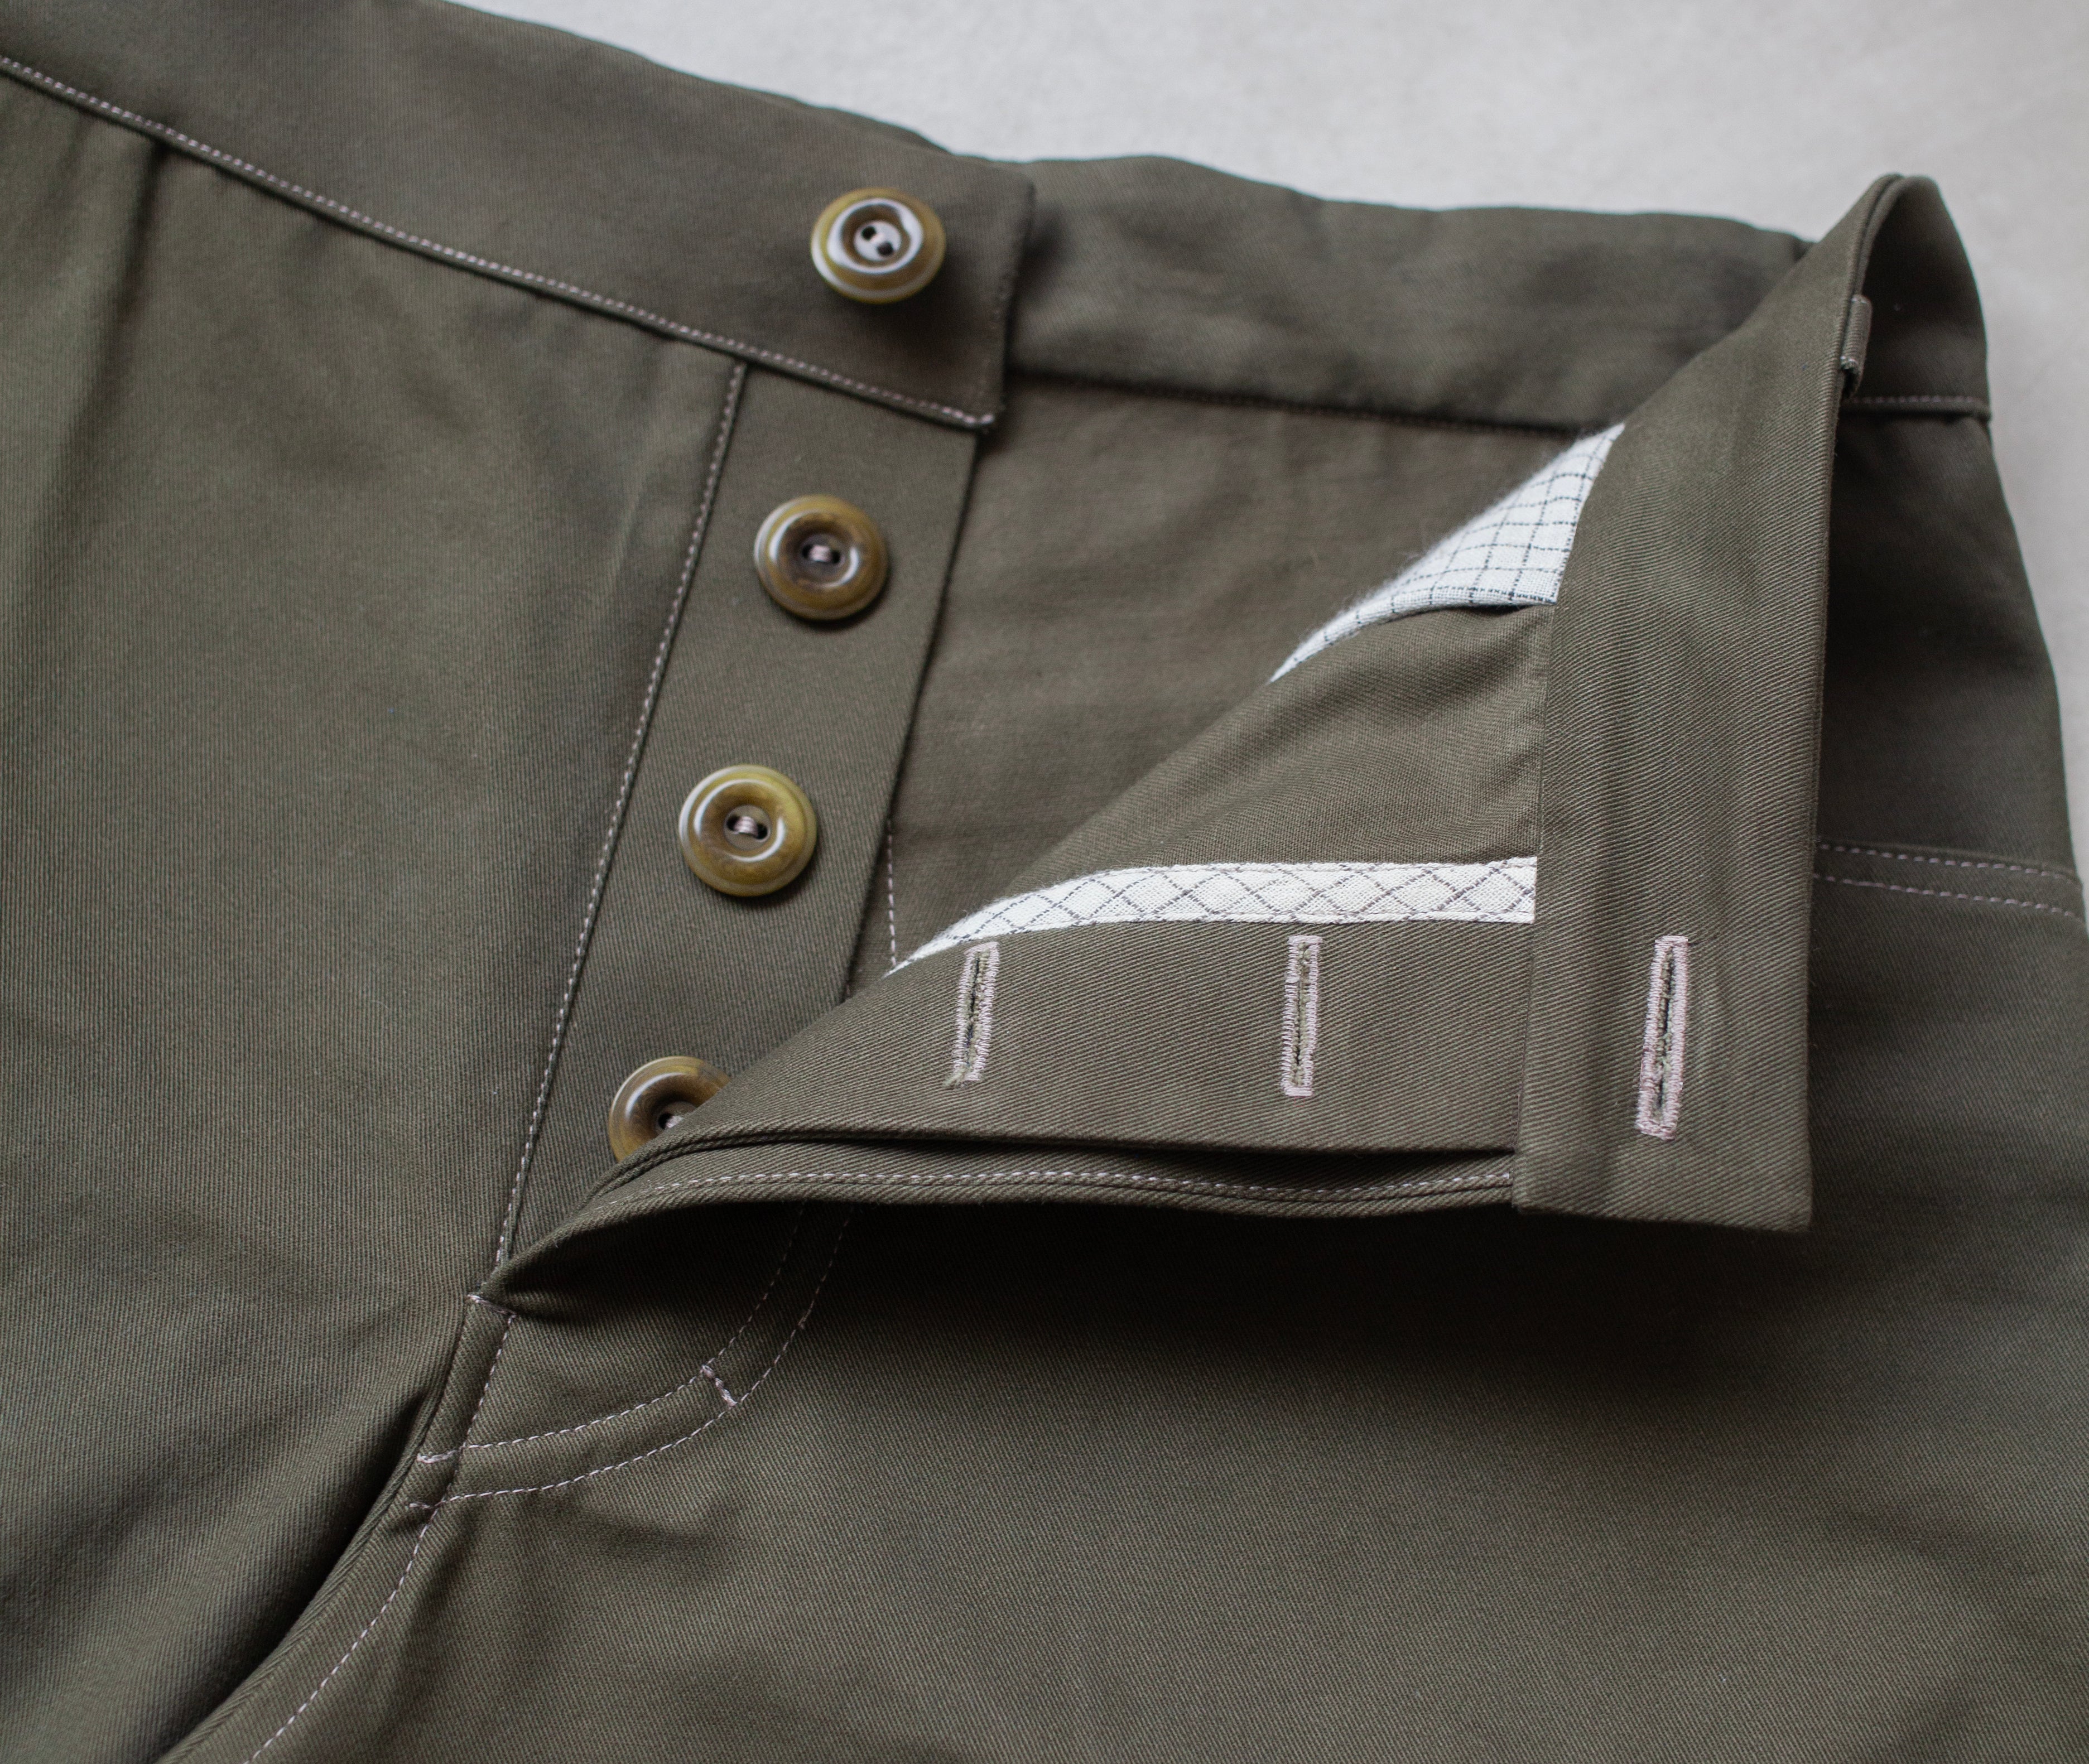
Button Fly Guide
A
Fuse Your Pieces
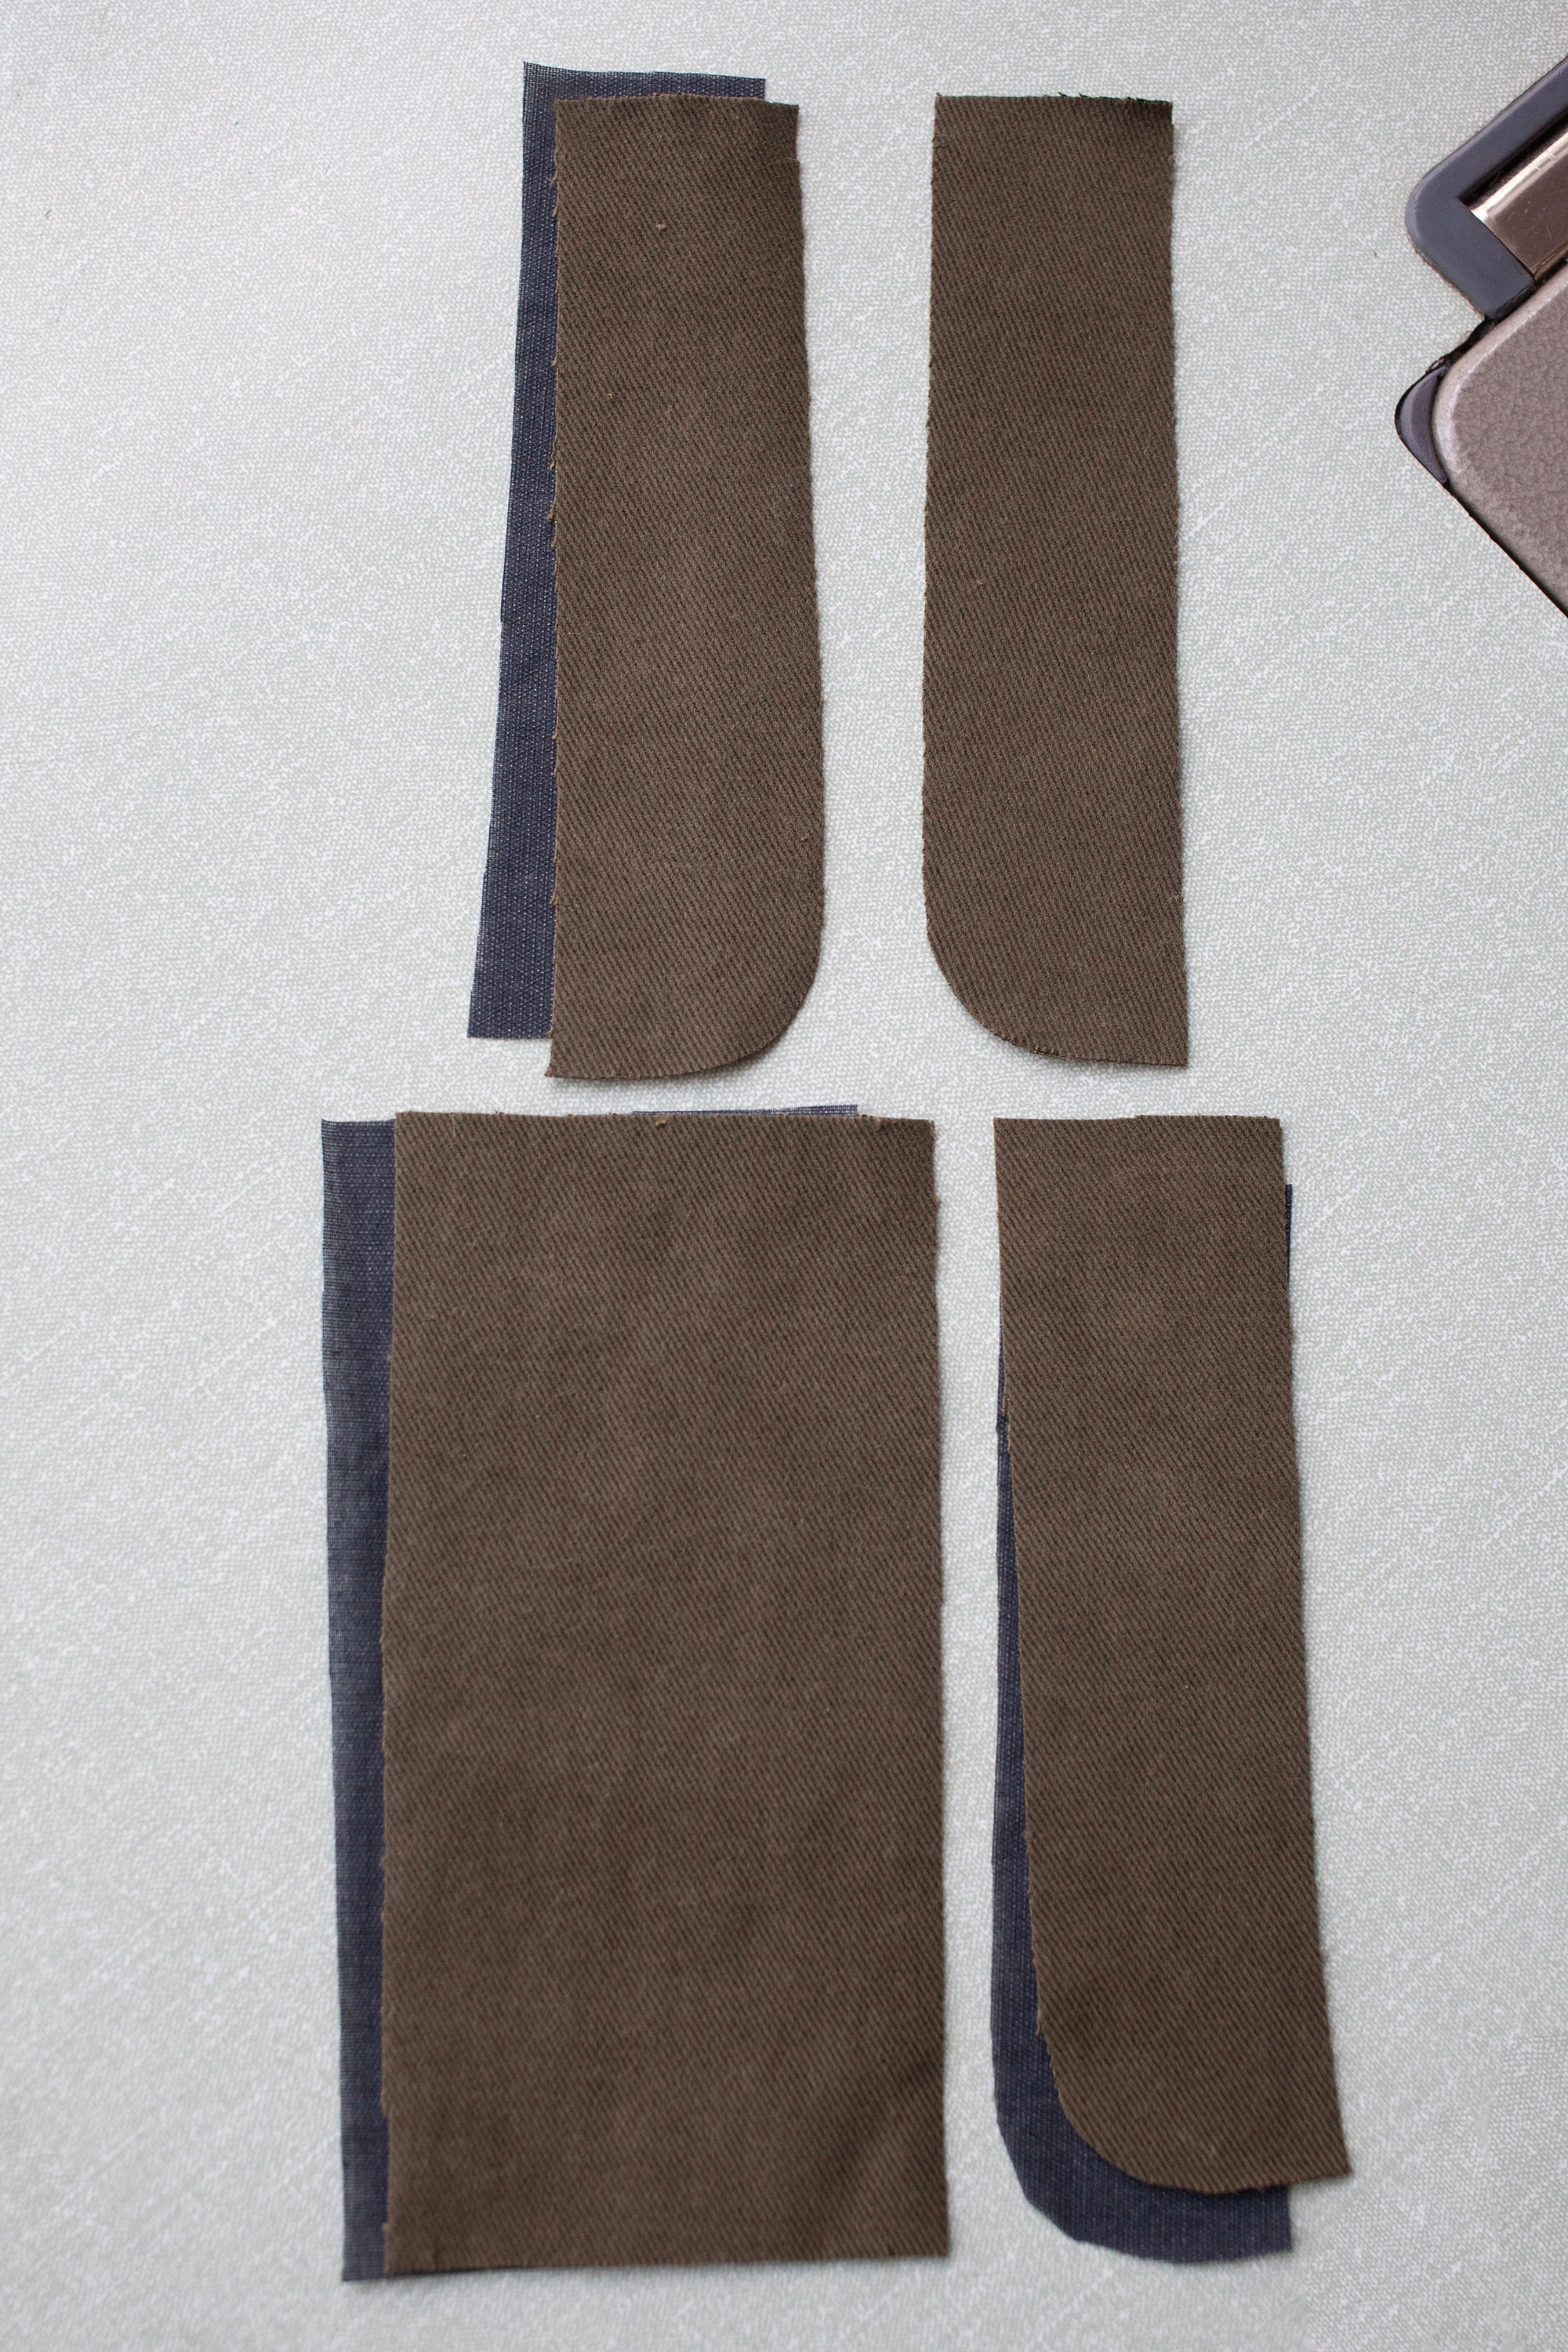
Begin by fusing the Fly Stand, Fly Facing and Button Hole Stand. Make sure that the Button Hole Stand is cut and fused as shown in this photo (with the curve on the right when looking at the fused side of the piece).
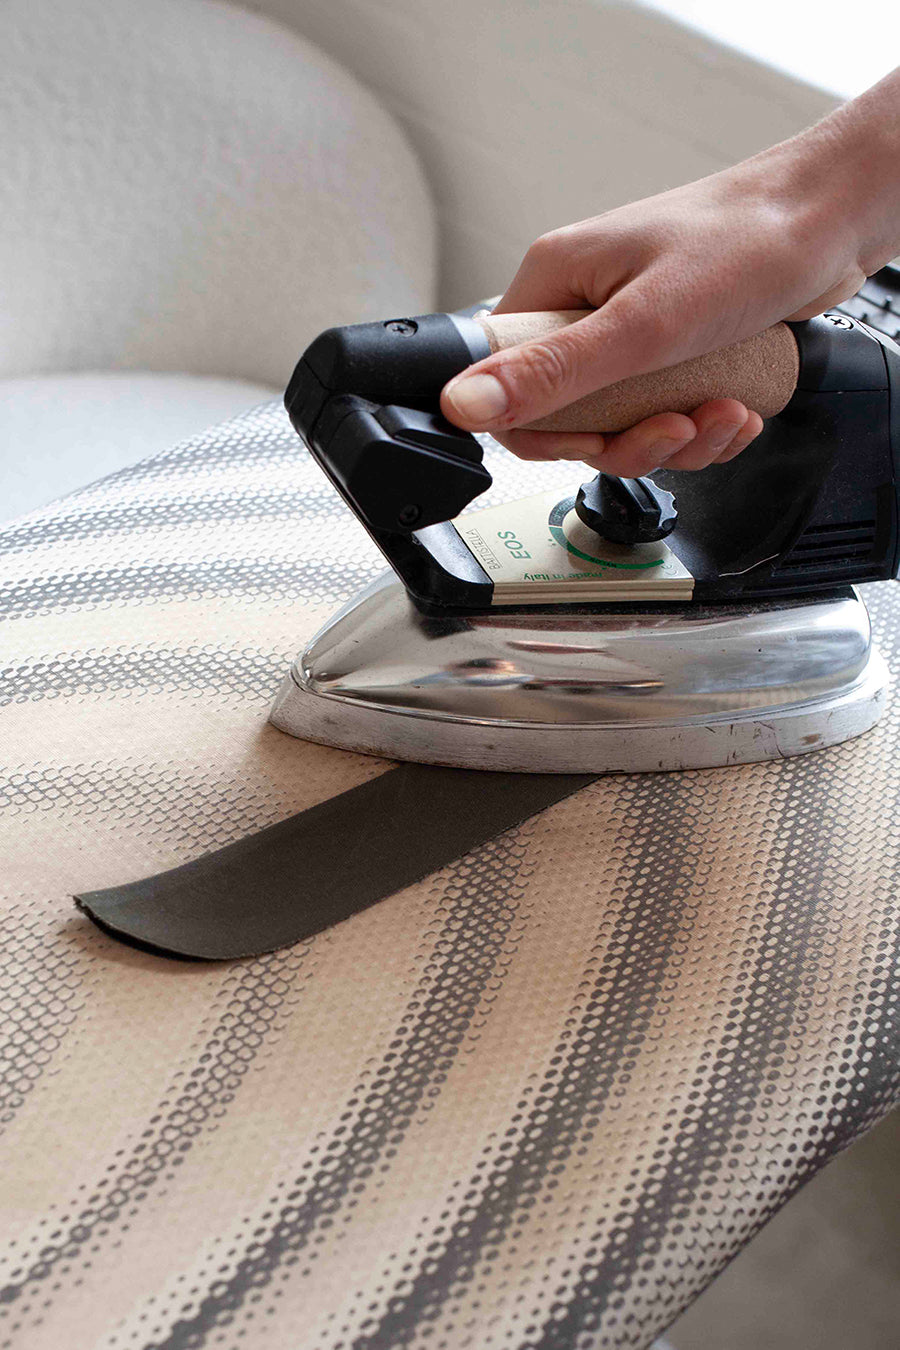
After you’ve fused your pieces, press the Fly Stand down the middle length ways.
B
Concealed Button Hole Stand
Next, prepare your Fly Stand by placing both pieces right sides together and sewing 1cm down the straight edge as shown in the sketch. Then fold back on itself by pressing the stand open and flat and then back in half with the wrong sides together.
C
Concealed Button Hole Stand
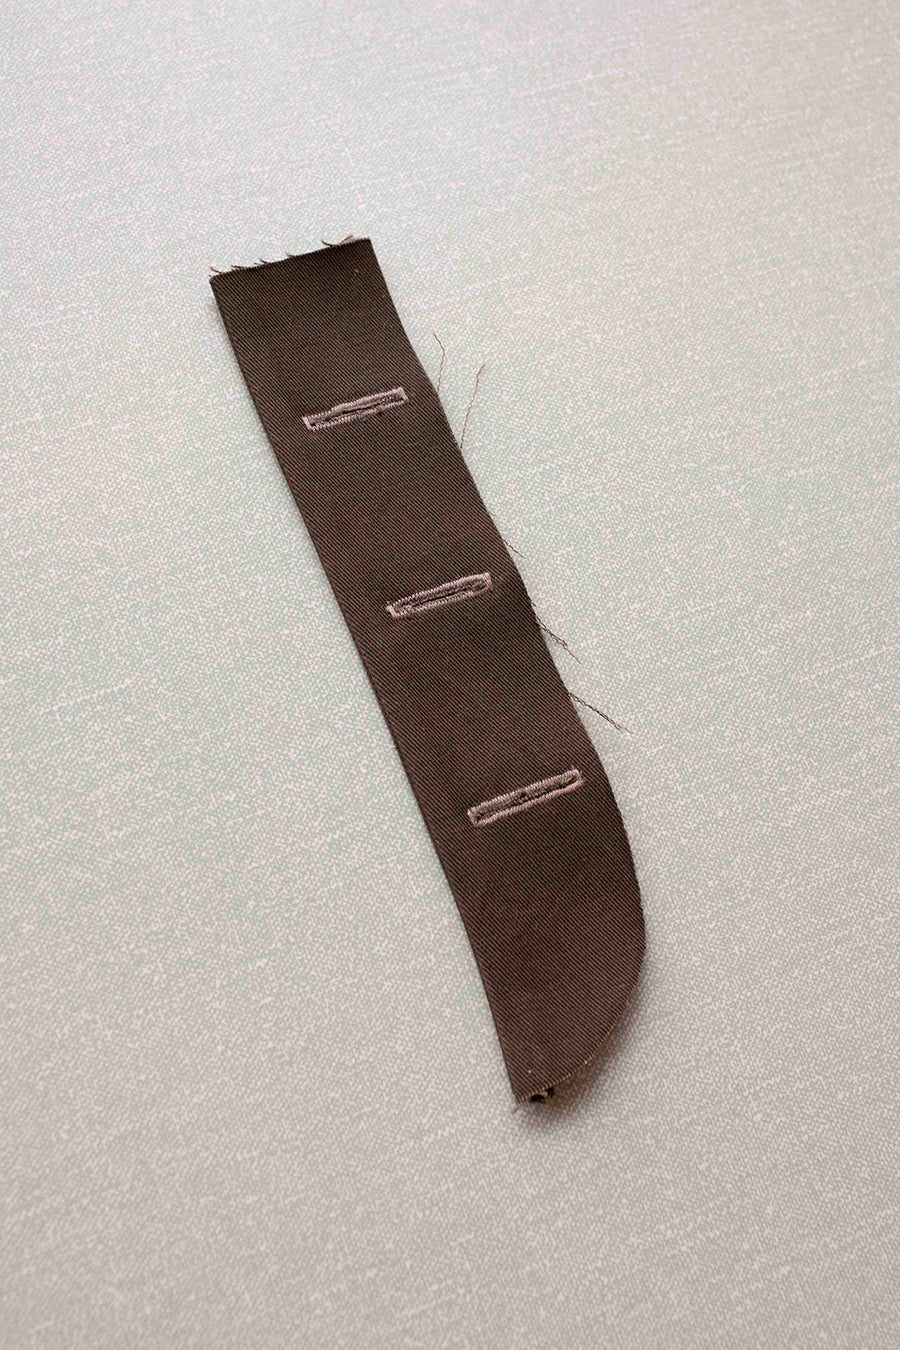
Check your button hole markings at this point and add your button holes to the fly stand.
D
Concealed Button Hole Stand
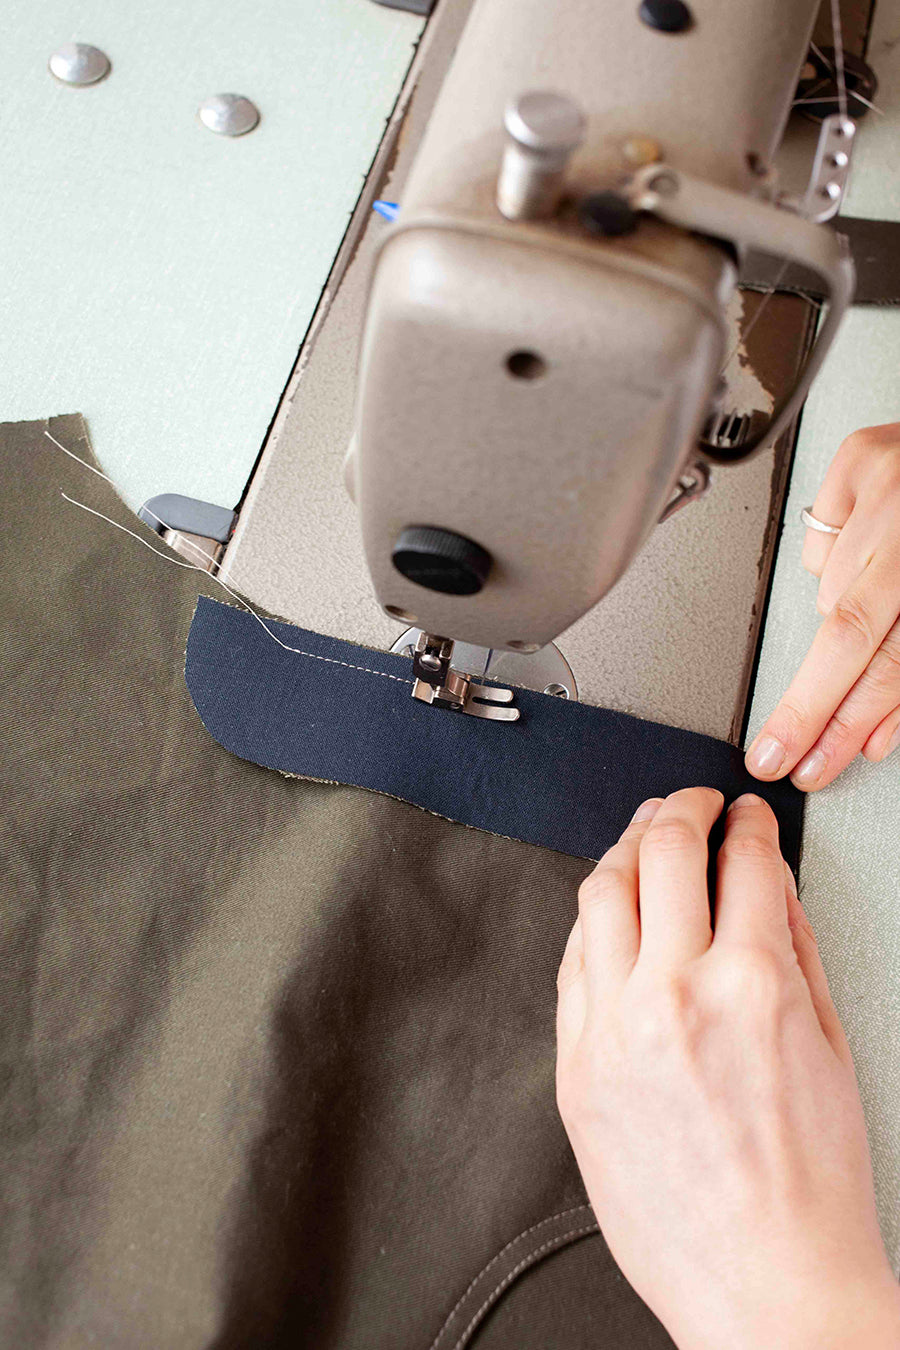
Next you’ll need your left leg in front of you, RIGHT SIDE UP. Now lay the fly facing against this raw edge, RIGHT SIDES TOGETHER. Stitch down this front edge at 1cm stopping exactly at the notch. Do a good backstitch here.
E
Concealed Button Hole Stand
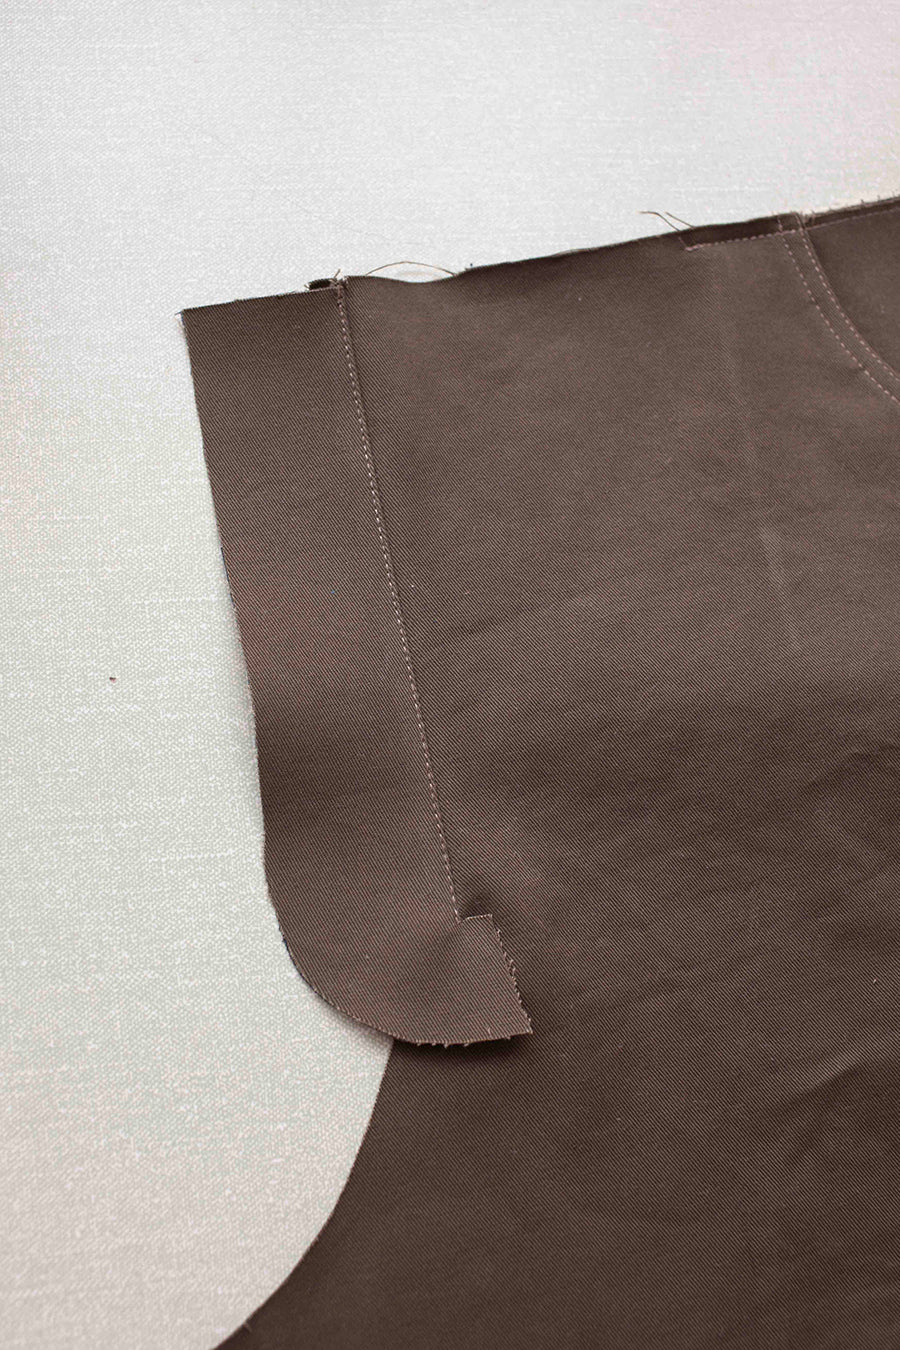
Snip into the seam allowance by 1cm at the notch to where the stitch line is and lay the facing open with the seam allowance folded to the facing side. Add a stay stitch down the edge of the fly stopping where the seam step starts. This edge stitching will go through the fly facing and the 2 layers of seam allowance that sit underneath.
F
Concealed Button Hole Stand
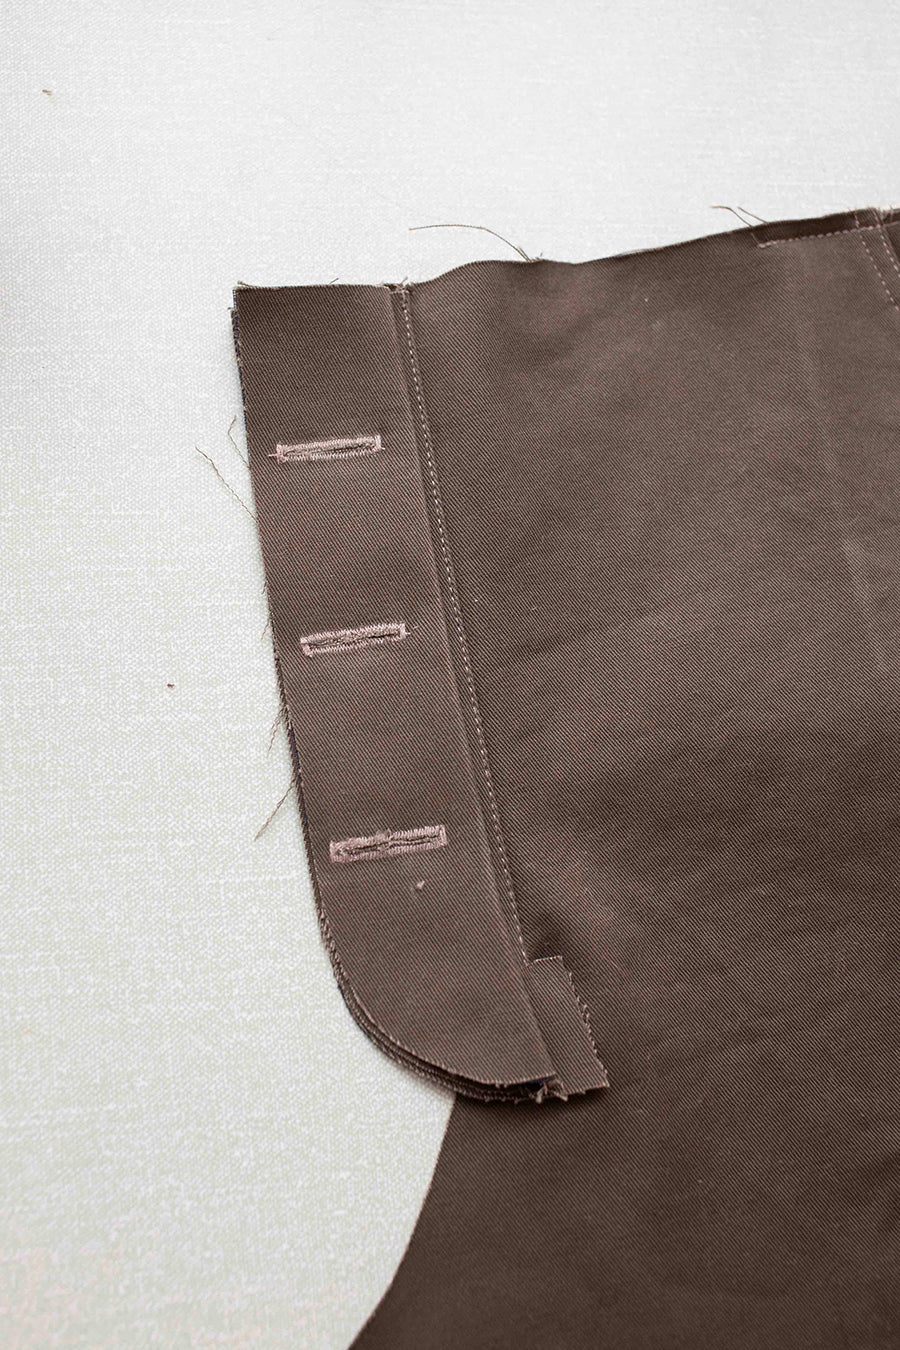
Next, lay your fly stand on top of the fly facing with the outer curved raw edges lined up together.
F1
Concealed Button Hole Stand
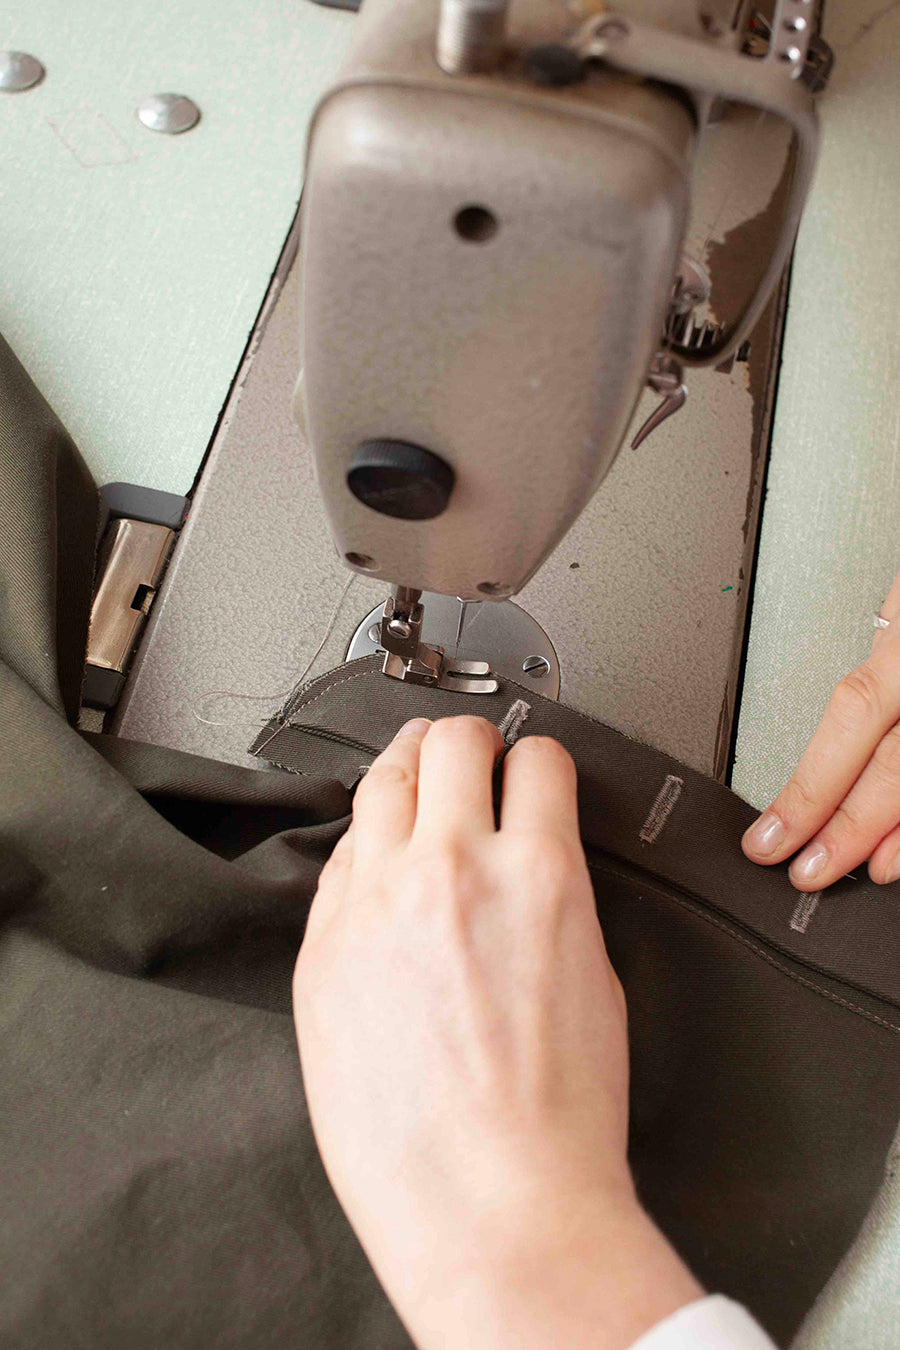
Stitch into place with a 0.5cm stitch line around the outer curved edge.
G
Adding Binding
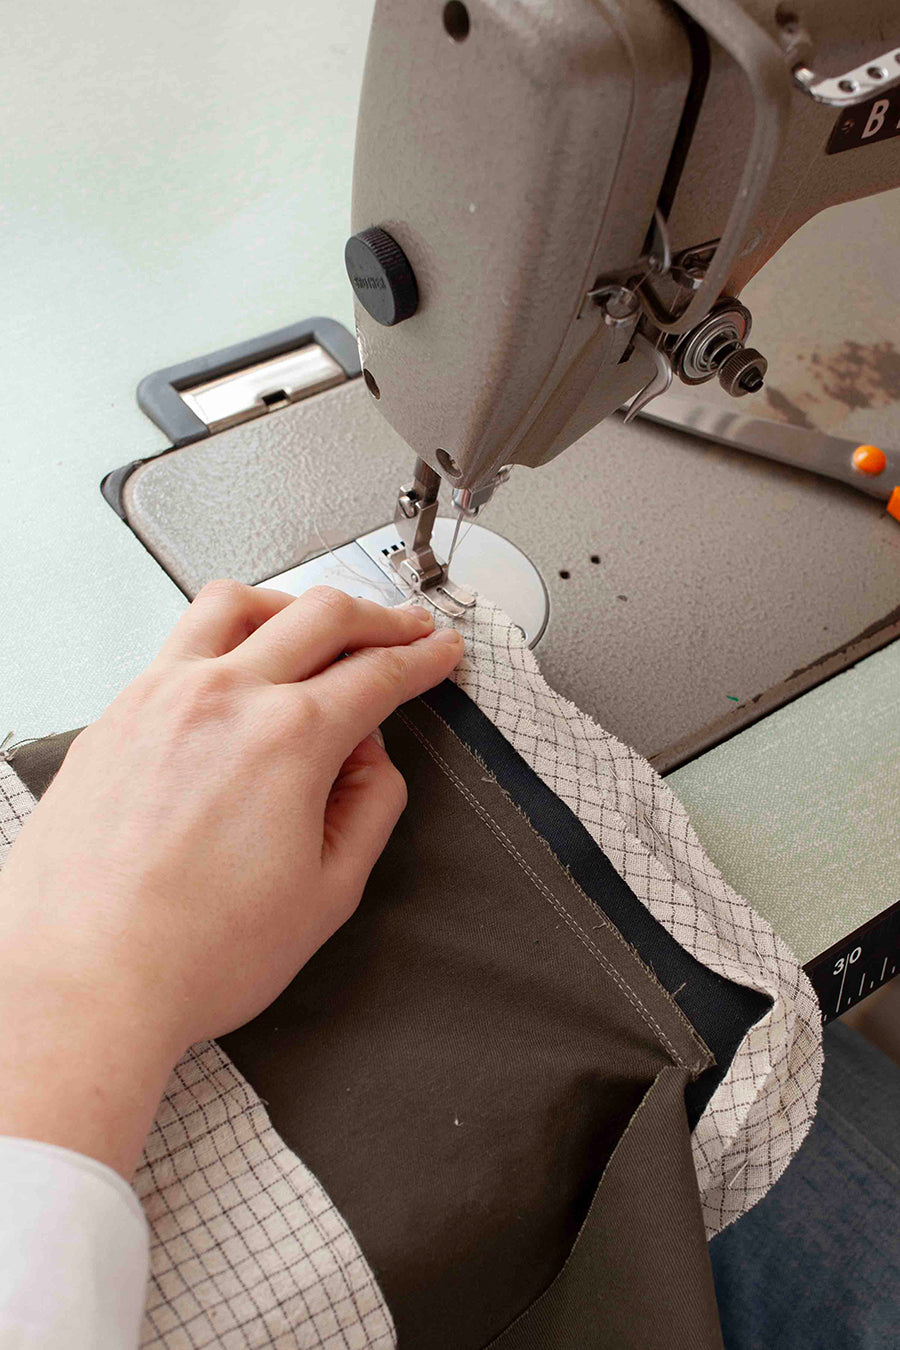
To prepare your binding you first need to press it into place by folding the outer edges in to meet in the middle. Then cut it in half length ways and save one piece for later.
Lay the left leg infront of you RIGHT SIDE DOWN. Lay binding on top of the fly stand with the RIGHT SIDE of the binding against the WRONG SIDE of the fly stand. Leave plenty of binding hanging off either end. Stitch down around the curve at about 0.7cm which should be in the grove of the fold created during pressing the binding.
H
Adding Binding
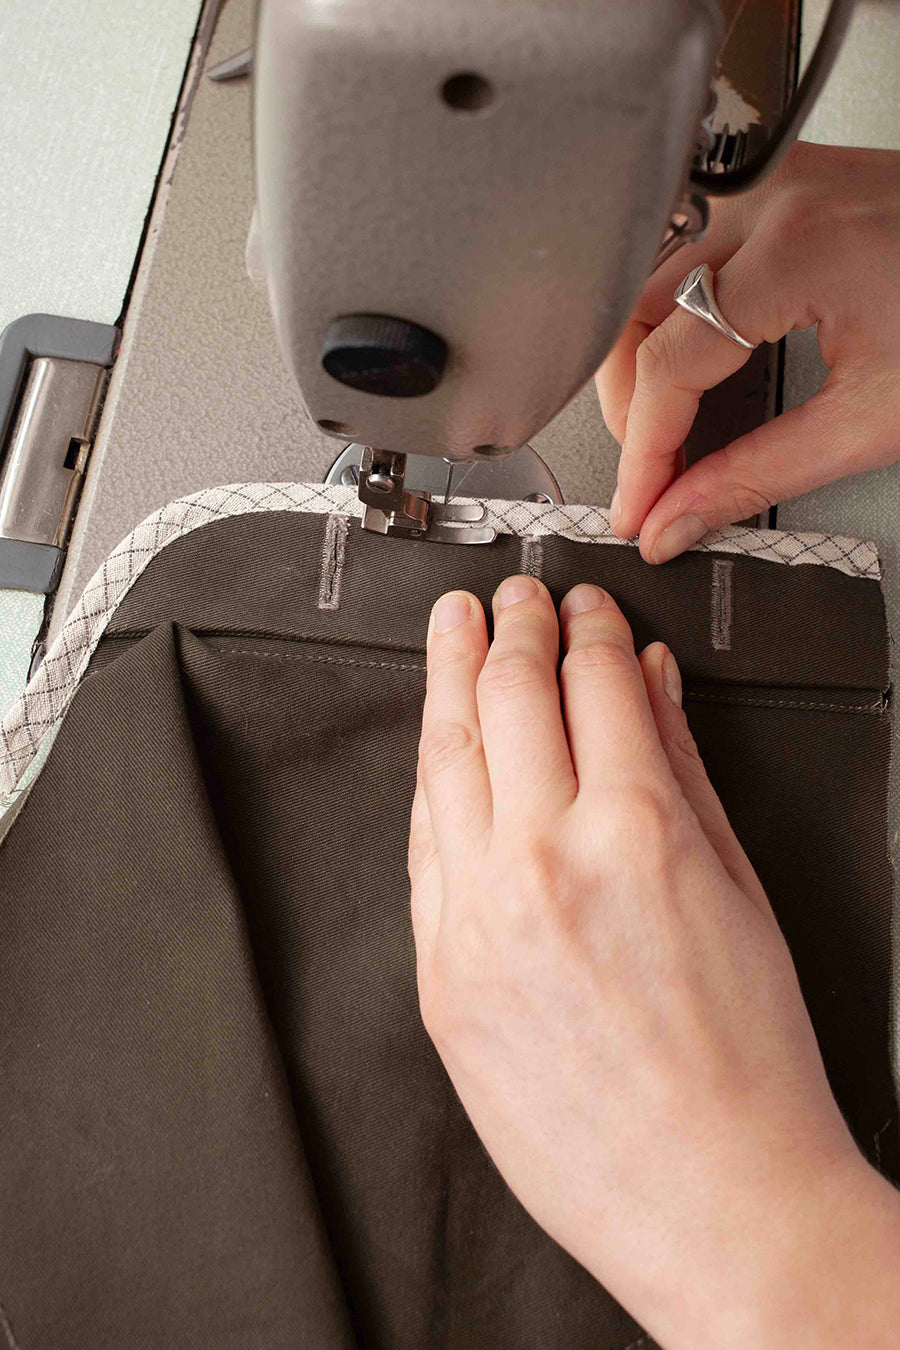
Next roll the rest of the binding over to the RIGHT SIDE of the fly stand. Wrap the binding around the raw edges and pin into place. Then edge stitch the binding down - take this nice and slow, making sure the binding is nice and parallel with no tucks or twisting.
H1
Adding Binding
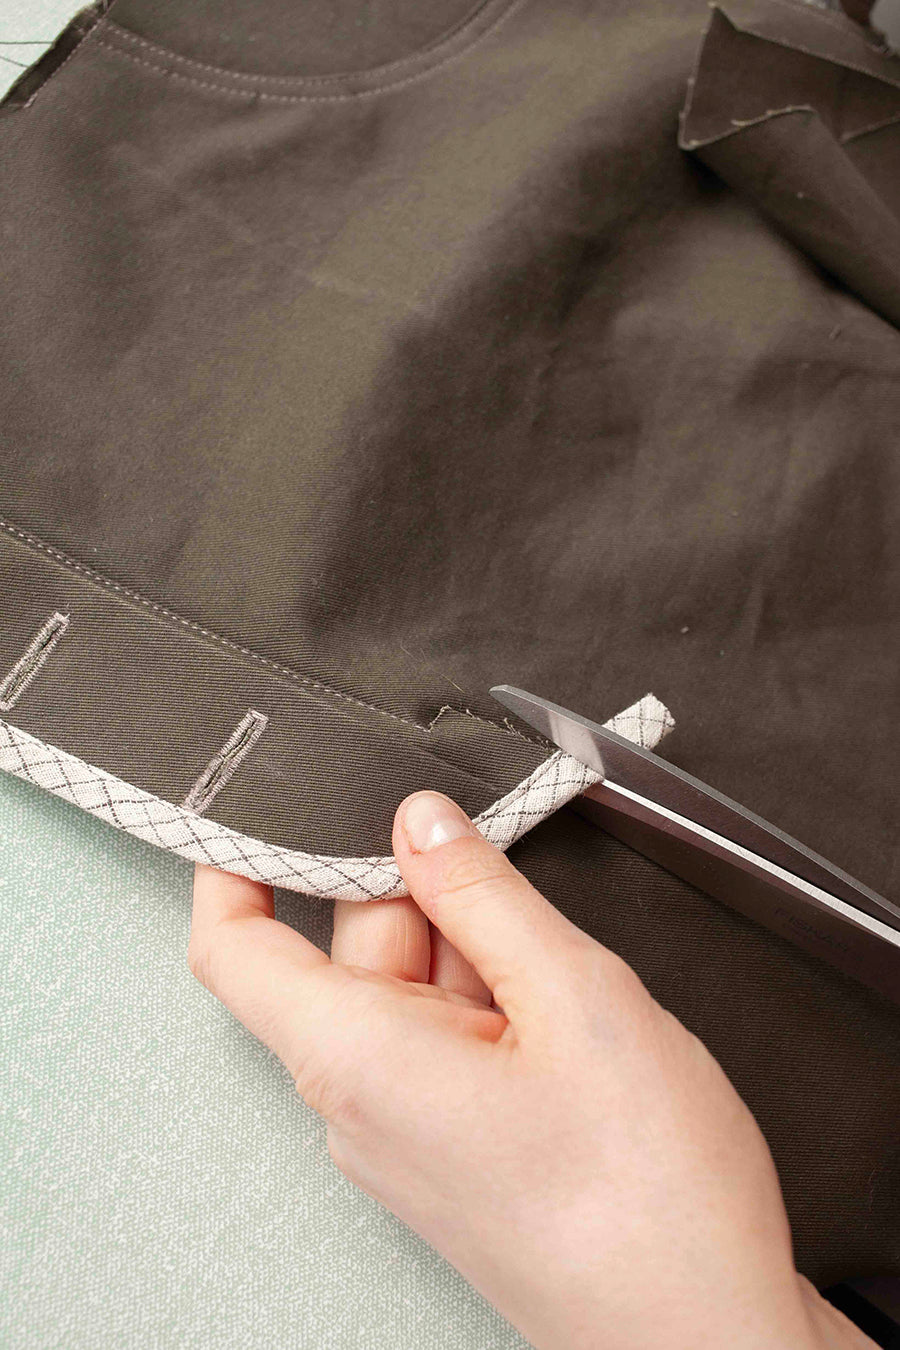
You can then trim off the ends of the binding to sit flush with the ends.
I
The Fly Guard
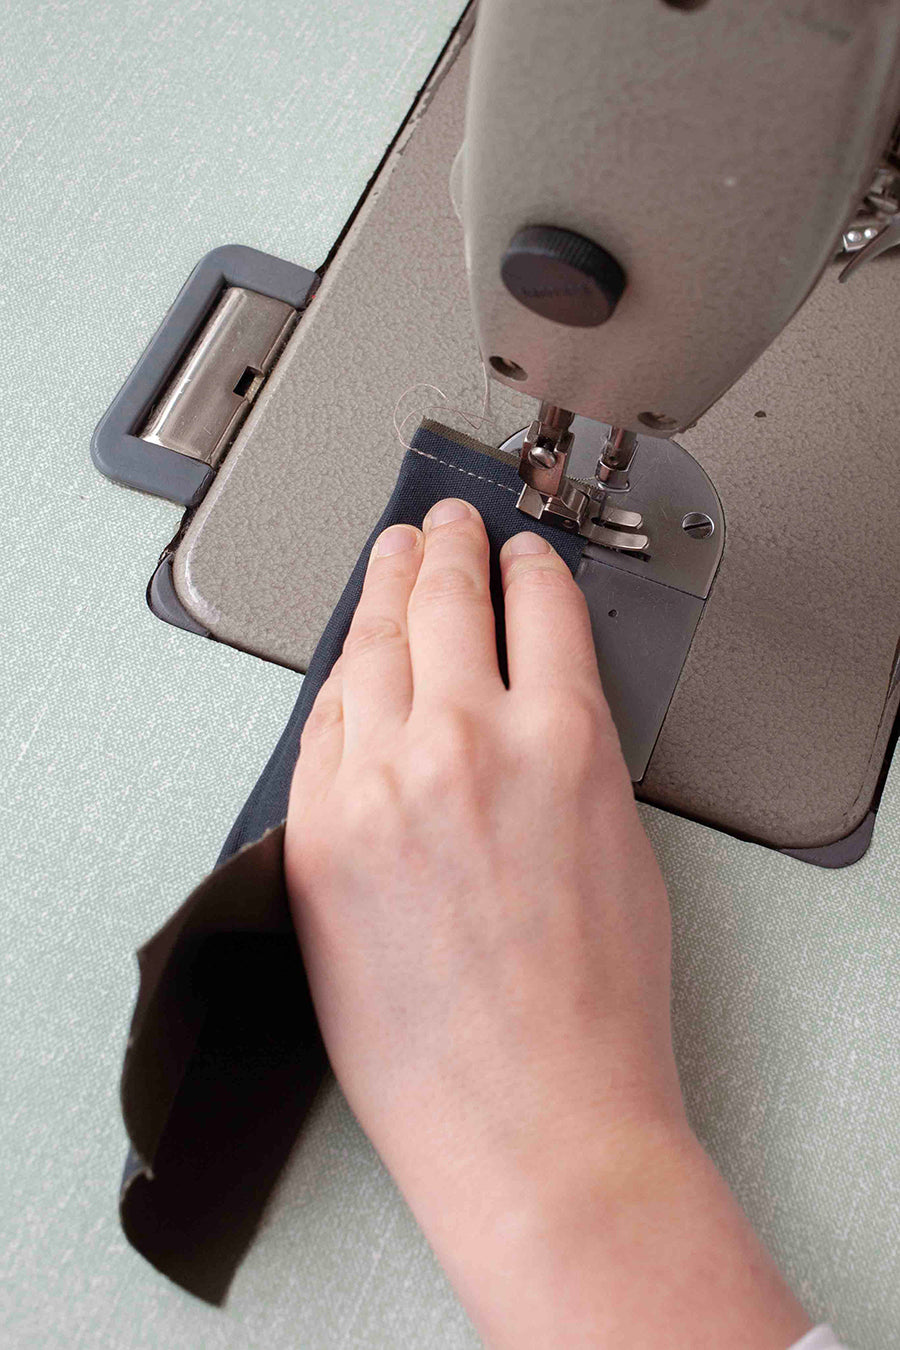
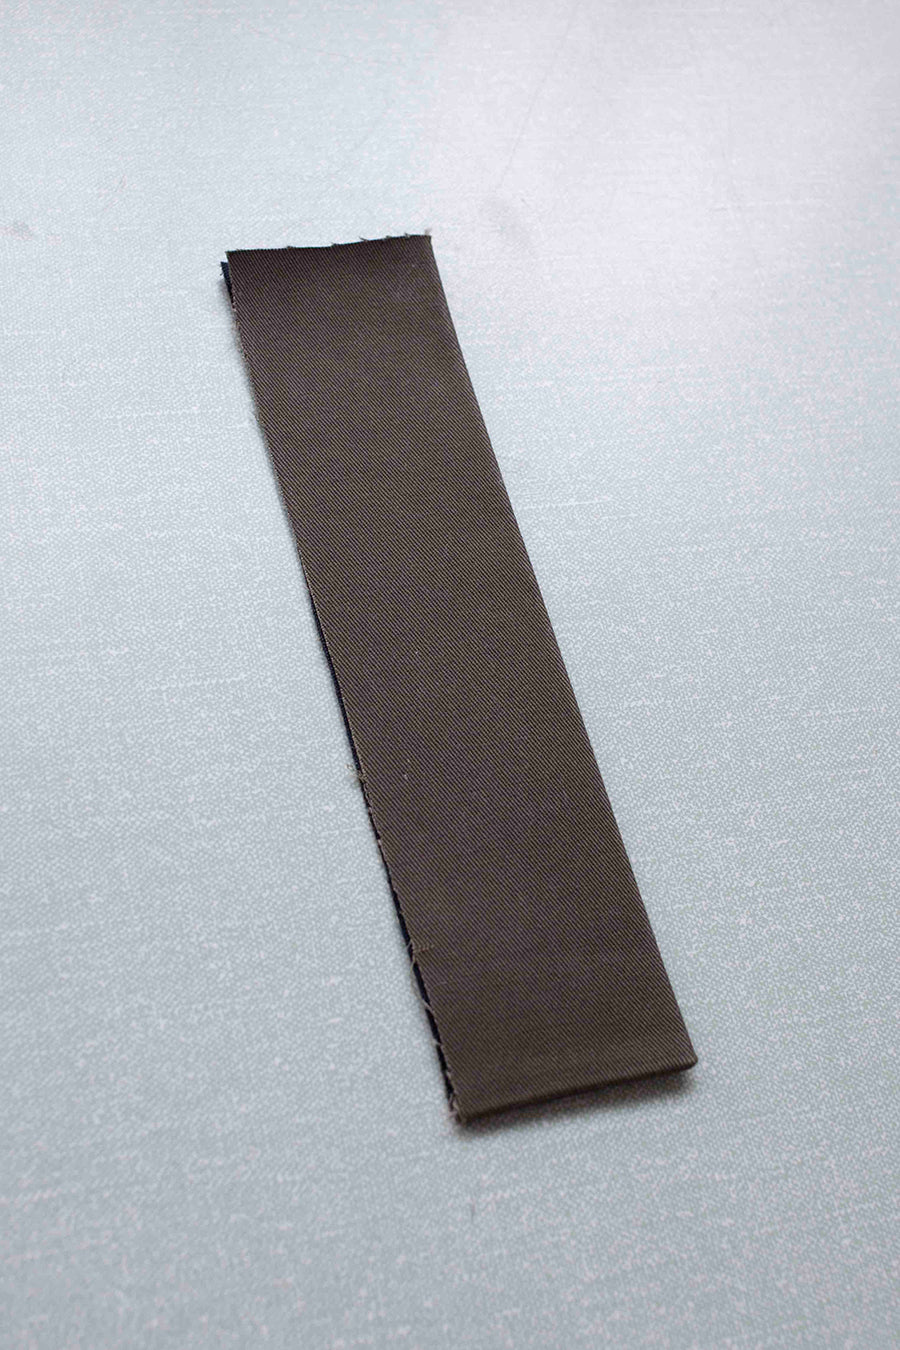
First you’ll need your fused Fly Stand. Press this piece in half lengthways and bag out the bottom of the square with a 1cm stitch. To do this, fold it in half RIGHT SIDES TOGETHER and stitch a 1cm line all the way across the bottom.
I1
The Fly Guard
Mitre the corner, turn out and press flat.
J
The Fly Guard
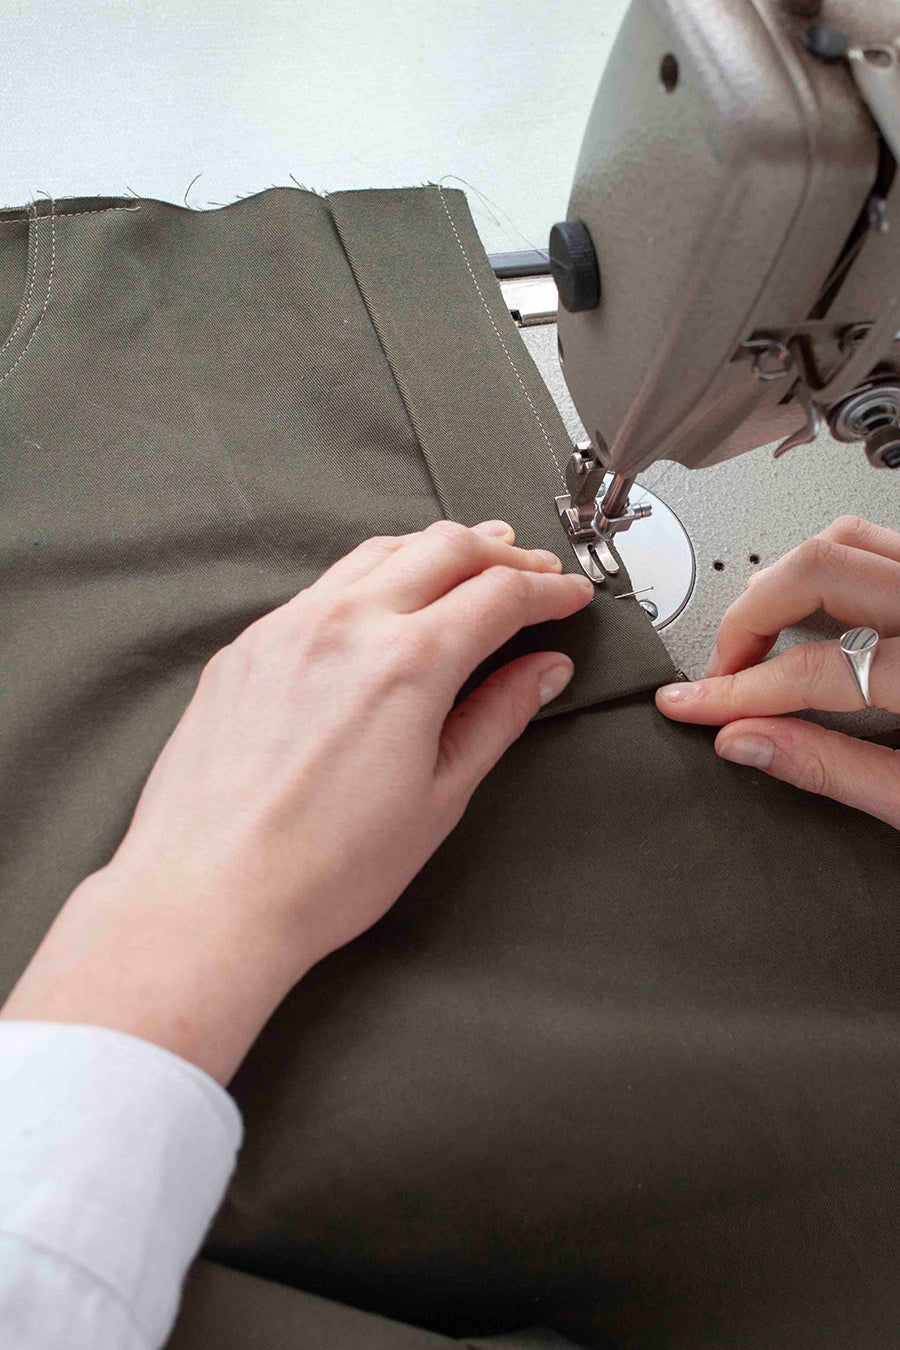
Lay your button stand on top of the RIGHT SIDE of your right hand trouser leg. Line up the pieces with the raw edges flush against each other. Stitch this down at 1cm, stopping right where the notch is.
K
Adding Binding
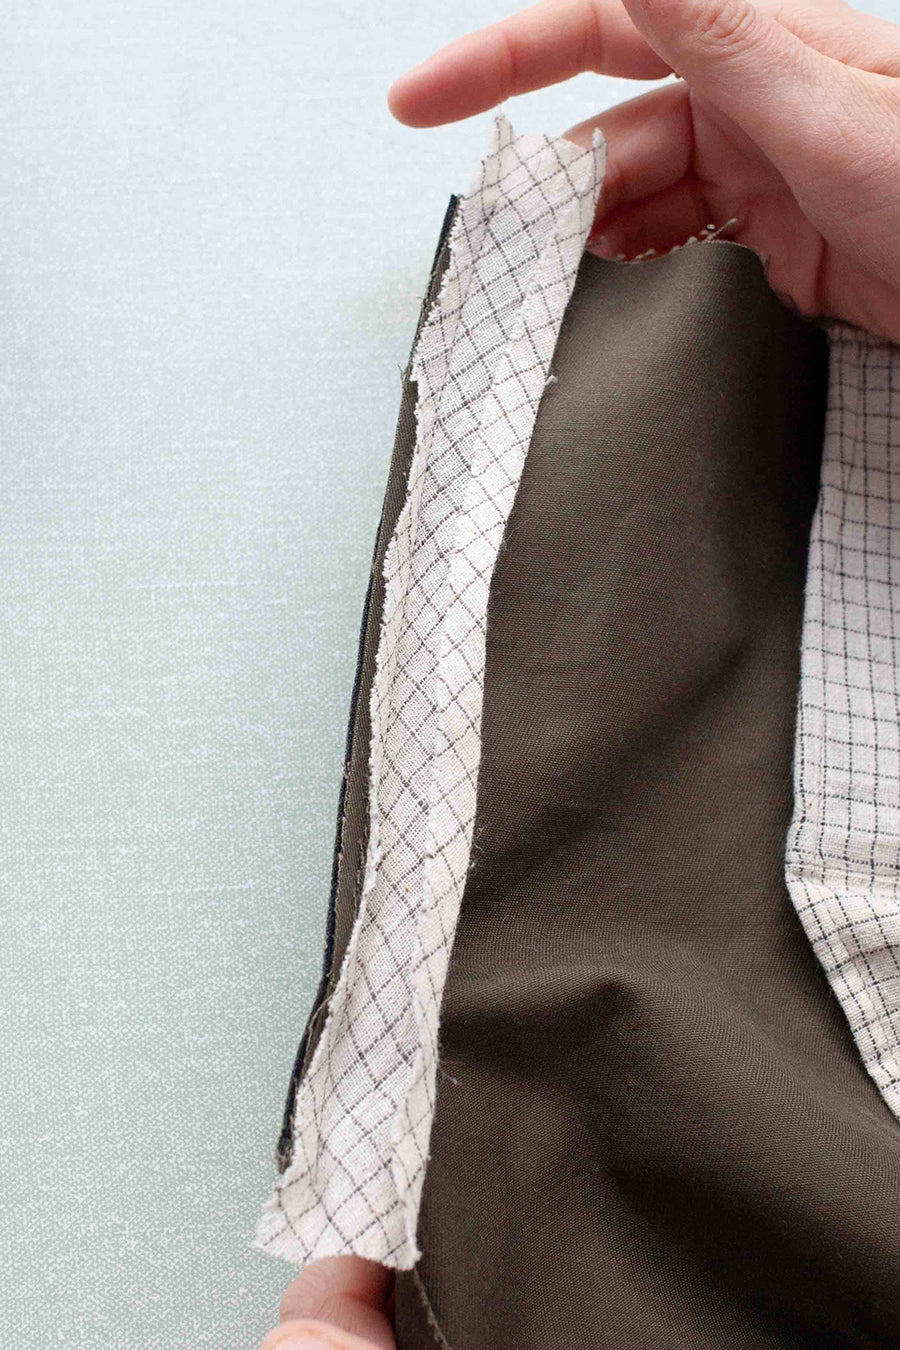
Lay the right hand leg infront of you RIGHT SIDE DOWN and find your spare piece of binding. Lay the raw edge of the binding against the fly guard seam with the RIGHT SIDE of the binding against the WRONG SIDE of the trouser. Make sure there is plenty of binding at the top and bottom, then pin into place and stitch down at 0.5cm.
L
Adding Binding
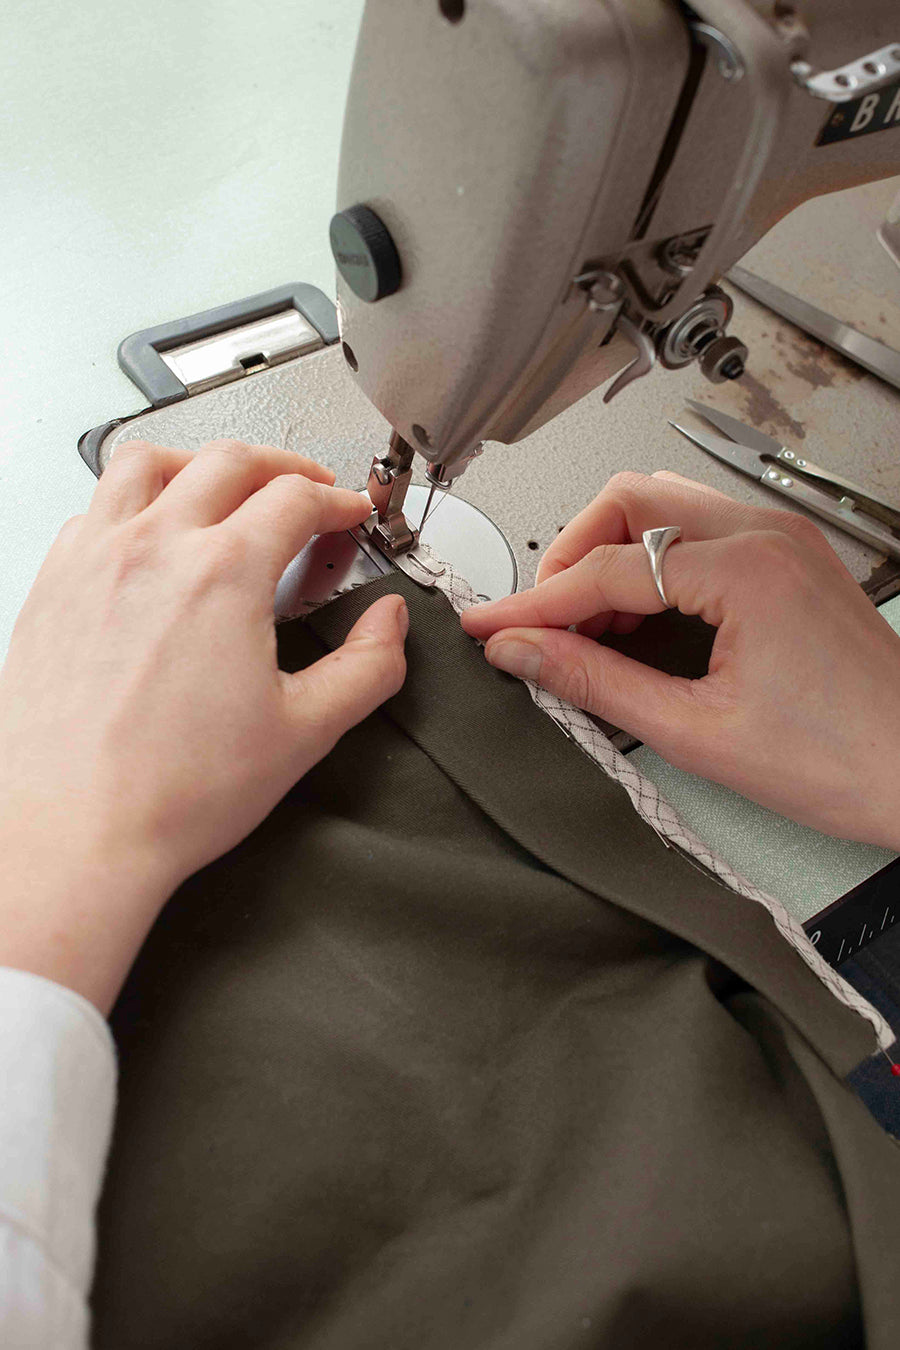
Next, wrap the binding over to the front to enclose the raw edges. Start by turning the leg over so that it’s sitting RIGHT SIDE UP and make sure the binding is sitting out and flat on the table. Using small scissors you can then remove excess bulk from the corners of the binding and fly guard.
Then turn up the bottom end of the binding and then fold the rest of the binding over the raw edges to enclose the whole area. Take your time arranging the layers so you get a neat squared off section at the bottom. Edge stitch into place and then trim the excess binding at the top to sit flush with top of the leg.
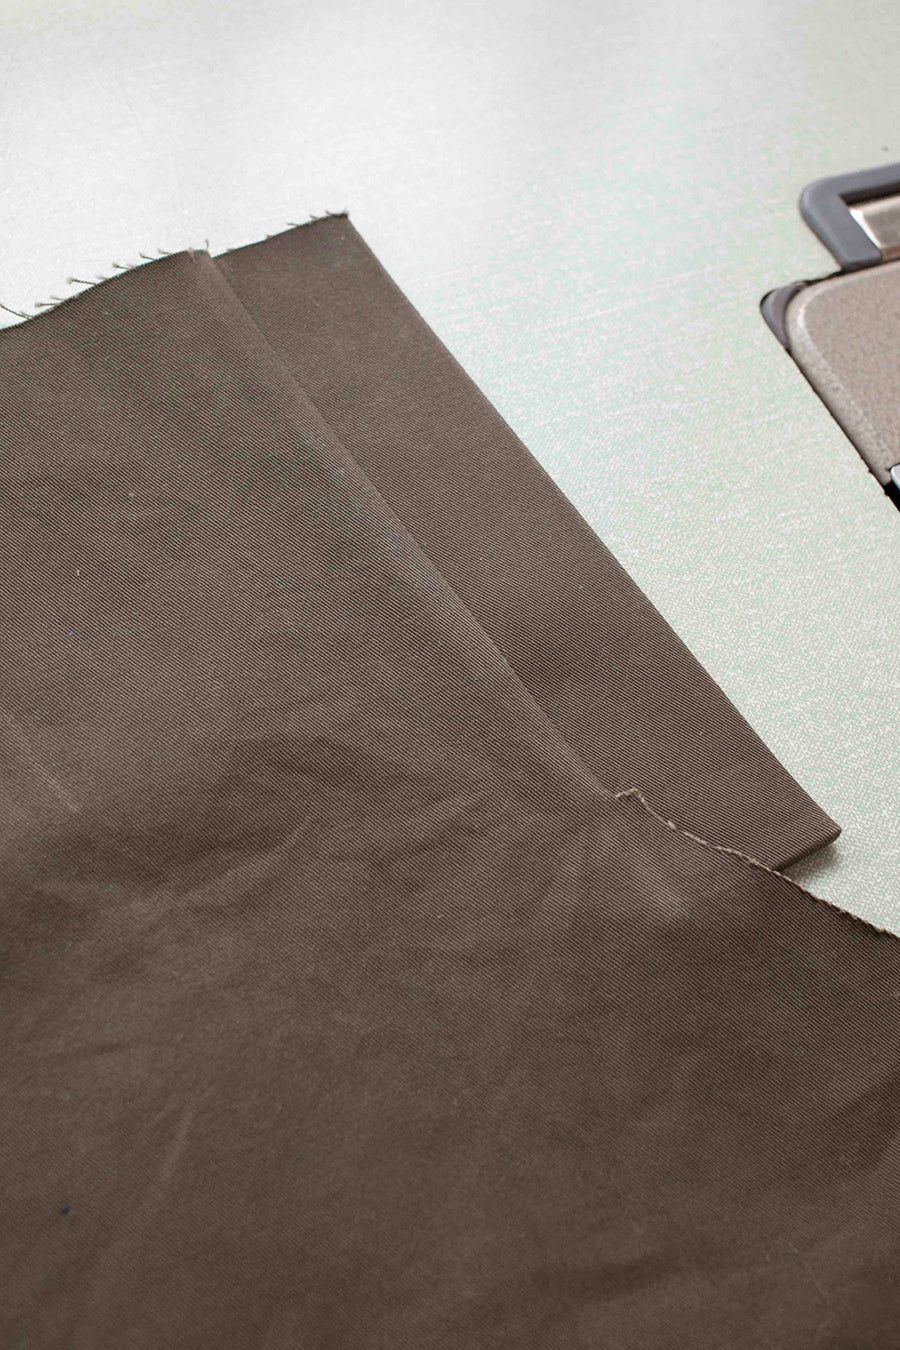
M
Joining the Crotch
Snip in about 0.5cm at the bottom of the seam step, just under where the stitching stops. Flip this little free step out to lay flat.
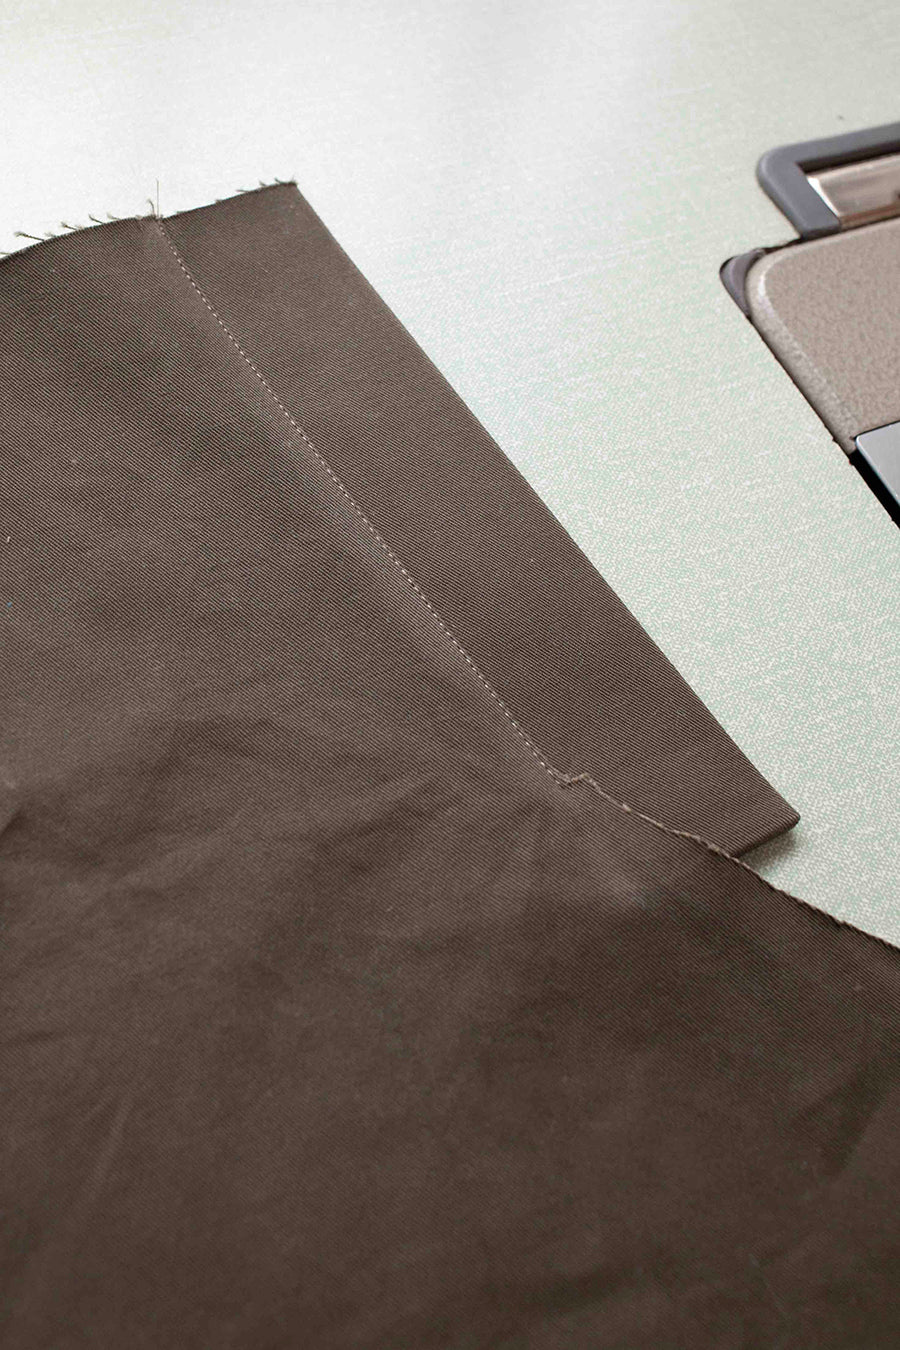
M1
Joining the Crotch
Then add a 1mm edge stitch down the side of the seam, stopping just before the step.
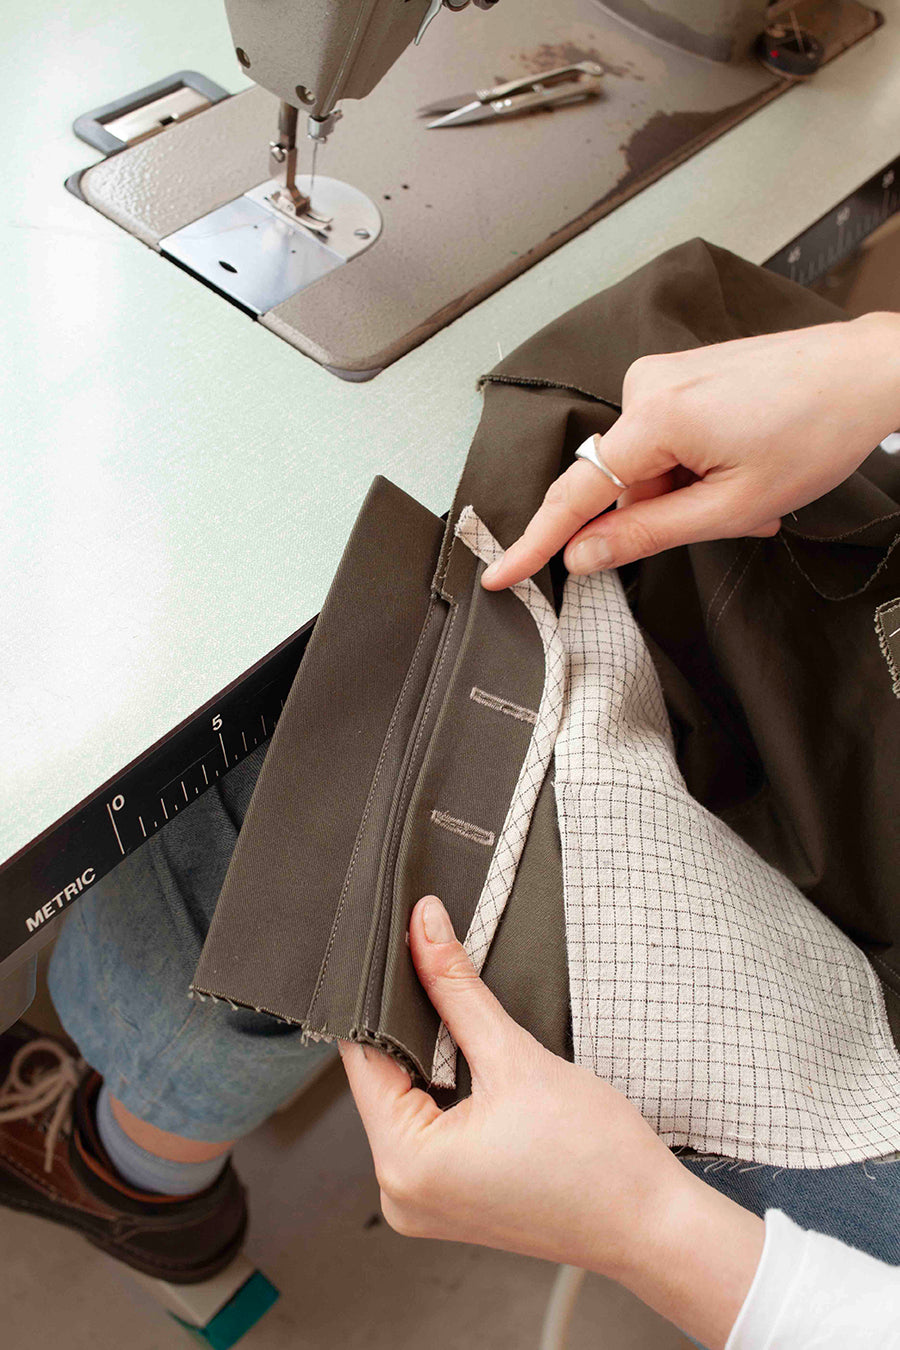
N
Joining the Crotch
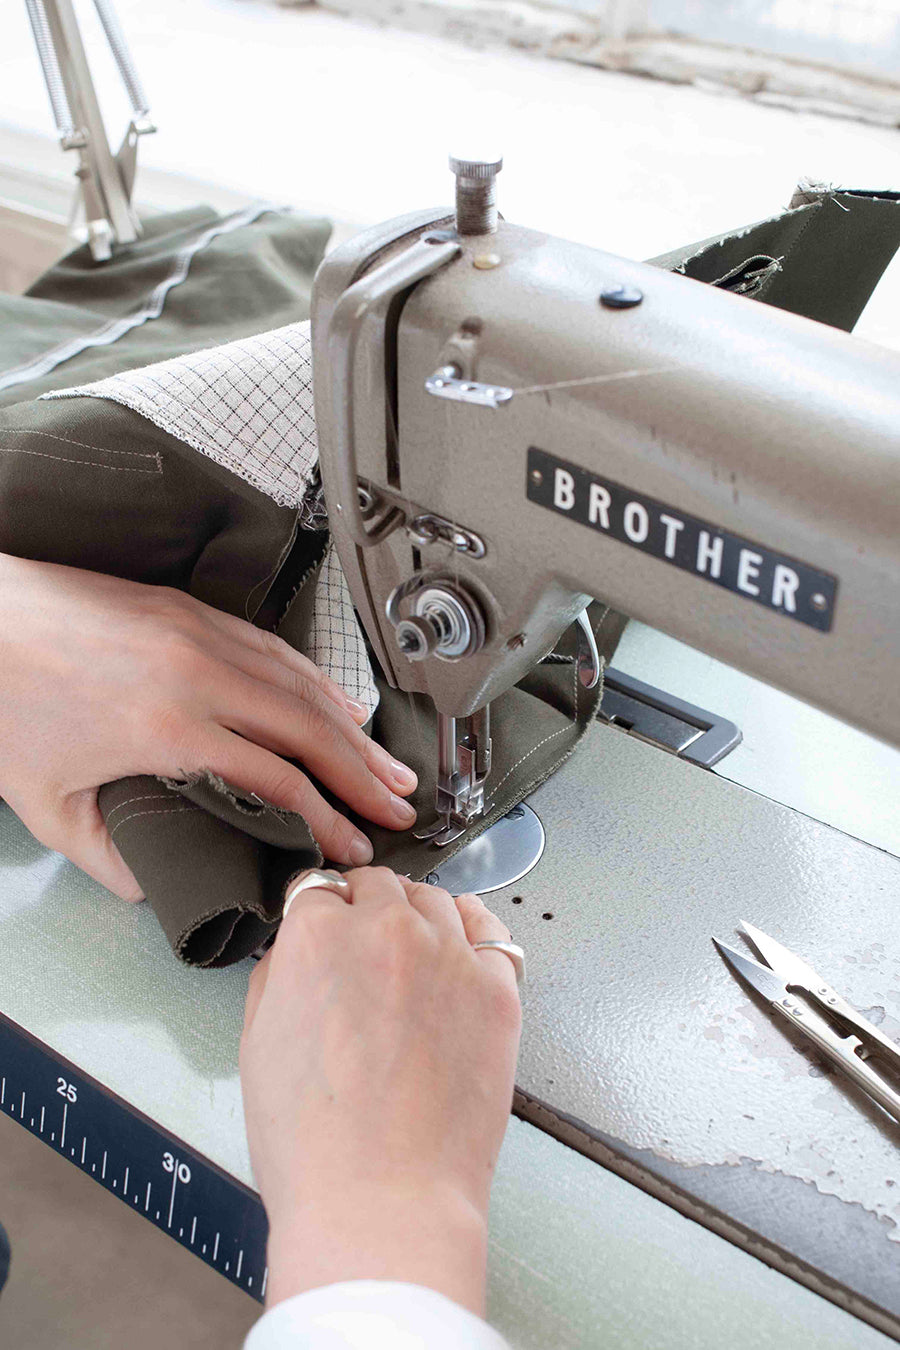
Place both crotch seams together RIGHT SIDES TOGETHER. You’ll need to put one leg inside the other for this part.
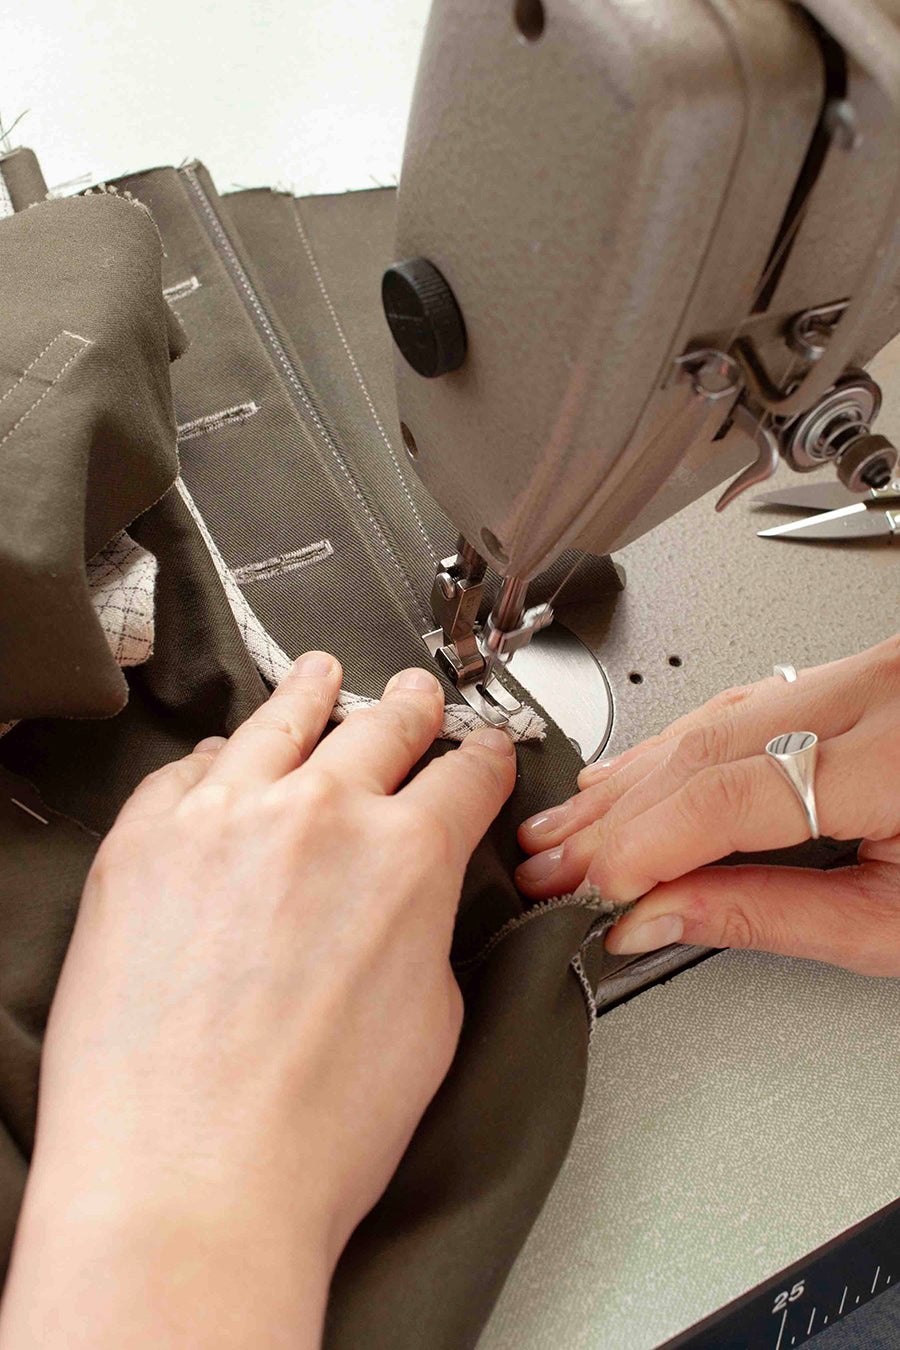
N1
Joining the Crotch
Match the front steps together and pin from the bottom of the fly all the way around to the back.
N2
Joining the Crotch
Stitch the crotch together from the back right up to the crotch step with a 1cm seam allowance.
N3
Joining the Crotch
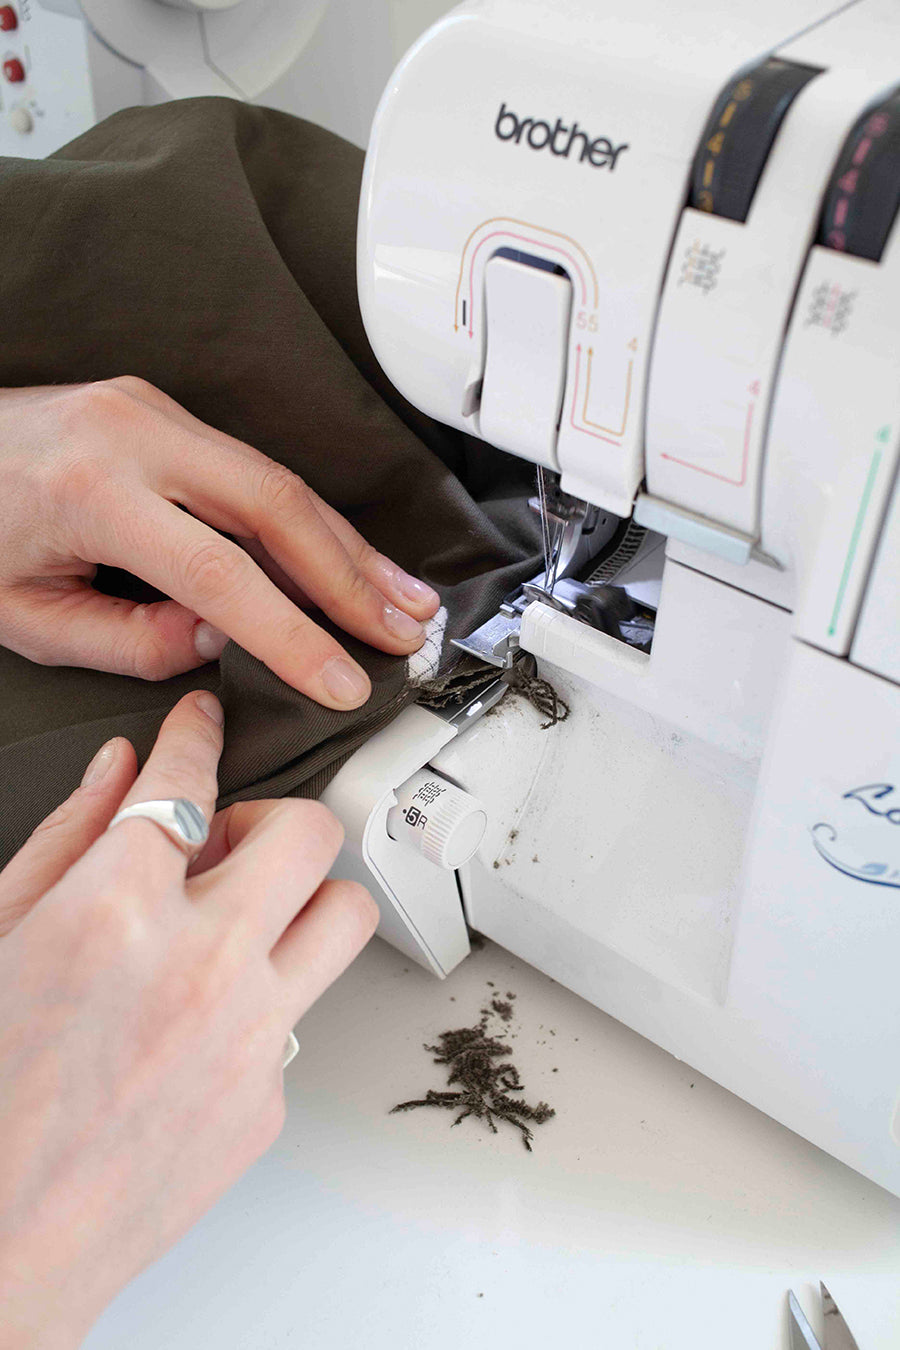
Then immediately overlock this seam.
N4
Joining the Crotch
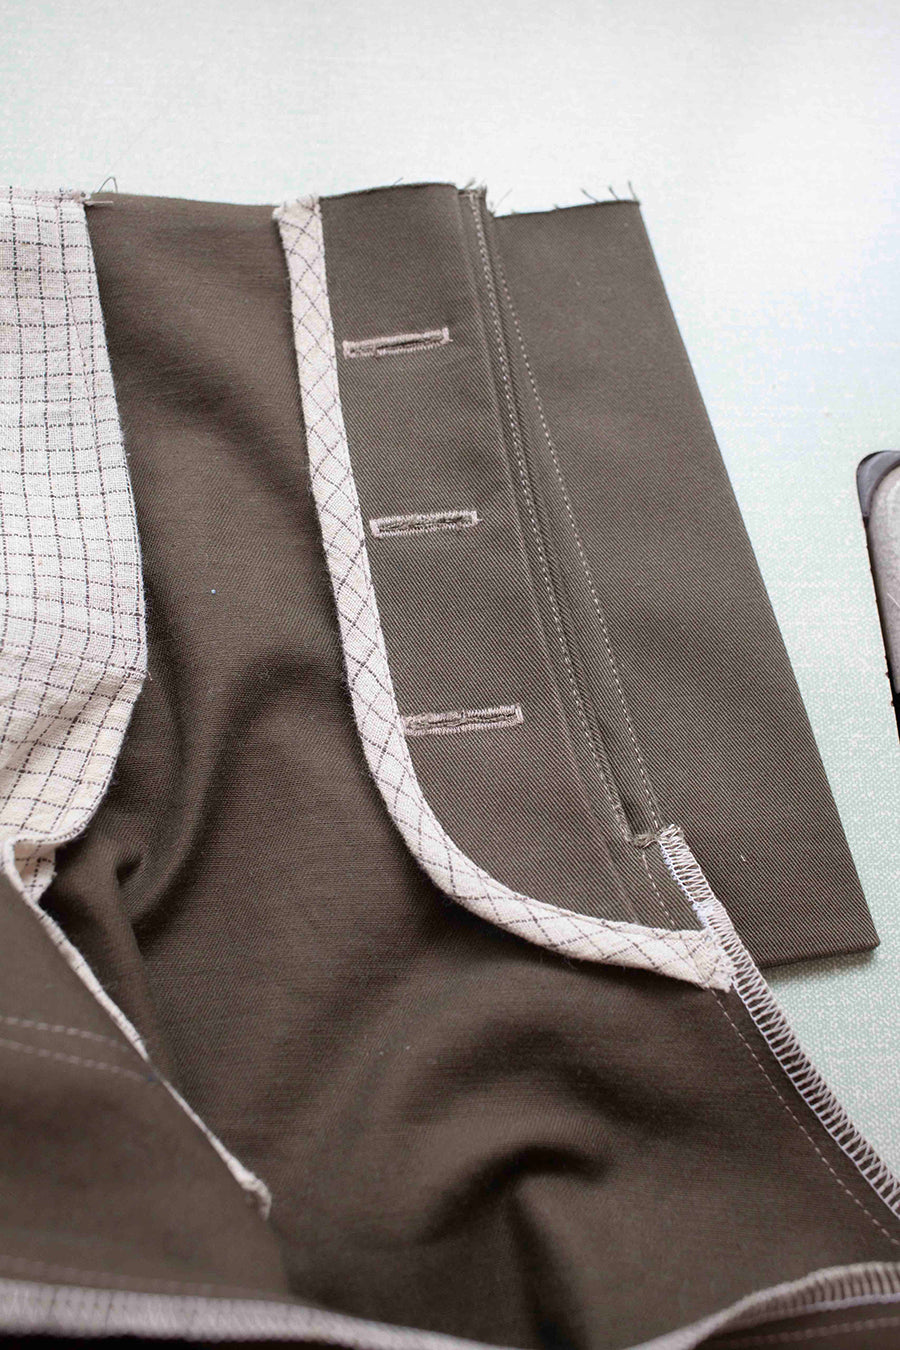
The crotch should now be joined and overlocked.
O
Topstitching the Fly
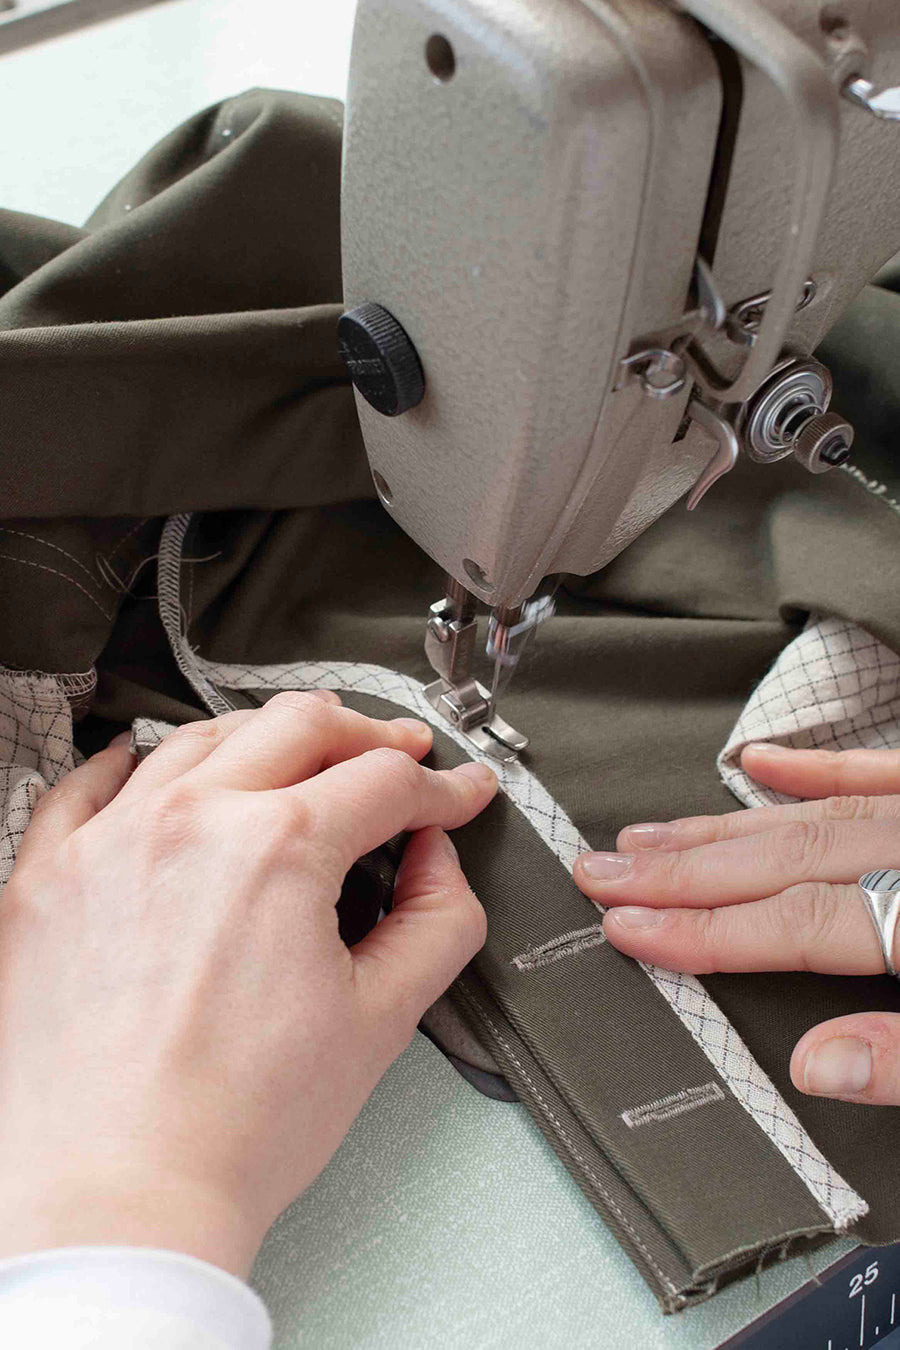
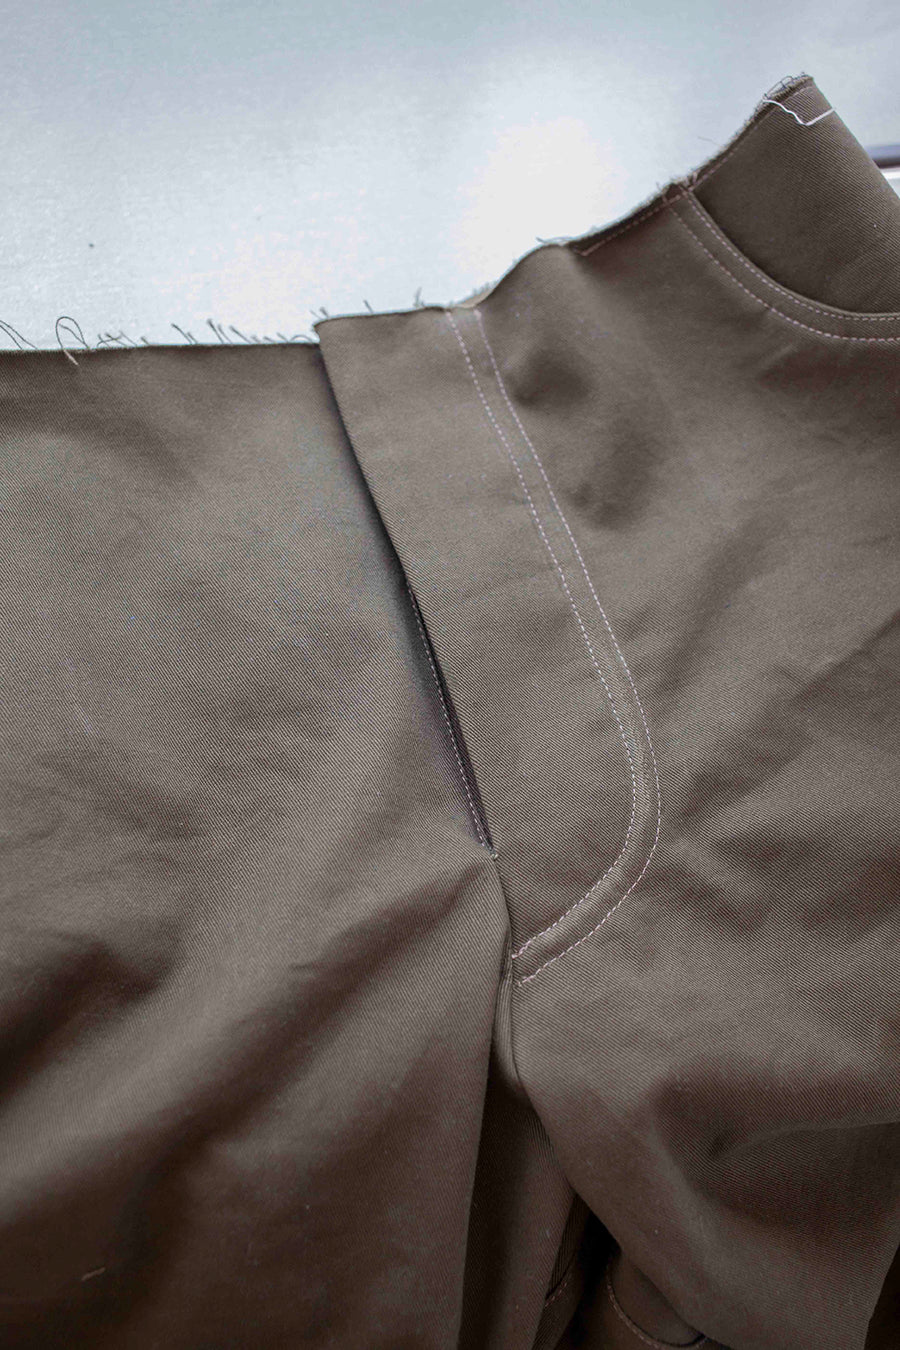
Now lay the front trouser flat and pin the facing flat against the front leg. From the inside of the trouser stitch around the curve of the facing nice and slowly to get a smooth stitch line. Sew right up to the crotch seam and do a good backwards stitch to finish. Make sure all other layers are pushed out of the way as you reach the front crotch seam.
O1
Topstitching the Fly
You can choose either 1 or 2 lines of stitching around the fly (2 lines shown above). Your first line of stitching should be on the outer edge of the binding and the second line of stitching should be in the inner edge.
P
Topstitching the Fly
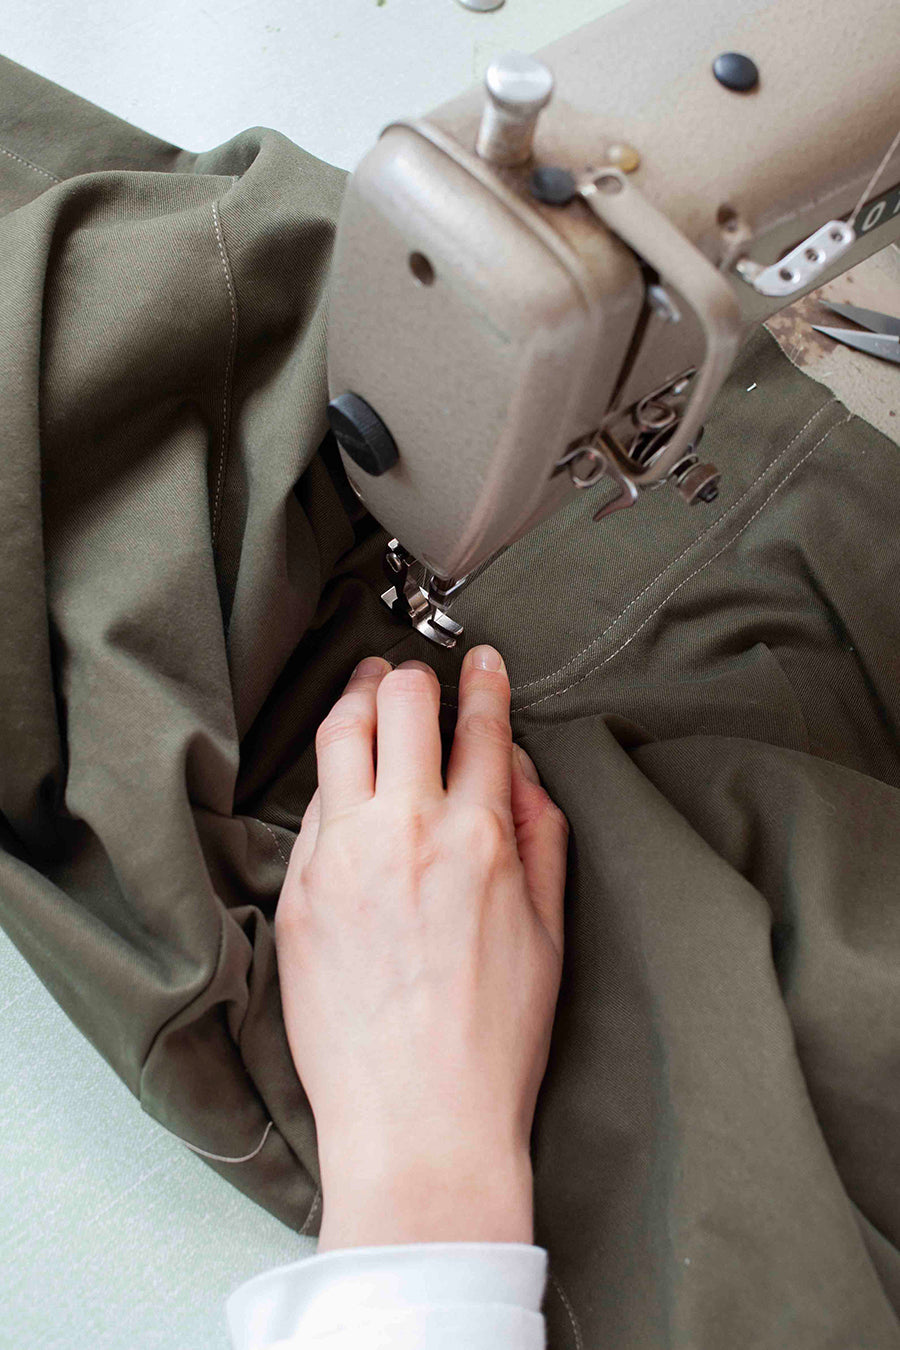
You can now finish your fly by stitching from the right side of the trousers. From the top side of the trouser add a bar tack at the base of the fly opening. To do this, position your trouser sideways in your sewing machine and drop the needle right in the middle of the front crotch seam. Stitch forward and backwards by 3 stitches on the same spot to create your bar tack.
P1
Topstitching the Fly
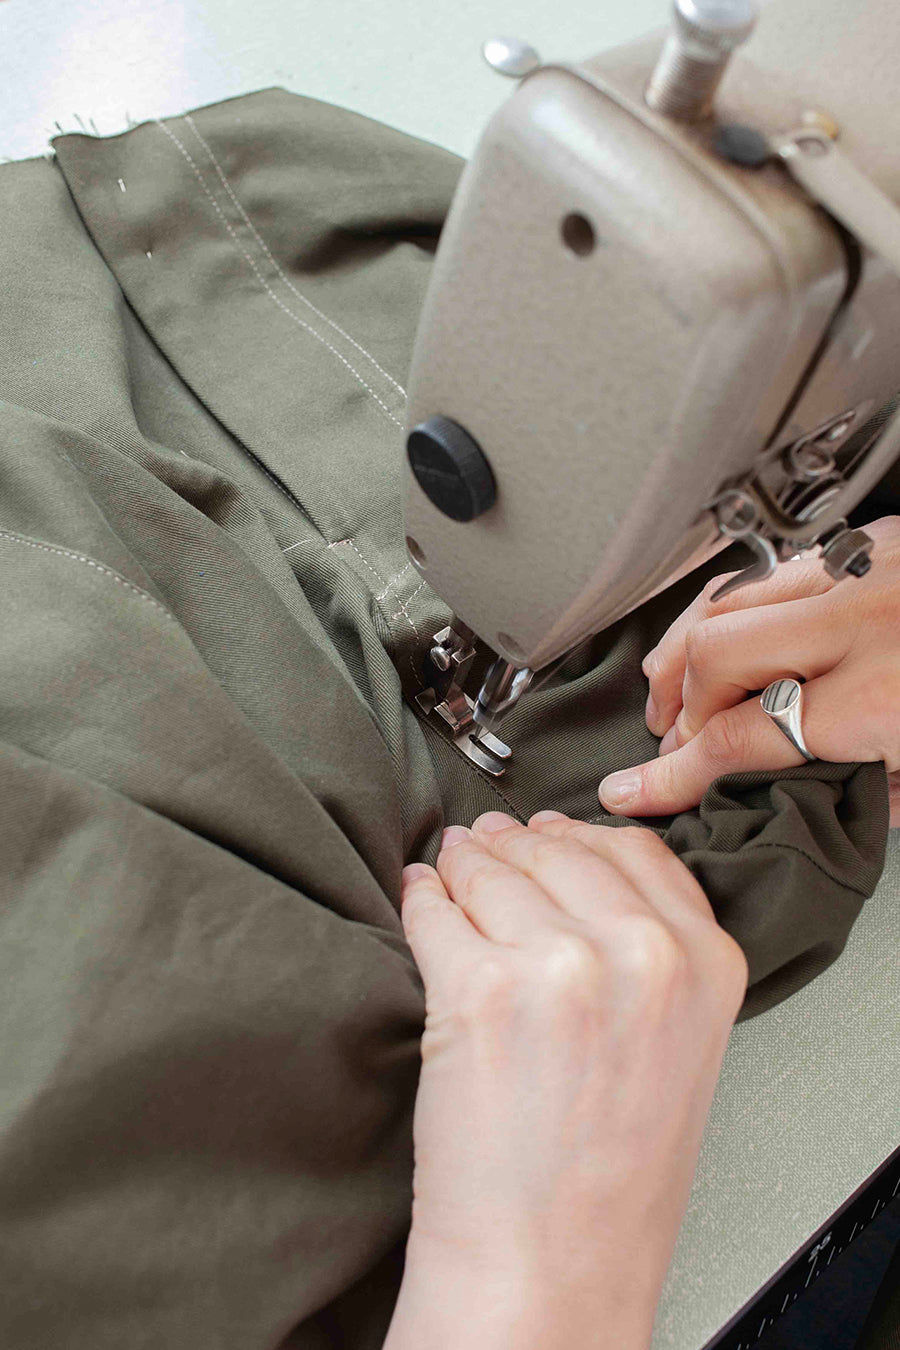
Then leave the needle down at the outer edge of the bar tack, swivel the trouser to the right and continue your 0.7cm topstitching around the crotch seam, making sure the overlocked seam is pushed to the right and sitting underneath the topstitching.
P2
Topstitching the Fly
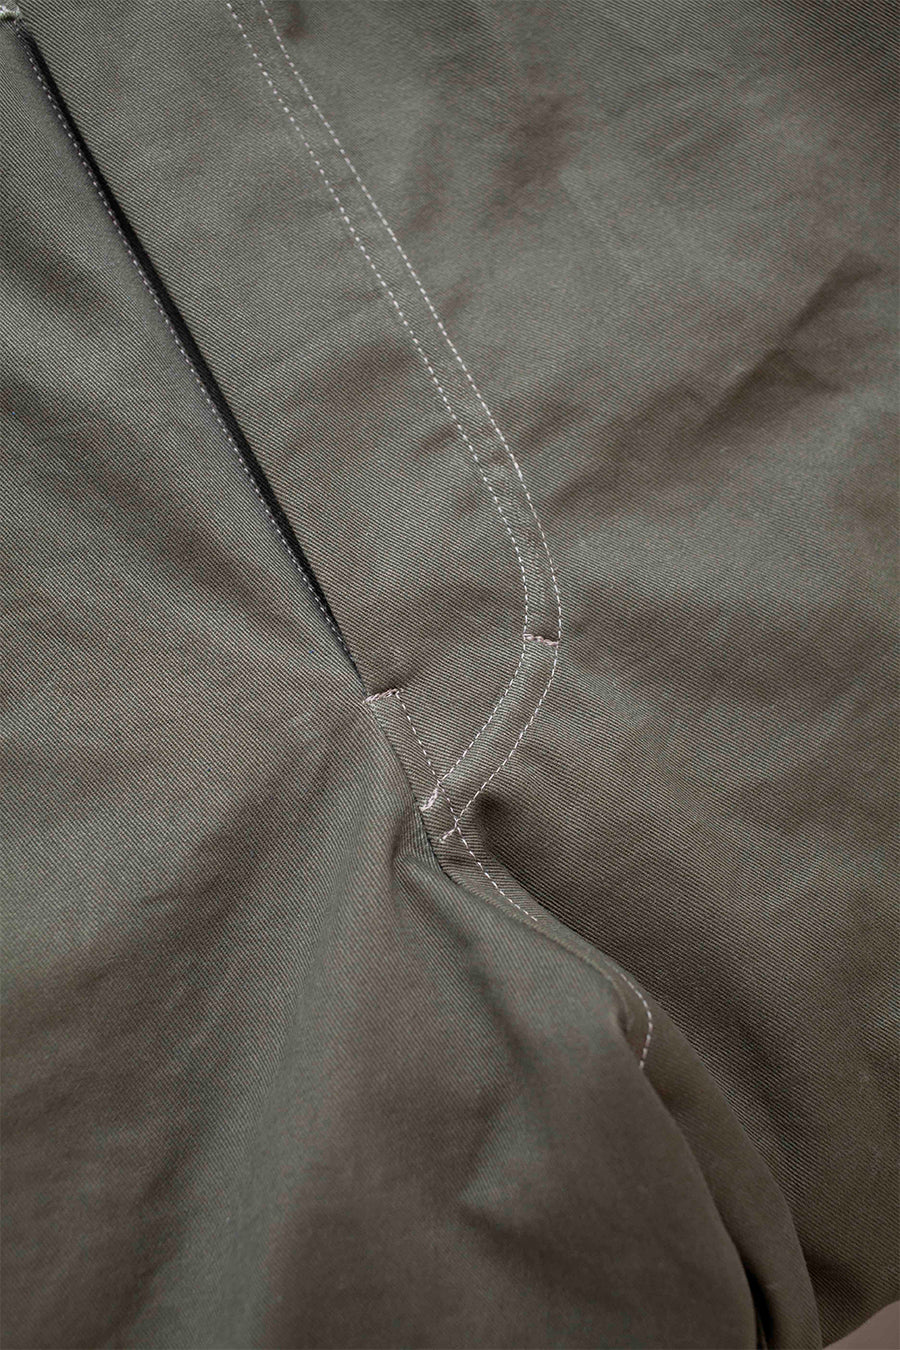
Lastly, from the top of the trouser add a discreet bar tack to secure the fly guard to the trouser. This will ensure this guard doesn’t flap open and stays in place. Trim all the loose threads and give the area a good press.
