



Frida Shirt Workshop
Sew along to this slow and steady workshop with detailed guidance for beginners. This workshop will give you a solid skillset and good habits to build on which is important to have at the start of your sewing journey.
The simple style means it's a manageable project but that doesn't mean we cut back on quality. You'll learn high quality finishing techniques along with tips on how to handle your fabric and tools to your advantage.
Skill Level
Suitable for total beginners and intermediate sewers
Workshop Info
Sew along at a comfortable pace with this beginner-friendly workshop, designed to build strong foundations right from the start.
While the Cara Top is simple in style, it’s rich in technique. You’ll learn high-quality finishes like French seams, flat binding, and precise sleeve insertion, all broken down into clear, bite-sized chapters.
This workshop goes beyond just making a garment; it teaches you how to handle fabric and tools with confidence, sew with precision down to the millimetre, and develop habits that will elevate everything you make going forward. It’s the perfect first step toward a wardrobe of beautifully made, long-lasting pieces.
What You'll Learn
The workshop will take you through at a steady pace and included built in chapters to break down the project into bitesize stages. You will learn how to sew with more precision, using french seams, applying flat binding and easing in sleeve heads. The course will encourage you to sew with close attention to detail, often using millimetres instead of centimetres as guidelines to encourage aiming for precision. This is a great starting point on the journey to sewing more high quality pieces for your wardrobe.
Chapters
- Preparing Your Pieces
- Front Button Stands & Pocket
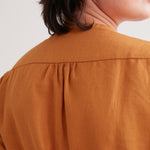
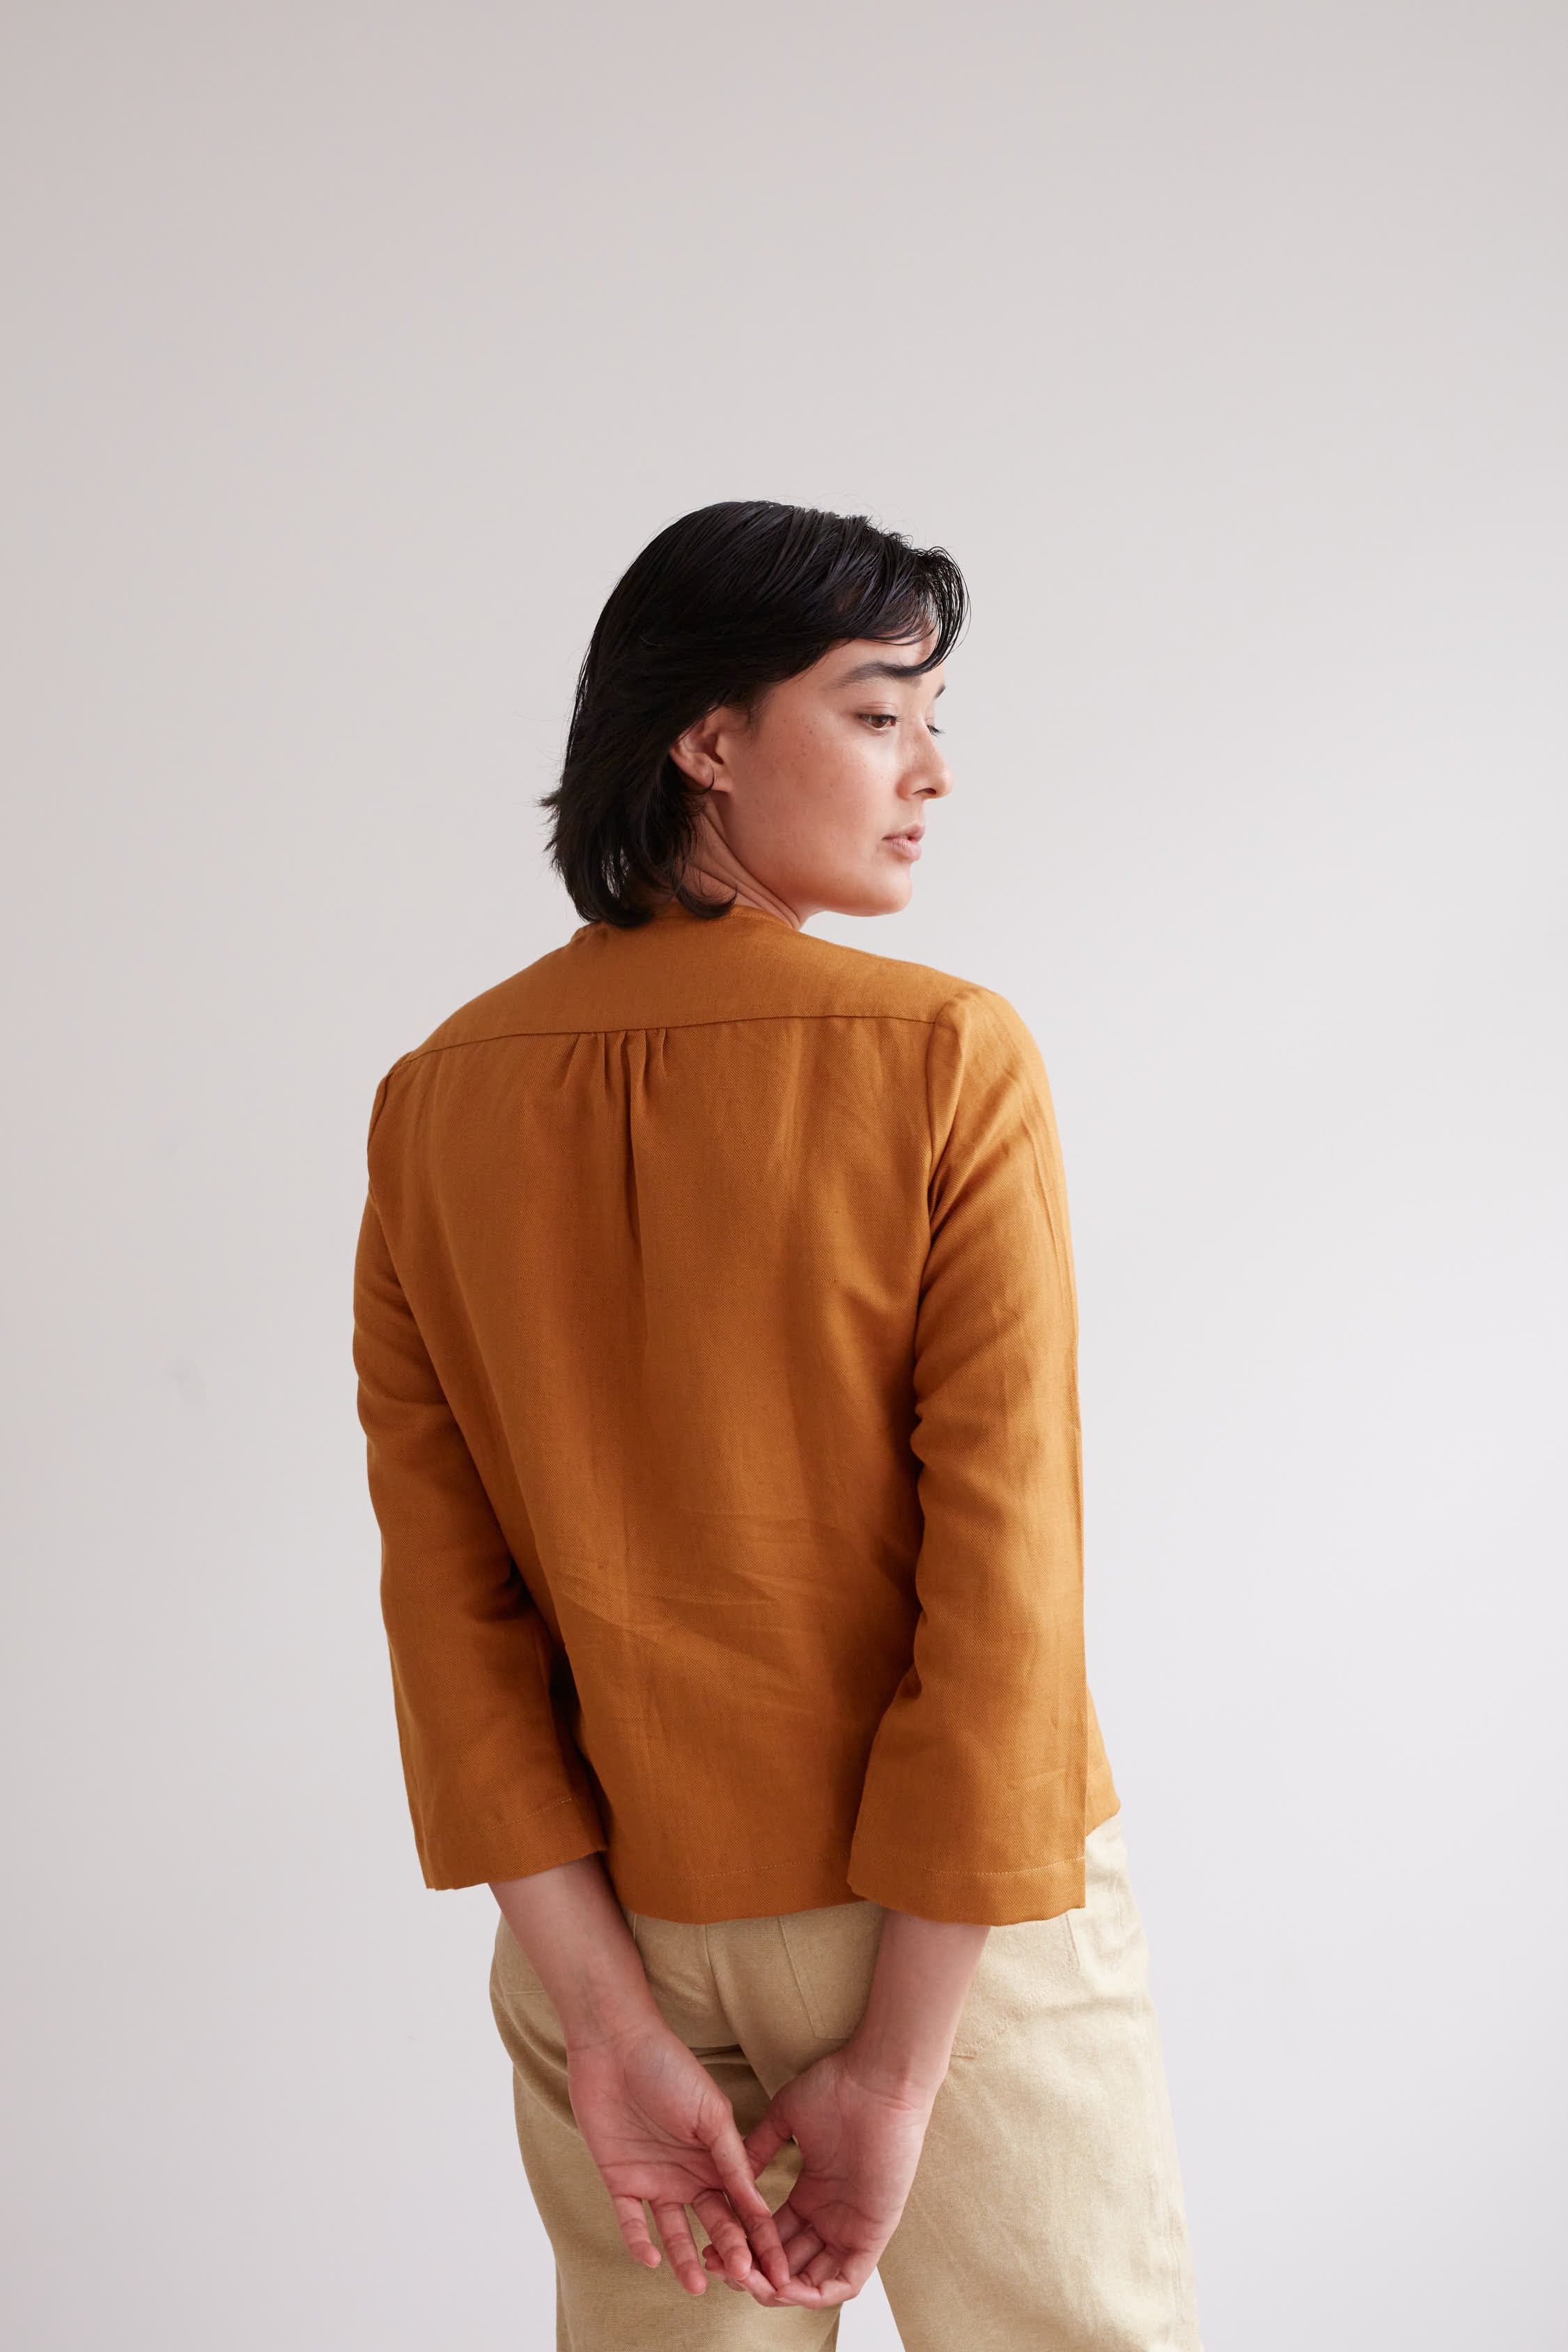
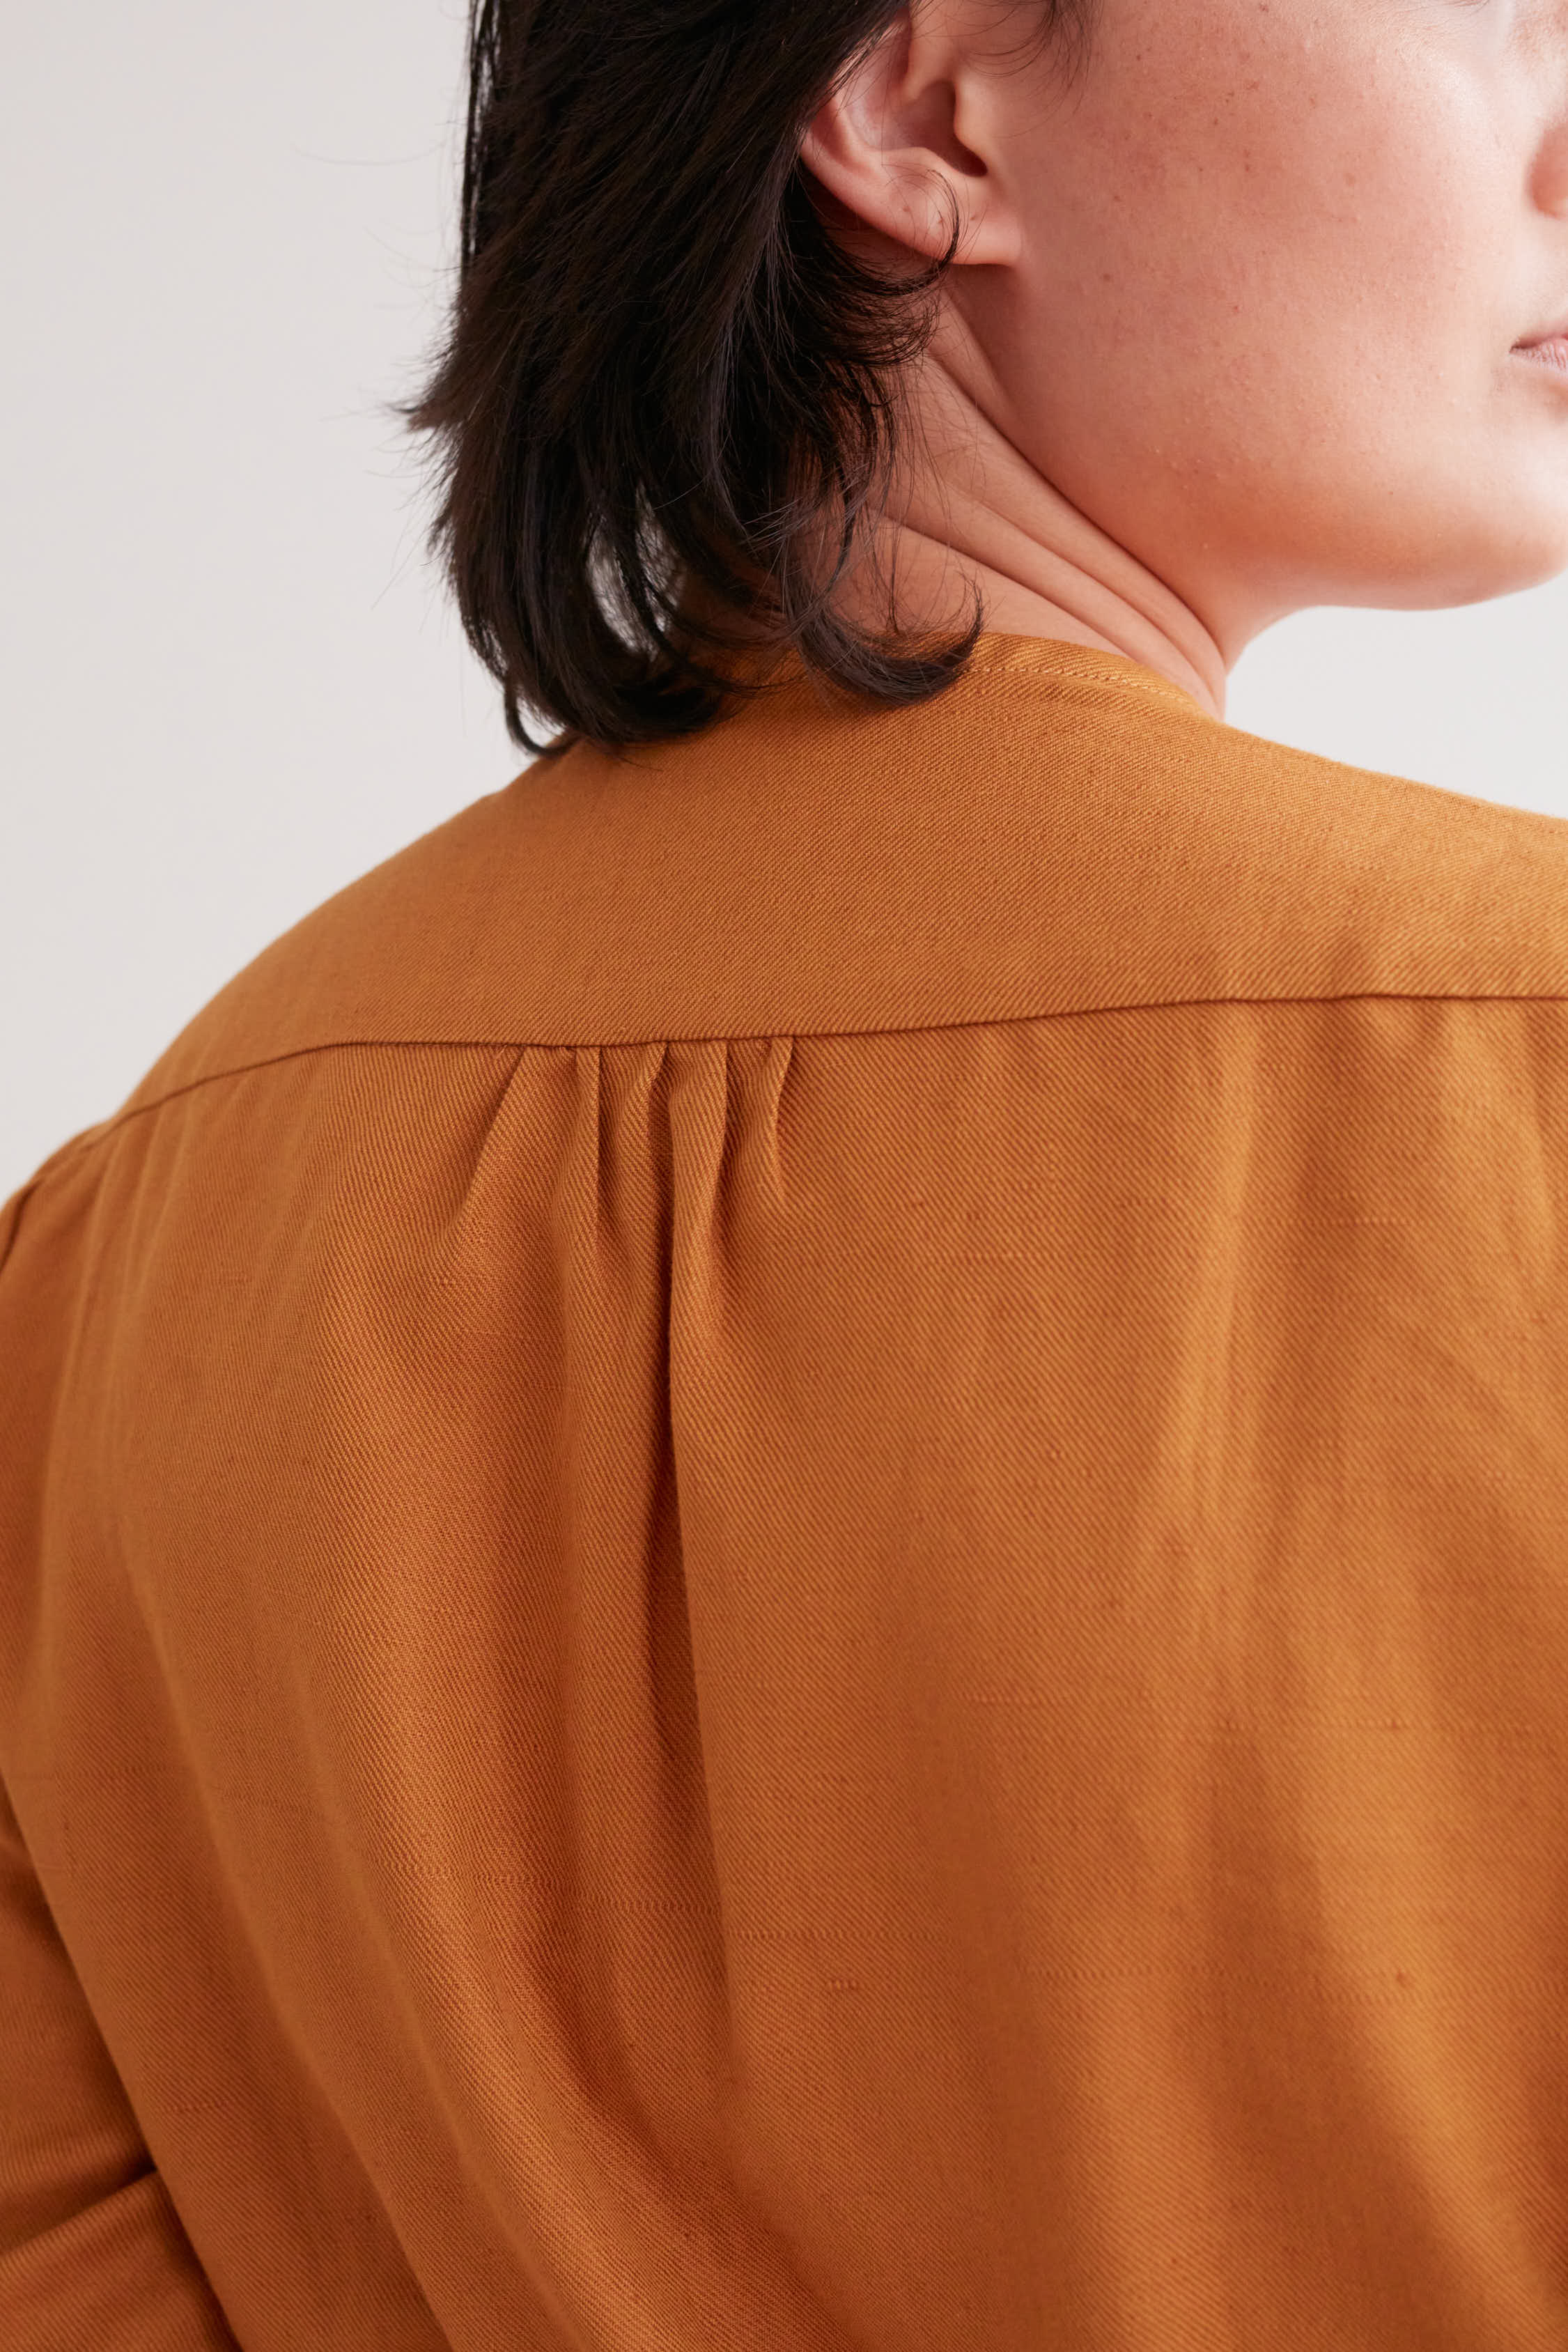
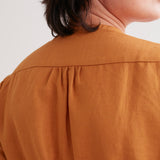
- Sewing the Back Yoke
- Shoulder Seams
- Side Seams: French Seams
- Sleeve Seams: French Seams
- Inserting the Sleeves
- Pressing & Sewing the Hem
- Finishing the Neckline: Flat Binding
- Buttons & Button Holes
Sizing & Fit
UK Sizes 6 - 28 (with PDF Layers)
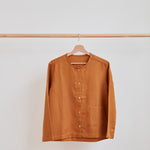
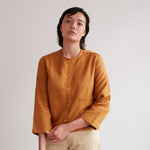
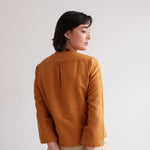
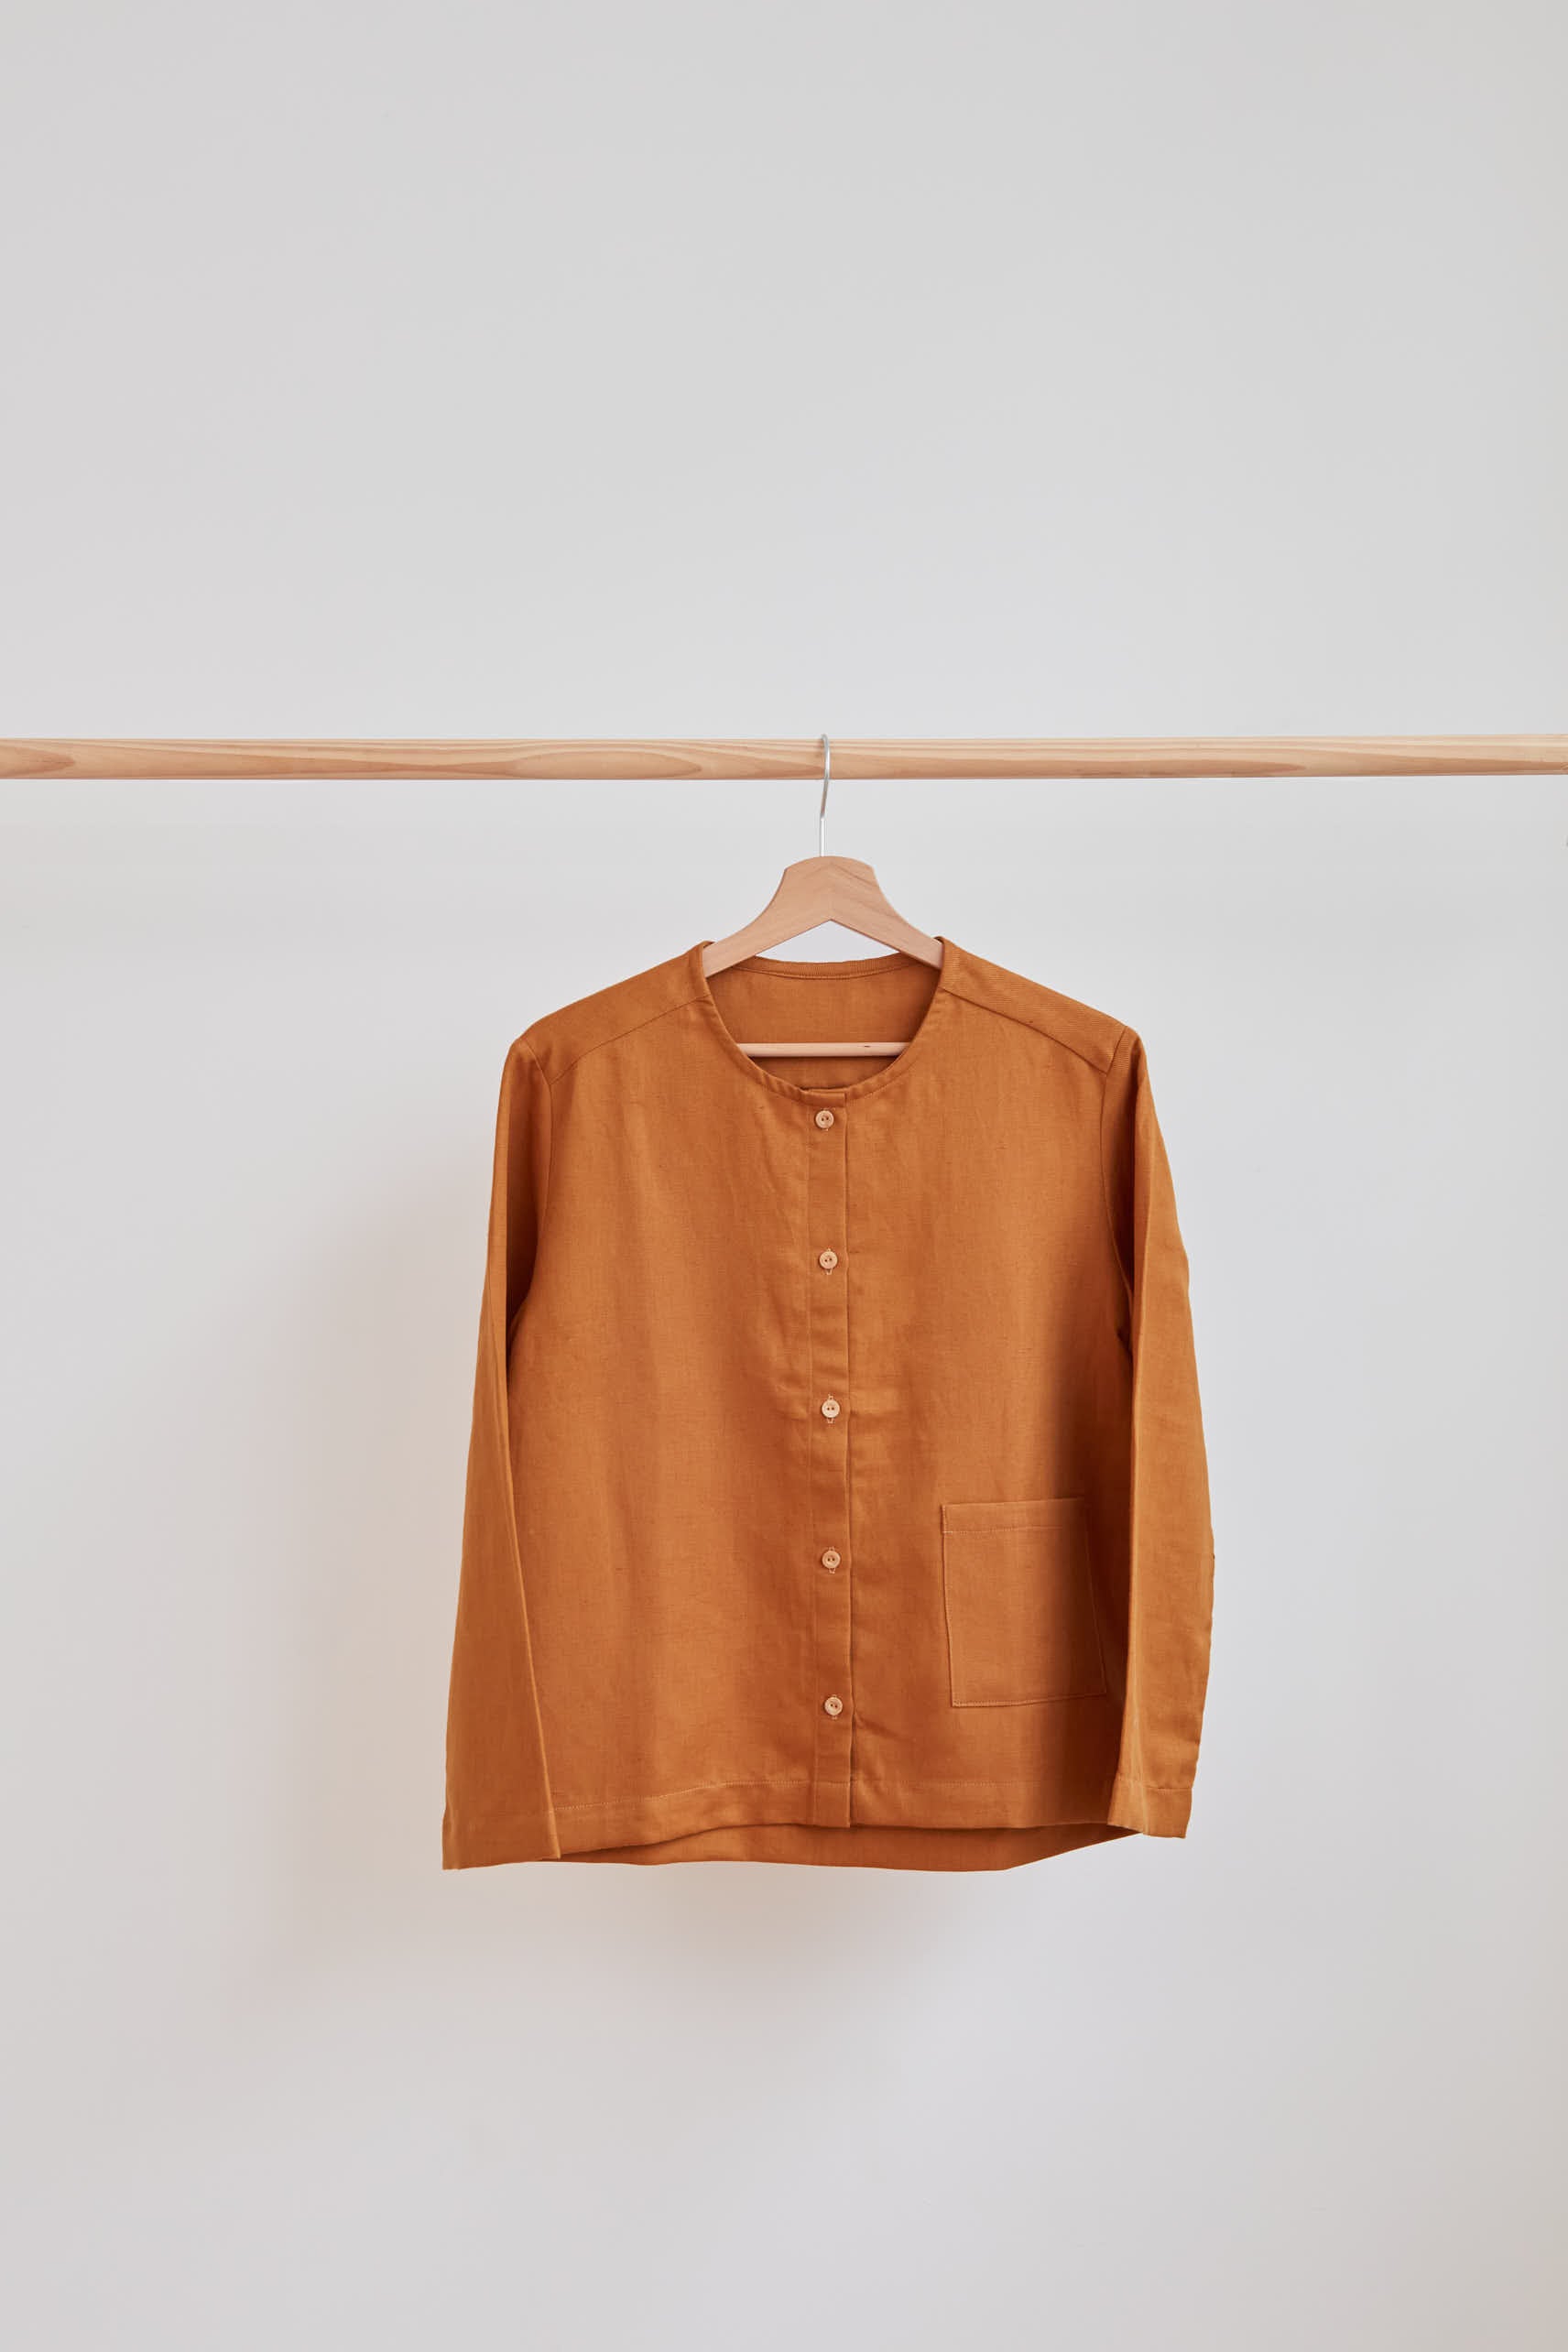
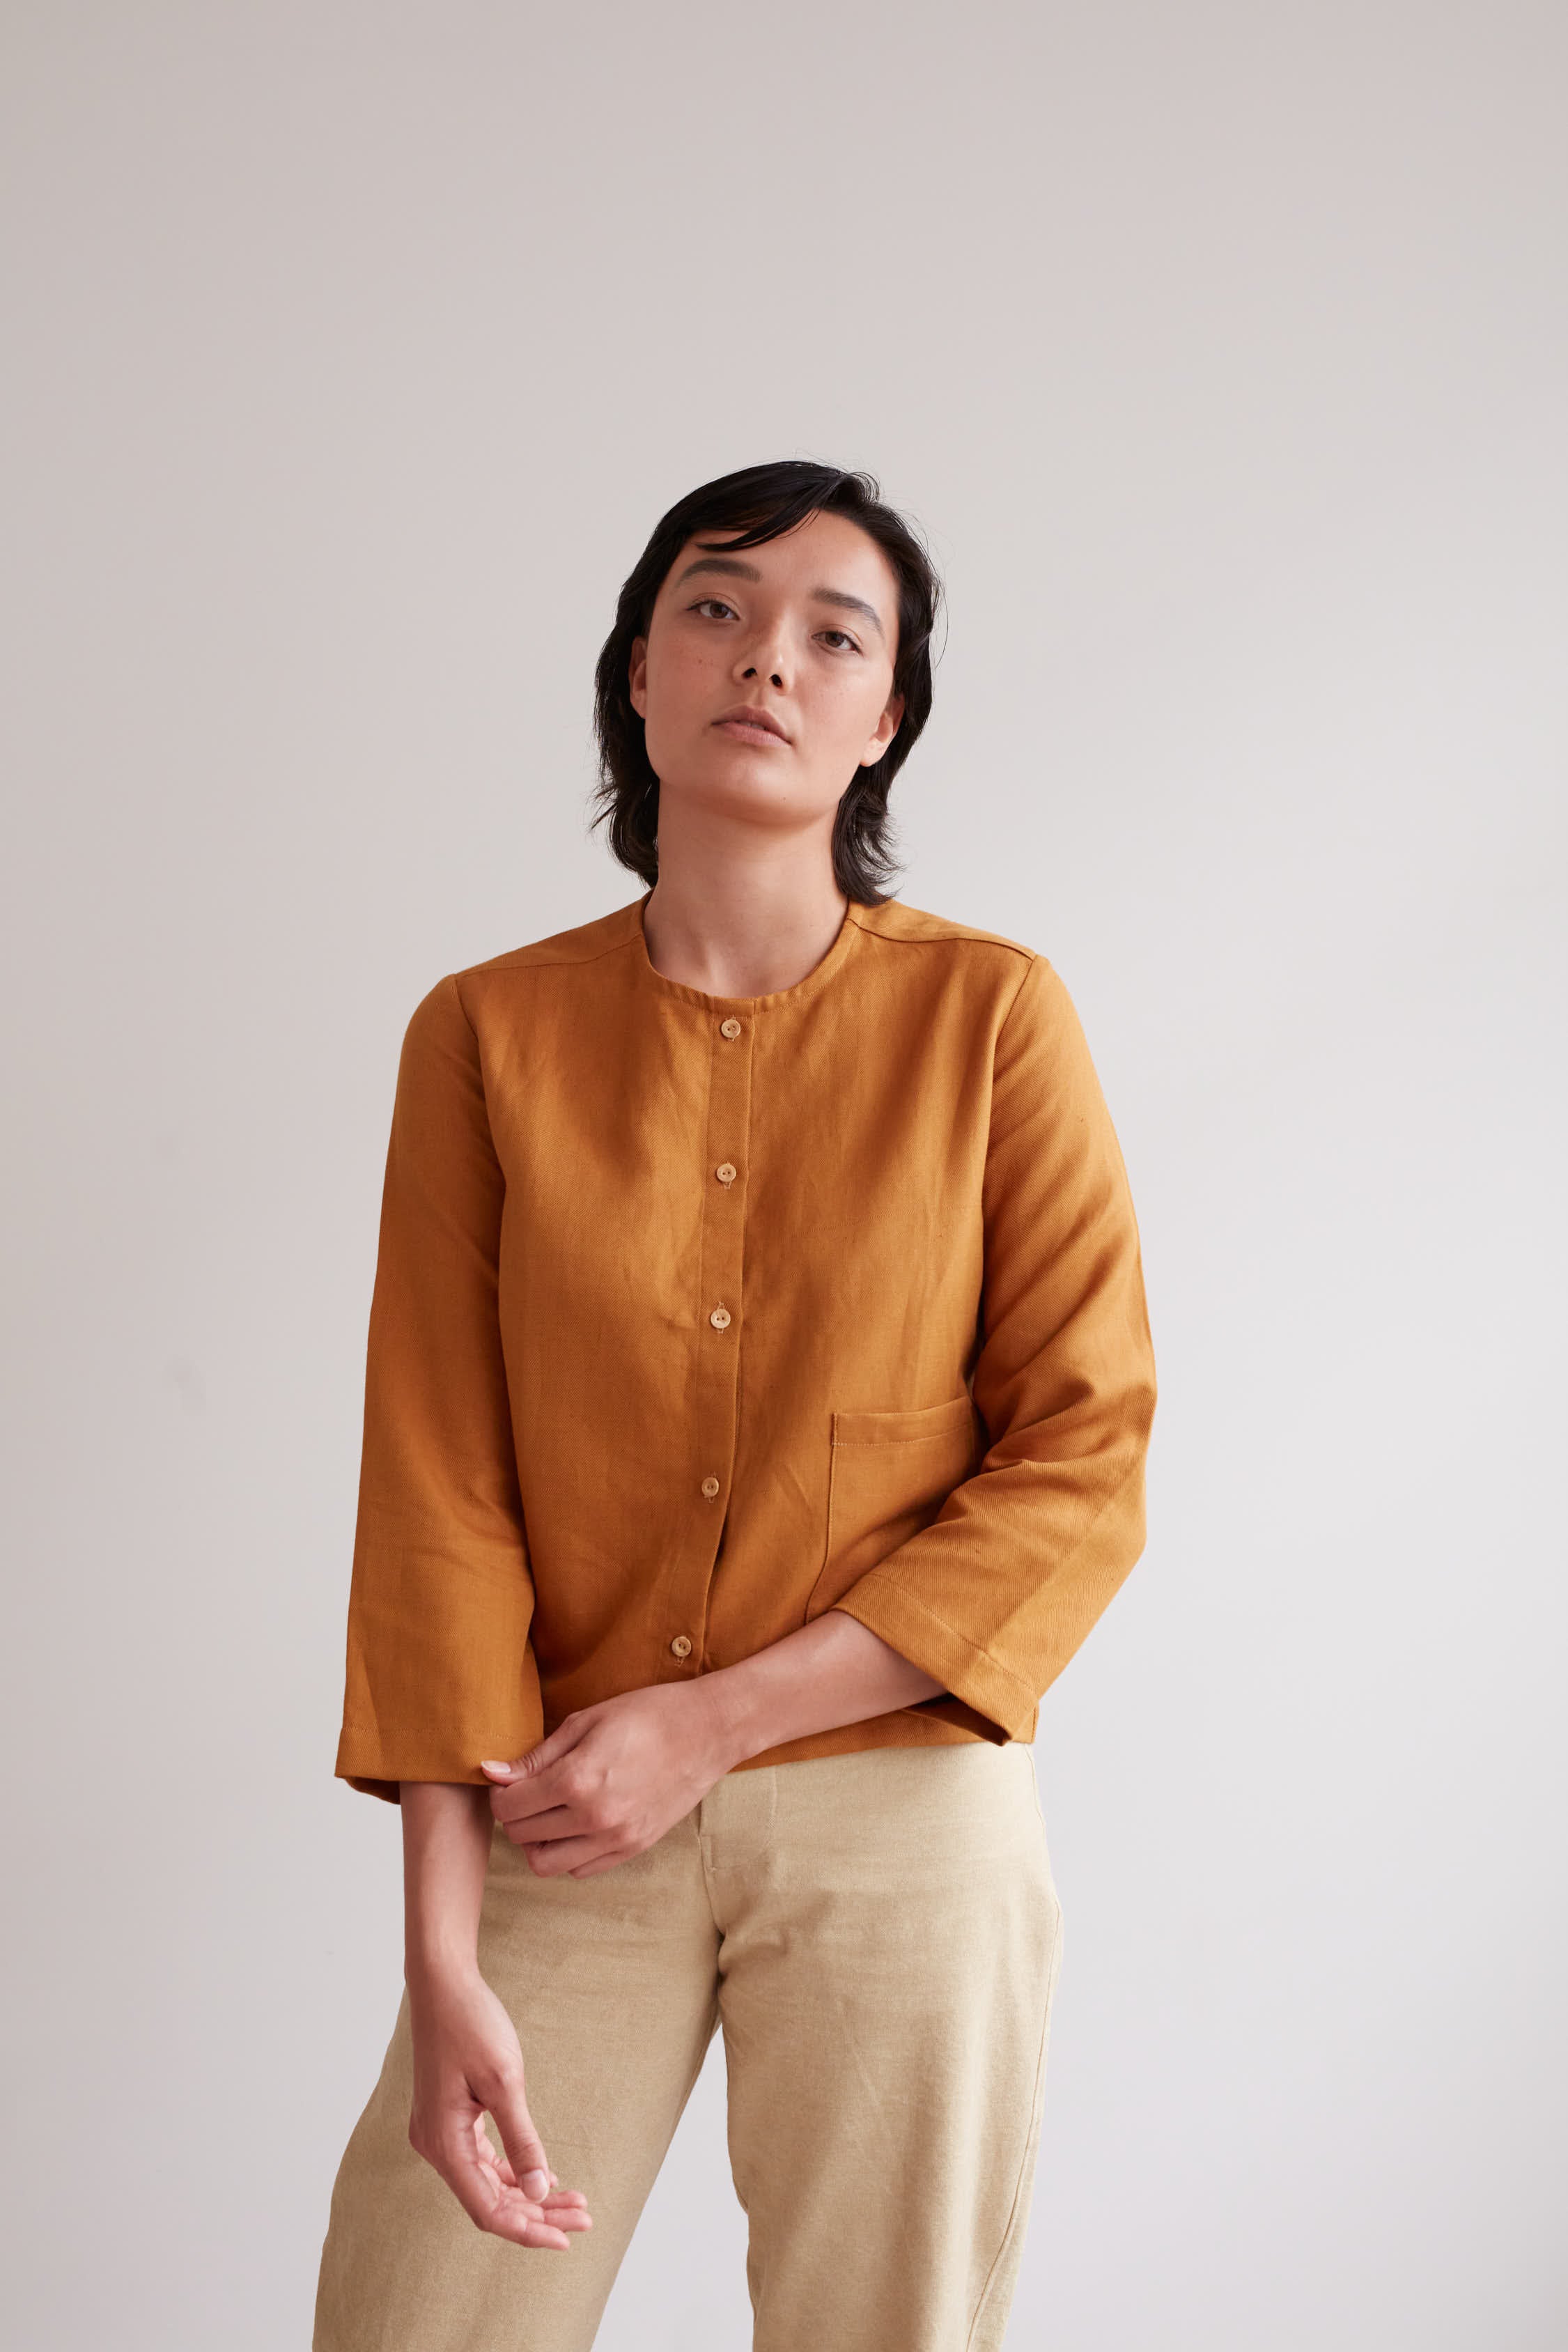
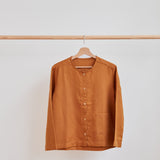
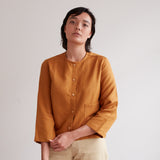
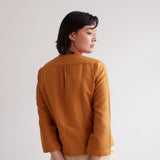
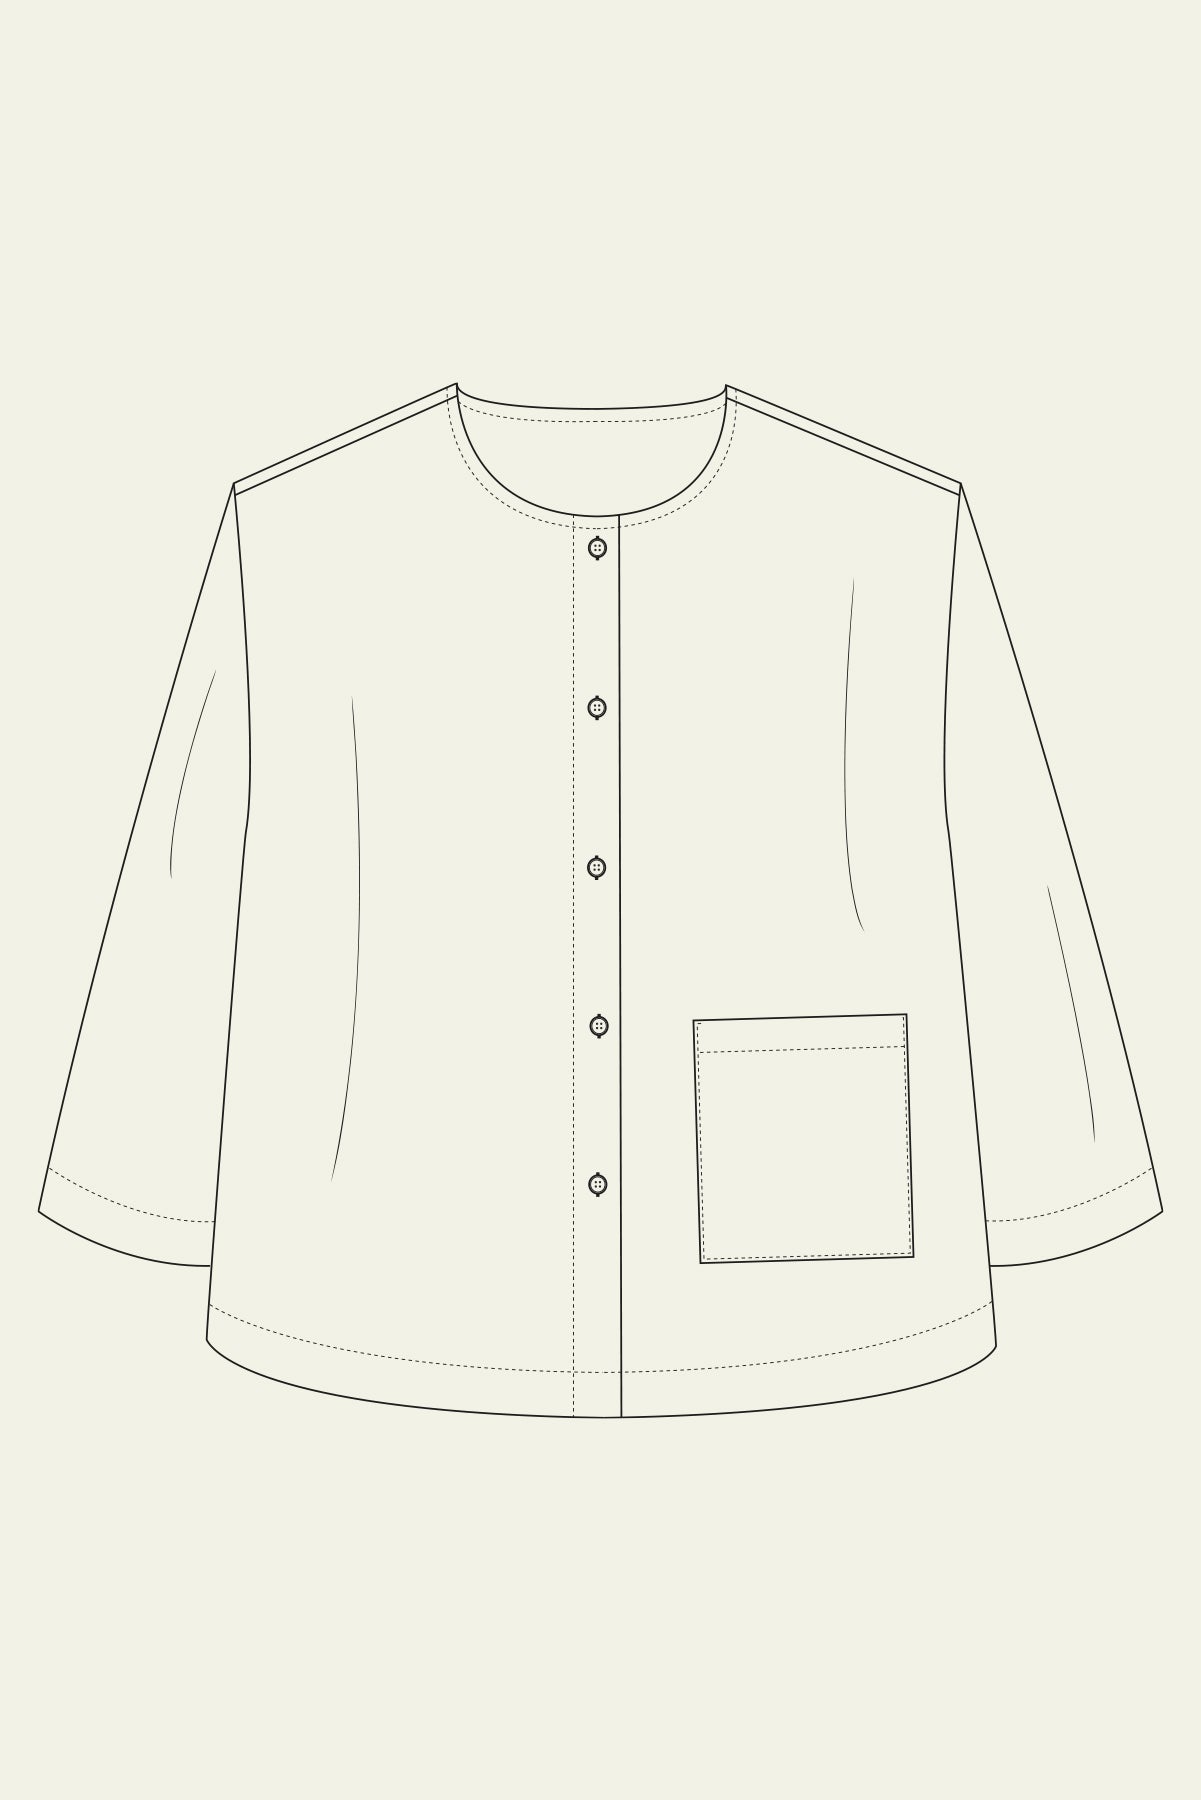
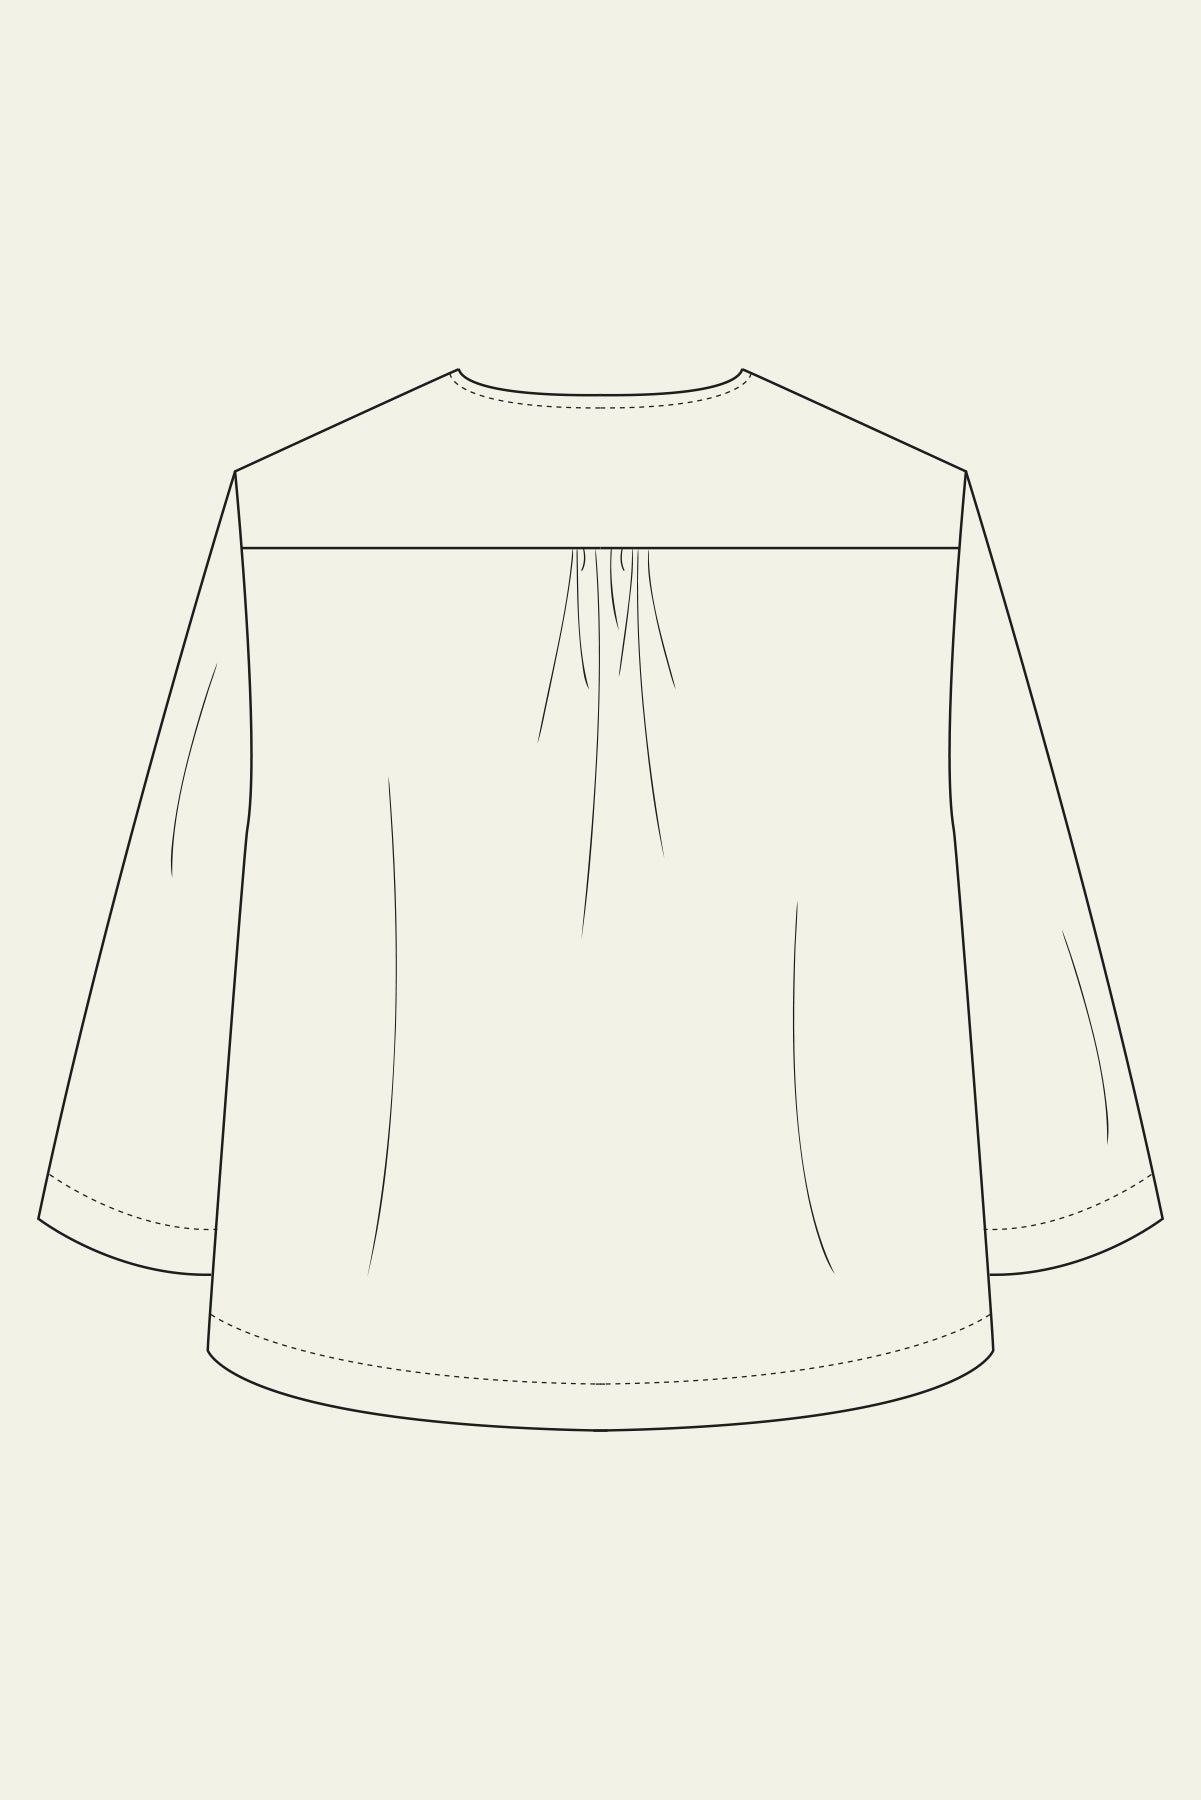
The Frida Shirt is fitted on the shoulders with a fairly boxy fit from the bust down. It's cropped to sit on the lower hip and features a simple sleeve that finishes at the wrist bone.
Measurements in cm
UK 6 | US 2 | EU 34Bust - 101.5, Shoulder to shoulder - 43.55, Length (side neck to hem) - 57.1, Sleeve length - 52.25
UK 8 | US 4 | EU 36Bust - 104, Shoulder to shoulder - 44.8, Length (side neck to hem) - 58, Sleeve length - 53.5
UK 10 | US 6 | EU 38 Bust - 109, Shoulder to shoulder - 45.5, Length (side neck to hem) - 62, Sleeve length - 54
UK 12 | US 8 | EU 40Bust - 114, Shoulder to shoulder - 47.2, Length (side neck to hem) - 58.6, Sleeve length - 54.5
UK 14 | US 10 | EU 42Bust - 119, Shoulder to shoulder - 48.4, Length (side neck to hem) - 59.2, Sleeve length - 55
UK 16 | US 12 | EU 44Bust - 124, Shoulder to shoulder - 49.6, Length (side neck to hem) - 59.8, Sleeve length - 55.5
UK 18 | US 14 | EU 46Bust - 129, Shoulder to shoulder - 50.8, Length (side neck to hem) - 60.5, Sleeve length - 56
UK 20 | US 16 | EU 48Bust - 134, Shoulder to shoulder - 52, Length (side neck to hem) - 61, Sleeve length - 56.5
UK 22 | US 18 | EU 50Bust - 139, Shoulder to shoulder - 53.2, Length (side neck to hem) - 61.5, Sleeve length - 57
UK 24 | US 20 | EU 52Bust - 144, Shoulder to shoulder - 54.4, Length (side neck to hem) - 62, Sleeve length - 57.5
UK 26 | US 22 | EU 54Bust - 149, Shoulder to shoulder - 55.6, Length (side neck to hem) - 62.6, Sleeve length - 58
UK 28 | US 24 | EU 56Bust - 154, Shoulder to shoulder - 56.8, Length (side neck to hem) - 63, Sleeve length - 58.5
Materials Needed
Suitable fabrics: The Frida Shirt works in a range of fabrics from lightweight and breathable to thicker and more cosy. Fabrics such as cotton poplin/lawn, linen, very lightweight denim, needlecord, light woollen weave, flannel and brushed cotton are all good options.
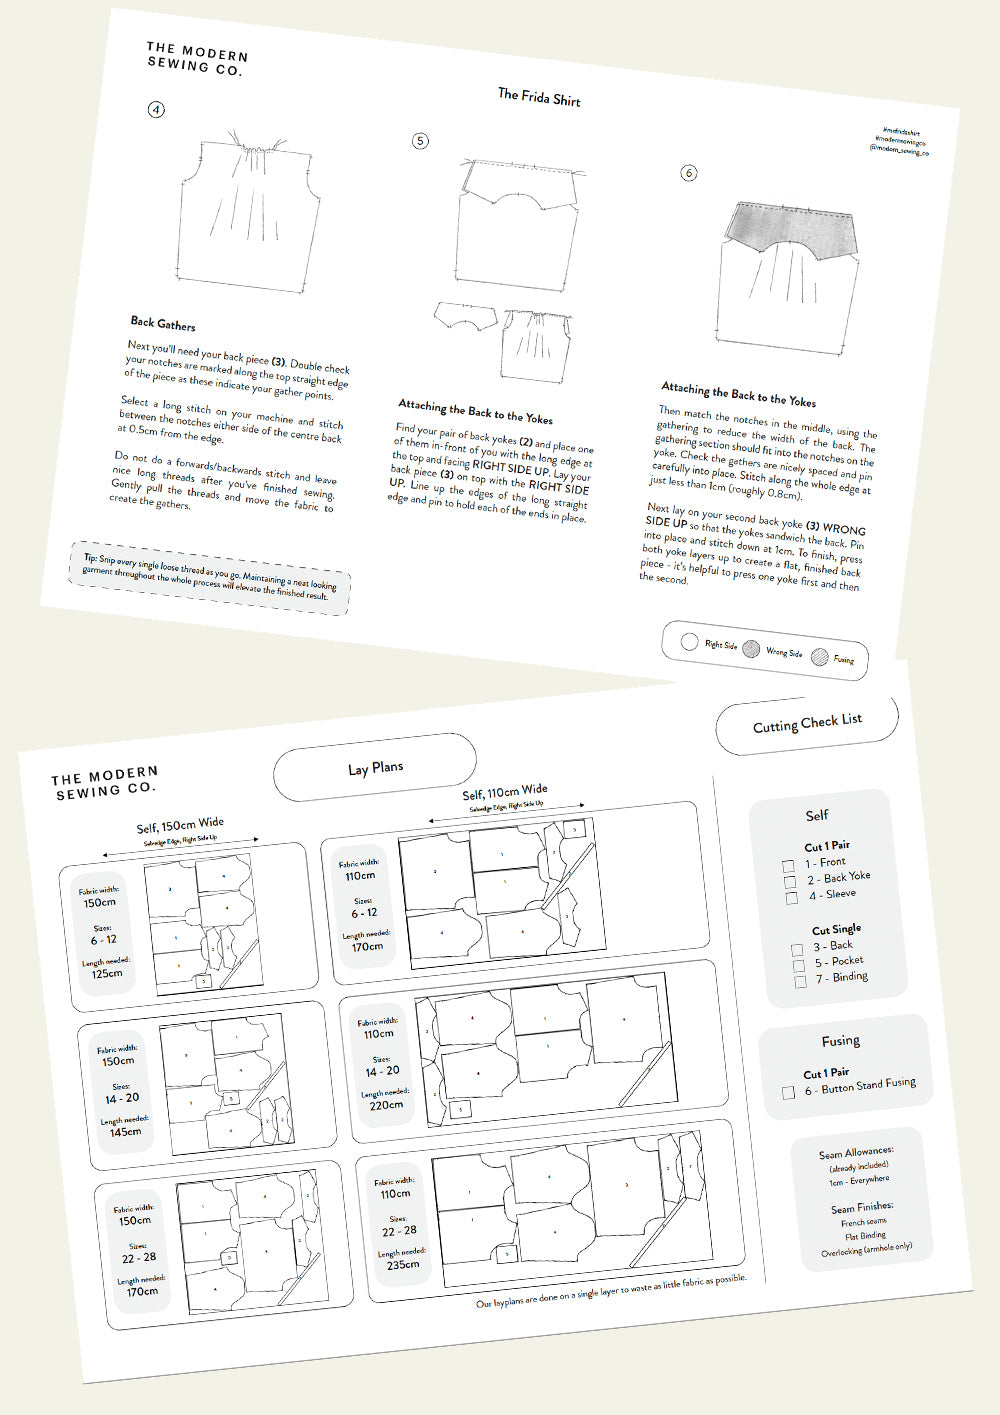
Fabric requirements: Our lay-plans are always done on a single layer of fabric to reduce wastage.
Self Fabric width 150cm | Sizes 6 - 12 = 125cm | Sizes 14 - 20 = 150cm
Self Fabric width 110cm | Sizes 6 - 12 = 190cm | Sizes 14 - 20 = 220cm
Materials list: Self Fabric (see above), 5 x small buttons, 1 x spool of thread, either matching or contrast, a small strip of fusing for the buttons stands
Pages to print: Instructions - 15, A4/US Letter - 33, A0 - 2
How to use PDF Patterns
Where to find your patterns & workshops:
After purchasing you'll find your PDF pattern download and any workshops in your account page. Simply log in (or create an account using the same email address used to purchase) and click the account button in the top right corner. The most up to date versions of the patterns will always be available from within your account. If any changes are made to the pattern or instructions you’ll receive an email notification.
Opening your files:
Some older Window computers have problems opening zip files. If this is the case, you can use the free programme 7-Zip to open your files.
How to print your pattern:
You have two options for printing out your pattern.
1. You can get it printed in A0 at a printing shop or sewing pattern company. Search for "sewing pattern printing company" to find a company that does this in your region.
2. Or you can print it yourself on a home printer in A4 or US Letter format and then tile the pages together using tape.
Using PDF layers:
All of our patterns come with PDF layers so you can select the sizes you want to view and print. To do this you’ll need a PDF viewer such as Adobe Acrobat Reader (this is free to download).
-
More details on printing, using PDF layers and general preparation tips can be found on the ‘Using Our Patterns’ document (download for free here). This document comes with all of our patterns.
Frida Shirt Workshop
The video tutorial is very clear and helpful. It was my first shirt with sleeves and I'm so pleased with the finished product! I love Hettie's calm demeanour and she teaches at a manageable pace, with lots of great tips and the process doesn't feel overwhelming. It helps to have a handle of the basics (watch the Getting Started Videos first) before diving in to the workshop.
Frida is my first Modern Sewing Co. make. I really loved the workshop, the style and pace were great. If you're like me and don't really like reading instructions (preferring pictures/ diagrams), then the video tutorial is perfect. I'd say I'm a rusty intermediate sewer and I learnt a lot of new tips - the workshop helps achieve a really nice finish. I'll definitely try out another workshop soon!
I wasn't sure whether I'd need the Frida Shirt workshop as I'm an intermediate level sewist, but I'm really glad I made the investment. I found it so useful to watch each step as I progressed through the pattern and Hetty offers lots of little tips along the way. It would be great for the burrito method to be included in future. Lovely to sew alongside the workshop!
- Recently viewed

