


Daphne Trouser Workshop
For All Levels
Online at Your Own Pace
Sew your own professionally made trouser
Over 2 hours of video tutorials & 17 skills to learn
All PDF Patterns Included (Sizes - UK 4-28 / US 2-26 / EU 32-56)
Easy To Print
Detailed Fitting Guidance
Join From Any Country
Lifetime Access
Master the Art of Sewing
The Daphne Trouser Workshop is the perfect introduction to trouser making for both beginner and intermediate sewists.
You’ll learn how to create a simple yet beautifully constructed pair of trousers featuring a zip fly with clean inside binding finishes. A dedicated fitting tutorial is included to help you adjust the pattern for a fit that’s just right for your body.
Starting your trouser journey here sets the foundation for making trousers with designer-level quality, built to look polished and last for years.
Daphne Trouser Workshop
Highlights:
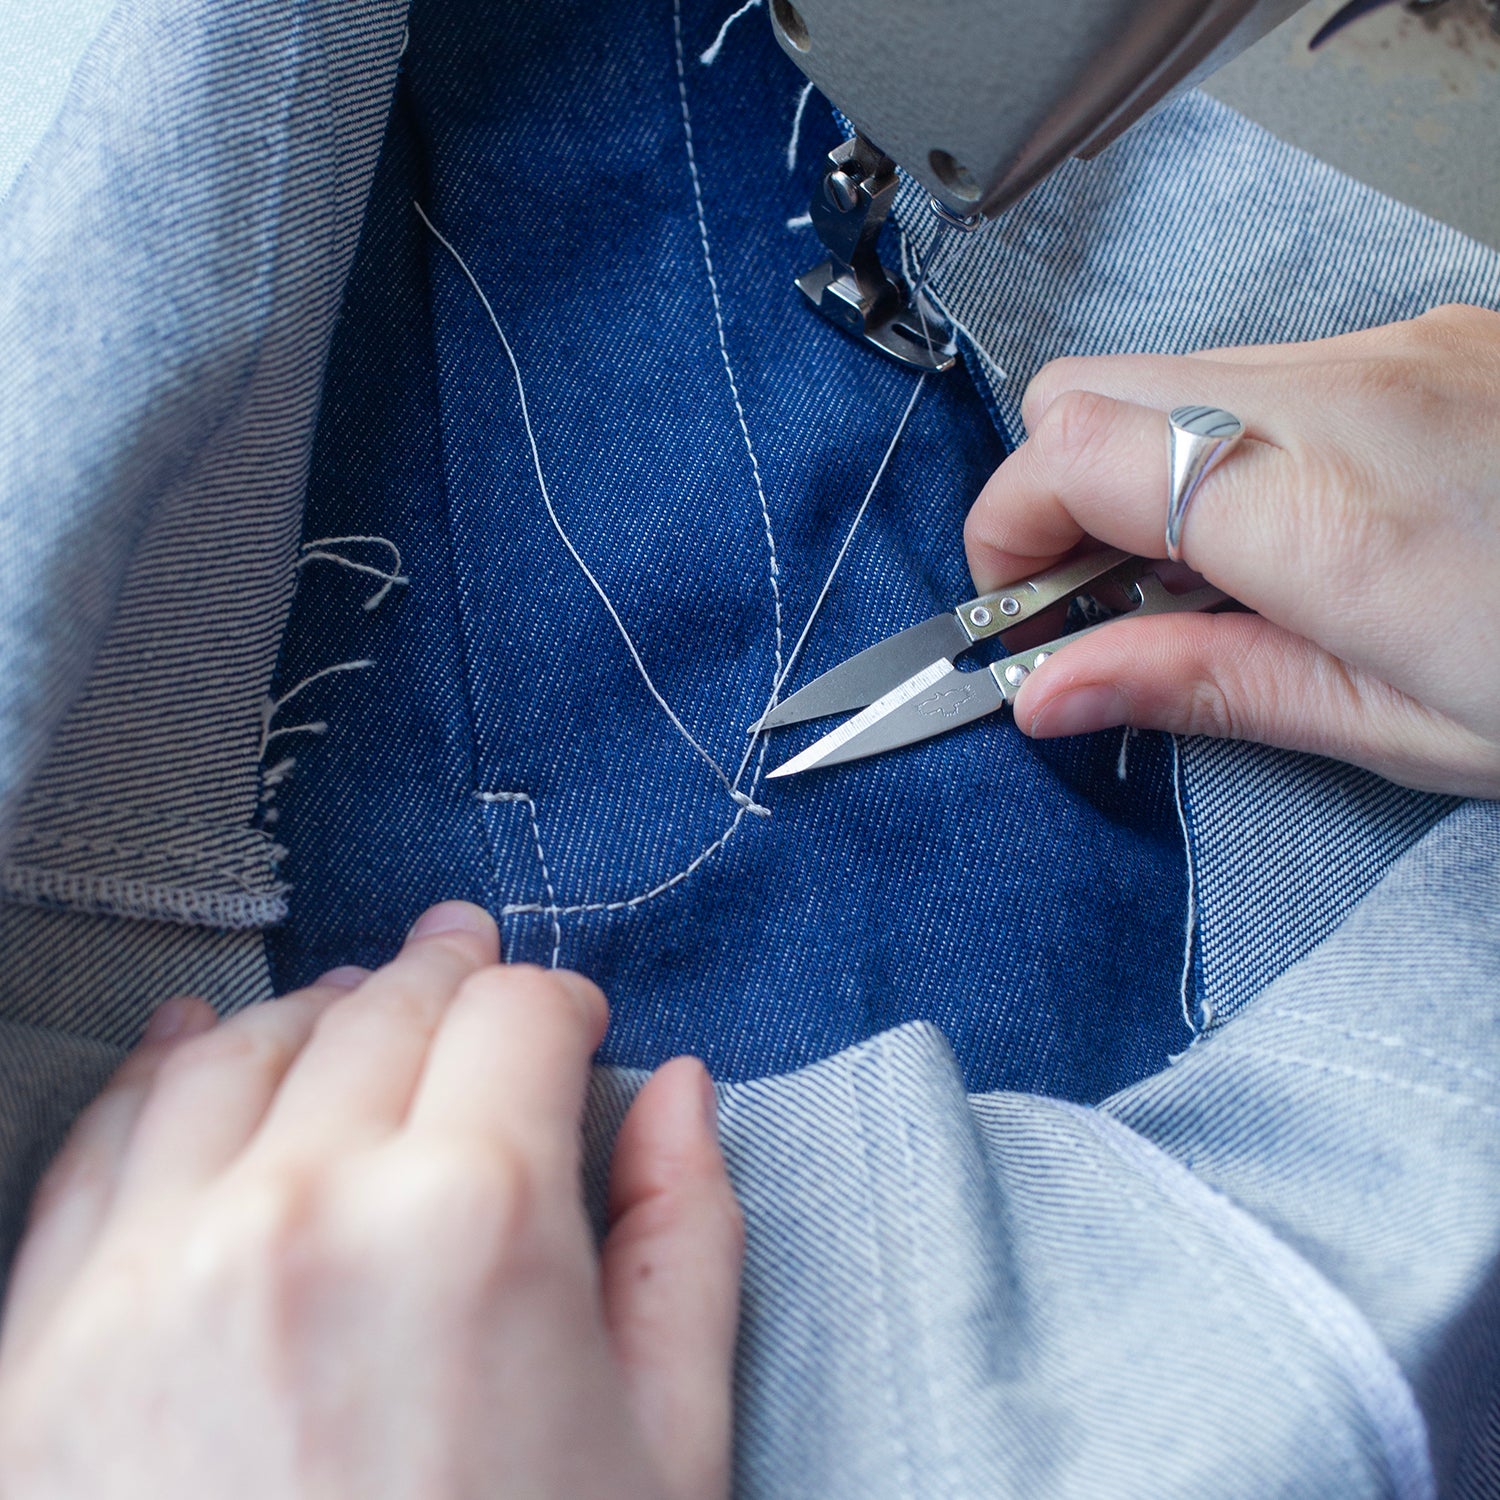
Make a high-quality garment
The Daphne Trouser is designed to teach you clean finishes and high-quality construction techniques for a trouser that fits you well and stands the test of time.

Get creative
Choose your fabric, texture, colours, thread and buttons to make the Daphne Trouser uniquely yours, crafted with care from start to finish.

Master Your Skills
Learn industry standard techniques from a professional pattern cutter and designer.

Step by Step Tutorial
Learn and elevate your skills without guesswork or stuck in the process.
What's Included:
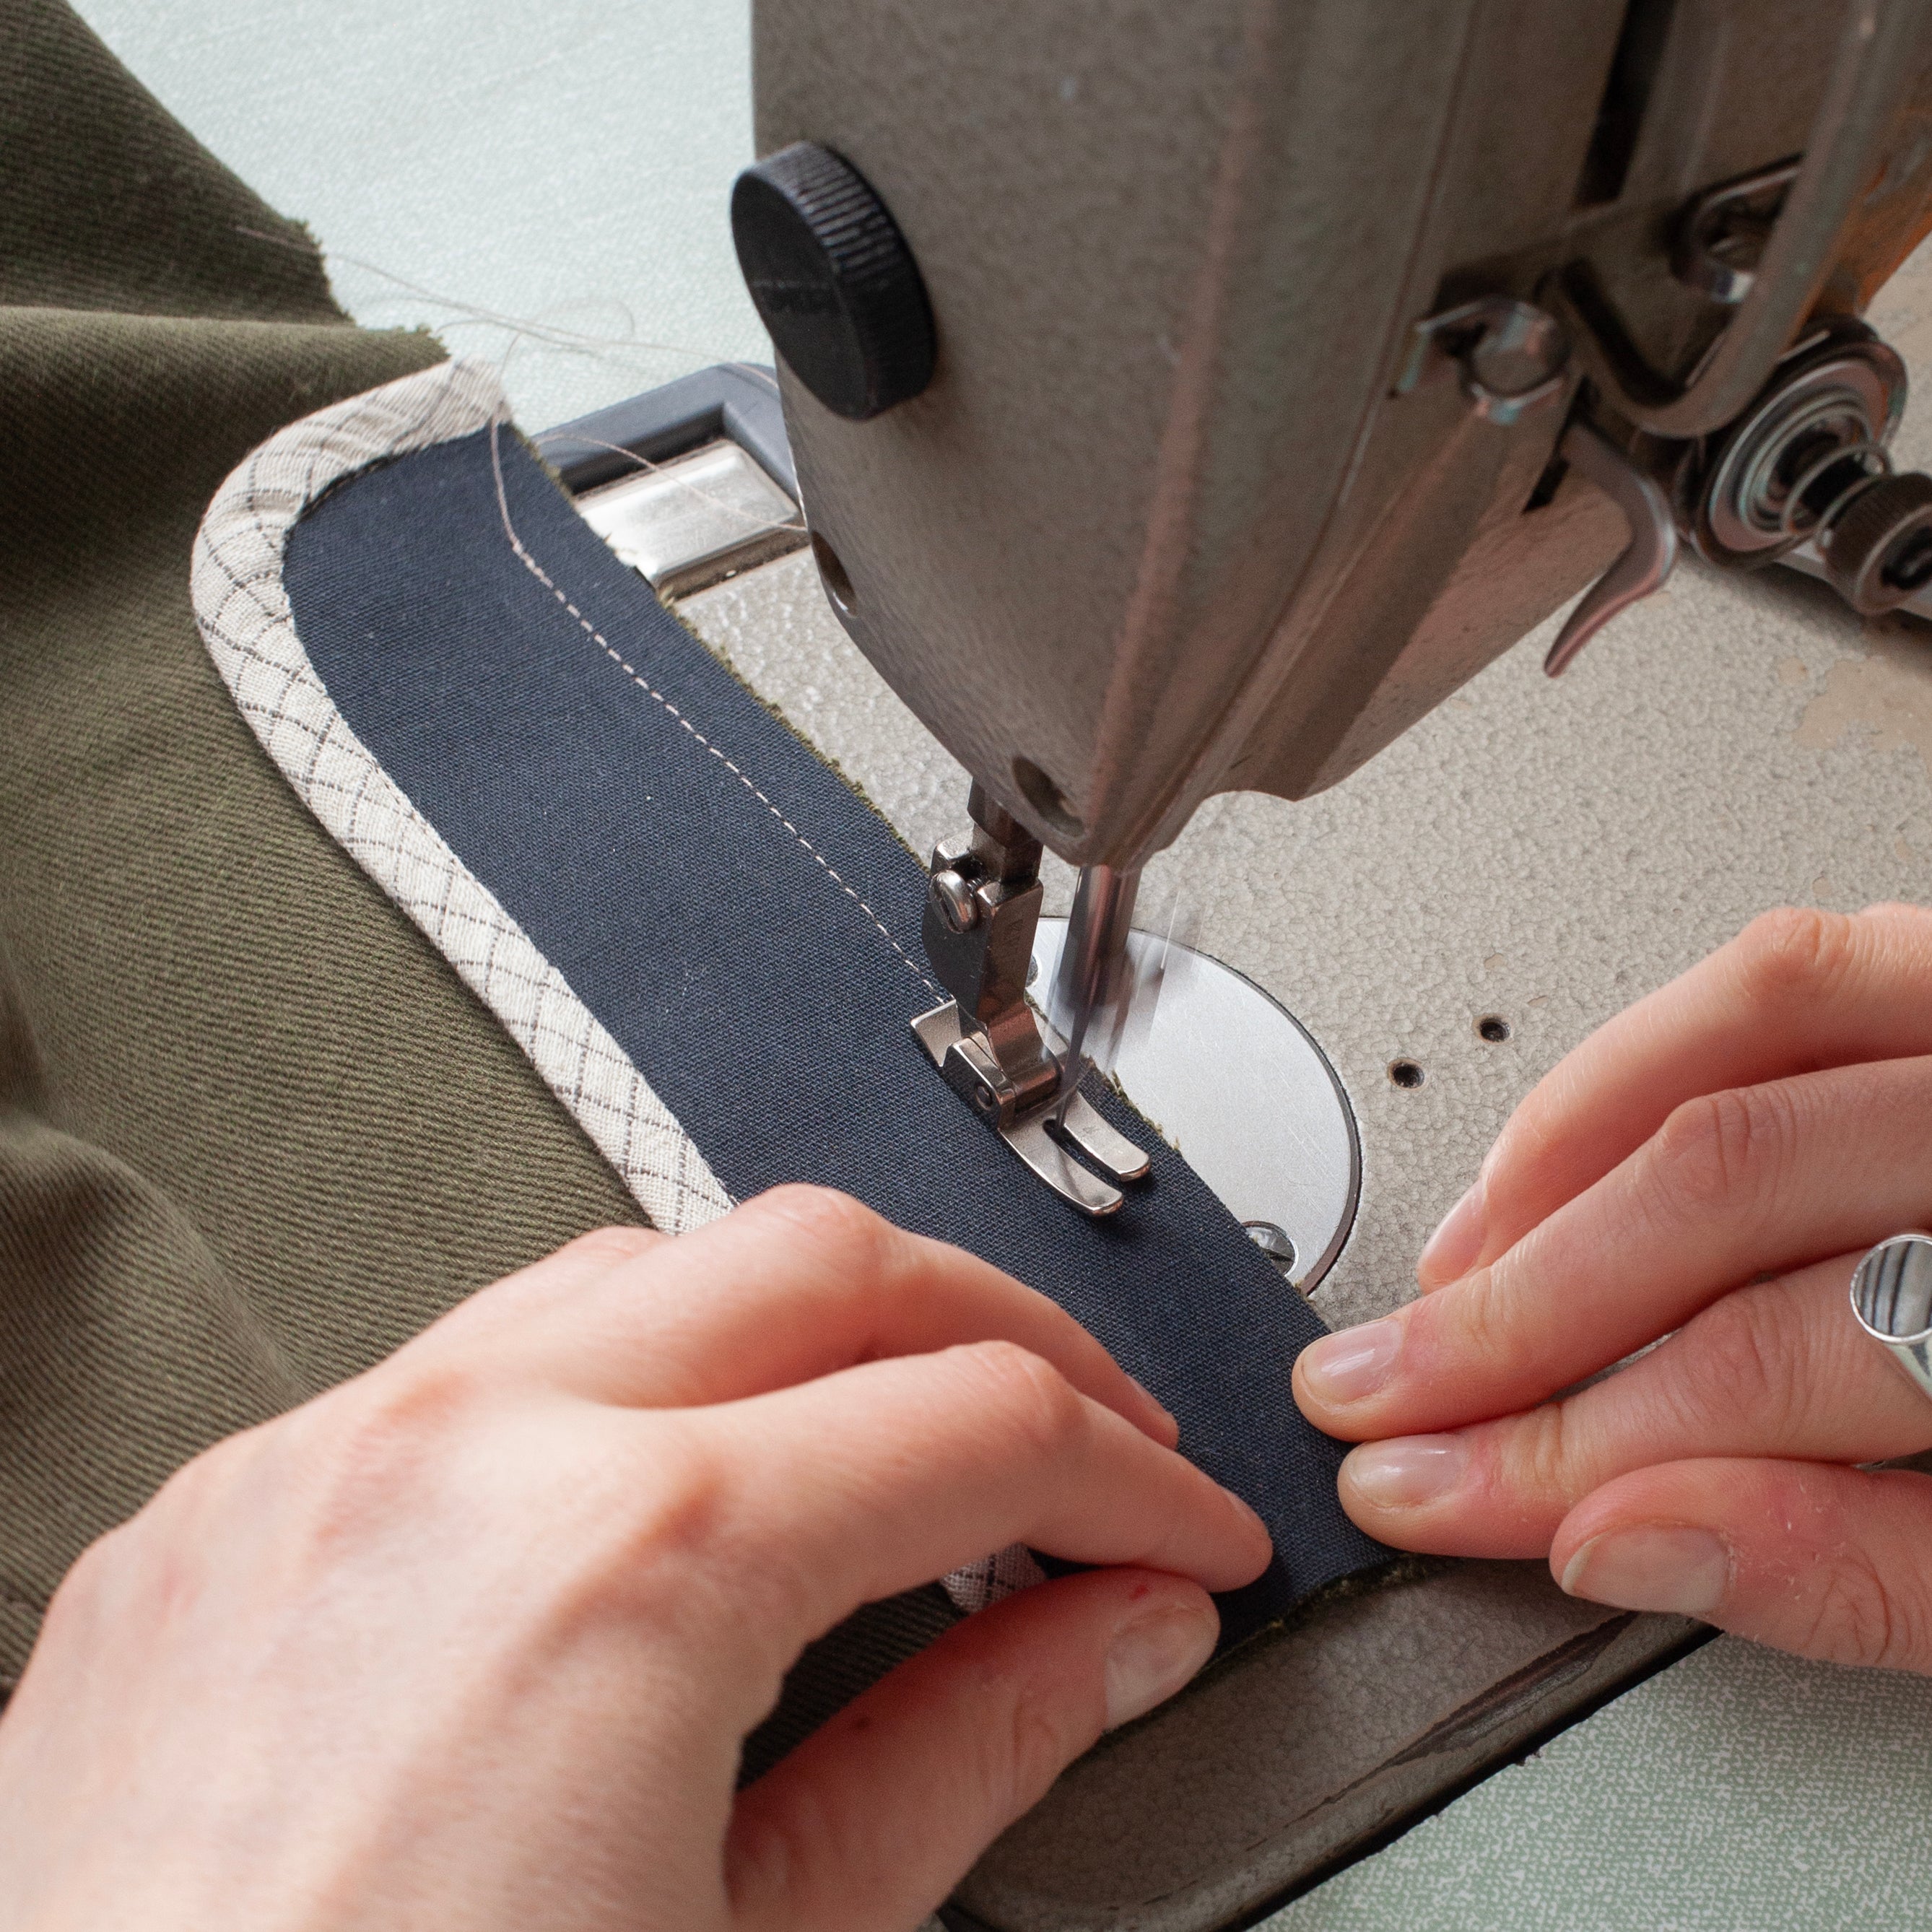
17 Skills to Learn
Over 2 hours of video tutorials to teach you over 17 skills and help you build professional sewing habits.
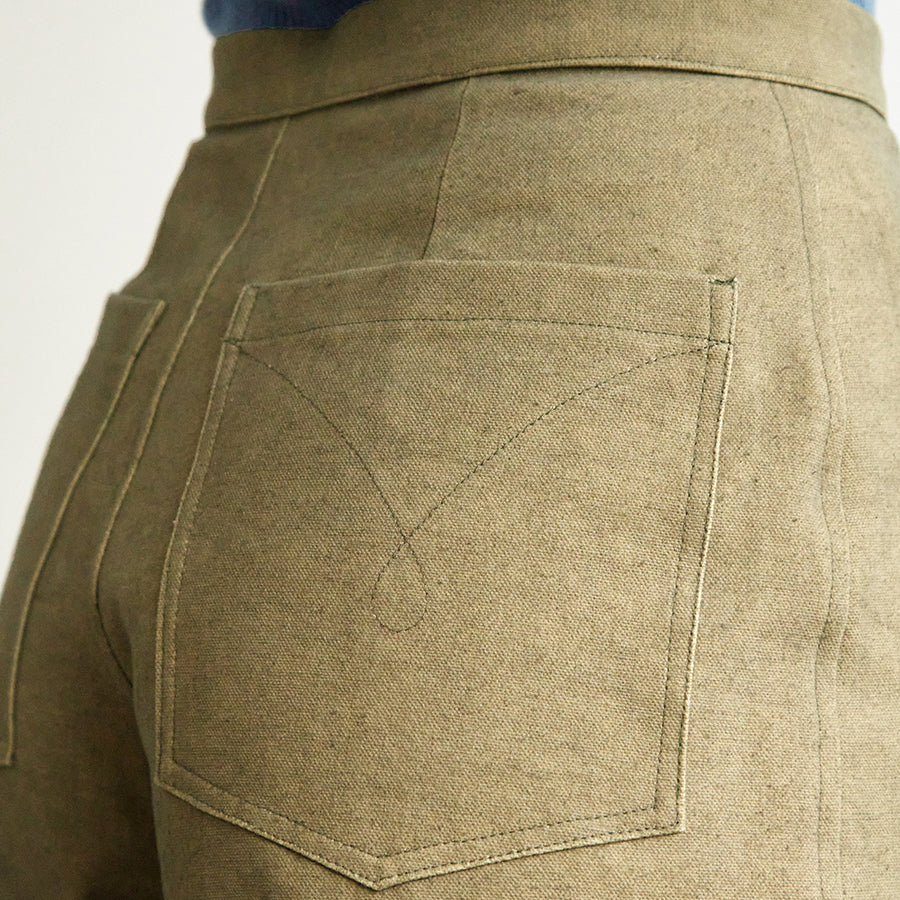
1 x Professional PDF Pattern
You’ll receive a professionally drafted pattern for the Daphne Trouser with endless creative opportunities.
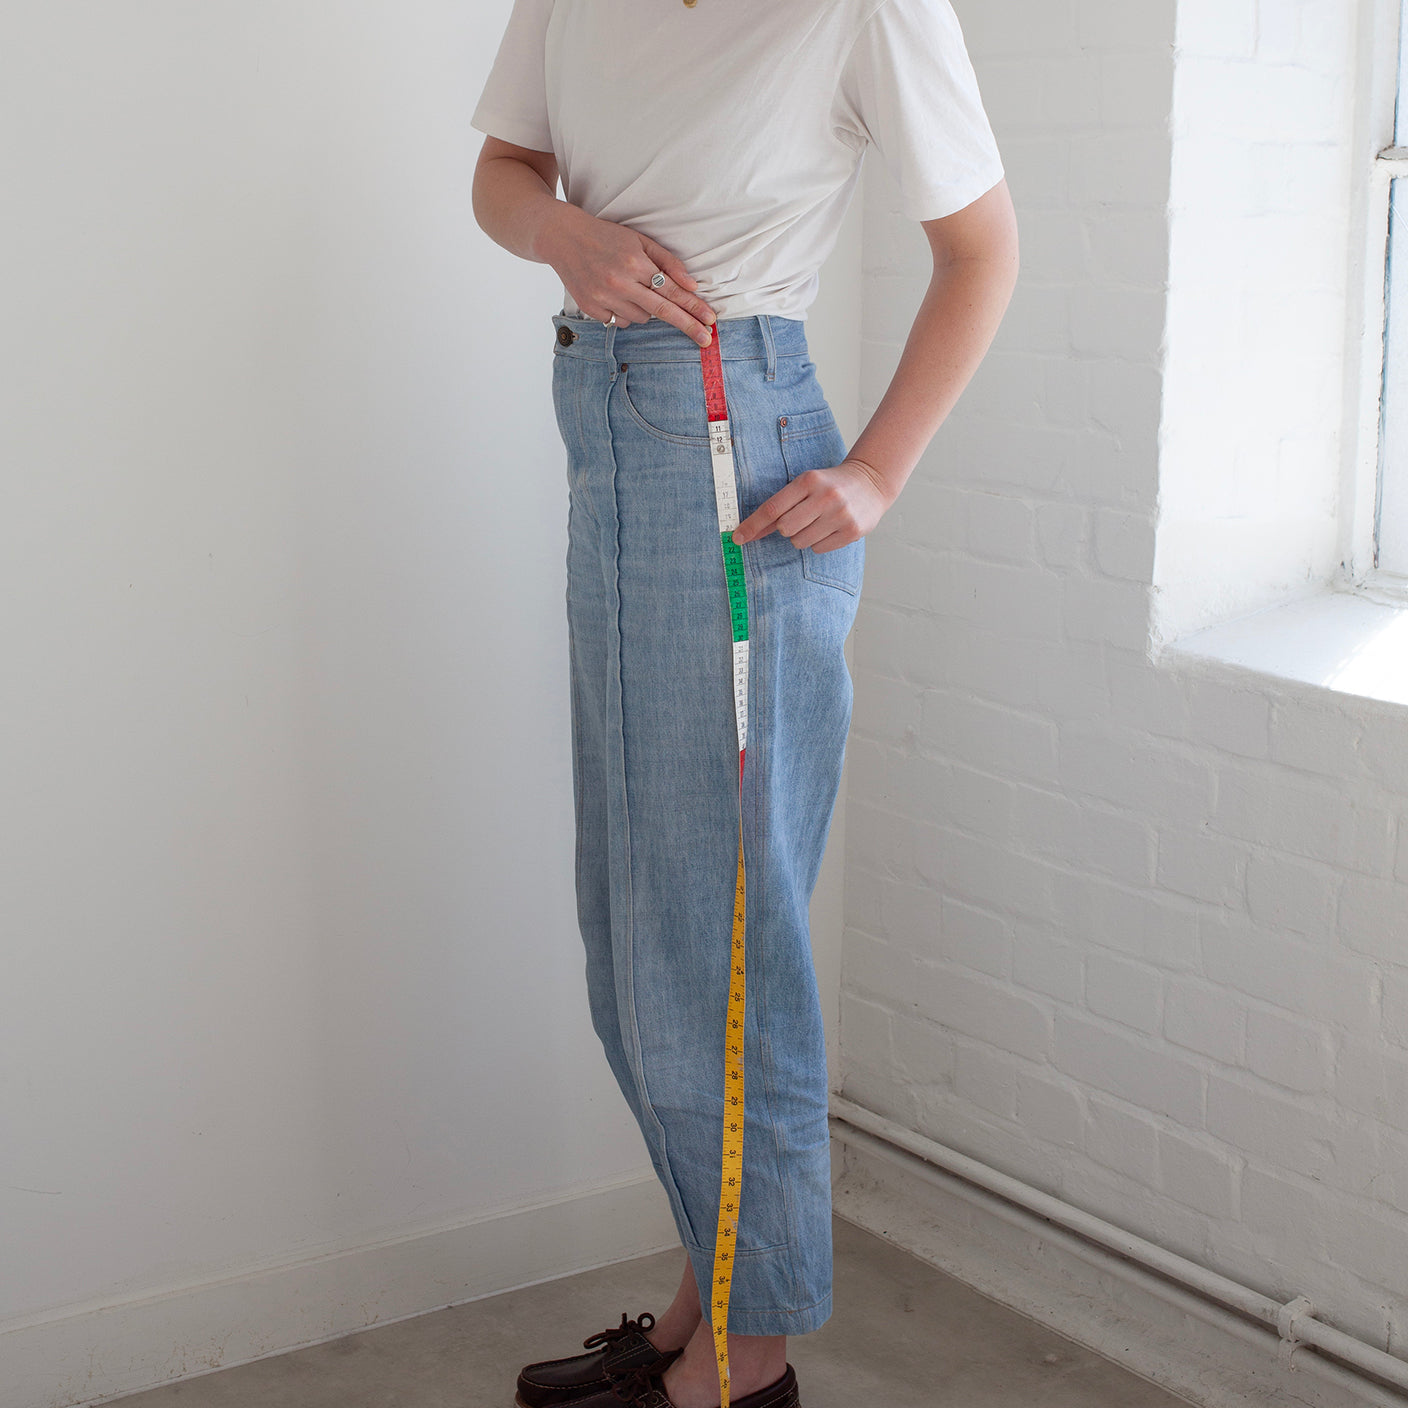
In-depth Fitting Tutorial
Our fitting tutorials cover everything from measuring your body accurately to ensuring a good fit.
Wonderful makes from our community:
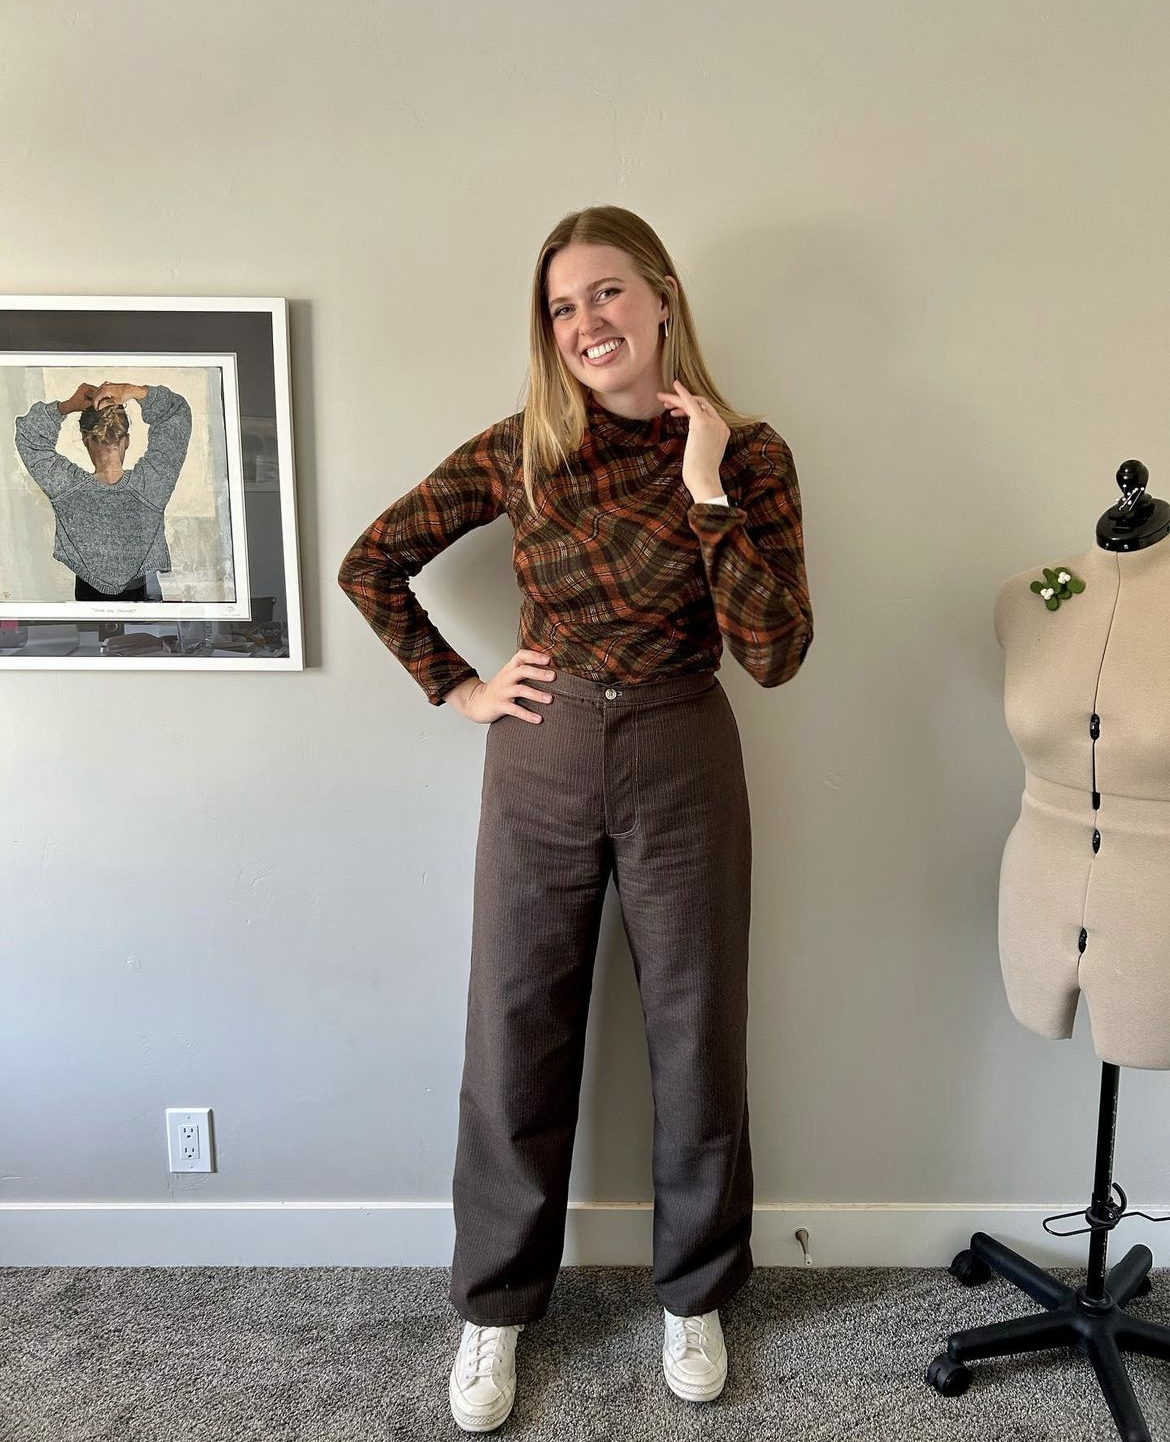
@sew.evie
Daphne Trouser
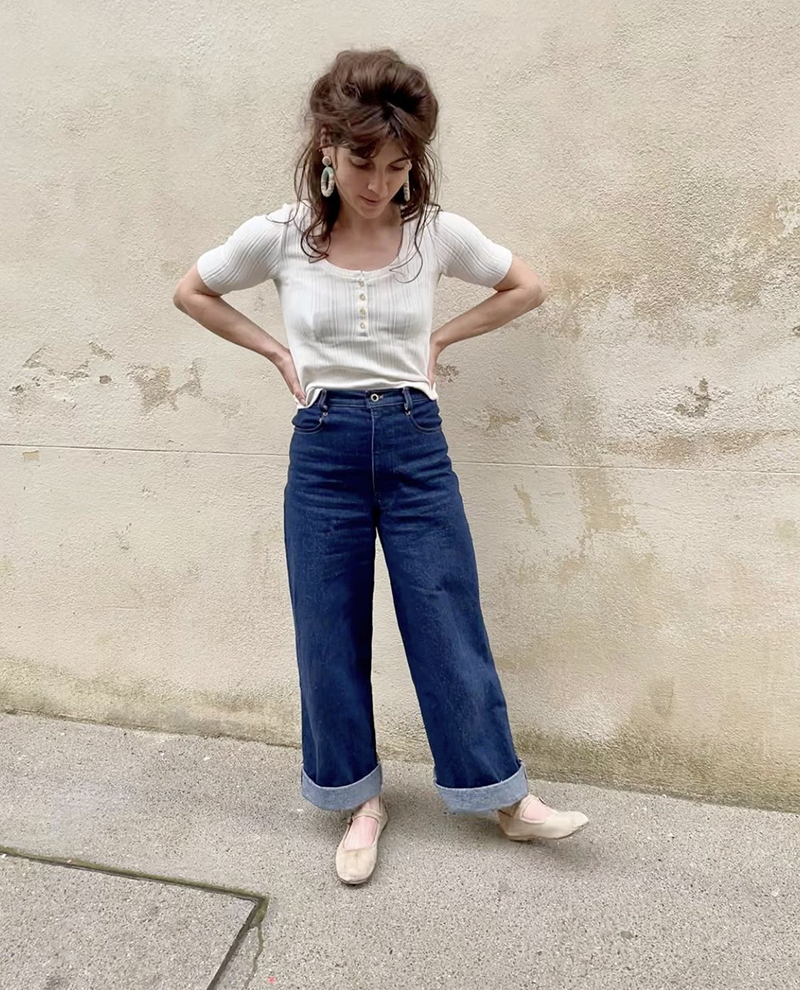
@raemunda.leigh
Daphne Trouser
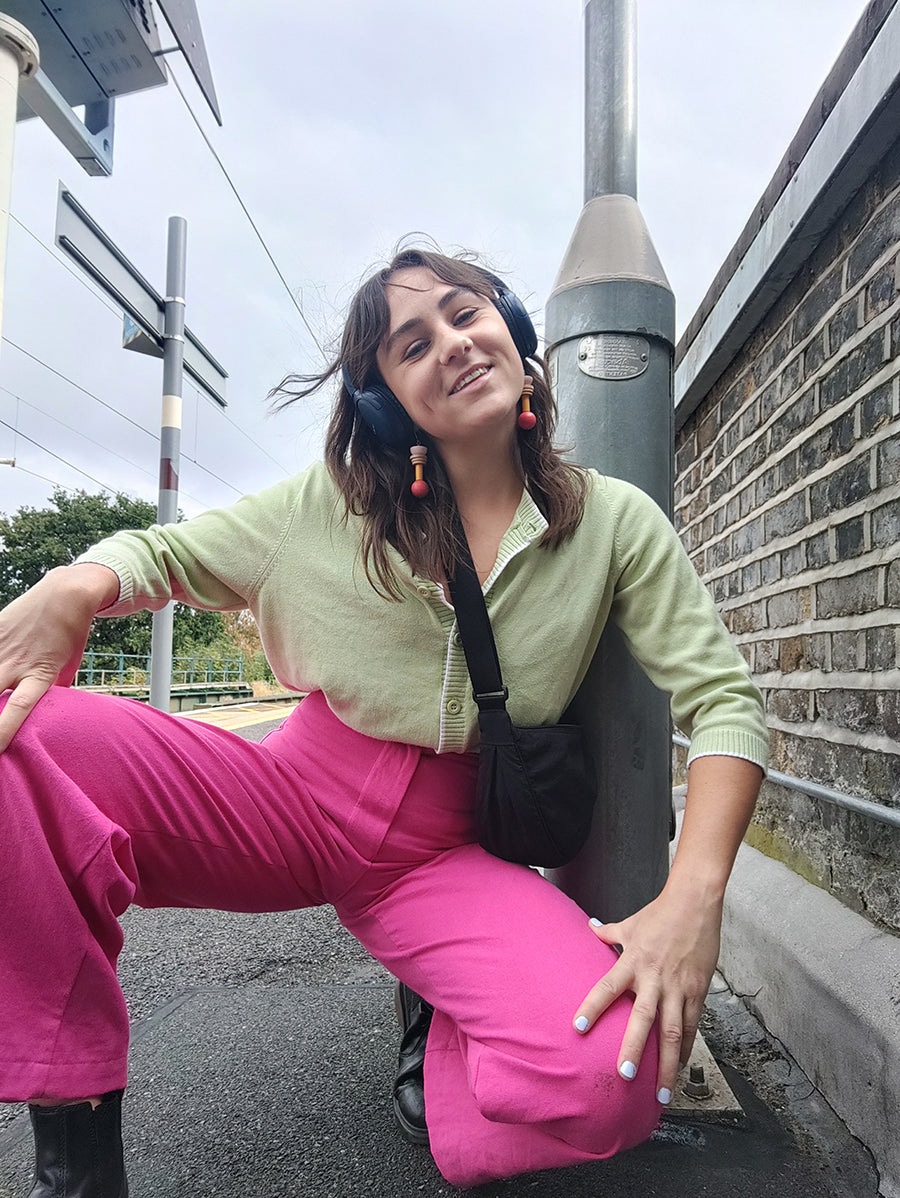
Daphne Trouser
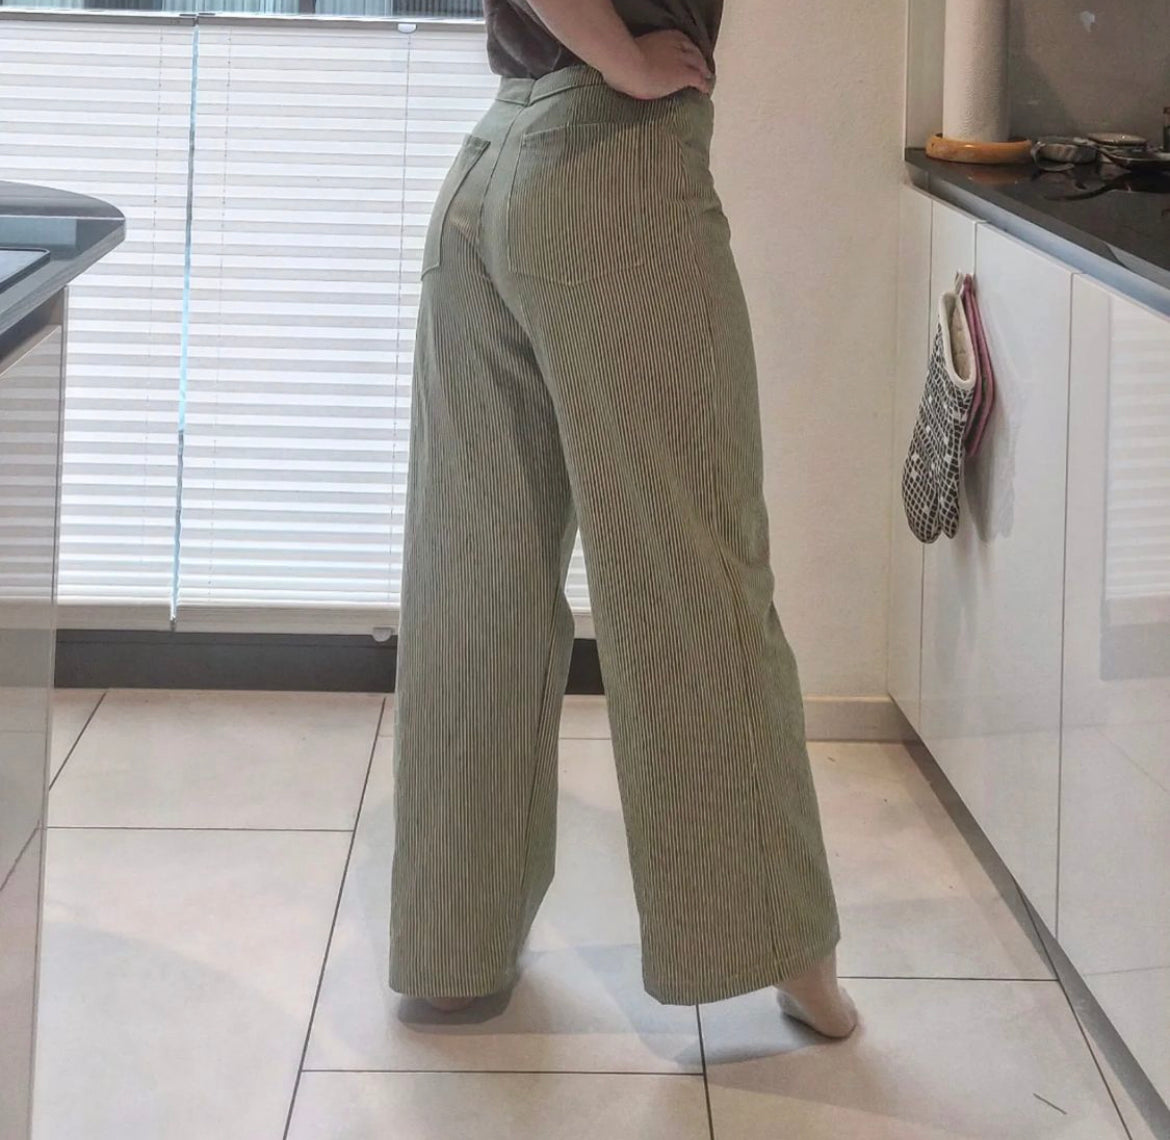
@knitknitnina
Daphne Trouser
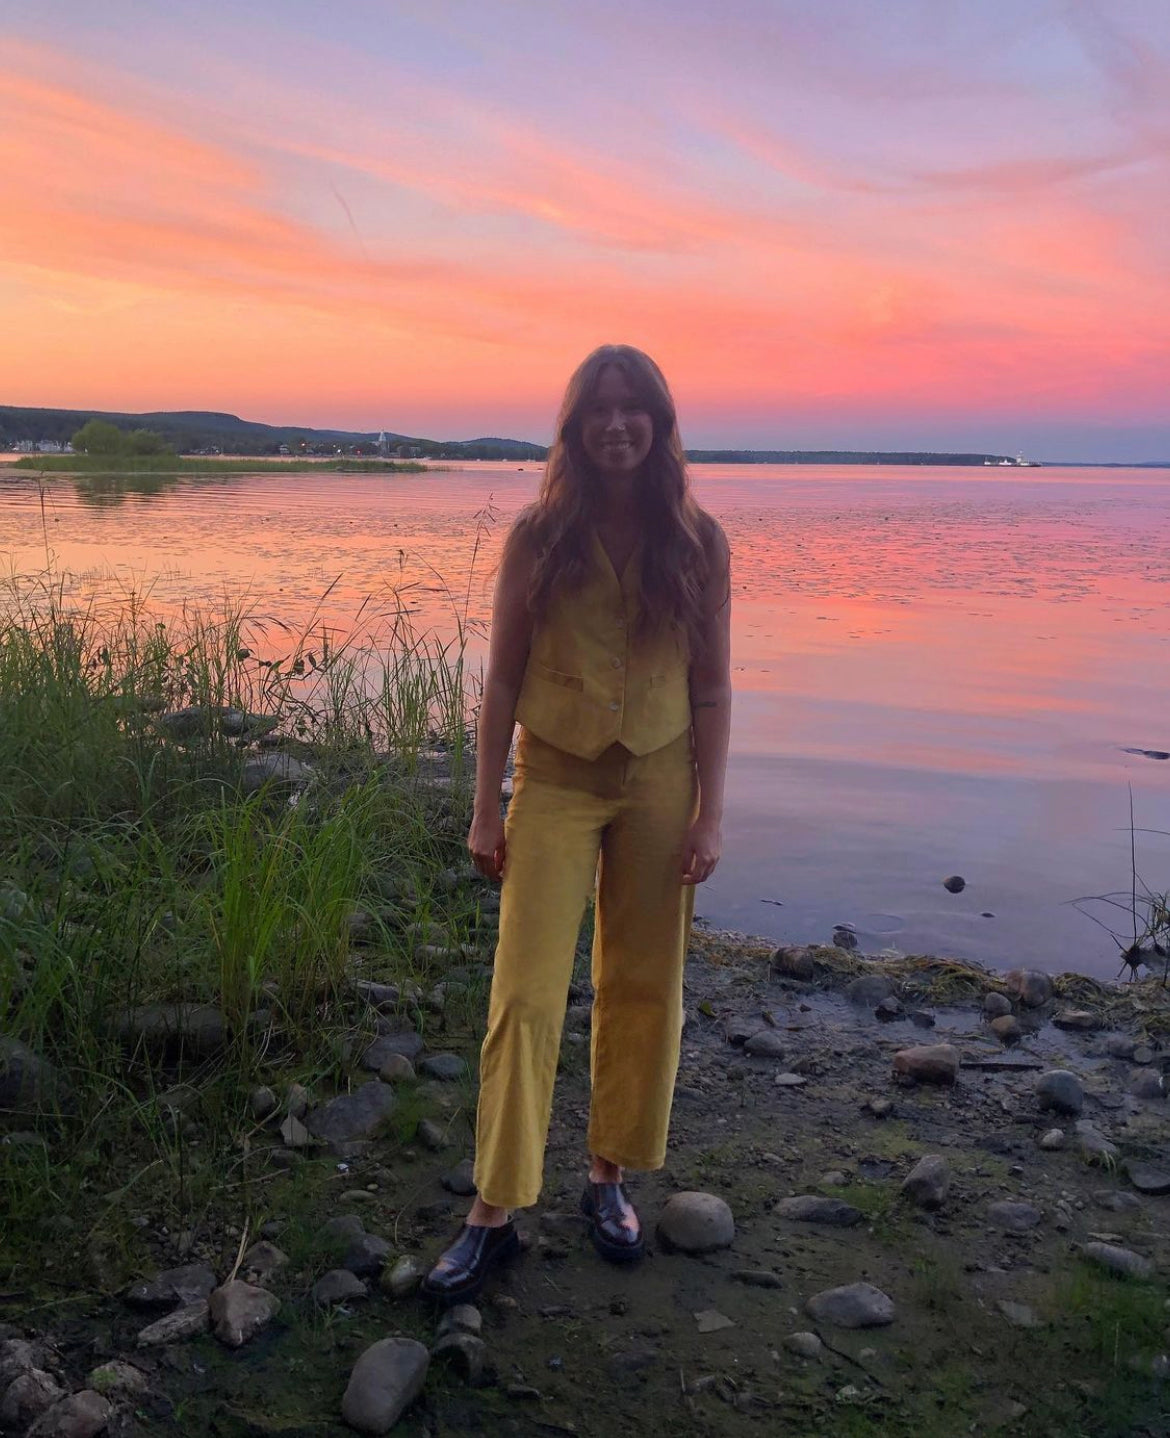
@arleestewart
Daphne Trouser

Meet Your Teacher
Hetty is the founder of the Modern Sewing Co., a professional designer and pattern cutter with 15 years experience in garment making. Having trained at London College of Fashion and the Tailoring Academy she is passionate about great design, detailed construction techniques and helping people make beautiful clothes.
This is a fantastic workshop with really helpful instructions and clear, easy-to-follow directions. My only suggestion for future videos would be to introduce more contrast in the materials used, to make it easier for viewers to see what’s happening. Making a pair of white trousers with white interfacing and white stitching looks great as a finished garment, but it can be hard to follow on video—I found myself pausing and rewinding a few times to figure out what was going where. Using something like red stitching or black interfacing, even just for the demo, could really help with visibility. Other than that, I loved the workshop—and I love my trousers!
I purchased the workshop with the pattern to improve my dressmaking skills as well as make a pair of trousers that fit me nicely. I'm happy to say I got my wish for both. This was my first pair of 'proper' trousers with a zip fly and I took my time with each stage. Starting with the fitting part, which was really helpful as I usually just cross my fingers and hope it'll fit. I did need to make some adjustments to reduce the size from the one I cut which all worked out fine, following the instructions. I also took in the width of the trousers legs slightly. I'm super happy with the result, especially with the zip fly which looks really neat, both inside and out. I did need to watch some of the stages on the video for the intricate bits a few times until I understood what I needed to do. The bias binding inside the trousers is a lovely touch. Just following how Hetty sews and having her tips and comments along the way was really useful and well worth the price of the workshop. I made the trousers in fine needlecord and have bought some more fabric to make a summery pair and I'm planning on making linen ones too. I couldn't find a suitable 19cm zip anywhere and had to buy a 20cm one. I was worried it might not fit however it was absolutely fine.
As it was my first time trying out the pattern I thought I'd go for a fabric I was less precious about so I made the trousers using bright pink curtains that I found in a charity shop and I am so happy with them. I jumped into the workshop video at the halfway point as I purchased it to help me tackle the fly - which it was extremely helpful for. This was my first time ever sewing trousers and I think I watched every video on youtube on how to sew a fly but to no avail. The tutorial was clear and broke down each of the steps really well. And I also found it super helpful for attaching the waistband and finishing the trousers. My only point of feedback would be (and this is down to my inexperience more than anything) that at times it would have been helpful to have slightly more close up shots of the garment as each section is being sewn as it was difficult to tell exactly what was going on, which perhaps is also because the garment is so light in colour and the video is quite brightly lit. That being said I got there in the end anyway so it's not so much of a major issue and I know it's going to be so helpful for my next pairs, and for just taking the skills forward onto other projects.


